Prices of Block Materials Skyrocket!
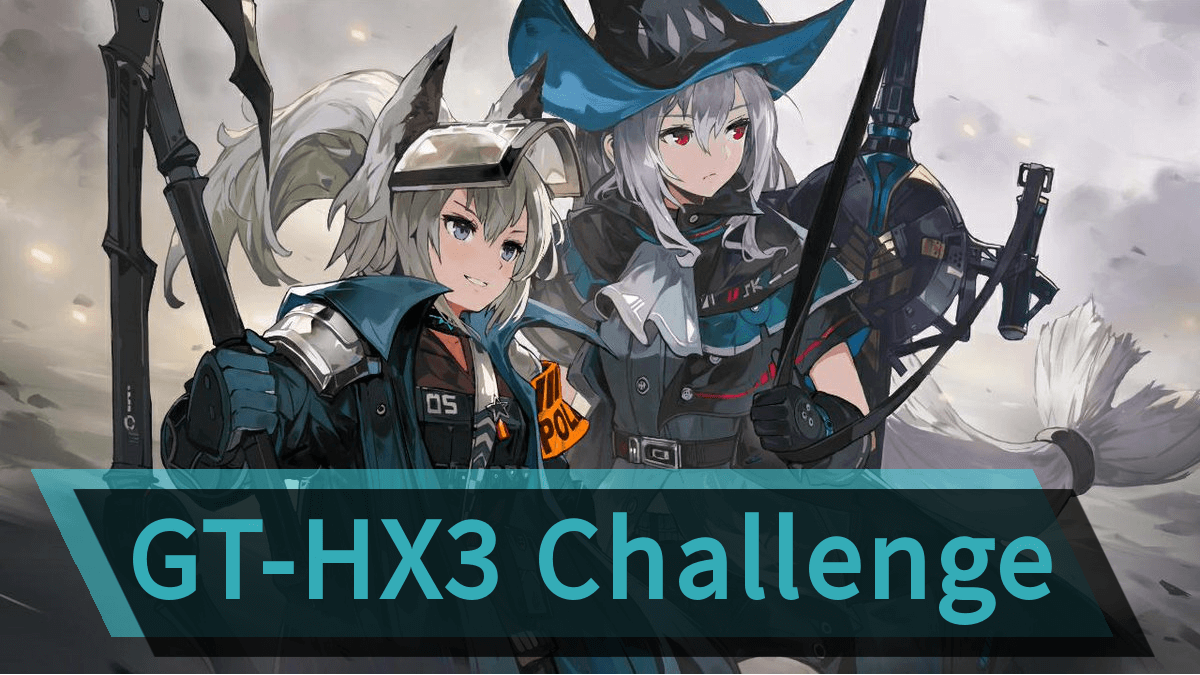
In this article we talk about strategy for completing GT-HX-3 Challenge Mode. If you are looking for guides for the normal mode of GT-HX-3 or other HX guides, you can find them here:

This guide will be a little different from the others in that we aren’t going to suggest a specific team and deployment strategy. Instead, we are going to talk about some of the important strategic elements of the map, suggest some good team choices, and then link several videos that can be used as examples. The reason we are changing it up for this one is that we believe the strategies for completion are typically very team dependent, so trying to suggest a general team and strategy is not particularly useful for most players.
Map Information
There are two main map components we need to be aware of.
1.Corrosive Ground - Operators deployed on these tiles will have their Defense halved. On this map it only appears on ranged tiles. This makes the enemy snipers particularly dangerous, as they will quickly take down any ranged unit, even if they are in range of a Medic.
2. Challenge Condition : The cost of Roadblocks is tripled. This will have the largest effect at the beginning of the map when DP is tight. If the strategy the player used for the normal mode clear involved placing blocks early (such as the strategy we used), then it is likely the strategy for the Challenge Mode will need to be modified.
Strategic Elements
-
Tight DP for the beginning rushes. The beginning two rushes of enemies needs to be funnelled to a place your Operators can handle them. The first rush comes from the top (so the top exit needs to be protected) and the second comes from the bottom (so the bottom needs to be protected). Generally, players will likely attempt to funnel to the middle or the bottom. Funneling to the bottom has more up-front DP demands, but if done successfully, can focus dps more and requires less Operator shuffling later in the map.
- Most players will need to support their vanguards during the first two rushes to eliminate enough enemies to prevent leaks and keep them alive. A cheap dps (especially ranged) and Medic placed early can help.
-
Having enough DPS to keep from being overwhelmed. There are a lot of enemies on these maps, so AoE damage is a must. If you are having problems with leaks, try to improve your setup for AoE Damage. If you need to block more than 4 enemies (5 max), the answer is more DPS, not more blocking.
-
Surviving the Snipers. Because of the Corrosive Ground on Ranged tiles, ranged units won’t survive long when being focused by snipers, even if supported by a medic. If Snipers are killing your ranged:
-
consider your deploy order to make sure melee units placed last.
-
Protect your ranged by killing or baiting the snipers with melee units.
-
Use a medic to tank some sniper damage (though this may be more or less effective depending on the strength of your Medic, and is more of a delay tactic.
-
- Kiting Adam. If you completed the normal mode, you already have a pretty good idea how to do this, and if not, see our normal mode guide.
Team Consideration
-
2 Vanguards. Preferably 1 Skill-DP Vanguard and 1 Kill-DP Vanguard if your team can support it, but 2 Skill-DP Vanguards also works. Getting DP quickly is very important, but sustained DP recovery over the fight may also be important depending on how much re-deploy you are doing.
-
3-4 Casters. 2 AoE Casters especially if you can, to help keep pace with the high enemy count rushes. In general, Casters are prefered over Snipers because of the high Defense of some enemies (Adam especially)
-
1 Supporter with Slow is nice to have for the Adam kiting, but not required.
-
1 Defender (2 at most) to block the rush.
-
1 (maybe 2) Snipers. An AoE Sniper is nice to have because of the extended range, allowing placement that won’t work for AoE Casters. An ST Sniper might be useful as a cheap dps support in the early stages of the map, but snipers will be overall less useful than Casters.
-
1 (maybe 2) Medics. 1 Medic should be enough for main team healing purposes if positioning is done well. A second would only be needed if it is used as part of the strategy to handle the enemy snipers.
-
Melee DPS can potentially be useful depending on a Players team and situation. They can be used to back up the main blockers for additional block and dps. Specter is an especially good choice because of the undeath component of her Skill 2.
Clear Examples
Here are some videos of clears done with different team compositions and strategies. One of them may give you ideas on a strategy that will work with the team you have available!
The first video is from your friendly neighboorhood Peacecow.
The next video is a clear using all low Rarity or Free-to-obtain Operators from Eckogen and his Low Star All-Star Team!
This is a video by a small-brain Arknights lover that just gets lucky sometimes. O.O
And last but definitely not least, we have Dreamy giving tips and clear suggestions for all of the HX challenge Modes. For those lucky enough to have Specter among your ranks, the video shows how the crazy Guard can help you on some of these Operations like nun other!