Permanent Stage - Challenge Contract 2
This guide will step through a strategy for clearing Challenge Contract 2 for the Permanent Stage.
For information on other CC Stages see these pages:


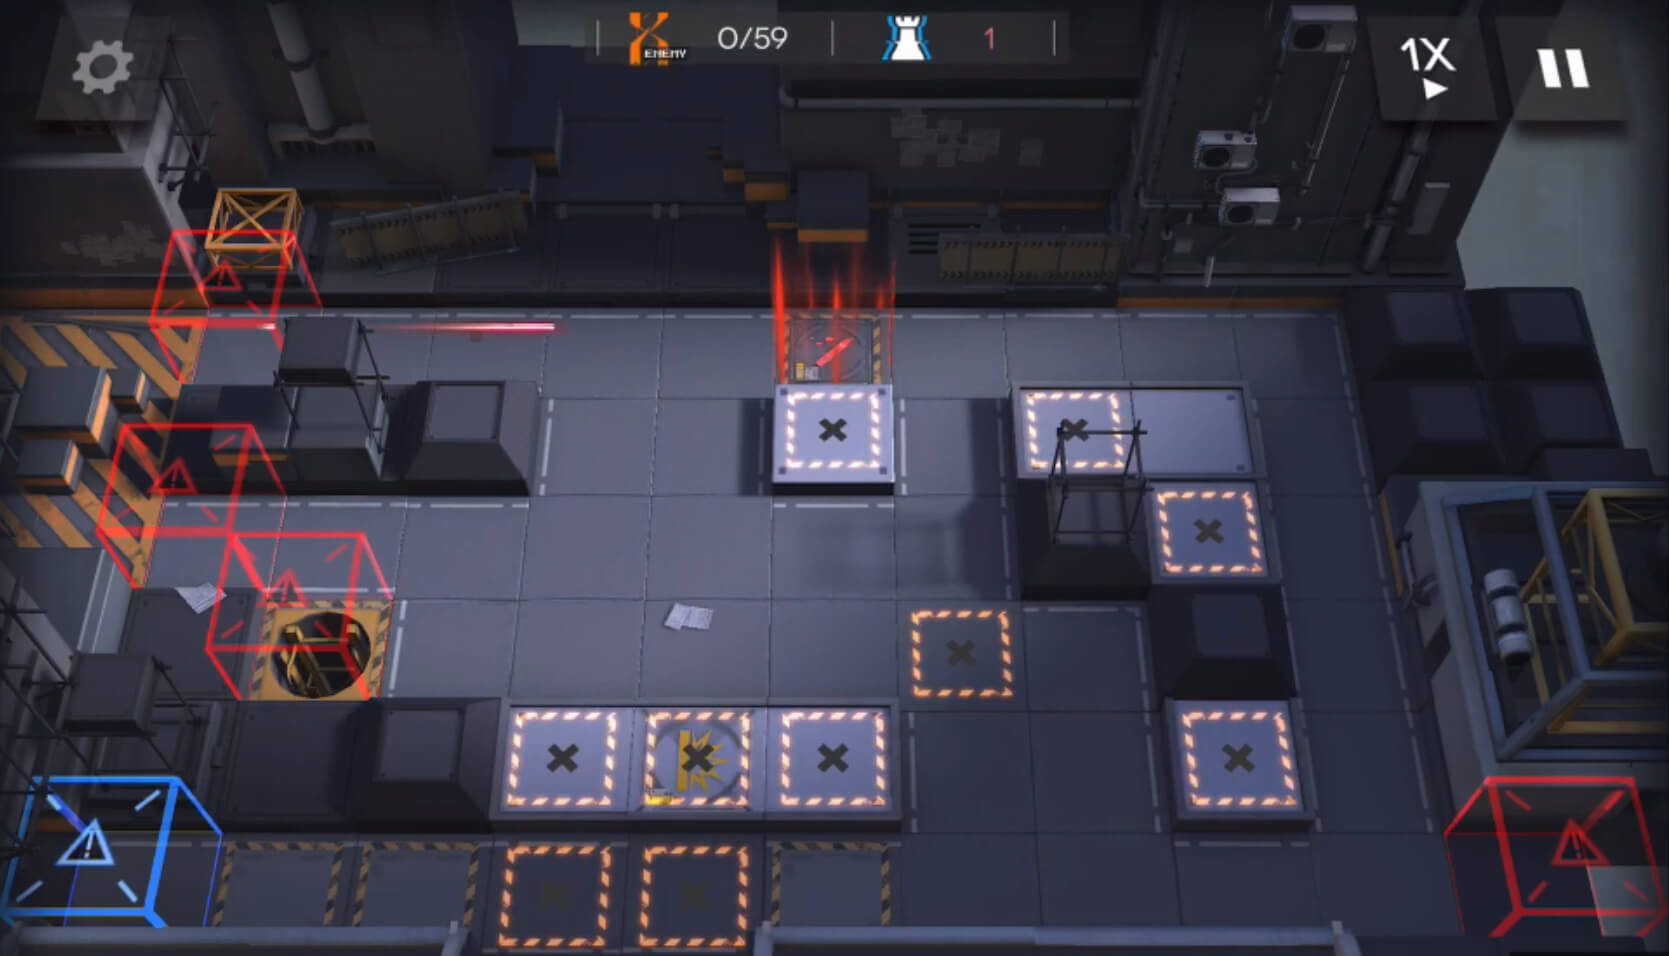
Map Information and Strategy
Challenge Contract
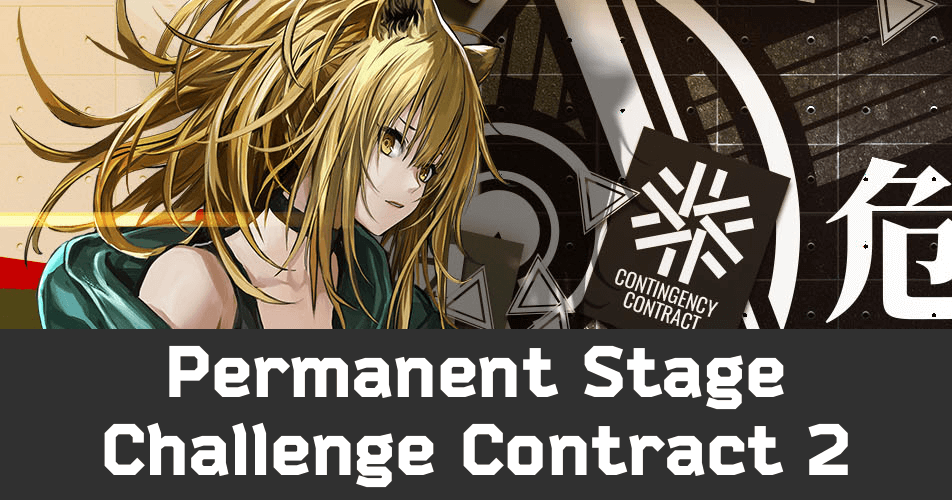
This shows the grids that we cannot deploy on:
For this strategy, I'm going to use a more straightforward tank-and-spank method, as it can be executed with somewhat less specific Operators.
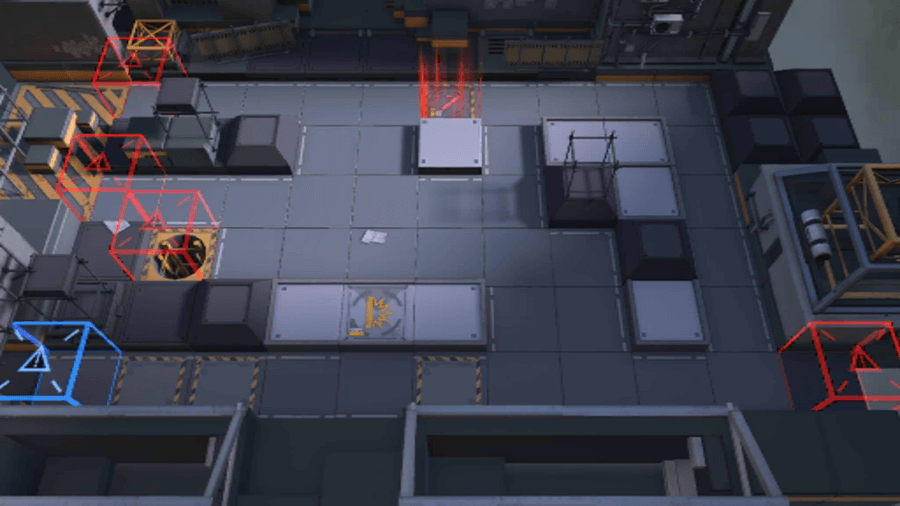
The Contract specific challenges are as follows:
- The biggest challenge by far on this map is having enough DPS to bring down the enemies with increased HP, especially the main-path enemies. They have high DEF, and we don't have any convenient ranged grids in the area, so we have to rely on Arts Damage from our Melee Operators
- For the same reason, our Medic deployment opportunities are limited. Healing Defenders are going to carry some of the healing weight for us.
Recommended Team Composition
Our Core formation:
- 1 Skill-DP-Recovery Vanguard, V1
- 2 Defenders, D1 and D2. D1 Must be a Healing Defender. D2 must have DEF increasing Skills.
- 1 ST Medic, M1
- 4 Melee, Me1-Me4, Arts Damage, DEF ignore, or high ATK is what we want here because the enemies we are taking down have high DEF. 1 or 2 Arts Guard is highly recommended. at least 1 Ranged Guard will be required, up to 3 can be used. A Control Specialist can be useful as well.
- 1 Duelist Guard - G1, for Caster slaying
- 2 Guards, G2, G3, any will work as long as their single target dps is high enough.
- Reserve Units should be Defenders (Healing preferred) in case your Defenders die.
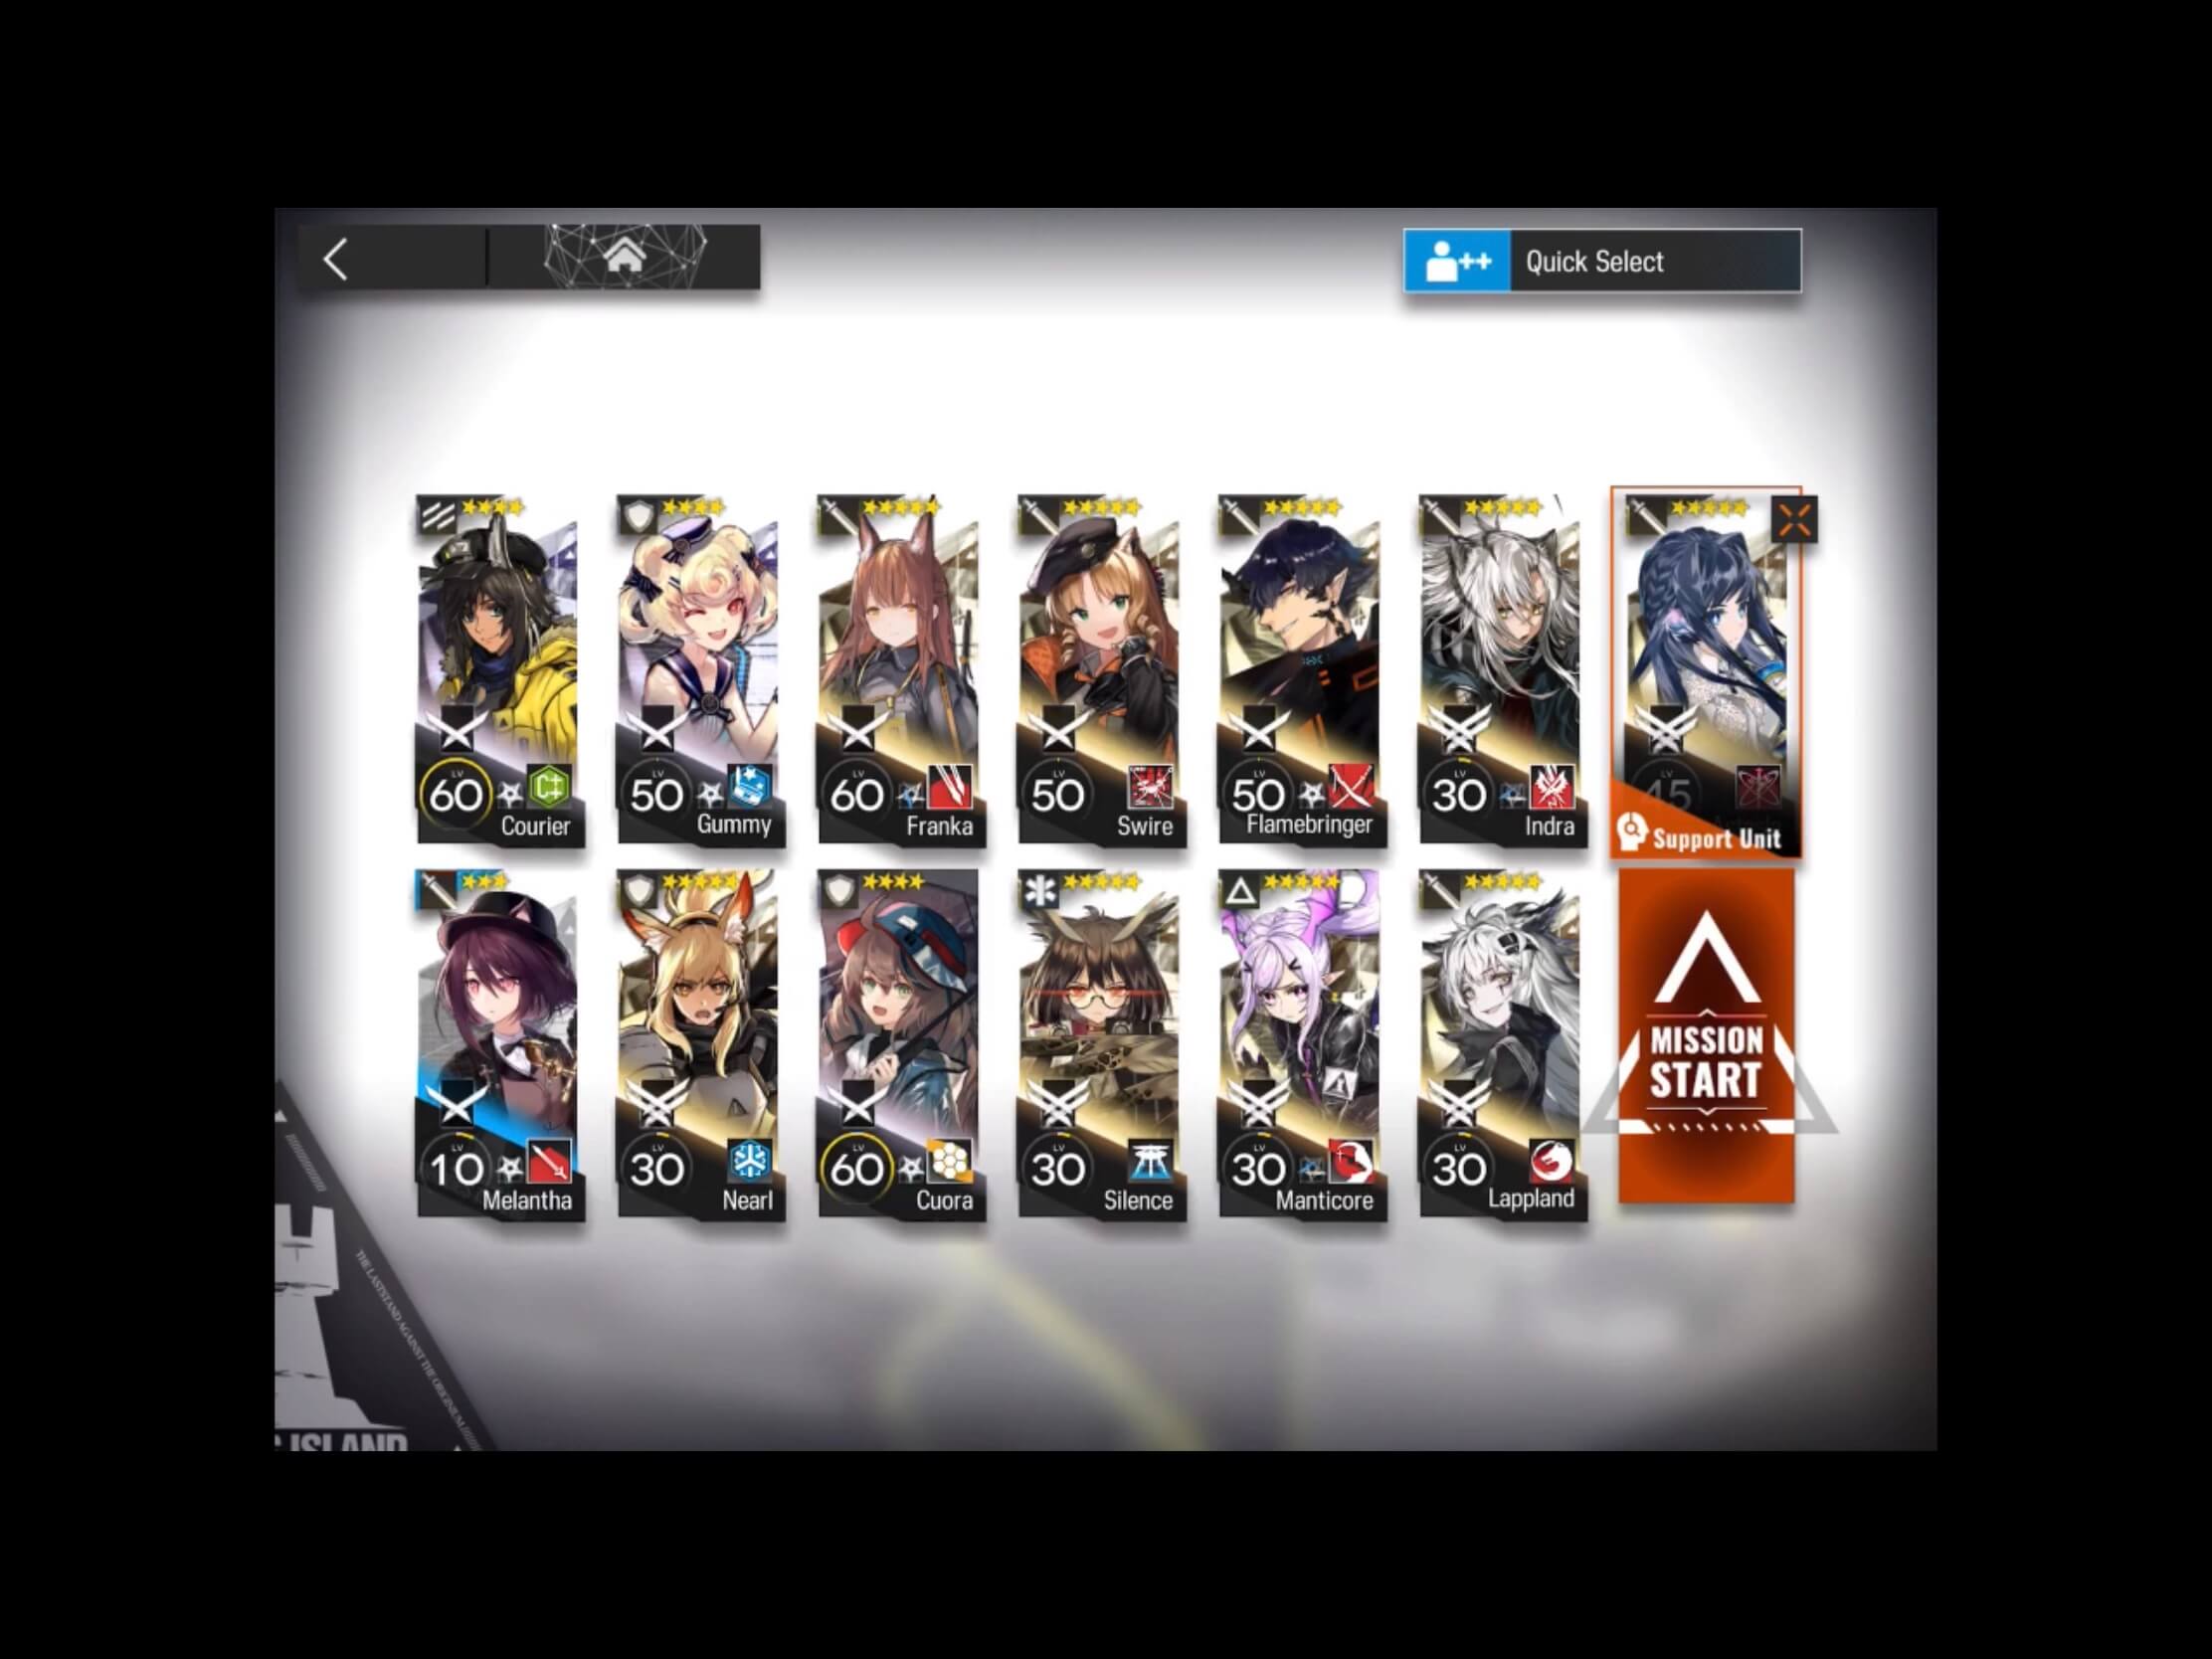
Here is an example of the team I used:
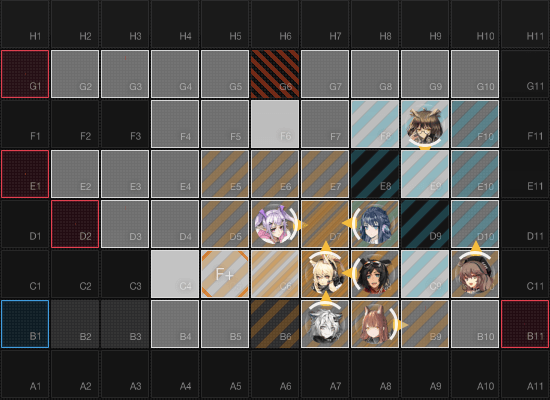
Deployment
Unit placement can be seen in the image below, and deployment order should be done exactly as presented. Each Operator can be placed as soon as there is sufficient DP.
Deployment Order:
- V1: Courier - Skill-DP-Recovery Vanguard
- Me1: Lappland - Ranged Guard with Arts damage with S2 (if we use this spot it must be a Ranged guard)
- M1: Silence - ST Medic
- D2: Cuora - Normal Defender
- Me2: Astesia - Arts Guard (This is the best position for an Arts Guard)
- D1: Nearl - Healing Defender
- Me3: Manticore - Control Specialist (The stun of S2 also helps keep our Healing Defender alive. If you don't have a control specialist, you can deploy another Ranged Guard at F7, or possibly an Operator with high DEF or self-heal on E7
- G1: Franka - Duelist Guard
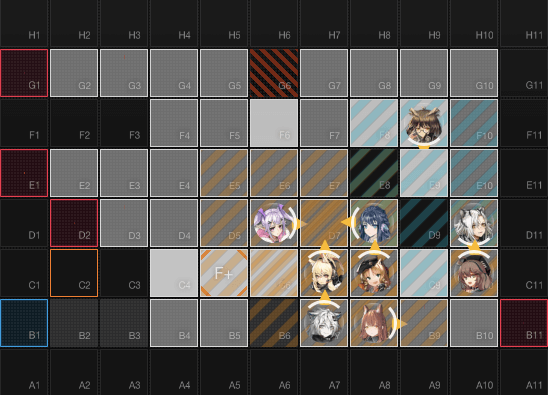
Our formation should look like this:
Next we'll retreat our V1 and place our Me4 (In this example, Swire). This can be pretty much anything, though it will only be able to attack the big guys (the major threat) if it is a Ranged Guard.

This will be our formation until the first Red Katana engages with our D2. Then deploy G2 behind it (I used Indra). Make sure to use D2 Defensive Skill, and any G2 offensive Skills when Red Katana goes berserk at 50%.
When Red Katana is dead, retreat G2. The Caster that emerges from the top left with the second Red Katana is a danger to our Medic. Assassinate the Caster, if you can, before he hits the G6 tile. Otherwise you might have to use a couple Operators (you can re-deploy V1 as well). With only the second Katana remaining, you have a lot of time, as your D2 can tank him for a very long time before he hits 50% and becomes a danger. When you can, deploy a DPS behind the Red Katana (like we did in the image above), and use Skills at 50% HP.
Enjoy your rewards!