
Bounty Hunt Basics & Hunter Ranking Event Guide (Halloween 2019)
This article discusses the Halloween event for Castlevania: Grimoire of Souls, focusing on:
- What to expect from the Hunter Ranking event
- The best way to farm event currency
- Which prizes you should prioritize

Overview
In this article we'll go through:
- The prizes of the Hunter Ranking event.
- The layout of the event.
- How to participate.
- The absolute best way to farm for event currency.
- How to prioritize prizes.
- And how to avoid burnout.
If this is your first time playing Bounty Hunt, or you don't consider yourself experienced, read on.
Veterans of Bounty Hunt mode, please skip to the Besting the Final Guard section.
Bounty Hunt is the multiplayer competition mode of Grimoire of Souls; it doesn't directly pit players against each other like PvP, but rather tosses you into a free for all of who can gain the most points by slaughtering monsters. Different monsters are worth different points. As you play more and more bounty hunt your rank, prizes, and the castle level (or overall difficulty) of the game will rise. When playing Bounty Hunt, it's important to look at the entire map as well as your cooldowns, zooming in occasionally to check for floor traps or how many total enemies are left. When you're first starting don't be discouraged if you consistently place low every time. Until the very top two tiers of gameplay, even last place gets prizes and can advance rankings! In this event in particular, when you gain BH Coins you also gain an equivalent number of special tokens for the event shop.
How do I Win Bounty Hunts Easily?
Now that we know what Bounty Hunt, or BH for short, is, we can analyze how to squeeze the most value out of your Ether! There are three types of enemies you want to be looking out for in BH.
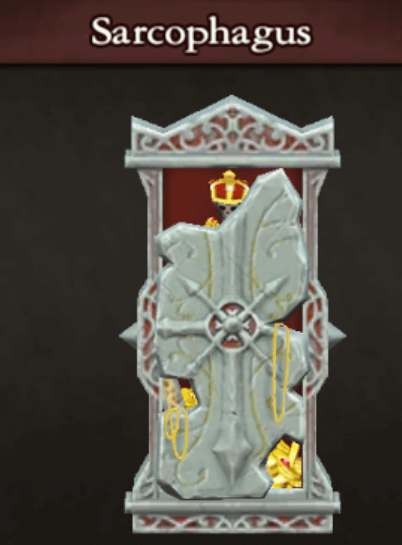
The first is easy to see, it's got a boss health bar and it's a big grey slate called a Sarcophagus. It can spawn in any general area in the arena (more on spawn patterns later) and is worth a whopping 200 points total when destroyed. These are chunky targets with healthy HP compared to even standard boss monsters that spawn. Don't be surprised if someone else starts wailing on one you're trying to kill.
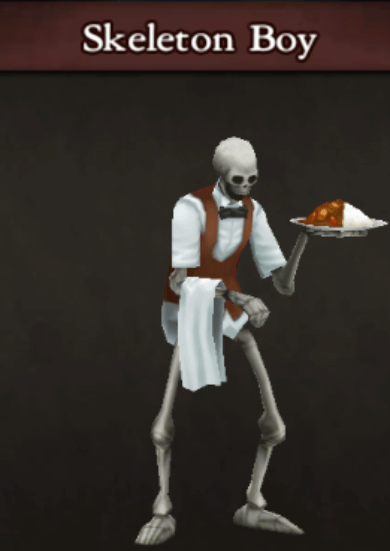
The second special enemy is called a Skeleton Boy. They are happy but nervous skeleton waiters with a vest, a towel over one arm, and curry. They will always die in one hit granting 200 points to the sole player that killed them. However, Skeleton Boys are fearful. They will run at the sight of any other players that come too close or attack enemies in their immediate vicinity. Only approach a Skeleton Boy if you know you can destroy him- if they run too far from spawn, they can simply destroy themselves and no one gets any points.
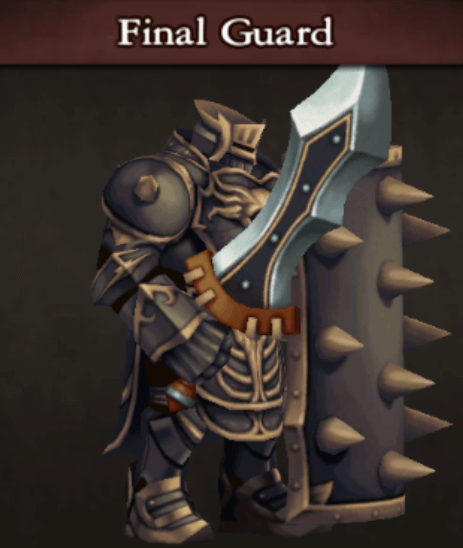
The final special enemy is called the Final Guard. There are ways to destroy him very quickly and easily when the castle level is below 30, especially if you have your skills ready. The Final Guard (or FG) is worth a grand total of 1000 points split among whoever kills him. His gimmick, however, is that he will spawn facing either left or right. Whichever side he spawns facing he will be immune to normal damage from and any character that enters his shield will be dealt damage.
A normal match of BH will have a total of 4000-5000 points in it, with 2 Skeleton Boys, 3 Sarcophagi and one FG. This is a total of 2000 points, even if you never ever hit anything else. As such, timing when and how to get to these enemies is the vital key to success! Let's look into tactics for fighting each one individually next.
Besting the Final Guard
So how do we get the best point giver, FG, down reasonably? Well, from personal testing and community feedback, everyone except Charlotte has a viable way to circumvent guessing "wrong" which way he will turn. The two easiest are definitely Maria and Shanoa.
For Maria you have two options:
- The better is to stand inside of where he spawns, dead center. When he's almost there, activate a "sing" skill that has music notes surround her. Half, if not all when done correctly, of these notes will do full potency damage to the FG.
- Her alternative, but worse strategy is to stand under the boss room and create a tornado.
For Shanoa, her cheat is much the same but does require much more labor intensive setup.
- Acquire at least one "Anubis Rod" for 25000 bounty coins. From there, stand under the boss room and use its skill just after the FG spawns. They will auto track to the correct side dealing massive damage to its back. The downside to this is that since you are outside the boss room, you may be unable to inflict any damage should you mistime the move.
Simon also requires a Bounty Hunter weapon to circumvent the shield, but by using its skill in the room it will go through the shield and damage the FG directly. His skill must be used right before the FG appears.
The final abuse is from Alucard.
- When the FG has almost entered the arena, jump up to his head height. If you are unsure where this is, it's about level with the lower teal platforms that appear and disappear in the Halloween event, or halfway between the two solid platforms in the room. Use a flurry skill, such as on Assassin's Blade, as he enters. It will strike his face repeatedly instead of his shield, racking up massive points.
Trapping a Skeleton Boy
With FG out of the way, what about the Sarcophagus and Skeleton Boy?
- Skeleton Boy spawns can be difficult to predict, but you can usually find the first one in the top left corner by the entrance to the FG's room. They spawn in through regular blue circles, so watch for a cluster spawning up there with two horizontally next to each other. If three spawn on top of each other, those will be different enemies.
- The second potential spawn point for a Skeleton Boy is in the upper right in the divot where fire traps or spike traps are laid out. If he spawns in that location, he spawns alone. Normal enemies often spawn together in a pair there. Be careful in approaching him, as he can very easily run into the wall and take your points.
- The third location is on the right side by the bell, where a succubus will often spawn late in the match. This Boy is rather uncommon, but only seems to appear second after another Boy. When the bottom boss is spawning near middle, a Boy may occasionally spawn with fish or Jackabones.
- The final Boy spawn location is at the very bottom of the map, next to where the Iron Maiden usually is. He spawns about halfway to two thirds of the way into the game and is generally quite easy to get the drop on and hit, especially since those with ranged options can just hit him through the wall.
Smashing the Sarcophagi
Lastly, Sarcophagi. The hardest spawn to predict is definitely a Sarcophagus. Sarcophagi have ten total spawn locations and three will almost always spawn in a map. On occasion only two will spawn, but this is uncommon. The only true pattern I can see is that the first Sarcophagus is limited to five locations, with one being very unlikely. Provided is an image to help you understand what I'm talking about.
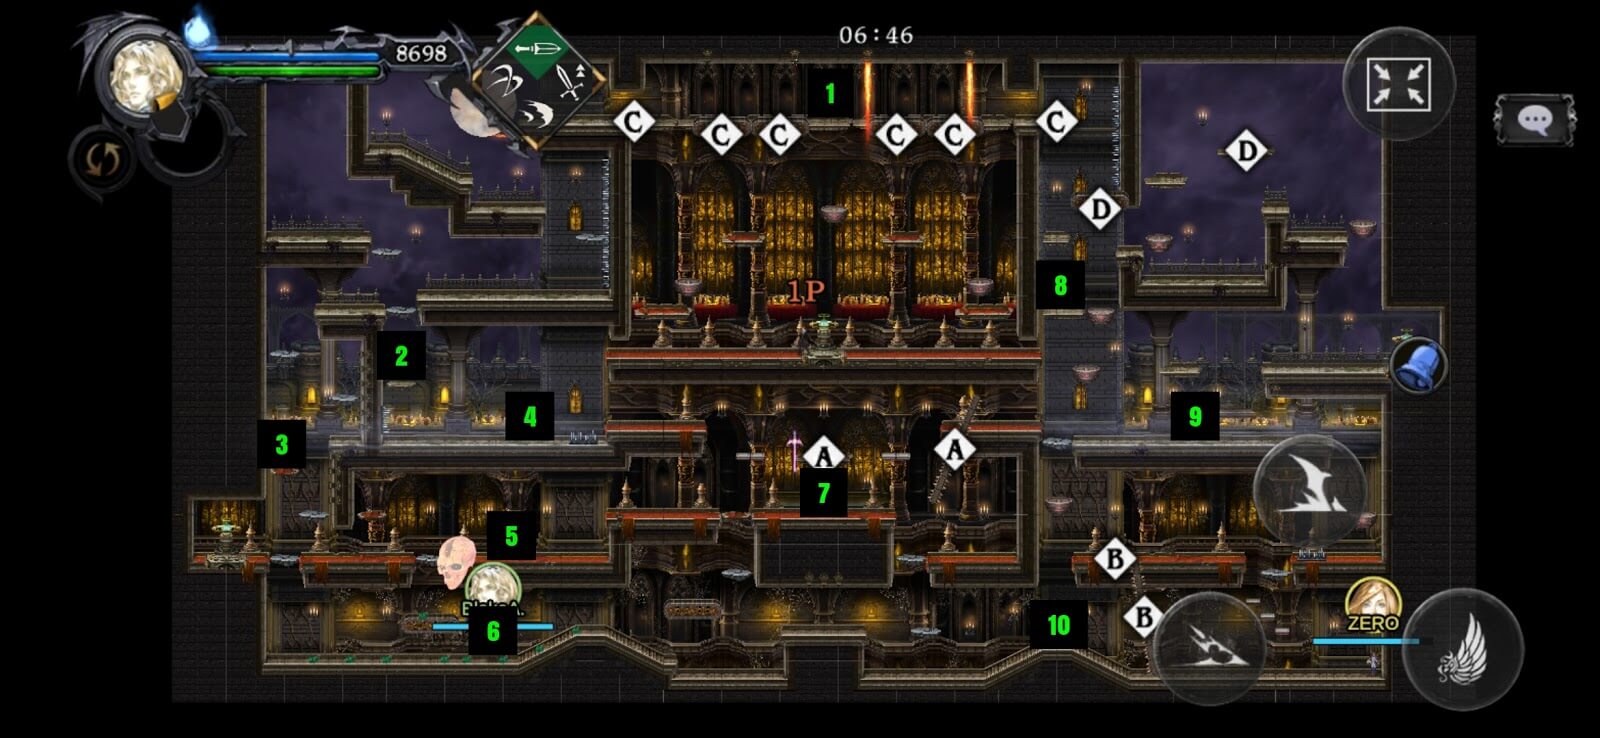
The 10 spawn points for Sarcophagi.
The first Sarcophagus spawn will always be at 2, 7, 8, 9 or 10, but 10 is rather rare. The second sarcophagus spawn is usually at 1, 3 or 5. The final Sarcophagus is typically 4 or 6, but these are not set patterns on the final two Sarcophagus spawns. A Sarcophagus will never spawn in the same place twice in a single match. Figuring out Sarcophagi and when they are worth more (or less) on the fly than a group of blue monsters or a boss is a pivotal part of high end gameplay for serious BH players.
Traps and Terrible Trick Platforms
The Halloween map has different traps than the normal BH map.
It has a differing layout of spikes, disappearing teal platforms and conveyor belts, all with the added fun of alternating fire plumes.
- Fortunately, the teal platforms only disappear on timed cycles. They always return in the exact same pattern so after a while you can watch and predict where they will respawn.
- The spikes, however, are especially awful to deal with. Unless your name is Simon Belmont and you're using an uppercut, you cannot move through them, only on top of them. They do not allow you to slide down through or off to the sides of them.
- The fire plumes are mostly negligible and you can, for the most part, ignore the conveyor belts, but mastering when to jump or not jump to a blue platform can be the difference between victory and defeat- especially for characters with poor vertical mobility such as Alucard.
There are quite a few different trap layouts possible to load into, so always zoom out at the countdown to figure out which one you need to deal with.
Redeeming Prizes
Now that we know what to prioritize and how to do BH… Why exactly are we subjecting ourselves to this again? Ah! Yes! Cool prizes! The ideal place to finish the event is top 500 spots to secure both a broom for Charlotte to make her look even more fabulous and a skin for Maria because she is flat out adorable. That and some hefty gem, parchment and possibly even precious gem summon rewards… The prize pool is as follows for options:
That is a good amount of loot! Getting it all requires some grinding, but don't grind so much you get sick of the game and don't want to play anymore. I suggest setting a limit of how many points to get per day or a set number of hours to grind. Your real life is always more valuable and more important than a game. If you want to know what to get first, grab the hat and skin if you like them. Then work your way to the precious gem, then the memory fragments for your preferred characters. After that you've either gone mad from grinding or you know what you're doing and can prioritize the remaining prizes on your own.
| Prize | Cost | Stock | Notes |
|---|---|---|---|
| Pumpkin Hat (head accessory) | 1000 Tokens | Unlimited | |
| Werewolf Simon skin | 4000 Tokens | N/A | |
| 1x Death Parchment | 40 Tokens | 5 | |
| 1x Death Parchment | 100 Tokens | Unlimited | |
| Precious Gem (3* Sub Weapon) | 1000 Tokens | Unlimited | |
| Alucard Memory Sphere | 3000 Tokens | 2 | |
| Simon Memory Sphere | 3000 Tokens | 2 | |
| Charlotte Memory Sphere | 3000 Tokens | 2 | |
| Maria Memory Sphere | 3000 Tokens | 2 | |
| Shanoa Memory Sphere | 3000 Tokens | 2 | |
| 1x Trial Quill | 500 Tokens | 3 | |
| 1x Trial Quill | 1000 Tokens | 10 | |
| 1x 2* Enhancement Rune | 500 Tokens | 5 | Stock refreshes daily |
| 100x Gold | 100 Tokens | Unlimited | |
| 5x Gold | 5 Tokens | Unlimited |
Gacha Advice
As a special note, there is a gacha banner with this event. It contains a focus on dark weapons with five limited ones and one non limited one. I would only pull this gacha under one of two circumstances.
One: I love Mummy Shanoa and I am willing to pay the 3000 paid gems for her. More power to you, she's guaranteed!
Two: I am a Maria main and I want a good weapon. Focus on getting Morrigan from the banner. It is a .4% chance to get specifically her, but her main passive is well worth it. (20% attack up if subweapon is Lachesis type).
If you are an Alucard, Simon, or even Charlotte player who's not a completionist, skip this banner for sure. It is limited but will eventually return and hopefully with either better rates or more time to save our gems. Thank you for reading this brief guide!
Hey, join our Grimoire of Souls Discord for personal help, advice, and ways to unlock your Nintendo Power ingame! Plus cool people to talk to I guess. No pressure or anything.

Author(s)


Comments


