

Preparing for the Imperial Onslaught
Imperial Onslaught is an endgame quest that pits teams of four against waves of enemies. It’s an important quest due to its Insignia and Dyrenell Coin drops. Rewards from Imperial Onslaught are used to upgrade Elemental Altars and Dojos, unlock Wyrmprints for the Dragon Trials and craft Weapons.
Each Imperial Onslaught quest features an elite enemy as the boss, and large purple marker attacks called Phantom Assault. The shape and effects of these attacks is dependent on which Imperial Onslaught quest is being played.
For a list of which Imperial Onslaught maps drop which materials, see our Materials Farming Guide.
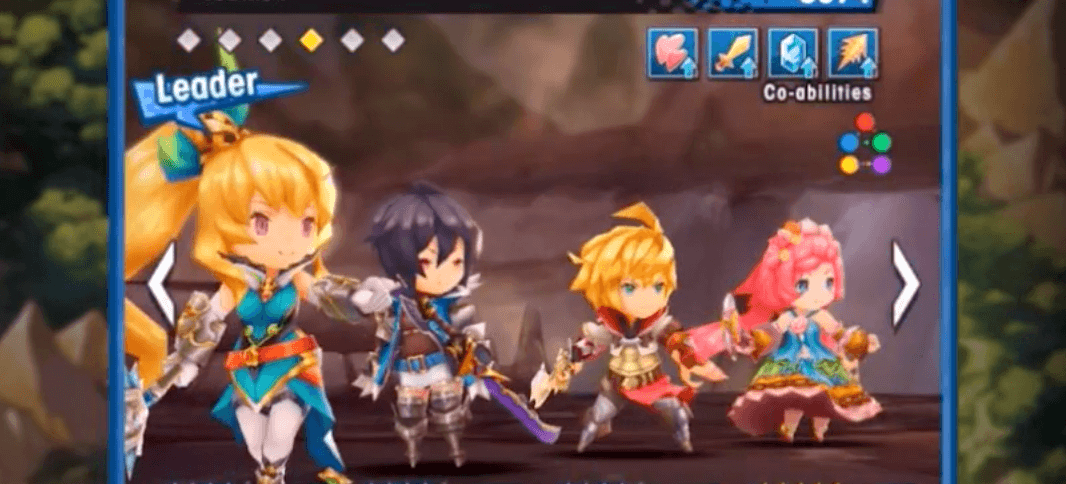
Adventurers to Bring
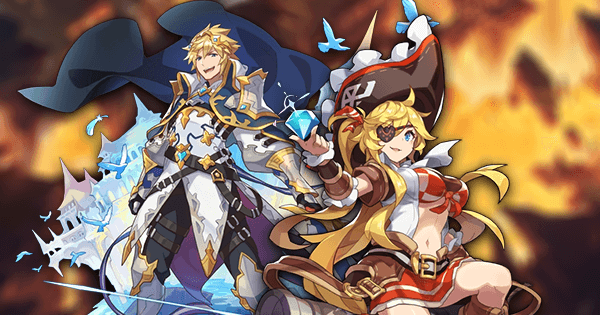
The recommended team composition for Imperial Onslaught is three damage-dealers and one healer. All of the enemies in Mt Adolla forest are attuned to Flame, making Water Adventurers the best choice. It is possible to be afflicted by Stun on this map, making units with Stun Resistance great choices.
-
Karina: Axes have a wide swing radius, making them well-suited to cutting through many foes. Her Healing Doublebuff lets her stay healthy without relying on healing support. She also has 100% Stun Resistance.
-
Xander: Has 100% Stun Resistance and insane damage thanks to Striker’s Strength. His powerful Force Strikes can reduce a boss’s Mode Gauge significantly.
-
Lily: Her ranged attacks allow her to engage the boss while staying out of his range. Her Glacial Blossom is also great at clearing out hordes of weak enemies, and she can Freeze the boss.
-
Luther: A solid damage-dealer with 100% Stun Resistance and Striker’s Strength.
-
Jurota and Celliera: The wide attack range of Blades makes them among the best weapon types for Imperial Onslaught. Celliera’s Freeze and Jurota’s Stun Resistance are also useful abilities.
-
Xainfried and Elisanne: Their attack buffs are incredibly useful, although they lack Stun Resistance.
-
Ricardt is the ultimate healer for Mt Adolla. He has two healing abilities and Stun Resistance to assist survival.
-
Thaniel is a good choice, but his lack of a second heal and Stun Resistance make him riskier than Ricardt.
-
Verica is the best off-element healer, as she has Stun Resistance, two healing abilities and can cure allies of Stun. She should be used with Phoenix.
Dragons
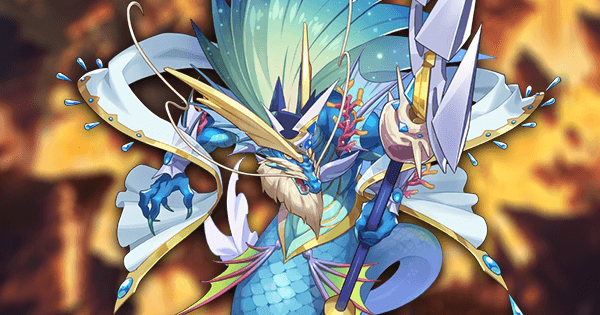
Damage-dealers will want to be equipped with Leviathan, with Voydyanoy as the next best choice, and Poseidon as third.
Healers should run Poseidon, Poli’ahu and Mercury in that order of priority.
The Map
Mt Adolla is shaped like an X. It can be divided into five areas: a Northeast, Northwest, Southeast, Southwest and Central space.

|
|
Beginning the Fight
In order to spawn the first group of enemies, one Adventurer must move into the central area. This will spawn some Imperial Swordsmen, as well as one Imperial Archers, Imperial Mage, and Imperial Healer.
Target the healer first, and then eliminate the rest of the enemies. A good goal is to try and avoid taking damage on this wave. Once all enemies have eliminated, the Imperial Swordsman(Elite) will spawn. It’s a good idea to stick close to the walls at the end of the wave, to avoid the Phantom Assault that happens upon starting the next wave.
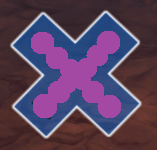
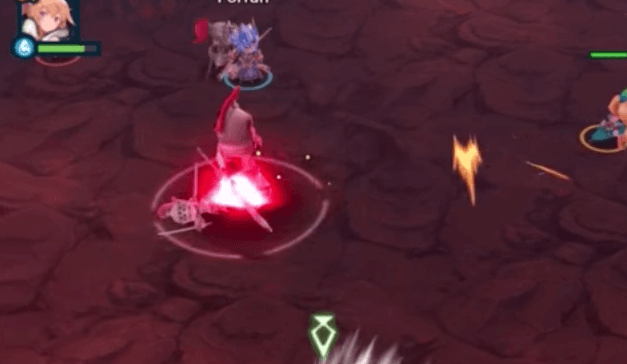
Phantom Assault
At this point, the first Phantom Assault attack will appear. Beware this will happen as soon as wave one is over. This diagram shows where Phantom Assault attacks can land.
There is currently a bug that makes one of the Phantom Assault action markers appear in the wrong place, closer to the walls. The actual hitbox for this attack is positioned just like the others, aligned to diagonal lines through the centre of the map.
There is also a bug that can make Phantom Assault action markers disappear before the attack is launched. This most commonly happens with the Phantom Assault that targets the centre of the map.
These attacks have a purple action marker, and inflict Stun on hit. This can be avoided with Stun Resistance, but it’s best to dodge these attacks as best as one can.
The Real Battle Begins
Next up, the Imperial Swordsman (Elite) will spawn in the centre of the map with a few swordsmen and mages spread around the corners of the map. Imperial Swordsman (Elite) is the boss of the map, and must be defeated in order to clear the map.
Imperial Swordsman (Elite)
Health
| Beginner | Standard | Expert | Master |
| 21,500 | 50,000 | 102,060 | 152,618 |
Affliction Resistances
| Burn | Stun | Bog | Freeze | Sleep | Blind | Paralyze | Curse | Poison |
| 55% | 55% | 10% | 10% | 30% | 30% | 30% | 30% | 30% |
Note: These values are not absolute: Affliction rate is also dependent on the infliction chance of the user's attack.
His Attacks are as follows:
-
Basic Combo (no marker): He can attack with a multi-hit combo very similar to that of a Blade user. This attack is hard to avoid and it has a large range in front of him. Try and roll behind him to dodge this attack.
-
Flame Wave (red marker): He jumps into the air and fires three flaming waves at a targeted Adventurer. This move isn’t too strong, and it’s impossible to be hit by all three.
Two Imperial Defenders will also spawn, one to the Northwest, and another in the Southeast. Each has a Shield which needs to be broken with a Force Strike. Their attacks can knock you down, so make them a priority and engage them with caution.
Focus the smaller enemies first, and make sure your healer isn’t overwhelmed by enemies. Try and get the Defenders down quickly, as they can be very disruptive if left alive. The boss can be Frozen, so if your co-op team has units like Lily, Orsem or Celliera, try to rotate your skills in order to keep him Frozen for as long as possible.
Into Overdrive
The Imperial Swordsman will eventually reach Overdrive, and become more dangerous. However, the next phase of the fight happens once the Imperial Swordsman has lost around 20% of his health. He’ll summon more reinforcements, and periodically use Phantom Assault. Watch out for the Black Hounds that are summoned in the Northwest area: they have the capacity to inflict Stun with their leap attack. Try and clear them out quickly, and keep them away from your healer.
Again, try to clear out the weak enemies and focus on the boss. The Dragon Gauge should be approaching 50% at this point, but save your Shapeshift for now. Once the boss’s Mode Gauge is back under half, start saving your Skills-- Ideally, you'll aim to put out as much damage as possible during his Break phase.
The Home Stretch
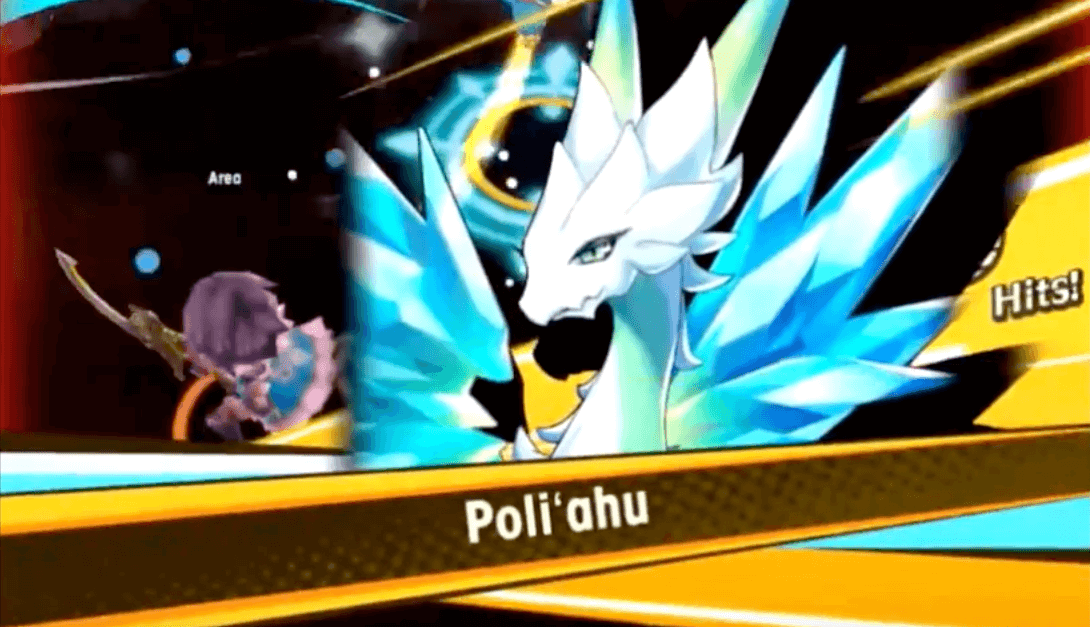
Try and time your Shapeshift to happen two to three seconds before Break: this means no valuable Break time will be wasted while transforming. Leviathan and Poliahu’s Skills are very useful here, and can let your team rack up massive damage. Use every Skill you can, and try to deal as much damage as possible during this phase. Depending on your Adventurers and Dragons, It's entirely possible to outright KO the boss during this phase.
Deal the Final blow
At this point, if the boss is still alive-- he should have under 30% of his HP left. As soon as Break ends, he’ll summon a large quantity of enemies and launch another Phantom Assault. This is another good place to use a Shapeshift, or a Skill like Lily’s Glacial Blossom.
If the battle drags on long enough, he can summon more units. Some teams like to hold off on defeating the boss in order to gain the drops from these extra spawns. Otherwise, he should be finished off normally. Congratulations, you’ve now cleared Imperial Onslaught - Mount Adolla!
Final Tips and Tricks
- Arguably, the horde of weak enemies is the biggest threat during Imperial Onslaught. If you can't clear them effectively, try using an Adventurer who wields a Blade or Axe: These weapons have great range, making them perfect for cleaning up groups of foes.
- Healers can make all the difference in Imperial Onslaught runs. It can be a good idea to train up a 3* unit for this purpose!
- If in doubt, switch it out! Depending on what units you have trained up, certain Imperial Onslaught elements are bound to be more difficult than others. Don't be afraid to start on a different element that's better suited to your Adventurers.
- Expert difficulty Imperial Onslaught is one of the best places to use Skip Tickets. Sometimes, additional drops can be awarded when using a Skip Ticket, but it's currently unclear whether or not this is a bug.
- Despite the rumors, defeating more enemies during Imperial Onslaught will not increase the amount of drops granted at the end of a level. Nothing is lost by clearing the quest quickly.


