Introduction
This guide page provides information on clearing the three final quests in A Wish to the Winds. These quests offer the best Windwhistle Grass, Friendship Bracelet and Divine Gale rewards, and are likely to be the focus of players looking to clear the event.
If you're looking for a guide on the event currencies and rewards, check out our A Wish to the Winds Event Guide.
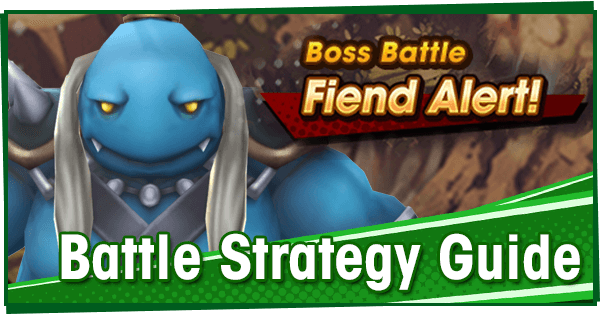
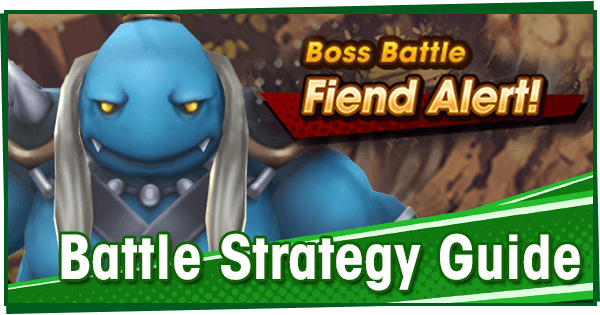
Boss Battle: Fiend Alert!
To best prepare for the battle, have your strongest team of Wind-based adventurers ready. The Boss Battle can be beaten Solo or Co-op. Since Stamina is required for the Challenge Battle, this is the best use of Getherwings for the event. This quest gives some of the best Windwhistle Grass drops in the event!
After completing this quest on Expert, it is possible to unlock a special version of this fight-- Extra Boss Battle: Mega-Fiend Spotted!. It can be unlocked while hosting or joining.
Listed below is each of the Water Troll King’s attacks along with their type of action marker.
-
Crushing Club (Red Marker): The Water Troll King winds up, and throws his club. This attack can have two patterns, indicated by the shape of the action marker.
-
Aerial Strike (Purple Marker): The Water Troll King leaps at a target Adventurer, crushing them and causing heavy damage.
-
Charge (Red Marker): The Water Troll King winds up, and dashes forward. Has a similar action marker shape to one version of Crushing Club.
-
Melee (None): A basic melee attack with no action marker.
-
Sweep (Red Marker): The Water Troll King winds up for a second, then swings his club in a circle around himself.
-
Quick Sweep (None): The Water Troll King swings his club in a circle around himself, very similar to his Sweep attack. This attack comes out extremely quickly, so keep a close eye on him for the windup.
Extra Boss Battle: Mega-Fiend Spotted!
This is a harder version of the regular Boss Battle, but unlike the previous Facility event (Trick or Treasure), it can be tackled co-op. This makes it an easy fight, only slightly harder than the regular Boss Battle.
It costs no Stamina/Getherwings, and won’t disappear until it is cleared. Beating this quest yields huge Windwhistle Grass rewards, so you’ll need to clear it to fully upgrade your Wind Shrine.
During this fight, the Water Troll King will use all of his regular moves, but will also summon enemies regularly during the fight. A Maribelle or Musashi friend helper is recommended to clear out the weaker foes.
Challenge Battle: Ruler of the Shore
This is the toughest quest in the event, pitting your team against five waves of Water-attuned enemies. Rewards include large amounts of Divine Gales and Friendship Bracelets-- This is the best quest in the event to farm them.
If your team is KO’d or the time runs out, fret not: You’ll earn rewards based on how many waves were cleared. Players without a strong team should at least strive to reach the final wave, even if it can’t be cleared. However, it is quite possible to clear the event with a team comprised of free units!
For this battle, you’ll need at least one powerful Wind-attuned Adventurer-- It’s almost necessary to have them at over 5k Might. The rest of your team should be comprised of Wind units. To clear Master completely, you'll likely need a team with at least 15k might combined. Make sure to take units whose Co-abilities don’t overlap! Good choices include:
-
Maribelle: Her AOE Skills are tailor-made for this event. She’s the best choice by far, and even has the best Helper Skill. She’s also got Bog Resistance +100%.
-
Musashi: Blades have an excellent Attack Range, and he’s got high Strength and a lot of burst damage. Belching Dragon is a stellar wave clear ability, and he’s immune to Bog.
-
Lin You: Great single target and AoE make Lin You perfect for mowing down waves and smashing the troll king.
-
Gala Ranzal: He’s a good man for the job, thanks to his fast force strikes, durability, and wave clear.
-
Melody: She combines a great weapon type with a fantastic buffing Skill. Her lack of direct damage and Bog Resistance makes her better suited to be controlled by your AI, however.
-
Lowen: Thanks to his Skill Prep, he’s nearly guaranteed to get off his second Skill. Lowen’s best as an AI-controlled unit who can heal your squad. He has +100% Bog Resistance, and can even cleanse allies who are afflicted by Bog.
Using a high-leveled Maribelle friend Helper is recommended, as her Skill possesses great damage and AOE range which is useful for clearing out enemies. This is important as the quest has a short timer, making fast minion clearing the biggest priority.
There are a few key differences between Expert and Master. The first is that on Master, there are typically more enemies in a wave, and they hit much harder. The other is that on Expert, there are healing barrels scattered throughout the arena to make your runs a bit easier. These are missing on Master, and instead there are geysers that will knock you up and deal heavy damage if you stand on them when they erupt. Both difficulties have large puddles that will inflict Bog on the unwary unresistant adventurer.
Wave 1
Expert/Master
-
8x Aqua Slime
-
1x Sea Gobmancer
These enemies have nearly no HP, so tear through them quickly to get ready for Wave 2.
Wave 2
Expert:
-
5x Azure Eyefly
-
1x Sea Goblin
Master
- 5x Azure Eyefly
- 3x Sea Goblin
All enemies will spawn on the left side of the map. These guys can also be cut through quickly, but beware the close-range attack of the Eyeflies: It comes out quickly, and being hit will lose valuable time.
Wave 3
Expert
-
8x Sapphire Hound
-
1x Water Troll
Master
- 6x Sapphire Hound
- 2x Water Troll
This wave introduces the Water Troll, an annoying enemy with lots of HP and a short charge attack. Watch out for his action markers and act accordingly. It’s possible to clear many of the Sapphire Hounds by using a large AOE attack near the centre of the map.
Wave 4
Expert
-
6x Drowned Basilisk
-
1x Sea GobmancerMaster
Master
- 8x Drowned Basilisk
All enemies spawn on the right side of the map. Avoid being in the centre when the wave begins as you will be targeted by all of the Basilisks simultaneously, and they are spread out too far to be cleared with one attack. Start at the bottom and work your way up, this is safer and gives them a chance to bunch up together.
Wave 5
Expert
-
3x Water Troll
-
1x Water Troll King
Master
- 2x Water Troll
- 1x Water Troll King
- 4x Azure Eyeflys
- 4x Drowned Basilisk
- 4x Water Troll
The final wave differs between Expert and Master most strongly. In Expert, all the enemies spawn at once, but in master there are four successive waves, starting with the Troll King and Two Allies, with more popping in as the Troll King's Health decreases and time ticks down. It's strongly recommended to use a dragon that has a wide AoE ability, such as Roc or Zephyr to clear out the enemies quickly to allow you to focus on the king. Dodge his purple belly flop and focus your damage on the water tyrant and victory will soon be yours!
Having Trouble?
Clearing the Challenge Battle is not easy, and will require upgraded Adventurers. If you’re getting stuck, try clearing the Boss Battle a few times to level up the Wind Shrine. Having a higher-level Wind Shrine makes the fight much easier. And if you're a new player, remember that fully clearing the Challenge Battle is not strictly necessary.

