
About
The third in an ever-growing line of Golem Void Battles, Amber Golem’s attacks and HP mimic those of its brethren. The main differences lie in its Light typing and status afflictions and weaknesses. Inflicting Break fast is key here, as its defense outside of Break will make for a long battle without the right setup.
Information on the boss can be found below:
| Name | Amber Golem |
|---|---|
| Element |  |
| HP | 265,650 |
| Class | Thaumian |
Adventurer Selection
Amber Golem inflicts Dull with every hit and can even apply Paralysis, making immune adventurers like Nefaria and Heinwald helpful when learning the fight. Its skills are easy to dodge when there’s plenty of character abilities to fall back on, but newcomers will want to bring a healer just to be sure.
Inflicting Break is the key to a fast kill with any golem, yet Shadow lacks any Dull-Res Swords or Axe. For newcomers, this means relying on Bow, Blade, Lance, and Wand users to knock the gauge down. Experienced groups can more reliably use characters like Curran and Sazanka.
Top Damage Dealers
-
Ieyasu: With high mobility and a kit built around Bleed, Ieyasu is one of the premier options here. Crits will hit hard and fast, while Bleed chips away HP like nothing else. His limited availability is the only true gatekeeper.
-
Sazanka: A near-perfect fit here, Sazanka can abuse Amber Golem’s Sleep and Bleed susceptibility while fending off its own Paralysis attempts. Gauge Accelerator and Sleeping Punisher will quickly bring a snoozing golem to its knees.
-
Kleimann: While not the best outside of high-density mob clusters, Kleimann’s ability to inflict Sleep can be a blessing. Force Strikes from Wands are already powerful, and a passive +40% boost to that will only help knock the golem down faster.
-
Veronica: Another Wand user, Veronica should only be used with a corresponding Dull-Resist weapon, as her kit almost requires her to take a few hits. Paralysis Resist obviously goes hand-in-hand here.
-
Botan: With automatic access to Thaumian's Bane and a Bleed, Botan is the Spear-user of choice here. Paralysis Resistance helps, and natural Skill Prep will help with an early dodge.
-
Nefaria: An option for those lacking the rest, Nefaria can inflict Blind with ease. Having access to a Dull-Res weapon helps, too.
For budget teams, Zace, Erik, Althemia, and Taro are good options. Rodrigo beats out Berserker to the latter's more defensive kit, but the lack of a Dull-Res Shadow Sword makes them a difficult proposition either way.
Top Healers
-
Cleo: Thanks to her joining the team early in the story, Cleo’s Paralysis cleansing kit makes her a very valuable choice if needed.
-
Heinwald: Heinwald’s offensive heals benefit from multiple targets, but he’s still capable of topping up a capable team here. The extra damage is the icing on the cake.
Weapon Selection
Here’s where things get interesting. Just like the other two golems, you’ll have to pick your poison when it comes to dull-res weapons. They’re not available for every weapon type, reducing your team choices if you’re prone to getting hit.
Those unaccustomed to Amber Golem’s attacks should build a team around the currently available Dull-res weapon types like the Blade, Bow, Lance, and Wand. For experienced teams, these limitations are virtually non-existent.
Damage-dealer Weapons
Due to the low natural damage output of most healers, Dull isn’t really a problem. Any healers should be equipped with their usual dedicated healing staff.
Healer Weapons
Battle Strategy
Amber Golem, just like the other golems before it, follows a fairly strict attack pattern and rotation. Stopping it from using one attack – by out-ranging a melee strike for too long – will cause it to skip to its next planned attack. Its attacks are rarely telegraphed until the last second, so learning to read its animations will go a long way in avoiding its various afflictions.
Attack Rotation (Standard)
This attack pattern ends once Amber Golem is pushed into Overdrive.
1. Punch
2. Rolypoly
3. Ripple Slam
4. Slam
5. Axis Earthquake
6. Ripple Slam
7. Slam
8. Axis Earthquake
9. Repeat
Attack Rotation (Overdrive)
This is Amber Golem’s attack pattern in Overdrive state. It reverts back to Standard after recovering from Break.
1. Axis Earthquake
2. Slam
3. Chandelier Crash
4. Ripple Slam
5. Punch
6. Slam
7. Chandelier Crash
8. Rolypoly
9. Axis Earthquake
10. Ripple Slam
11. Slam
12. Repeat
General Walkthrough
Amber Golem replicates its siblings by starting off with a simple Punch. This can be skipped by staying away at the start if required, causing the boss to skip straight to Rolypoly.
It follows up with Ripple Slam, a multi-AOE move that will usually require a dodge. Roll through or stay back to avoid the frontal Slam and using skill dodges and roll through the boss to stay on the offensive during the incoming barrage of Axis Earthquake, Ripple Slam, Slam, and another Axis Earthquake.
Unless knocked into Overdrive, Amber Golem will repeat its initial attack pattern at this point. Healers shouldn’t have to do much here, while high SP adventurers will get plenty of opportunities to dodge with iframes. Its rotation doesn’t change after the first Break, so don’t expect much variation.
Overdrive Phase
Not much changes in Overdrive with Amber Golem only gaining one additional attack – its sole purple, Chandelier Crash.
Watch out for the initial Axis Earthquake and Slam combo before retreating to one of the safe spots on each inter-cardinal direction to avoid Chandelier Crash. Experienced players can dodge these by rolling from the rolling from one of the first markers to the second as the second set of markers actually resolve first. Inflicting Sleep can negate this lengthy process entirely.
Amber Golem attempts to stay in Overdrive as long as possible by patching its low gauge with frequent large attacks. After the first Chandelier Crash, the golem will follow up with Ripple Slam, Punch, and Slam before going right back in for another go with its pesky purple AOEs.
If it hasn’t been pushed into Break by then, expect its first Rolypoly of Overdrive followed by Axis Earthquake, Ripple Slam, and a regular Slam before looping back to the first Axis Earthquake. Focus on using Force Strikes to reach Break and save powerful attacks for then.
Attack Descriptions
Punch (No Marker)
A simple, fast melee jab that inflicts Dull just like any other attack. It’s probably one of the harder attacks to consistently dodge, but it's only used two or three times throughout. Roll through the boss at the start if within melee to avoid it with ease.
Slam (Red Marker)
Signaled by Amber Golem joining its fists above its head, this is a fairly fast attack that strikes a wide circle in front of the boss. Rolling is usually enough to dodge it, but using a skill might be necessary if you’re stuck in a longer animation.
Ripple Slam (Red Marker)
Pulling a single arm back for what looks like a charged punch, the single red marker might trick you into thinking this is another regular slam – it isn’t. Note the much slower filling frontal AOE and get ready to see a couple more beneath your team as the boss jumps up and spins to come crashing down. You’ll probably want to iframe this one.
Rolypoly (Red Marker)
Another attack we’ve all seen before, Rolypoly comes fast and with little warning, so just roll to your left or right to avoid and then give chase to keep on the offensive. This is what will threaten Dull on any AI adventurer without the right weapon.
Axis Earthquake (Red Marker)
A full-length attack across the boss’s X and Y positions, you’ll want to watch for the subtle animation differences here as the red marker only shows up when the golem comes crashing back down. It’s the same pullback + jump animation seen during Ripple Slam, only there’s no initial circle marker. That’s the tell.
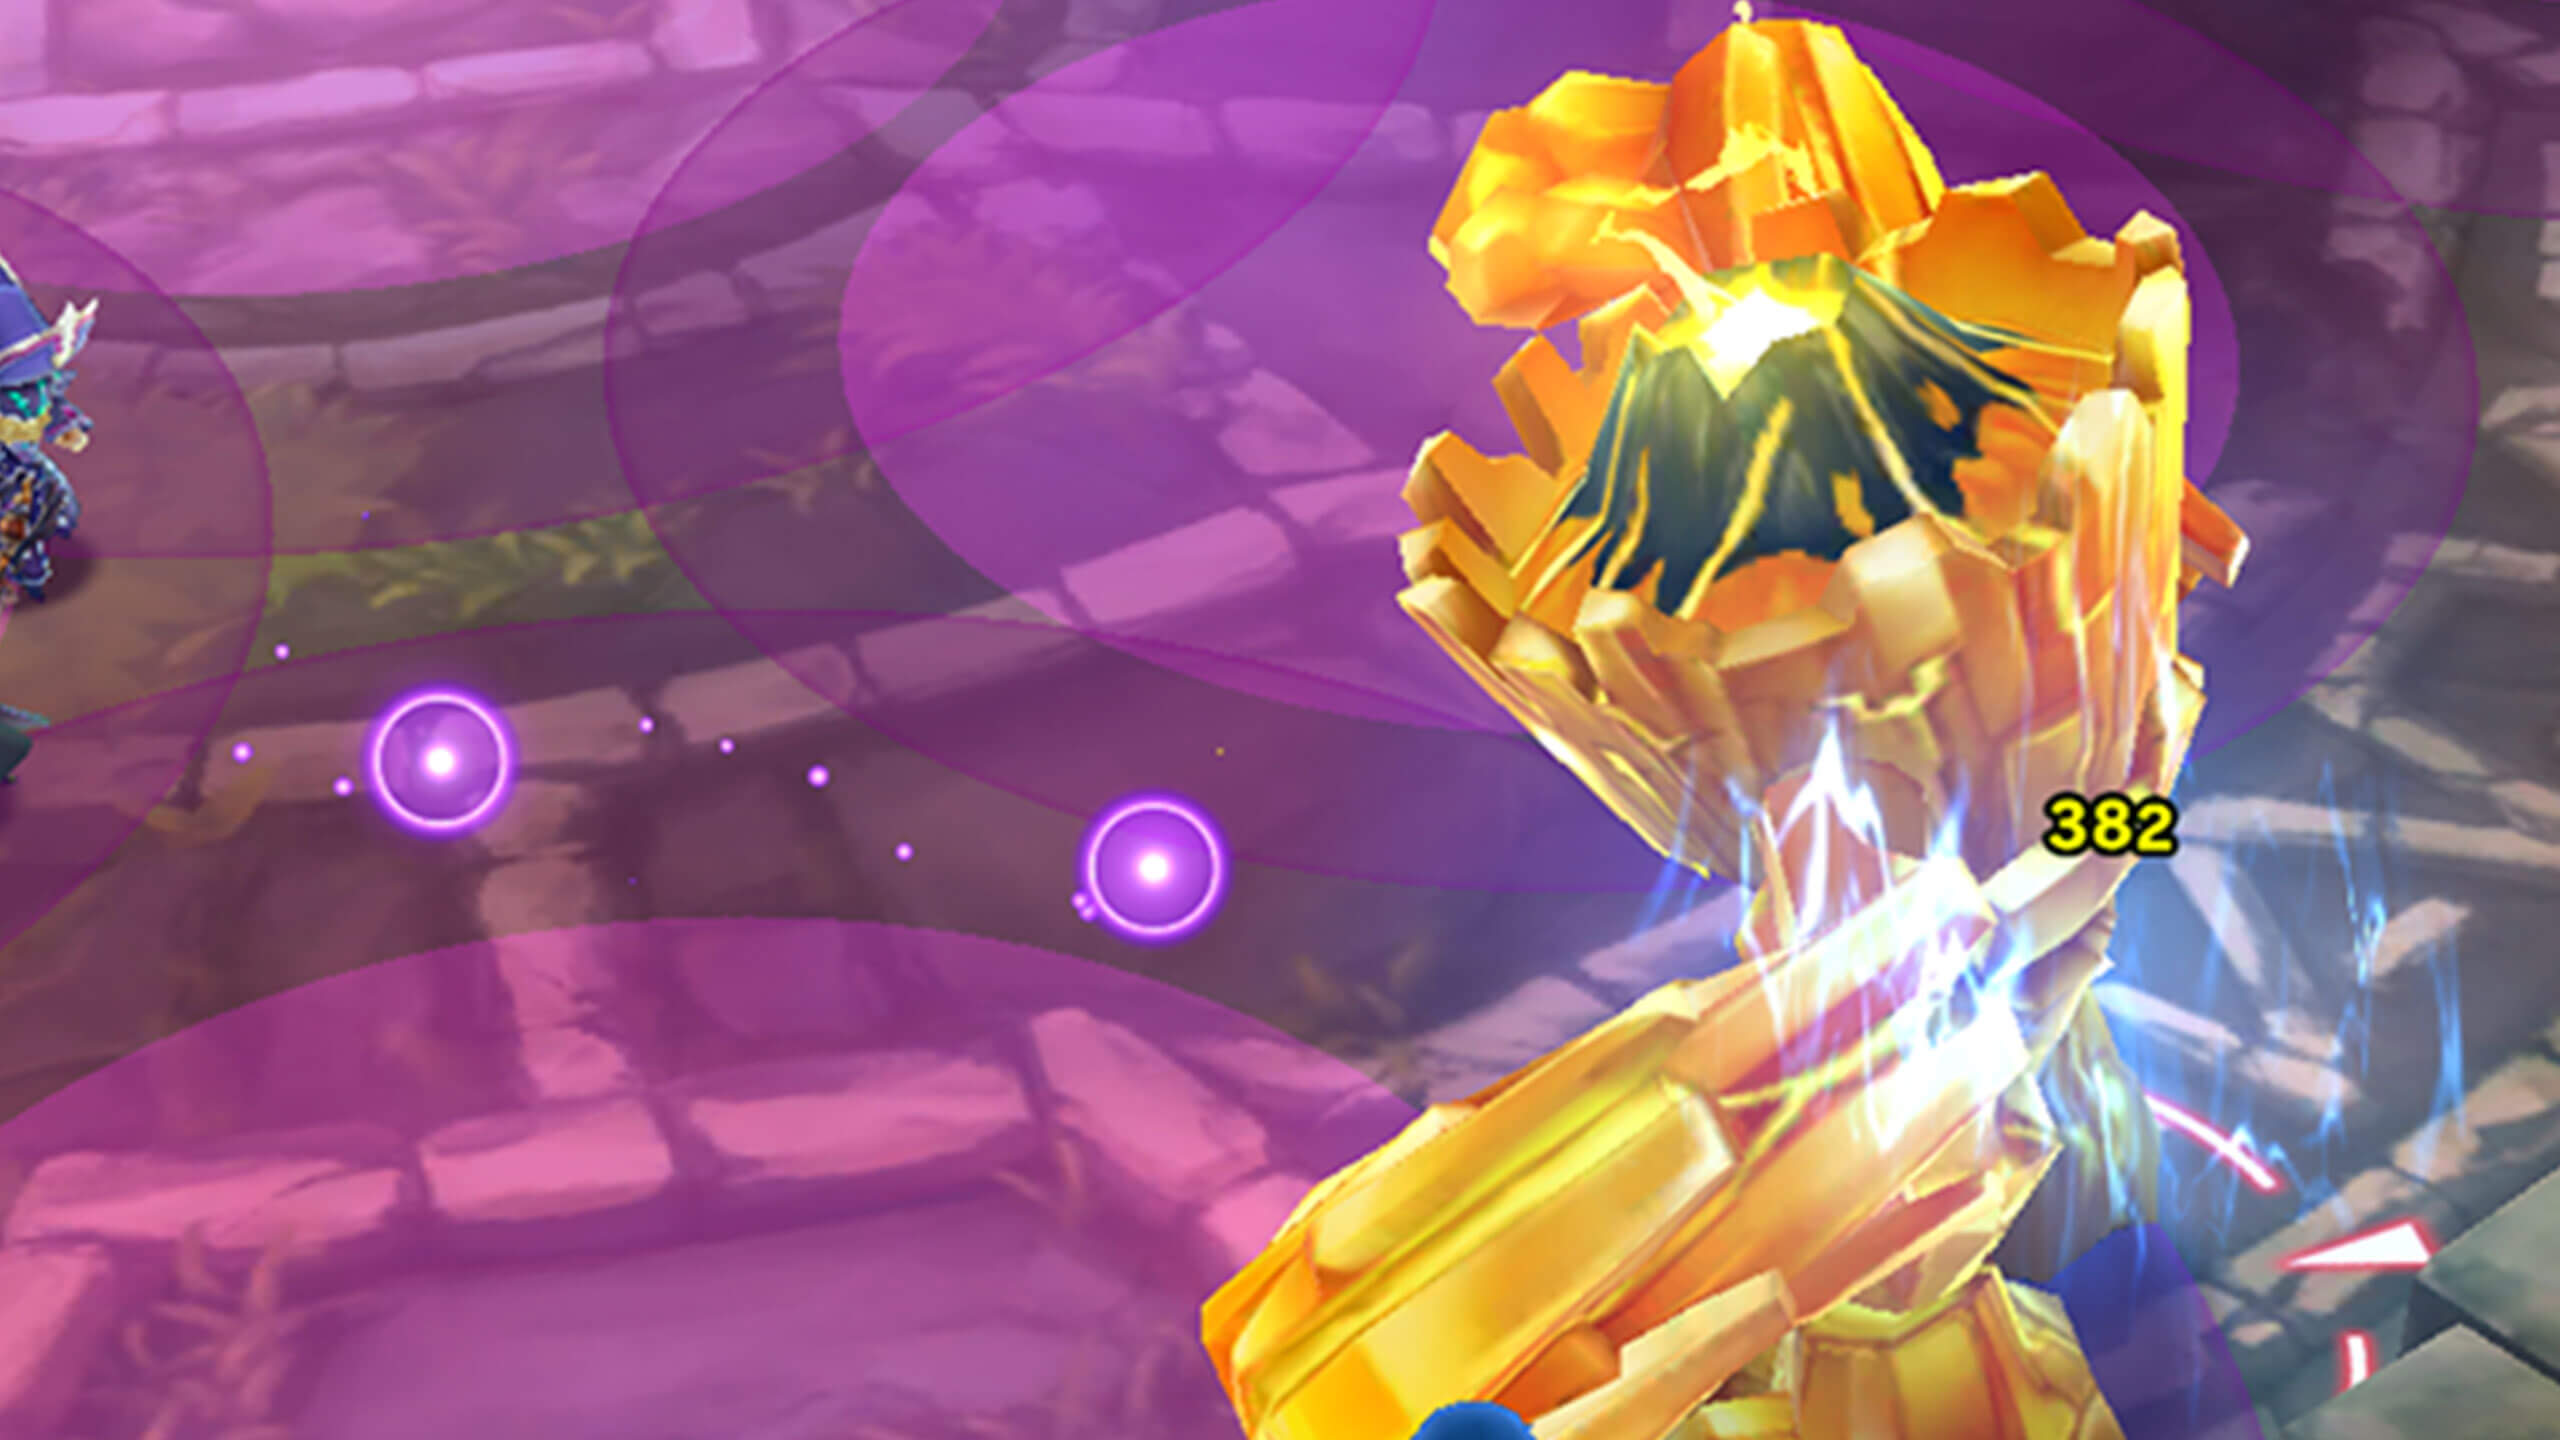
Chandelier Crash (Purple Marker)
Signaled with a flex and roar animation, Chandelier Crash scatters wide circular purple markers across the arena. These can overlap slightly, but the inter-cardinal positions are generally safe from the crash. The second set drop before the first, so experienced players can weave between if needed.


