Introduction
Combat is an important part of Dragalia Lost with the main game being centered around hack and slash gameplay. While the game’s tutorial sequence introduces combat, it leaves many important details without sufficient explanation. Some of the topics here are outlined in the Help section in-game, which can be found by tapping More in the corner of the Main Menu, then navigating to Help/Support and tapping Help.
Combat Basics
Basic Attacks
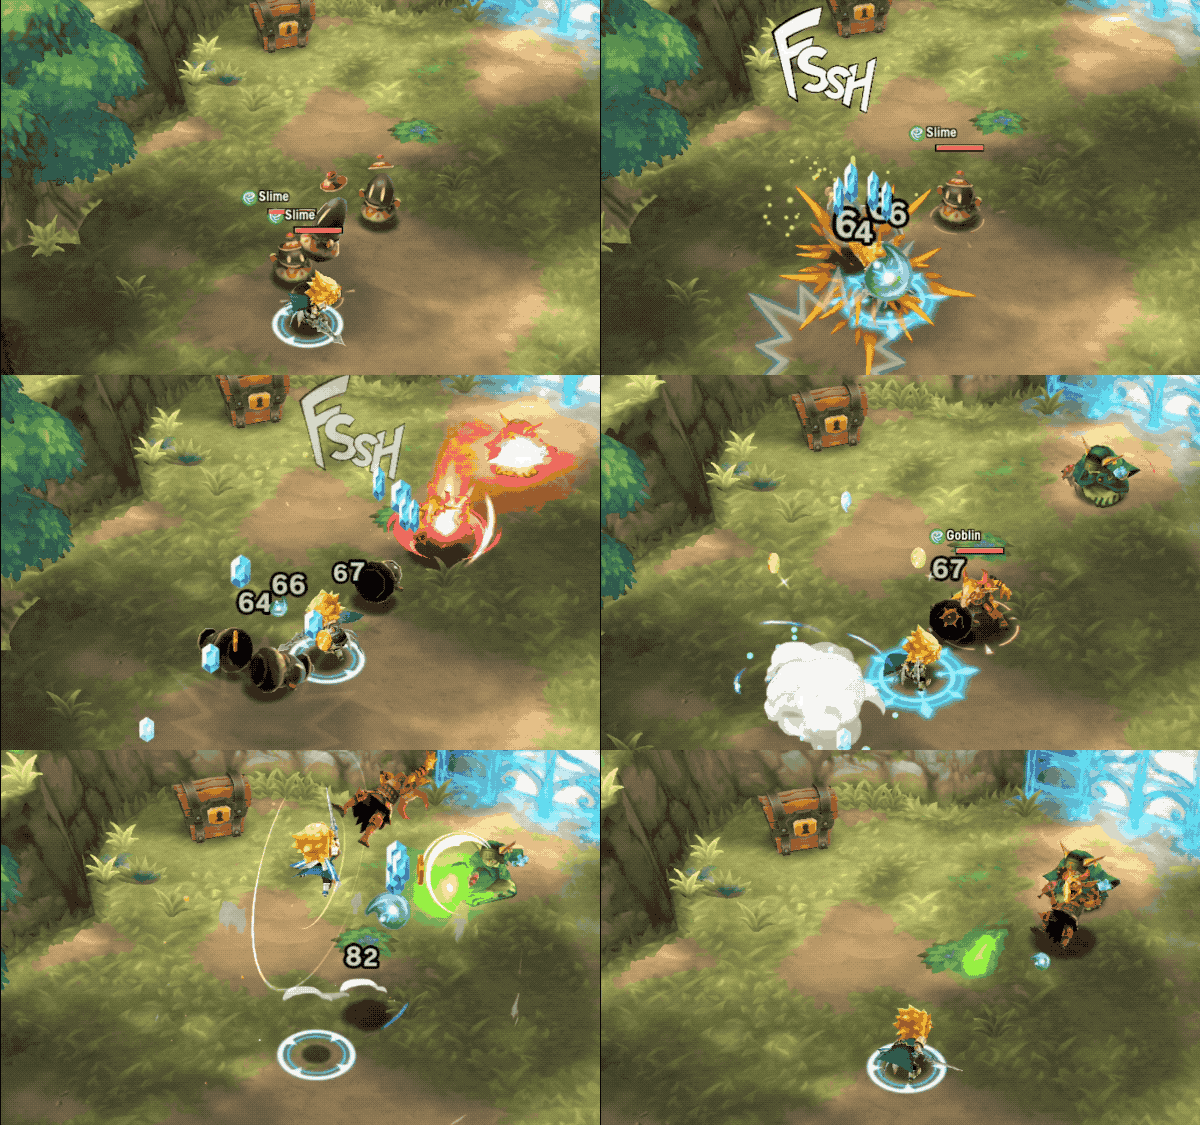
To perform a basic attack, simply tap the device screen. This will begin a multi-hit attack string. There are a few different kinds of basic attacks, and the type each adventurer uses is based on their weapon. Basic attacks are the bread and butter of combat, and make up the majority of damage in most fights. Hitting with basic attacks increases the Dragon and Skill Gauges.
Skills
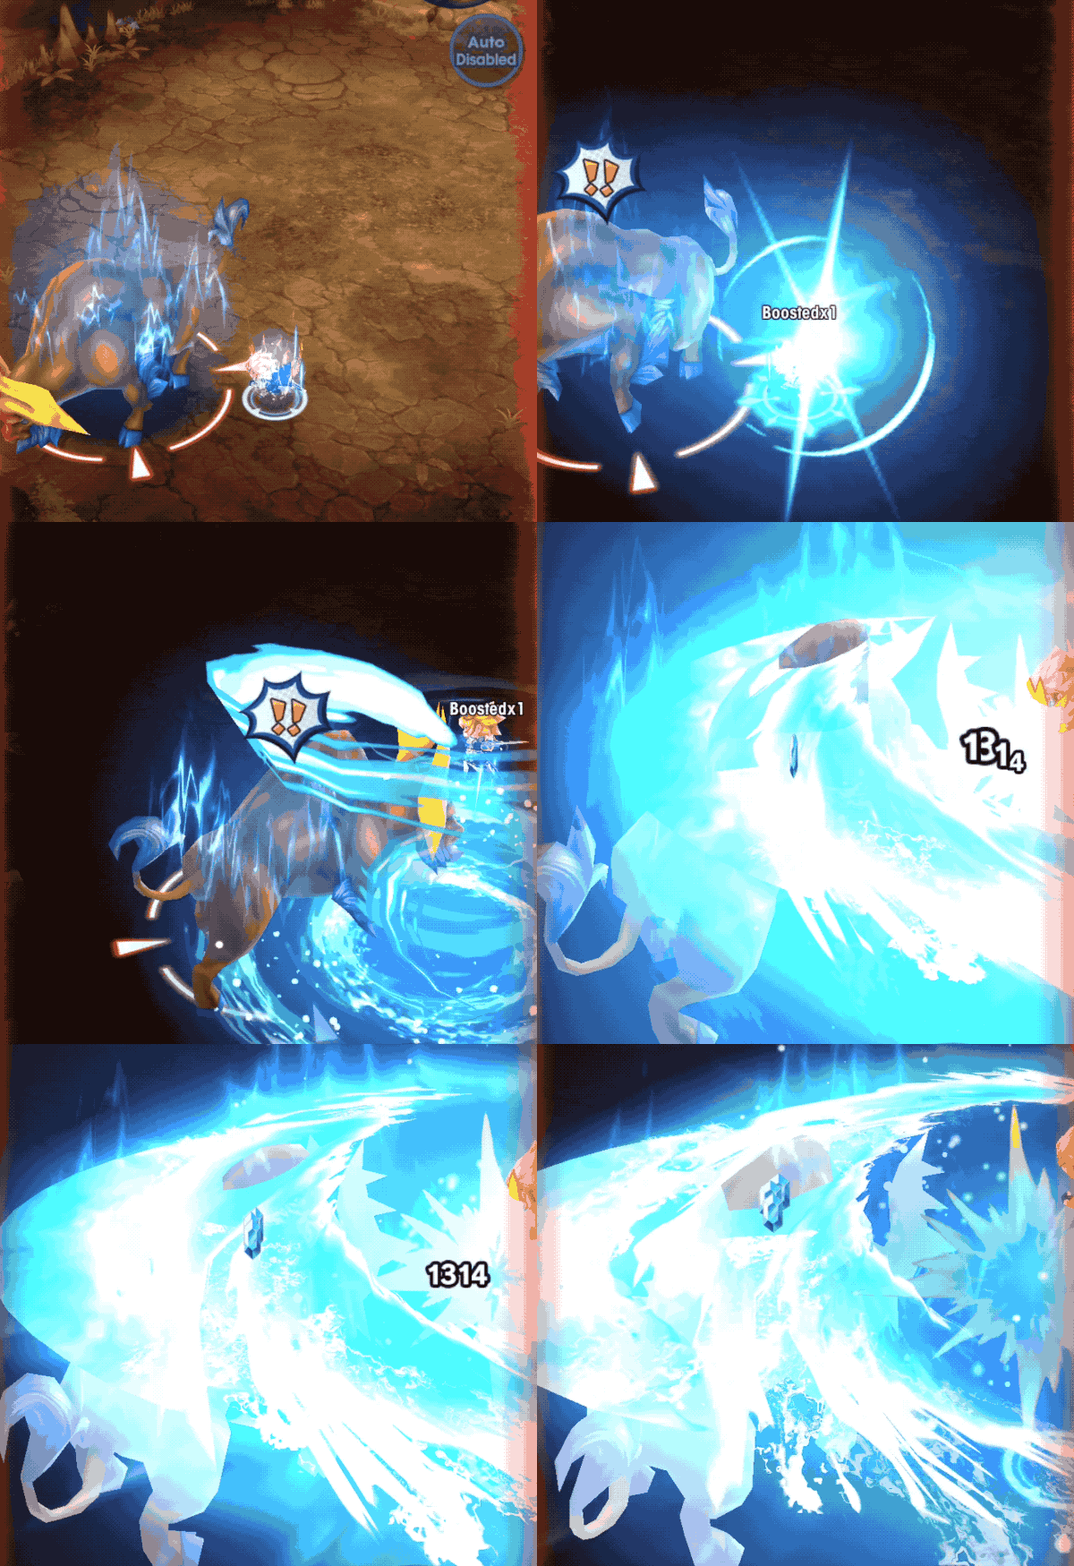
Skills are powerful moves that can cause heavy damage, provide buffs or heal allies. They are one of the most important factors when selecting adventurers for a team, as many skills have synergy with one another. An adventurer’s role in battle is determined by what Skills they have.
Each Skill has a Gauge which fills up as the adventurer deals damage with basic attacks and Force Strikes. Once full, the Skill can be activated by tapping the icon on-screen. Every character has two personal Skills, plus one more from their equipped Weapon.
Skills can be upgraded through Mana Circles, sometimes granting them new effects. Skills charge at different rates: An adventurer’s first Skill always charges more quickly than their second. There are also effects that allow Skills to be charged more quickly.
Dodging
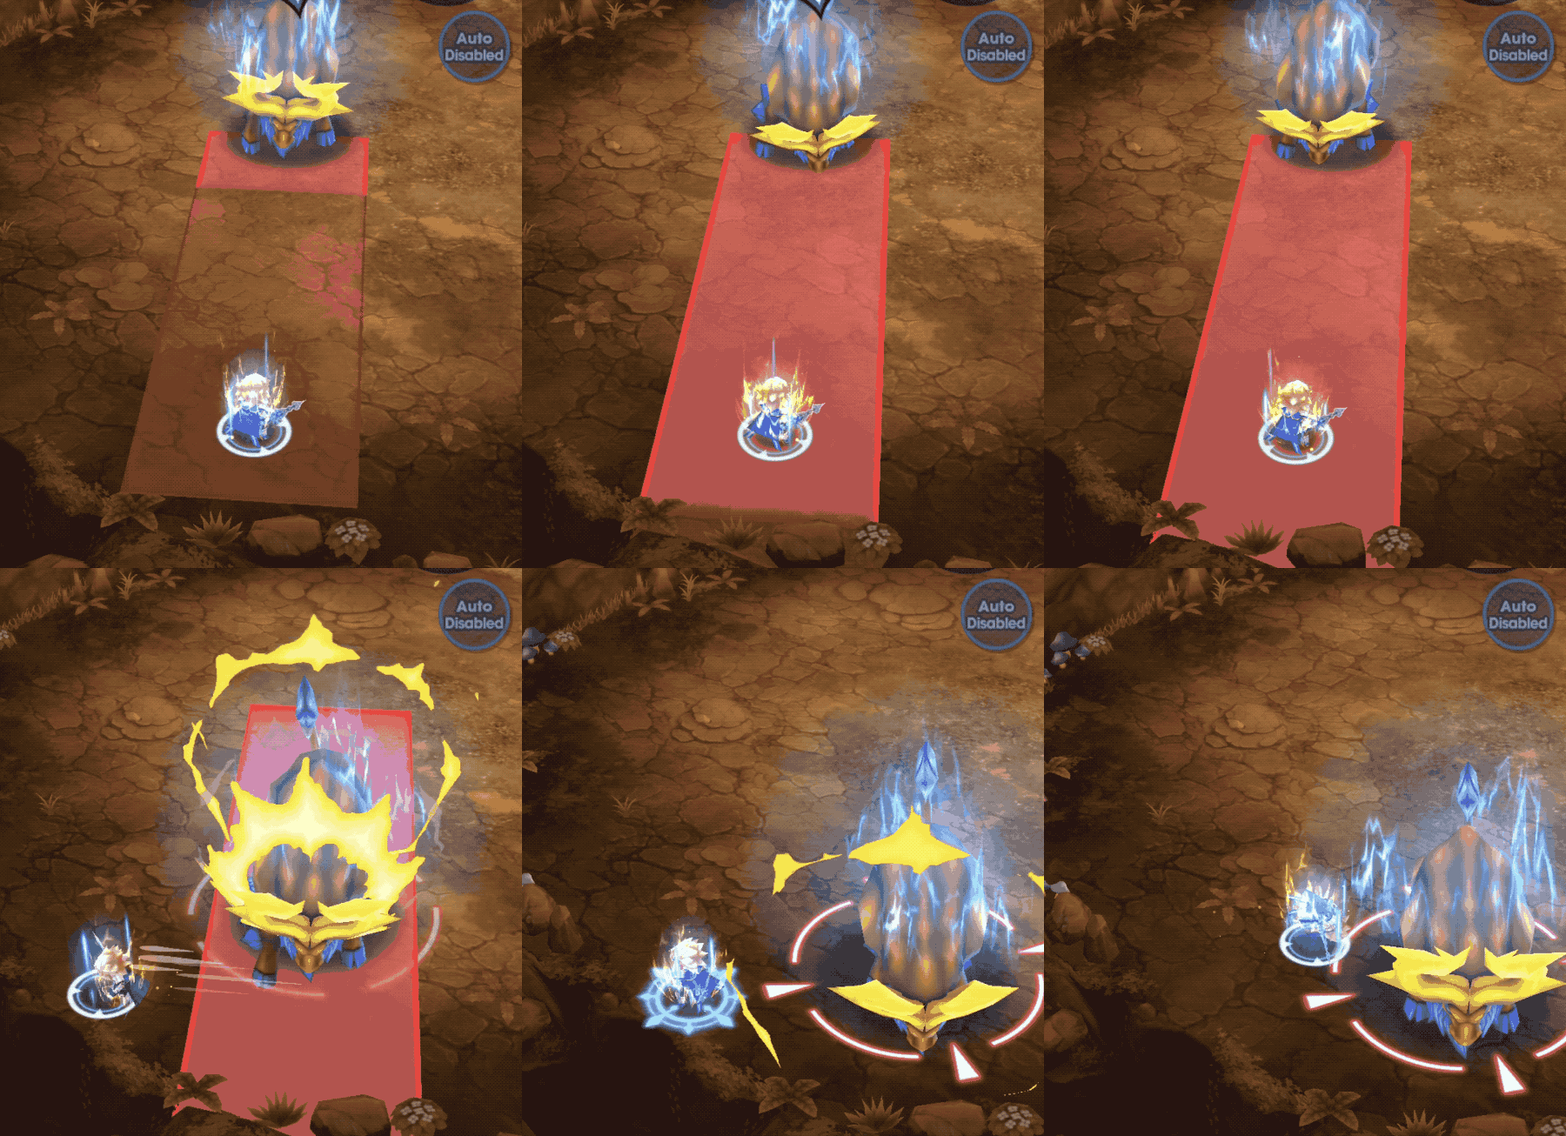
Quickly swiping in a direction will cause your character to quickly roll in the direction of your swipe. This maneuver is incredibly powerful in regards to avoiding attacks or repositioning to continue your own attack. Doing this in the middle of a basic attack string will immediately cancel it and perform a roll dodge. However, it is not possible to roll dodge whilst performing a Skill.
Shapeshifting
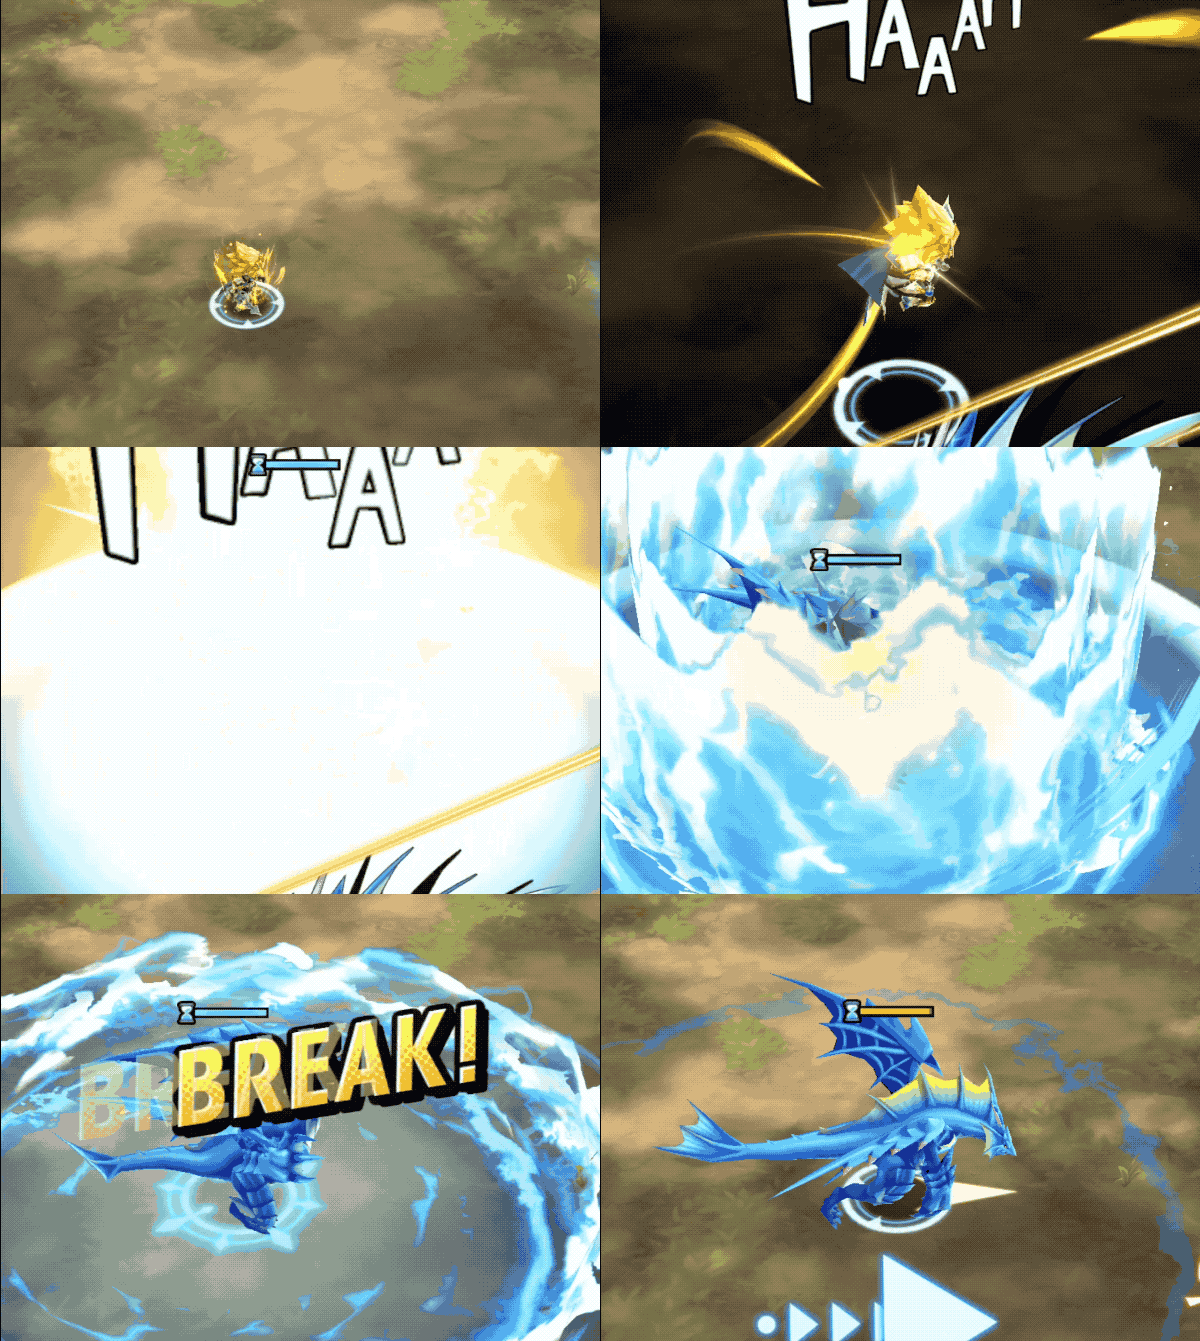
One ability that all adventurers share is Shapeshifting, which allows them to temporarily transform into their equipped Dragon. This can be done once the Dragon Gauge is at least half-full. Each Shapeshift will use half of the Dragon Gauge, and there is a short cooldown between Shapeshifts. During the Shapeshift the Dragon Gauge will quickly lower, reverting the adventurer back to normal once it has completely emptied.
While Shapeshifted, an adventurer’s damage, movement speed, and roll dodge distance are all enhanced. They are also granted immunity to knockback, Afflictions and damage. While shifted, damage taken will reduce the amount of time in Dragon form instead of reducing HP. Dragons have a basic three hit attack string and a Skill which can be used once per transformation. Damage dealt while transformed will pass through barriers, similar to Force Strikes.
Force Strikes
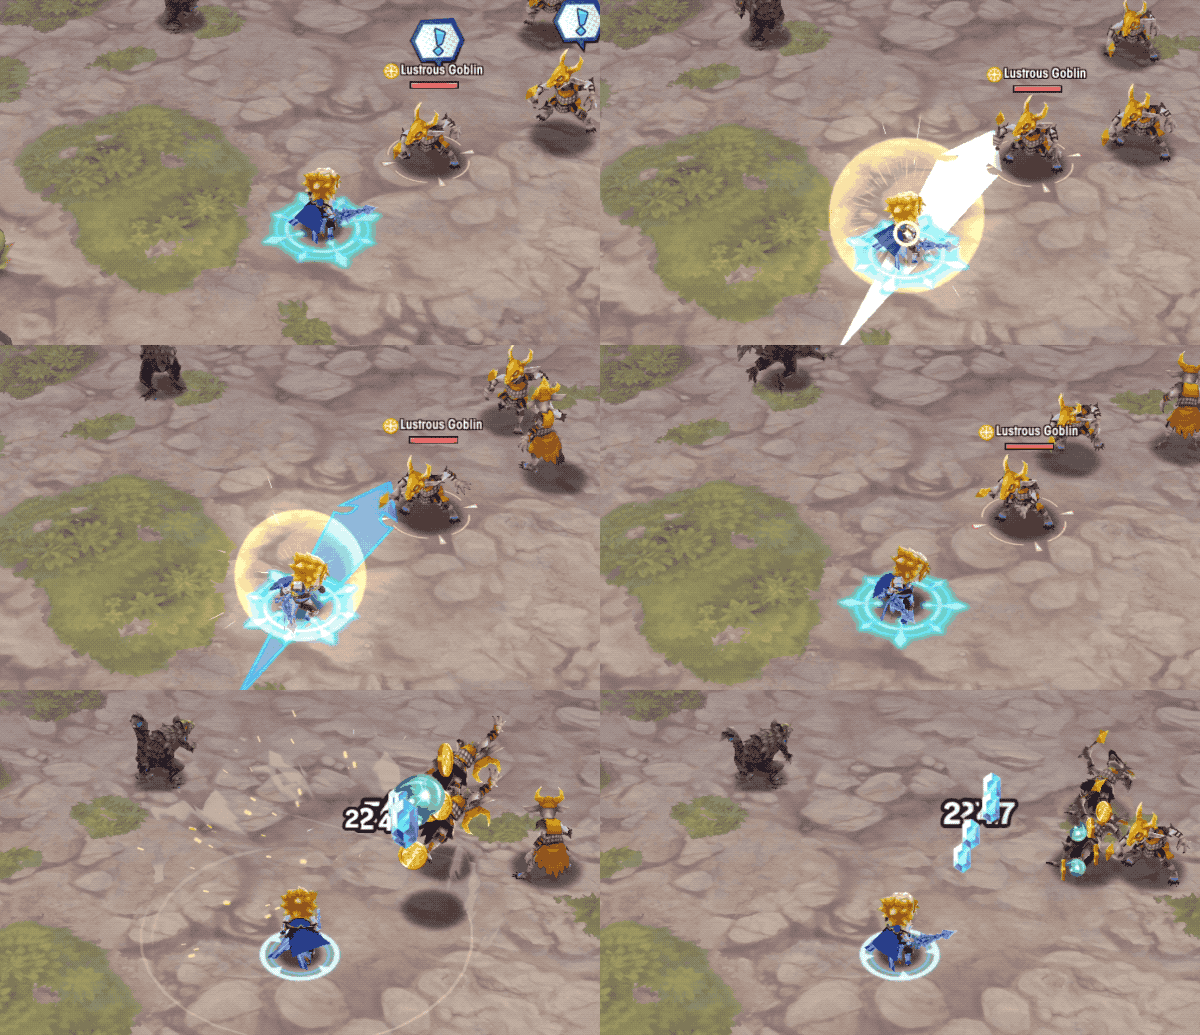
To perform a Force Strike, press and hold on the screen to begin the charge. After a short time, releasing the hold will unleash the attack. Force Strikes have two purposes: they can break enemy Shields and lower a bosses Mode Gauge. Like basic attacks, each weapon type has a different kind of Force Strike and damage from them will fill the Skill and Dragon Gauges.
Force Strikes can be unlocked on an adventurer’s first Mana Circle. Some adventurers have ways to power up their Force Strikes, or can trigger an Affliction when using a Force Strike. They can be tricky to use, so it’s recommended to spend time getting used to each weapon’s Force Strike.
Intermediate Combat
Action Markers
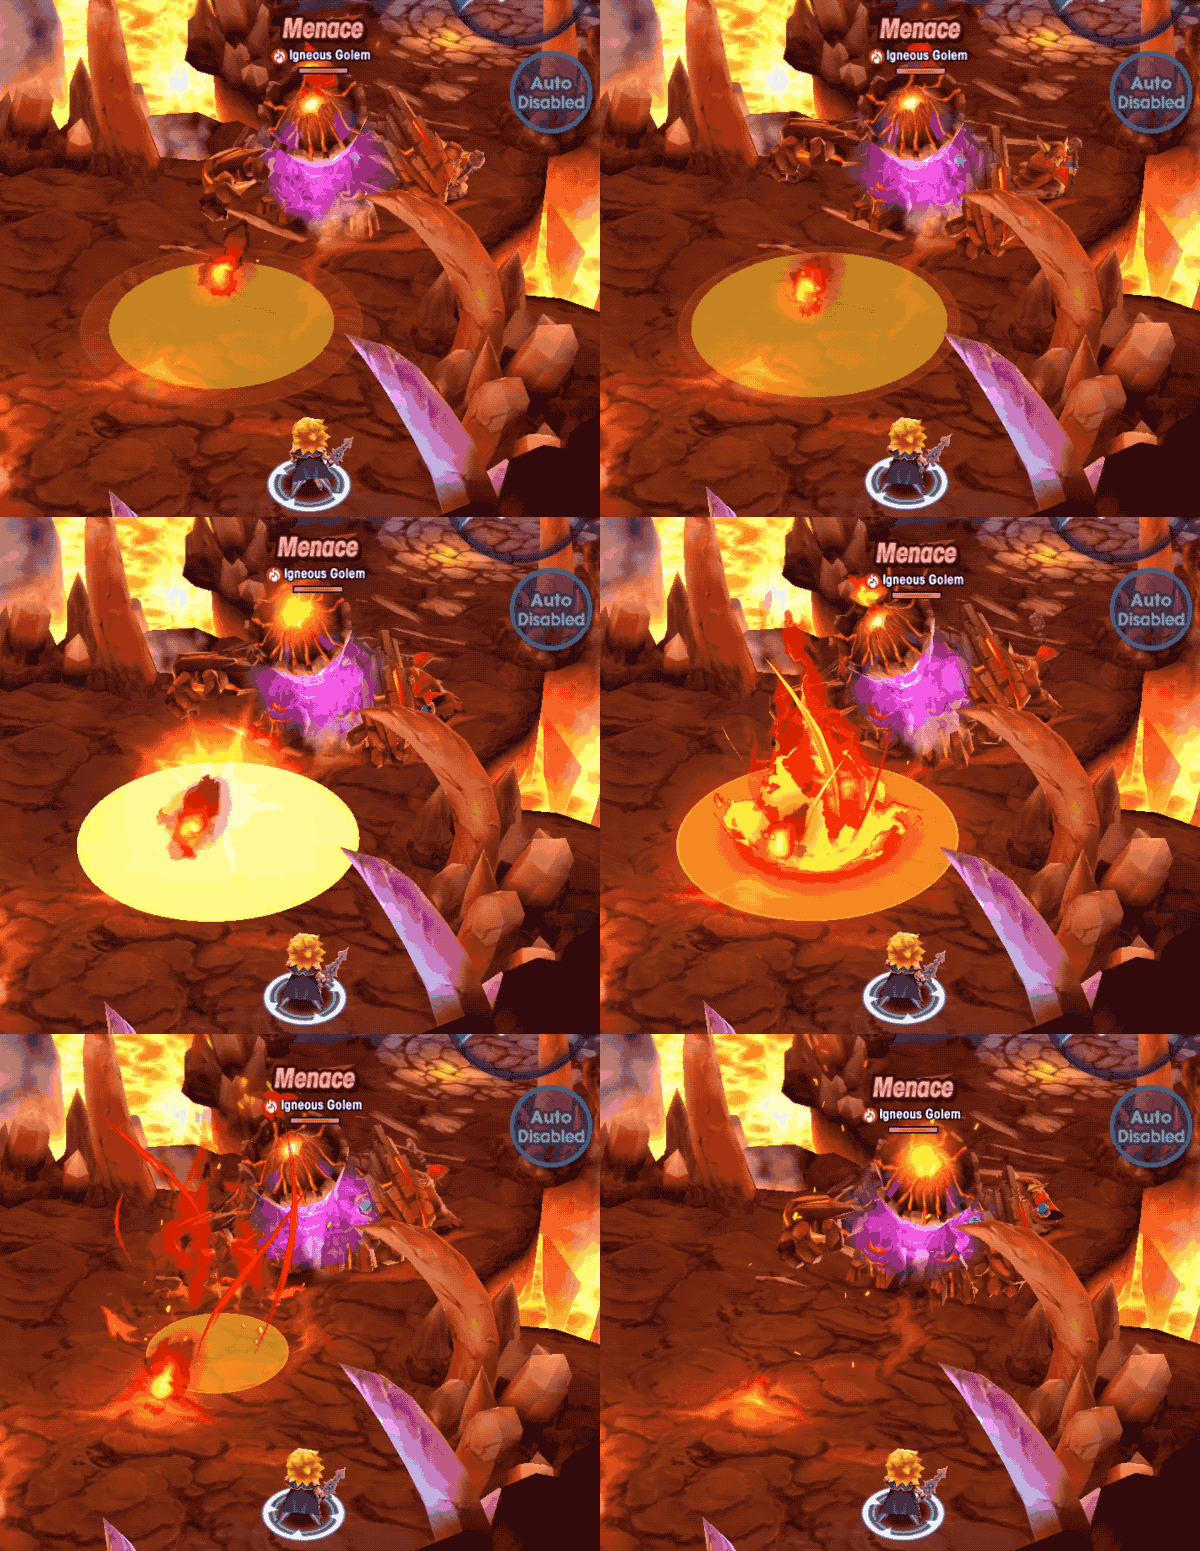
These are colored highlights on the ground that show where enemy attacks will land. They function like an early warning system, helping adventurers to avoid damage. Markers usually appear a second or so before the attack is due to hit.There are two types of Action Marker, defined by their color.
-
Red and Yellow marker attacks can be bypassed by using a Skill, even if standing inside the radius.
-
Purple marker attacks cannot be avoided with Skills. Adventurers will take damage no matter what if they are inside the radius.
Recognizing the two different zones and reacting is crucial. Dodging attacks with Skills is a useful technique, but doing so within a purple marker has deadly consequences. While bosses often use a mix of attacks with both markers, attacks won’t ever change marker types. An attack that has a red marker won’t ever have a purple one, and vice versa.
Some Action Markers also show precisely when attacks will execute. These ones start slightly darker, with a slowly expanding inner circle that indicates how long before the attack comes out. Once the color has reached the outside of the circle the attack will activate. These zones are usually reserved for ultimate moves or attacks with a large radius.
Most bosses will have an ultimate attack with a purple marker that deals critical damage and inflicts an Affliction. However, some boss attacks won’t have any marker. These can be the most deadly attacks of all, as they are the hardest to anticipate.
Types of Knockback
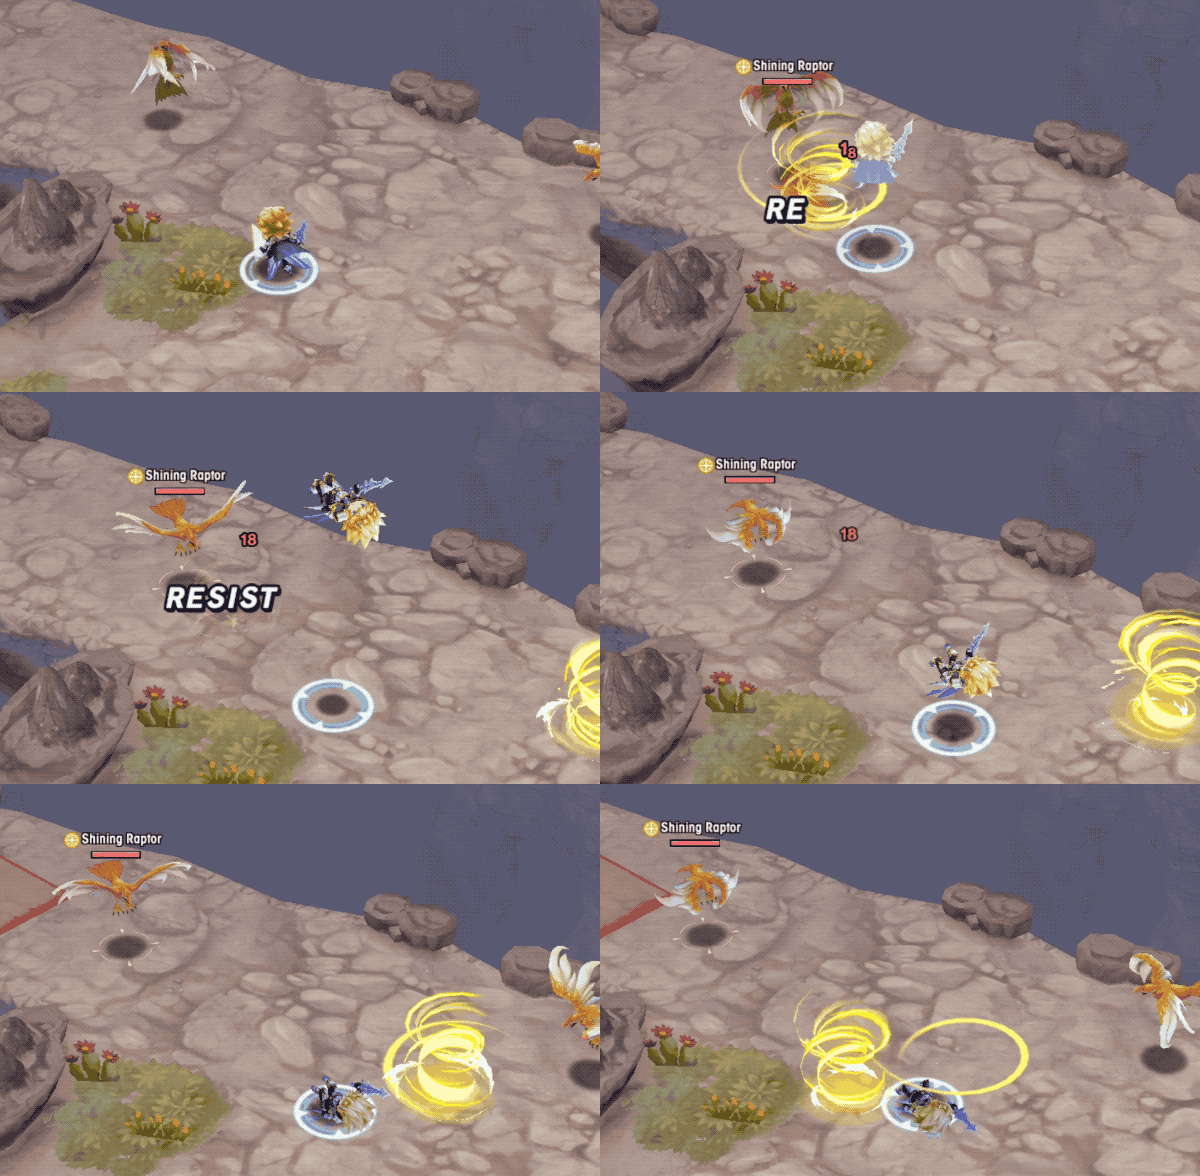
Attacks in Dragalia Lost have different types of knockback: They can have no knockback, knock the adventurer down, or knock them into the air.
Hits that knock the adventurer down grant them a short period of invincibility. An adventurer lying on the ground can be targeted by enemies, but is invulnerable to their attacks. Enemies can also be knocked down, and are also impervious to damage in this state.
When hit by an attack that knocks the adventurer up high, it’s possible to Brace in order to get back on your feet quicker. To do this, simply tap the screen while your character is midair. They will perform a small mid-air flip and won’t be knocked prone when they hit the ground. It’s possible to land in a specific direction by swiping towards the desired location.
Status Afflictions
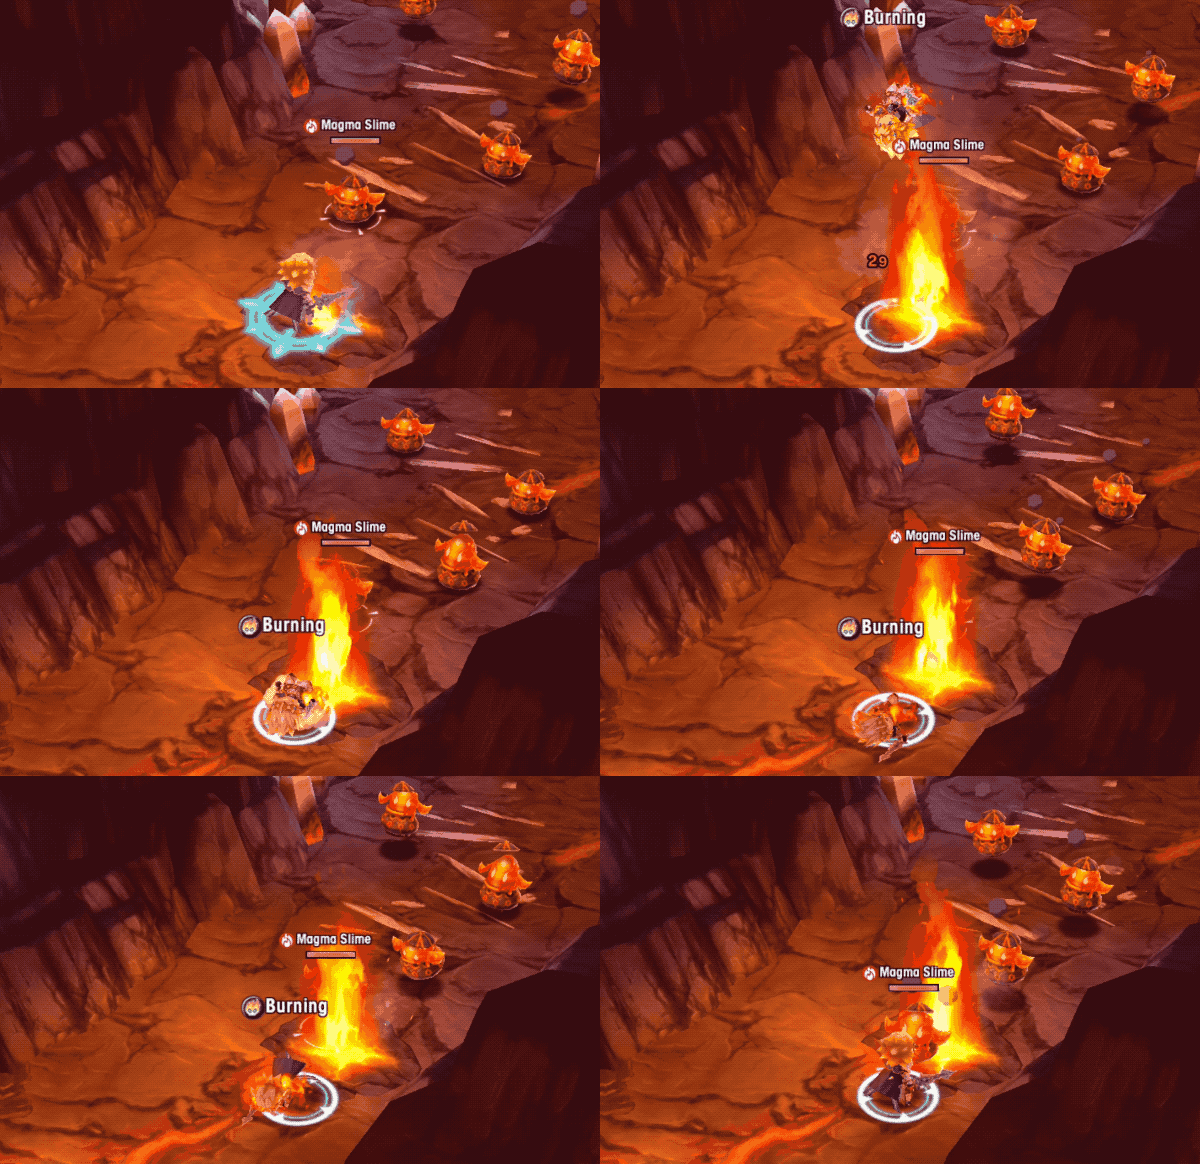
It’s not just damage you need to worry about-- Some attacks have nasty Afflictions latched onto them. There are several Afflictions in Dragalia Lost, each bringing their own debilitating effects. While afflicted, an adventurer cannot Shapeshift, and some also prevent the use of Skills or movement.
It’s also possible to resist an Affliction: when hit by an Affliction-causing attack, “Resist!” will pop up to denote that the adventurer remains healthy. It’s common for adventurers to have passive abilities that let them resist Afflictions, and some can even get full immunity. Resist chance is percent based: an adventurer with 25% Resist will still have a 75% chance to become Afflicted.
| Affliction | Effects | Inflicted by enemies of element |
|---|---|---|
| Burn | Receive periodic damage for a limited time. | Flame |
| Bogged | Movement speed is lowered for a limited time. Attacks received deal critical damage. | Water |
| Frozen | Prevents action and movement for a limited time. Can be undone via attacks from party members. | Water |
| Stun | Become unable to act or move for a limited time. | Flame, Wind |
| Sleep | Become unable to act or move for a limited time. | Wind |
| Paralysis | Receive periodic damage for a limited time. This also halts your movement. | Light |
| Blind | Attacks will miss enemies at a fixed chance for a limited time. | Light |
| Poison | Receive periodic damage for a limited time. | Shadow |
| Curse | Prevents the charging and use of Skills. Lasts longer than other afflictions. | Shadow |
Afflictions by Quest Type
Certain Status Afflictions are also characteristic of particular content in Dragalia Lost, with Stun being the one with overlap between Midgardsormr Trials and Flame Imperial Onslaught.| Imperial Onslaught | Dragon Trials | |
|---|---|---|
| Flame | Stun | Burning |
| Water | Freeze | Bog |
| Wind | Sleep | Stun |
| Light | Blind | Paralysis |
| Shadow | Poison | Curse |
Certain Adventurers can turn the tables by applying Afflictions to enemies. As a rule of thumb, enemies tend to be vulnerable to Afflictions associated with their weak element-- Flame enemies can be Bogged and Frozen, for example. Any other Affliction though will be resisted, either completely or partially. See here for a table of resistances for common Event bosses.
For playable characters (Adventurers) this differs slightly, as most only resist one Affliction. In this case, a Stun-Resistant character can be hit with Burn, Sleep, Bog, Freeze, or any other effect.
Classes and Banes
Each enemy has its own class, designating it as part of a group of that type. The current enemy classes in Dragalia Lost are Physian, Thaumian, Demihuman, Therion, Demon, Undead, Dragon and Human.
These denominations are important thanks to Bane effects, which increase the damage dealt to certain classes of enemy. There is one for each class of enemy except Humans. When dealing damage with a Bane effect, a special hit indicator is displayed.
Advanced Techniques
Skill/Shapeshift Dodging
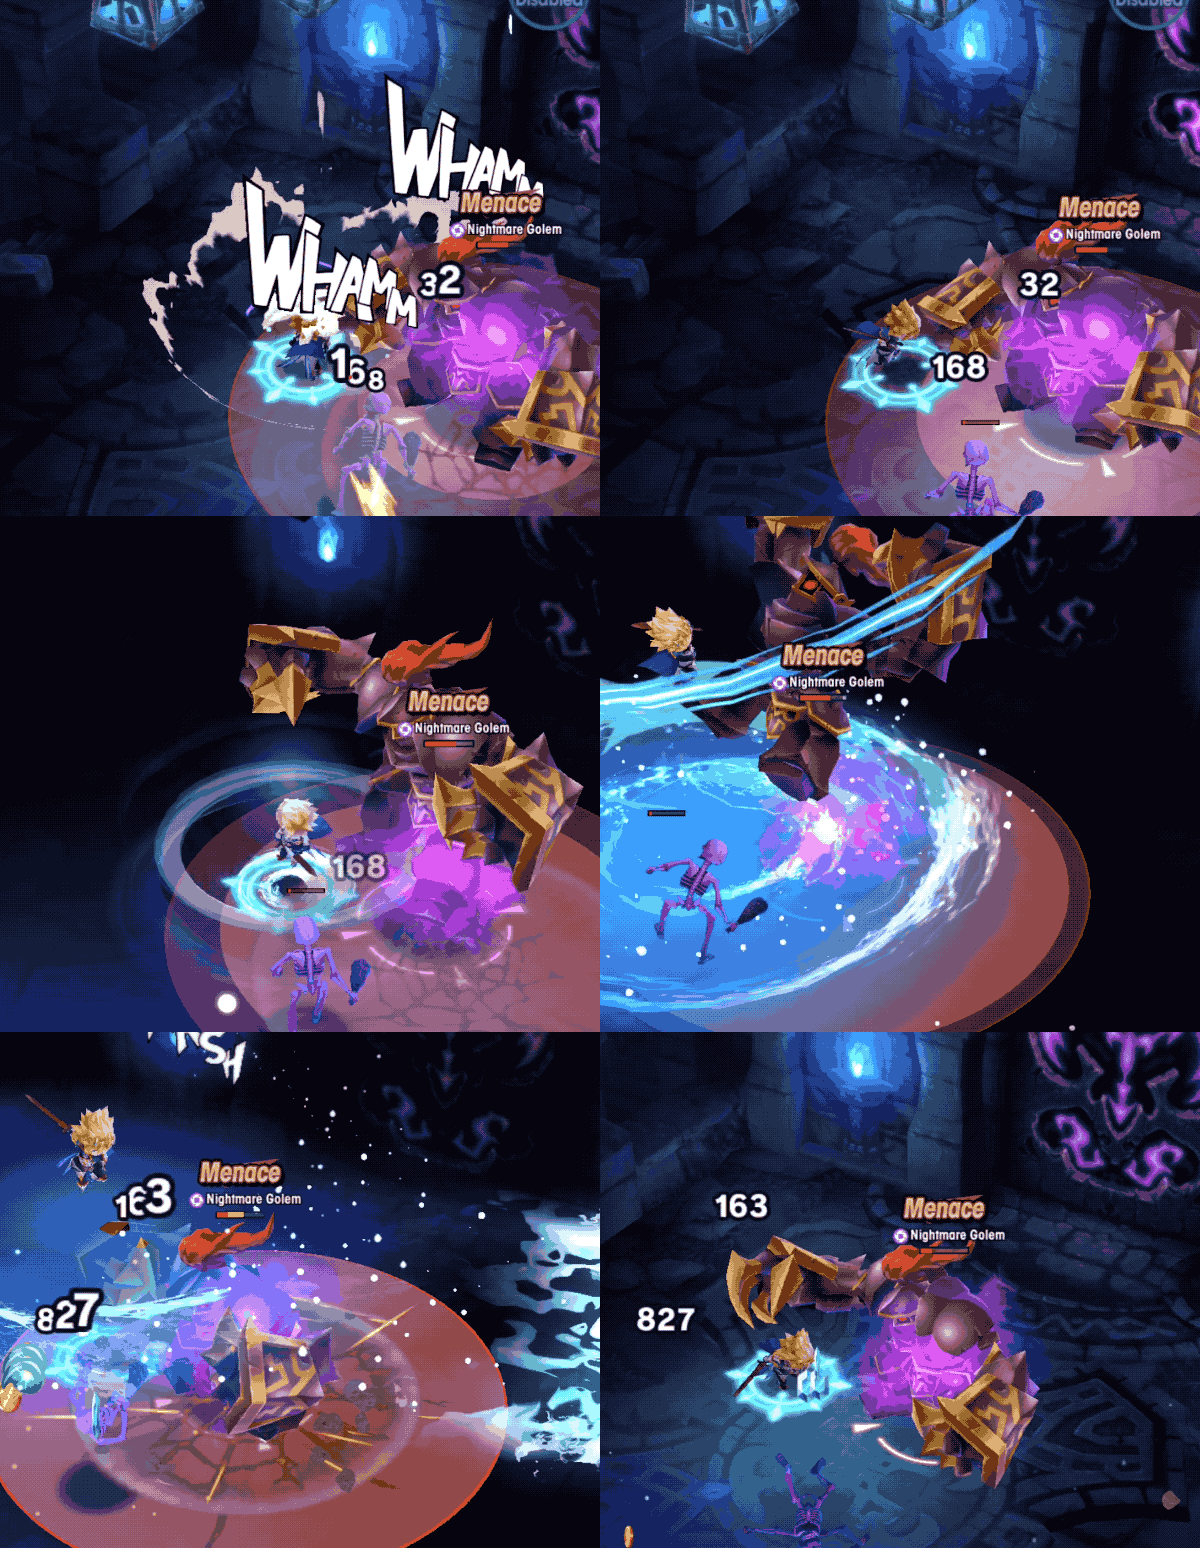
Skills can also be used to avoid attacks, since they make adventurers invincible during execution. Since they have different animation lengths, it’s important to get a hands-on feel for how long they last. Instead of performing a roll dodge, one can quickly activate a Skill to dodge. Mistiming a Skill dodge can be fatal if it leaves you within an attack’s radius afterward.
As a last resort, Shapeshifting can also avoid damage-- even from purple Action Marker attacks. Shapeshifting is the only way to dodge those, and while damage taken reduces Shapeshift duration, it’s often preferable to taking damage and losing party members.
When playing with AI allies during Solo or Raid Battles, performing a Skill will also grant teamwide immunity to both damage and knockbacks. However the invulnerability window for them is slightly shorter, only lasting while the skill name text and splash art is onscreen.
Maximising the Shapeshift
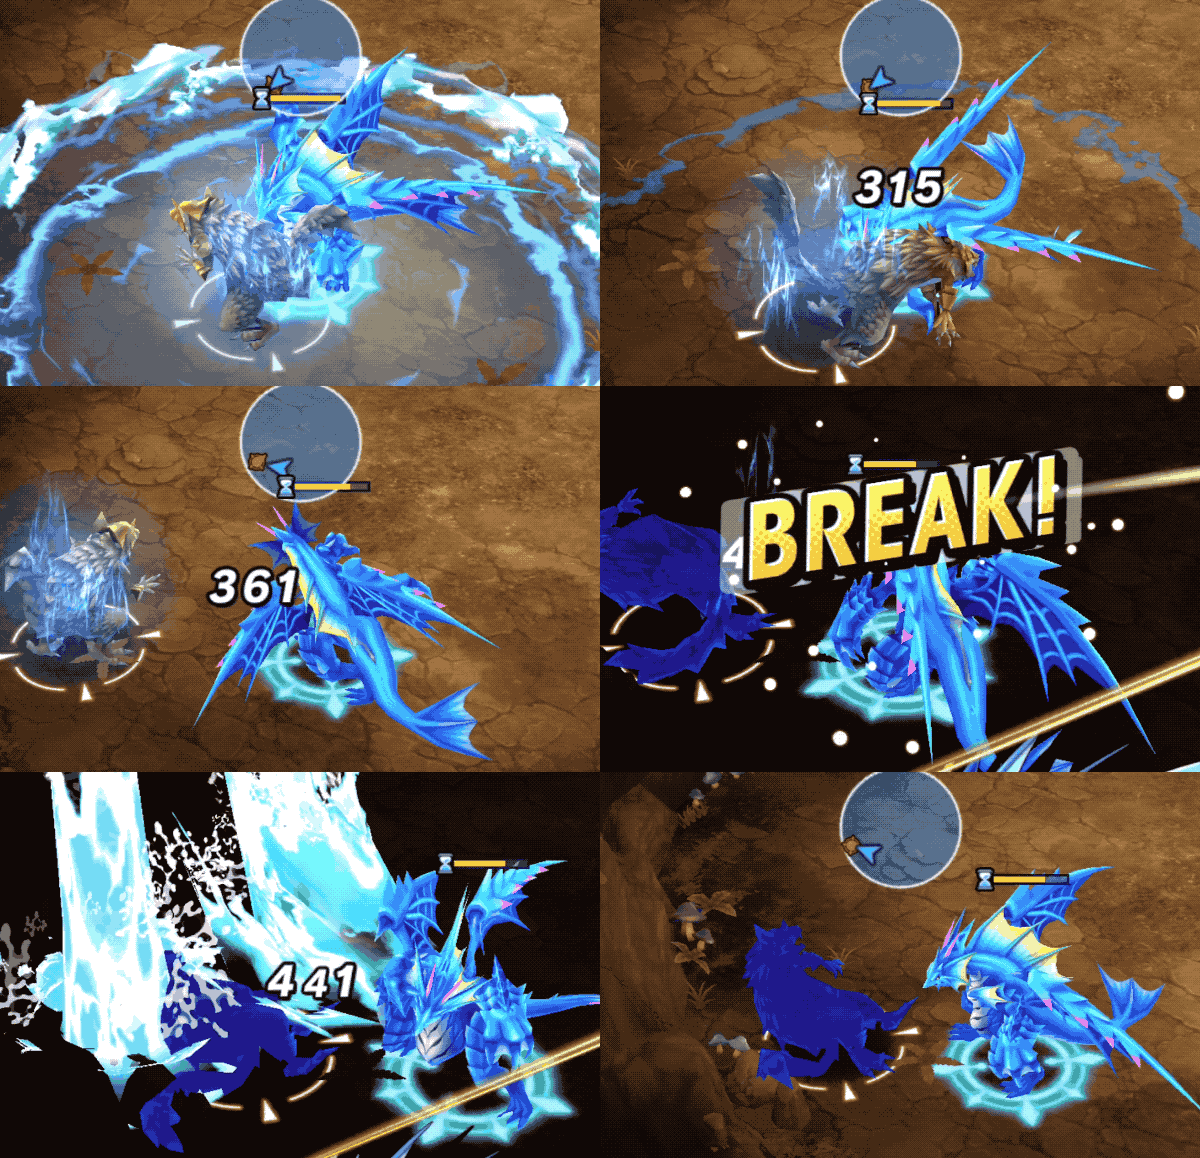
Initiating a dragon’s Skill will cancel their basic attack. By using their Skill immediately after the third hit in their string, dragons can cancel the long attack end animation and begin a fresh attack as soon as the Skill has been triggered. As time spent Shapeshifted is valuable, this is a good way to eke out a bit more damage while transformed.
There is no set rule as to when one should use their dragon’s Skill. However, if an adventurer’s Shapeshift timer expires and the Skill is unused, the use of the Skill will be wasted. This means that the safest option is to use it near the beginning of the Shapeshift, to avoid losing it from taking untimely damage.
Basic Attack Cancelling
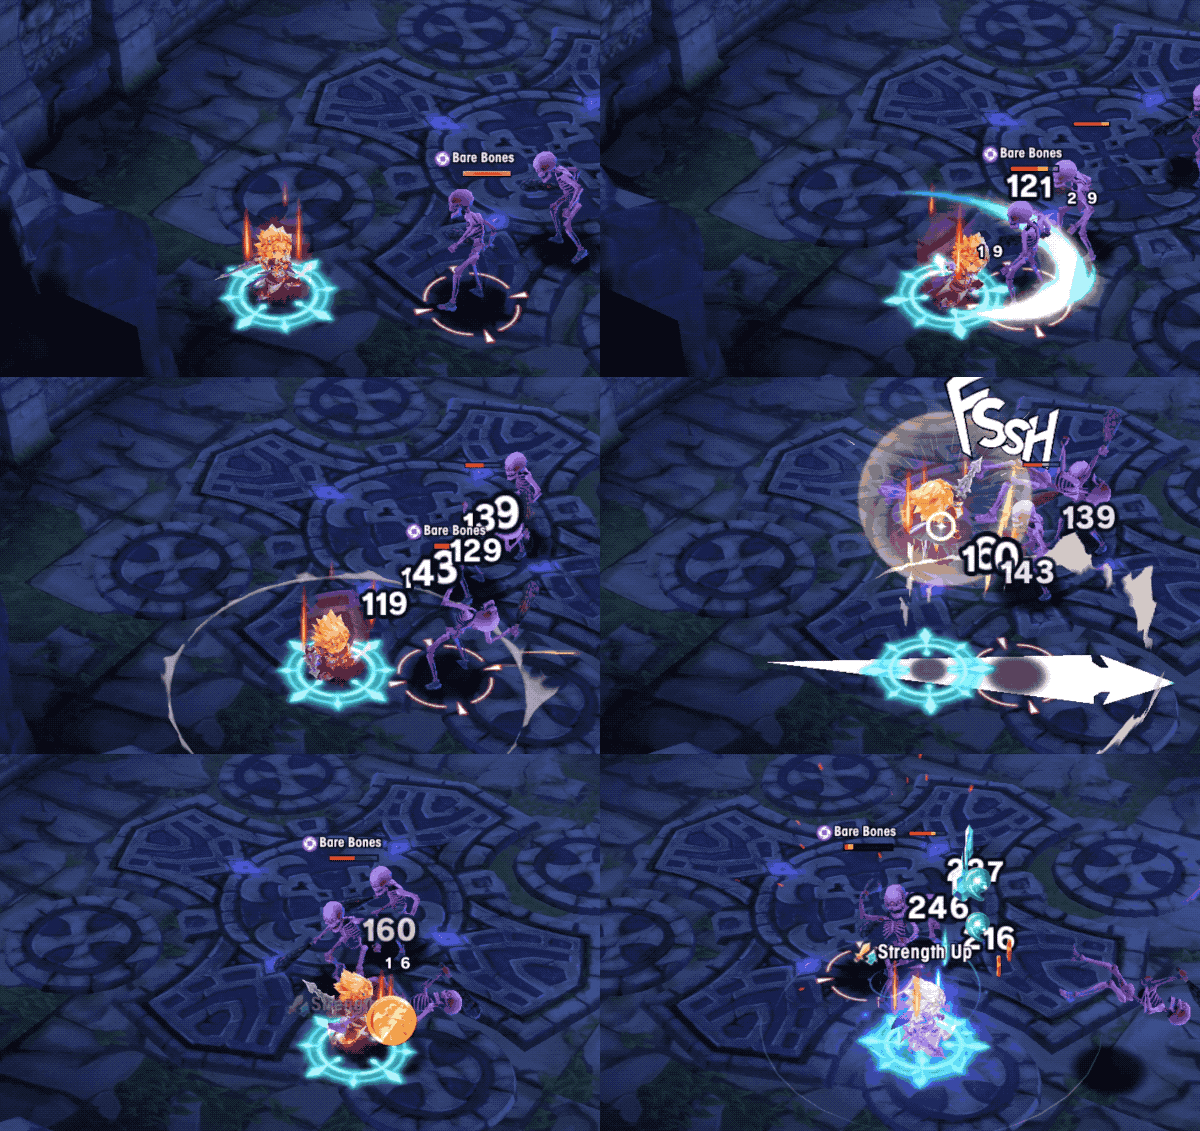
Whenever a character is performing a basic attack string, one can press and hold the screen to transition instantly from the basic attack into a Force Strike. As the final few hits of many basic attack strings have long ending animations, this allows adventurers to deal a little more damage. It is especially useful on characters who get mobility from Force Strikes, as this technique allows one to both avoid damage while dealing a little more. It’s also possible to cancel basic attacks with roll dodges.
Exploiting Boss States
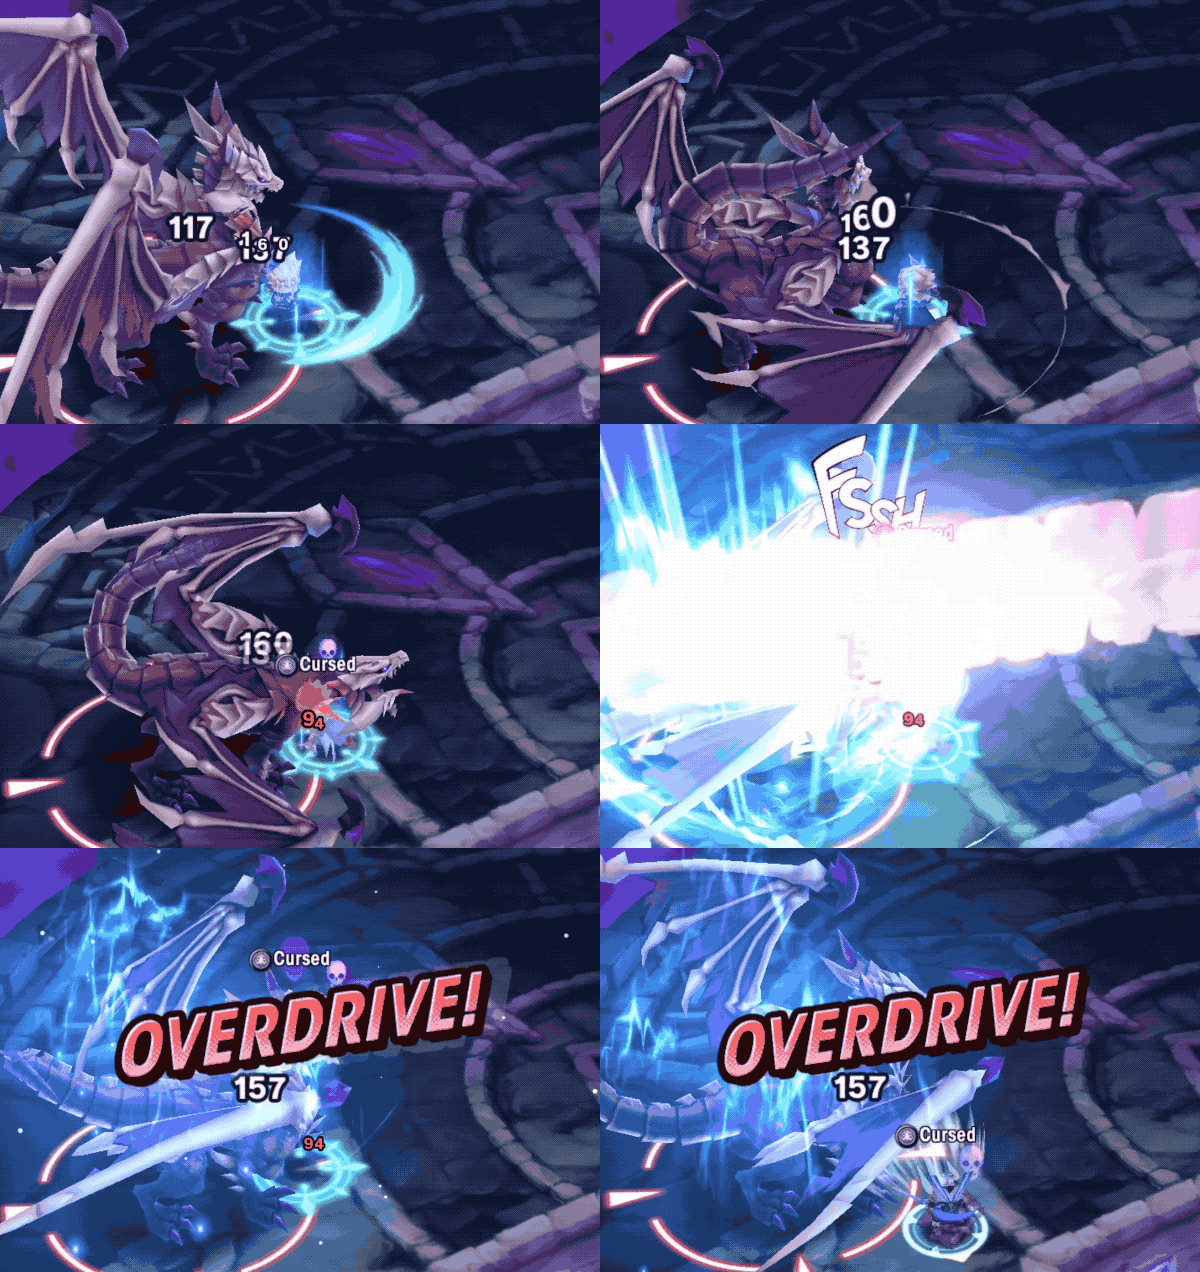
Boss States are a mechanic present in all boss fights in Dragalia Lost. They are shown via the Mode Gauge, a small yellow bar underneath a boss’s HP. Each boss has three states: Normal, Overdrive and Break.
Bosses begin fights in a Normal state and fill their Mode Gauge as they take damage. Once filled, they will enter the Overdrive state, and further damage will instead bring their Mode Gauge down. While in Overdrive, bosses gain a blue power aura and their damage is boosted. Once a boss’s gauge reaches zero they will transition to Break. During this state, they take greatly increased damage from attacks and are rendered immobile. After a short period they will then reset back to the Normal state.
In general, it’s a good idea to try and push bosses through their Overdrive state as quickly as possible to avoid extra damage. Force Strikes affect a boss’s Mode Gauge more than other attacks, making them good for this purpose.
The Break state is ideal for piling on stacks of damage. Many Adventurers and Wyrmprints grant bonus damage to those attacking a boss in Break, which enables a set of high-damage burst setups. Inflicting a State change on a boss will also forcibly cancel any moves they were performing.


