Intro
EDIT: This guide is outdated. Run a party of fully spiraled Karinas with:
- (2) Gaibhne & Creidhnes
- (2) Sirens
- Patia + Summer Cleo Shared Skills
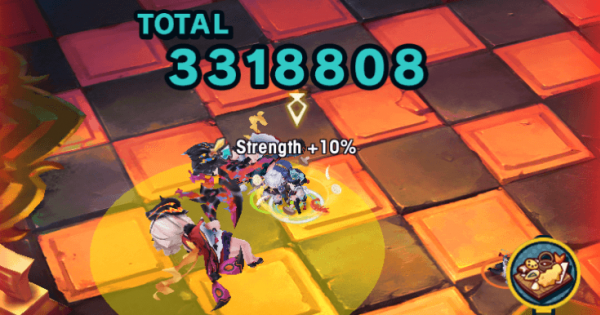
Shortly after the Flame Agitos’ release, players formed a strategy that burst down Ayaha & Otoha in under a minute. Those without a well-developed Water roster can still clear Expert difficulty with a few tomes and some coordination.
By intentionally taking damage, Marth and his team are able to apply enough buffs/debuffs to one-shot the twins not once, but twice. This guide details the necessary equipment and skill timings to ensure a clean ~40 second run.
Halidom
- Elemental Altars Lv. 35+
- Weapon Dojos Lv. 31+
- Water Tree Lv. 15 (MAX) [using rewards from Standard first clear)
- Slime Statue Lv. 15 (MAX)
Event Facilities (Mitsuba)
- Yuletree Lv. 35 (MAX)
- Dragoñata Lv. 35 (MAX)
- Seabed Stage Lv. 30 (MAX)
Choose Your Character


You are the main buffer. You will intentionally tank damage to proc Last Boost and set up your team for success.


Shared Skills

Co-abilities


Marth needs to lifesteal enough damage to return to full HP, so bring a High Dragon weapon at the very least.
Pop-Star Siren doesn’t need to be fully unbound.
Your second Wyrmprint doesn't matter too much, any Buff Time pick will help.
Any 50 MC Axe and Lance Co-ability will help Marth survive. Tobias helps out but isn't a strict requirement.
You are the main debuffer. Apply your debuffs at the right time and place to enable the Mitsubas.

Shared Skills

Co-abilities
Any weapon/Co-abilities will do. Delphi’s personal damage doesn’t matter at all.
As with Marth, Tobias is a luxury and isn’t 100% needed.
You are the nuke. Once all the buffs/debuffs are in place, unload the damage and watch A&O disappear.


Shared Skills
Co-abilities


Curran’s shared skill is a viable alternative to Veronica’s. If using Circular Judgement, there’s no need to intentionally tank damage during the fight.
Any 50 MC Blade and Wand Co-ability will suffice. A Crit Damage Co-ability is crucial since Inspiration guarantees a critical hit.
Step-by-Step Character Roles
PHASE 1
Use Wild Instinct immediately.
Move left and sit in the leftmost dash attack’s path.
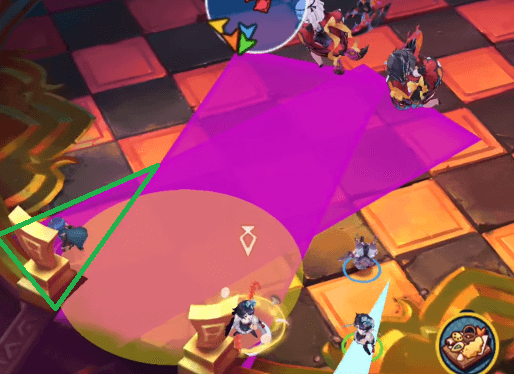
Marth starting location
Use Sparrow’s Guard when the dashes are about halfway charged.
Use Flickering Flames (S1) after getting hit, then roll right to avoid the marker.
Use Wild Instinct again, then Fire Emblem (S2) to heal back to full.
Use Sparrow’s Guard again if A&O aren’t already transforming.
PHASE 2
Shapeshift right after the purple AOE appears. This ensures you take damage and proc Last Boost a second time.
Use Pop-Star Siren’s skill twice. Do not get hit by Anta ga Tadoko Sa's red marker or you will be trapped and return to human form.
Tank the red marker dash to return to human form ASAP.
Use Flickering Flames followed by Sparrow’s Guard.
Follow up with Wild Instinct into Fire Emblem if needed.
PHASE 1
Use Brave Bastion, then run to the right, just beyond the rightmost dash attack.
Aim Ruination Cage (S1) at where A&O come to a stop.
Force Strike to apply Poison, then Ruination Cage again.
Use Ocean Fury, then follow up with Brave Bastion.
PHASE 2
Shapeshift immediately, then use Bronze Fafnir’s skill before the purple AOE lands.
Bait Anta ga Tadoko Sa away from your allies by running far to the side.
Use Brave Bastion once you’re clear of the red & purple attacks.
Bait the subsequent dash by positioning at the center of the map. Note: A&O will occasionally respawn at the center of the map so you may have to bait the dash downwards.
Force Strike after the boss dashes, then use Ruination Cage.
Close out with Ocean Fury, then let the Mitsubas do the rest.
PHASE 1
Switch to Tempura Stance (top).
Move right and sit in the rightmost dash attack’s path.
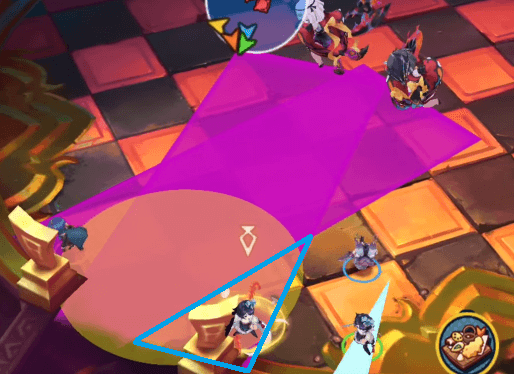
Mitsuba starting location
Use Hearty Helping (S2) after getting hit, then stack combo count to 15.
Check above the boss’s HP bar. Once the Bog icon appears, use Gespenst and follow up with Tornado Bash if needed.
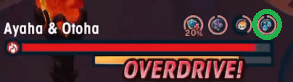
Bog is applied last since it has the shortest duration.
PHASE 2
Shapeshift right after the purple AOE appears. Dropping low enhances Gespenst’s damage even further.
Use Siren’s skill to iframe Anta ga Tadoko Sa.
Tank the red marker dash to return to human form ASAP.
Use Hearty Helping (S2), then stack combo count to 15.
Once again, check above the boss’s HP bar. When the Bog icon appears, use Gespenst, then follow up with Tornado Bash and Chef’s Special (S1) as needed.
Video Example
Credit to Rabi Erina