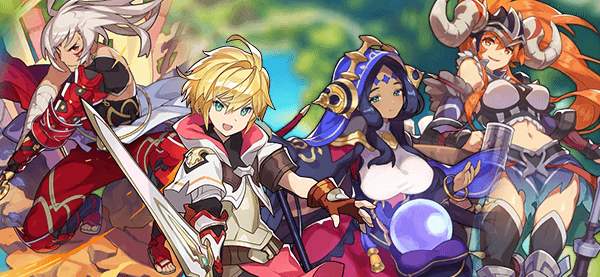
Introduction
Dragalia Lost is a game focused around lots of grinding, and with so many different quests and items it can be tough to identify the best ways to farm.
This guide will help you to prepare for endgame content such as the Advanced Dragon Trials. If you aren’t sure what you should be doing with your Stamina and Getherwings, this guide is a great starting point!
What does the endgame of Dragalia Lost look like?
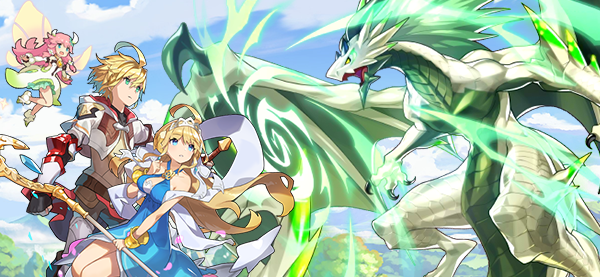
The hardest quest currently in the game is High Midgardsormr, the first of the Advanced Dragon Trials. Completion of this difficult quest is what most would consider the highest possible achievement in Dragalia Lost.
But, there are no strict rules defining what is and isn’t endgame-- For some players, getting raid clear titles might be considered endgame, or for others, it could be fully upgrading their favorite character. However, the aim of this guide is to help players clear as much content as possible, as easily as possible, and as efficiently as possible.
A note on rerolling
Currently, all content in the game can be cleared with free units. That said, it is still highly recommended to reroll, as stronger Adventurers, Dragons and Wyrmprints will make clearing quests much easier. Check out our Reroll Guide for more information on rerolling.
Starting Out in Dragalia Lost
If you’re just starting out, the first thing you’ll want to do is play through the story quests. This will unlock additional free Adventurers: Elisanne, Ranzal, Cleo, and Luca, for a total of five including the protagonist Euden. One Dragon of each element is also unlocked: Midgardsormr, Mercury, Brunhilda, Jupiter and Zodiark. Once the story is cleared, you’ll have one Adventurer and Dragon of each element!
Your Player Level will increase rapidly during this phase, and you will quickly notice that both Stamina and Getherwings can flow over the maximum. 99 Getherwings can be held at one time, while Stamina has an upper limit of 999-- this means that you’ll want to be constantly using Getherwings as you level up. I recommend using Getherwings to help clear hard story mode bosses, or on the Avenue to Fortune. Stamina/Getherwings are not used when a quest is failed, so feel free to retry hard stages many times.
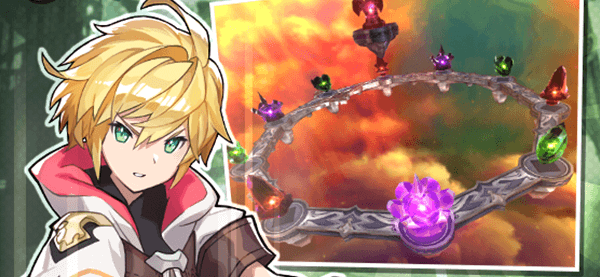
At a certain point you’ll unlock the Halidom. Now you’ll want to start constructing and upgrading buildings-- For more information, see our Halidom Guide.
Eventually the Smithy will also be unlocked, which allows for the crafting and enhancement of weapons. For more information, see our Weapon Crafting Guide.
The Road to 10,000 Might
Once you’ve cleared chapter six, congratulations! You’ve graduated from being a newbie. This is where the real game begins, and efficiency becomes much more important.
Next, you’ll want to focus on increasing your team’s Might. This is a power ranking that takes into account how strong each of your Adventurers are. Increasing your Might will unlock new quest difficulties for you to play. Your next goal is to unlock Master Imperial Onslaught, which requires 10,000 Might.
Common ways to boost your Might:
-
Increase the level of your Adventurers.
-
Unlock your Adventurer’s Mana Circles.
-
Build and Upgrade Dojos and Altars in the Halidom.
-
Increase the level of your Dragons, and build their Bond through Gift Exchange.
-
Craft and enhance new Weapons.
-
Increase the level of your Wyrmprints.
The four main quest types you'll need to run:
-
Avenues
-
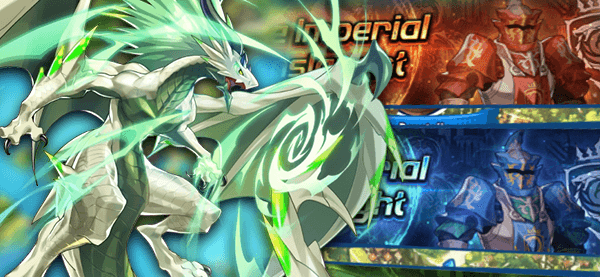
Dragon Trials
-
Elemental Ruins
-
Imperial Onslaught
Each of these is required for progression in different areas, so you’ll want to do a combination of them. All of these quests have daily rewards which can be earned, and it’s highly recommended to collect these no matter what you’re focusing on. Of the four, Imperial Onslaught is the most important to farm: If you’re ever unsure of what quest to do, just do Imperial Onslaught.
Setting up a Might Team
At this point, make a team of your strongest Adventurers to focus on. Include any 5* Adventurers, and any 4* ones you summoned. It’s also highly recommended to include Euden (see below). This team should have as much Might as possible and from now on, shall be dubbed your “Might team”.
You’ll want to focus on your Might team as much as possible. Play around with their Weapons, Dragons and Wyrmprints until you find the combination that gives the highest possible Might.
A note on Euden
It’s highly recommended to include Euden on your Might team, thanks to his passive skill Player EXP + 10/15%. To unlock this Skill, you’ll need to upgrade Euden’s Mana Circles. Having Euden on your team will accelerate your Player Level, and thus grant more Stamina and Getherwing refills quickly.
Even better, this ability works even in co-op play, provided the Adventurer you’re playing as has Euden on their team. Euden is also a good choice of unit for High Midgardsormr, so it’s highly recommended to start leveling him up. Always strive to have Euden on your team!
Upgrading Adventurers
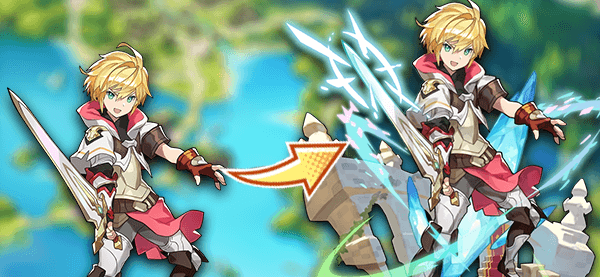
Adventurers are the most important factor in your team, and are one of the biggest sources of Might. Increasing an Adventurer’s base Might can be done in one of two ways: By increasing their level, or unlocking their Mana Circles.
Unlike Dragons or Wyrmprints, Adventurers gain experience just by completing quests. For this reason, it’s a good idea to try and complete quests with your Might team. Solo play allows you to train up to four Adventurers at once. Save Getherwings for difficult content, and use Stamina on easier quests.
There’s no hurry to cap your Adventurer’s levels so take it slow, and aim to have them within 10 levels of their max (60/70 for a 4* unit, for instance). Doing the daily runs of Avenue to Power will grant Gold Crystals, which can give an Adventurer’s level a big boost.
Mana Circles are a huge source of Might for Adventurers. To reach 10,000 Might, aim to have around 30 nodes unlocked on each Adventurer in your Might team. This will require Mana, Orbs and Dragon Scales, so you’ll need to farm the Elemental Ruins and Dragon Trials quests.
A note on rare enemy farming
Players who are short on Mana can opt to farm rare enemies. To do this, start Avenue to Fortune and play until the two slimes spawn near the bridge. If a rare enemy does not appear, exit the quest and repeat. This method is highly efficient for Mana and Clovers, but is time-consuming and very repetitive. Rare enemy farming is not required, but those with time and energy to spare might find it a valuable endeavor.
Upgrading your Castle Grounds

It’s important to focus on the Castle Grounds. To craft the highest level of weapons, you’ll need a level 9 Smithy, which requires a level 7 Halidom. Therefore, you’ll want to focus on Elemental Ruins to gain Orbs for Altars, and Imperial Onslaught to get Dyrenell Coins for Dojos.
Rupie Mines will eventually need Light Orbs to be upgraded, so you might want to farm the Lightsunder Ruins slightly more than the others. Try to have at least three Wyrmsmiths upgrading buildings at all times.
When you start out, Rupie Mines and Altars are the best way to gain quick Halidom levels. You’ll be able to build a second version of each Altar once you’ve reached a high enough Player level. Focus on the Dojos and Altars that affect members of your Might team, as the increase in their stats will also boost their Might.
Eventually, you’ll want your Dojos to reach level 16, your Altars to hit at least level 20 or 21, and your Rupie Mines to reach level 20. Check what materials the Halidom needs to upgrade, and make sure you have them ready when the time comes.
For more details on the Halidom, see our Halidom Guide.
Upgrading your Weapons
Once your Smithy has been upgraded a few times, you’ll be able to engage in Weapon crafting and enhancement. There are three different weapon star ratings, and three different tiers, for a total of nine different weapon “classes”.
Tier 3 weapons are considered elemental, meaning they grant an extra +50% of their stats to Adventurers of a matching element. These weapons are powerful but cost immense resources-- so it’s recommended to wait before attempting to craft them.
For more, see our Weapon Crafting Guide which has details on the crafting and enhancement process.
In order to clear the Advanced Dragon Trials, you’ll eventually want to make 5* elemental weapons. But for now, gaining Might is the goal. At the very least, all of your adventurers should have a 3* tier 1 weapon.
The next big power jump comes at 4*. Once you can craft 4* weapons, you should be rapidly approaching 10,000 Might. Try and equip all your characters with a 4* Tier 1 unbound, or 4* Tier 2 weapon. This should be enough (combined with other factors) to bring your Might team above 10,000.
You’ll need to farm Imperial Onslaught for crafting materials, ideally on as high of a difficulty as possible. If you’re having trouble clearing it, Expert Imperial Onslaught is a great place to use Skip Tickets.
See our Materials Farming Guide for details on which materials come from which Imperial Onslaught quest.
Upgrading your Dragons and Wyrmprints

Dragons are another huge source of Might, so make sure to upgrade them as you grow your Might team. Resources for upgrading Dragons tend to be limited-- it’s recommended to only focus on the Dragons in your Might team.
Max the level of any 5* Dragons, or 4* Summoned Dragons with Dragonfruit. After this, Brunhilda and Zodiark are the best of the story Dragons, due to their +15/20% Strength boost. Story Dragons can be unbound with Dragon Spheres, an item obtained in the Dragon Trials. However, do not farm the Dragon Trials for this reason alone, as you’ll get more than you need later on.
Each day, make sure to do Gift Exchange with your Dragons. Although the Rupie costs can be high, paying is worth it-- Each bond level on a dragon grants +10 Might. Aim to get all four Dragons on your Might Team to at least level 30, and to 15 or 20 Bond Level.
For more details on Gift Exchange, see our Dragon Gift Exchange Guide.
Wyrmprints have the least impact on Might, so they’re the lowest priority for upgrading. If you’re lucky enough to have summoned some 5* Wyrmprints, level them to at least 40 and stick them on your team. 4* Summoned Wyrmprints are the next best thing, with 4* Event Wyrmprints following.
Wyrmprints level up slowly, so there’s no hurry to max them out. You’ll want to save a lot of upgrade Water for once you get the Glorious Tempest Wyrmprint, so don’t feel pressured to take them past level 30 or 40. Events tend to give lots of upgrade Water for Wyrmprints.
The Endgame
Once you’ve reached 10,000 Might, congratulations! You’re now capable of accessing each and every quest in the game, with the exception of High Midgardsormr. More importantly, you can now access Master Imperial Onslaught which is going to be your home for a long, long time.
You should be strong enough to clear events easily, and maybe even claim a few titles. But from here, one goal remains: The Advanced Dragon Trials. And that means High Midgardsormr! Don’t worry about the 13k Might requirement: You’ll be above that once you’re actually ready to challenge him properly.
From here on out, further investment into Adventurers, Dragons and Weapons will become very, very expensive. For these reasons, you should be exceptionally careful when deciding who to
upgrade, and which weapons to craft. The rest of this guide will discuss investment choices in much greater detail.
Preparing for the Future

Next, you’ll want to prepare yourself for clearing High Midgardsormr as well as other endgame content. Because the hardest quests in the game are co-op, you only need to have one Adventurer who can clear each quest.
This means you’ll be working towards the goal of having at least one near-fully upgraded Adventurer of each element. This also means eventually working toward one 5* Elemental weapon for each of these units.
Because High Midgardsormr is a Wind boss, It’s highly recommended to make your first invested Adventurer Flame-attuned.
At this point, you’ll want to start working towards your first 5* Elemental Weapon. To craft just one copy, 25 Tier 1 weapons are required, which are enhanced into five Tier 2 weapons. These weapons required insane amounts of materials-- below is listed the requirements for just one 5* elemental Flame sword.
-
1,125 Granite
-
475 Meteorite
-
155 Crimson Core
-
225 Sword Tablet
-
200 Royal Vermilion Insignia
-
7 Twinkling Sand
-
2,275,000 Rupies
(Costs are identical for each weapon. Although alternate materials are used, all have the same rarity.)
For a fully unbound weapon, these costs are multiplied by five. These heavy costs are why some players go for crafting 4* Elemental weapons. While this is an acceptable short term solution, I highly recommend going for a 5* Elemental for the long run.
4* Elemental weapons are suitable for some units, such as healers who don’t rely as much on their Strength. They’re great for 3* or 4* units you like using, but don’t plan on clearing endgame content with.
Crafting a 5* elemental weapon requires heavy farming of Master Imperial Onslaught. This is in order to obtain Insignia,Tablets and Granite/Meteorite (or equivalents). You will also need to farm Master Dragon Trials for the Crimson Cores.
For information on which materials drop from which Imperial Onslaught, check our Materials Farming Guide.
Twinkling Sand is a limited resource available from Events, so make sure to always go for Event rewards when they’re active. However, Rupies are likely be the biggest issue. To gain Rupies quickly, farm the Avenue to Fortune quest. And finally, expect the process to take some time: Around 150 Imperial Onslaught runs are required for the Granite alone.
Recommended Endgame Adventurers
Please Note: These recommendations may differ from those on our tier list, as they are focused purely around clearing the Advanced Dragon Trials. This section will expand as new endgame content is added.
Flame Adventurers (High Midgardsormr)
-
Euden: His 100% Stun Resistance is very good when fighting High Midgardsormr, although he’ll need to be promoted to 5* to comfortably survive the initial blast. He’s a reliable F2P option for the fight but without a fully unbound 5* dragon, will still need a Vanessa on his team.
-
Mikoto: Considered the best High Midgardsormr runner due to his 5* stats and incredible Strength. Those with Mikoto should always choose to invest in him, as he is the premiere Flame damage-dealer.
-
Verica: She’s mandatory for High Midgardsormr due to her healing output. She will need Phoenix to survive his initial blast. She does not necessarily need a 5* Elemental weapon to survive his blast, making her easy to prepare. However, High Midgardsormr runs are often crowded with Verica for this reason.
- Vanessa: A damage-dealer with a co-ability that raises defense. This makes it possible for some low-HP Adventurers to survive High Midgardsormr’s initial blast. She’s a decent unit in her own right, but seen less commonly than the others.