


Event History
| Start | End |
|---|---|
Map
- Normal
- Infernal
Bound Hero Battle: Raven and Lucius
Another month brings yet another Bound Hero Battle re-run, and this time our recurring foes are Lucius and Raven from Fire Emblem: The Blazing Blade. This Bound Hero Battle is definitely on the more challenging side of things despite the absence of reinforcements -- which is actually mostly due to Lucius instead of his liege.
If you’ve been unlucky enough to ever encounter healers in the Arena, you’re likely prepared for the havoc that the presence of Wrathful and Dazzling Staff on this map will cause. If you haven’t yet had the… ahem.. pleasure of encountering these Skills before, then you’d best become accustomed to making good use of the Retry and Restart buttons.
Who to Choose
As is generally true of Bound Hero Battles, the individual units used is very important as they will primarily inform your strategy. There are a few routes one can take depending on what units are available to you, and, of course, adjustment based on the units one possesses is always a possibility.
It’s important to note that due to their extended range, access to class-specific buffs, and higher mobility, cavalry units are an excellent choice for this Bound Hero Battle. This guide will assume you do not have access to the archetypical Brave Lyn/Reinhardt cavalry core, but if you do, don’t hesitate to use it.
Baiters
Since the enemies on this map won’t move unless baited or struck, you’ll likely want to include at least one baiter in your team. Units with High Defense or Resistance are a must here -- though for reasons explained later, you shouldn’t expect them to not come out of this initial exchange unscathed.
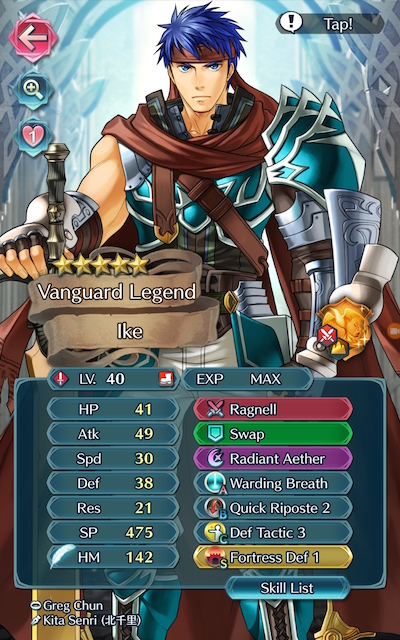
Armors such as Zelgius, Black Knight, Winter Tharja, Fallen Hardin,Hector, LA Hector, Legendary Hector, and Fallen Robin are able to hit hard very upon counterattacking, especially if they’re making use of Quick Riposte or Vengeful Fighter. Calvary tanks like Xander and Camus perform particularly well with class-specific Fortifies. Although more offensively oriented, Legendary Ryoma can make use of class-specific buffs as well and is able to also counterattack at distance. An amazing F2P option is Fjorm, who is able to tank the mages with her high Resistance and her exclusive Special, Ice Mirror, and Legendary Ike, whose native Warding Breath grants him accelerated cooldown and extra Resistance for tanking the healers.
Dragons are also very strong tanks, especially when they’re equipped with Lightning Breath (or another Breath and Distant Counter, if you’re feeling fancy). Nowi, Female Corrin, Male Kana, Fae, Myrrh, Female Kana, Legendary Robin, Adult Tiki, and/or Young Tiki will all likely be able to do the job and do it well.
Also of note are units who tote the Raven tome + Triangle Adept combo, which will grant them a Weapons Triangle Advantage over the many colourless foes who populate this map. Cecilia, Female Robin, Spring Camilla, PA Inigo, Sophia, and Male Robin should be able to use this weapon and Skill with decent effectiveness, though it is arguable whether they would be a better choice than another unit who offers more utility.
Strikers
Whether you want to use a Striker on this map is entirely up to you, and as per usual, their ability to overpower most foes will no doubt serve useful. In particular, KOing Raven on the first turn will make the map much easier -- if this route isn’t taken, though, it is suggested for most players that strikers are used in conjunction with tanks for this map.
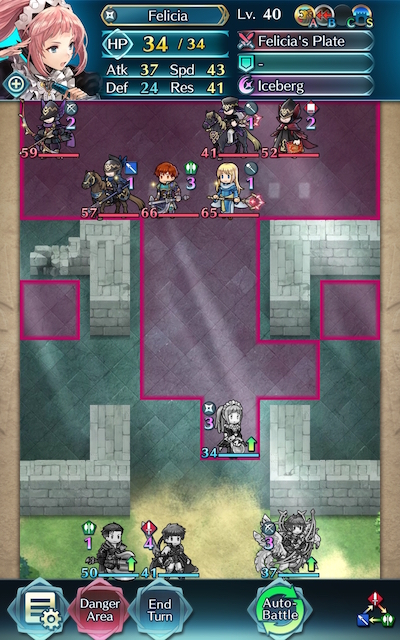
In particular, archers can be incredibly potent strikers due to their ability to overpower and/or finish off any enemies your tank may otherwise struggle with, especially if they are equipped with a Brave Bow. Brave Lyn, WF Hinoka, Summer Takumi, Bridal Cordelia, Klein, and Setsuna are potential strikers you may want to use, with a special mention going to Brave Lyn given her F2P status. While daggers are typically less useful than archers, Felicia is of special note here due to her ability to rather easily tank the healers on this map and finish off weakened foes.
Alternatively, melee Brave users are able to hit foes twice without retaliation, and may even quad hit if they outspeed an enemy. Cherche, Cordelia, Elincia, and WT Reinhardt are all great Brave users who can make excellent use of class-specific buffs. Finn is a great F2P option who would work particularly well in an all-cavalry team.
Brave and Blade tome wielders can also serve to be useful if your team composition provides them with the appropriate buffs, though speedy mages can also be powerful strikers. Tharja, Bridal Tharja, Reinhardt, Tailtiu, Ishtar, Linde, WT Olwen, SF Nino, and Nino are potential options here, especially if they are equipped with a Breaker skill to add to their coverage and/or are accompanied by a buffbot like Eirika or Ephraim.

Refreshers
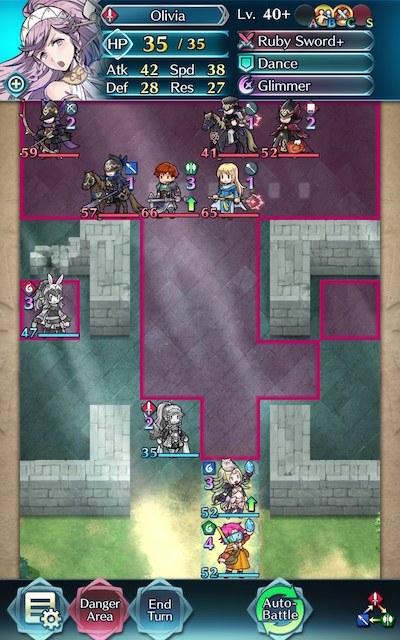
Refreshers help provide support, may even have a decent offensive presence themselves, and can usually tank a hit or two, if need be. Lene, Olivia, Performing Olivia, Performing Inigo, Performing Shigure, Performing Azura, Azura, New Year Azura, Bridal Ninian, and Ninian all give the refreshment that high-firepower units need while also possessing the ability to provide an assist to KO an enemy.
Strategy
Strategizing for this Bound Hero Battle is made rather complicated by the healers, even though there are no reinforcements. While it can be difficult to exactly predict what will happen due to IV / Merge variance, here’s some general tips to get you started.
Sizing Up
Like most Bound Hero and Grand Hero Battle guides advocate, most of these maps are won or lost before they even start. While it may be tempting to jump right in, knowing (and loving!) your enemy will help you not only choose your units, but also figure out where to begin.
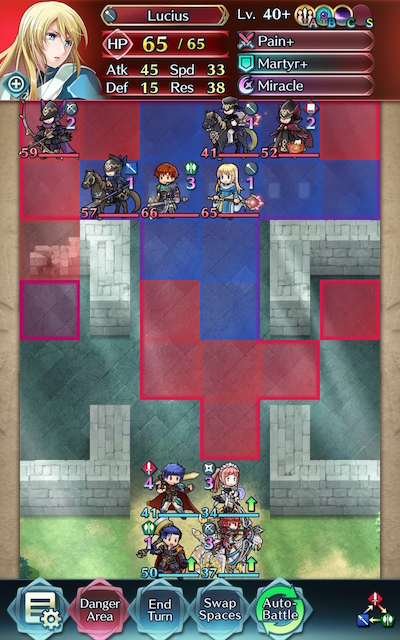
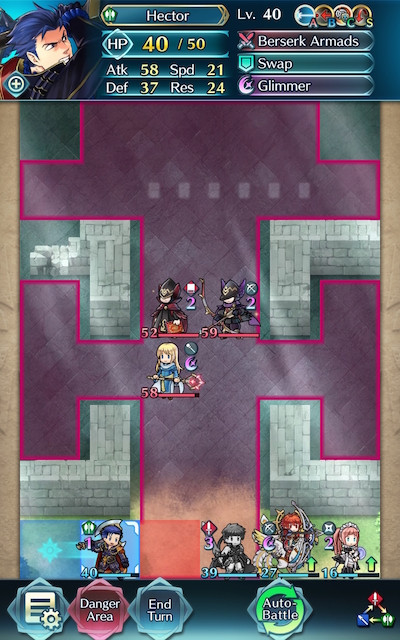
The elephant in the room in this BHB is definitely Lucius and his healer entourage… for good reason! Both of them tote the incredibly annoying Pain+Savage Blow wombo combo, and while Lucius is wielding Dazzling Staff (which makes your units unable to counterattack him) as well as a nearly fully-charged Miracle, the other healer’s Wrathful Staff means that she’ll be dealing 48 neutral damage to anyone she targets -- assuming you aren’t running a Raven tome and Triangle Adept. It’s a combination that’s almost guaranteed to cause you to tear your hair out, so the less you have to deal with it, the better. If you can, KOing Lucius early will save you a lot of heartbreak; if you can’t, then you’ll just have to play around him.
Starting Out
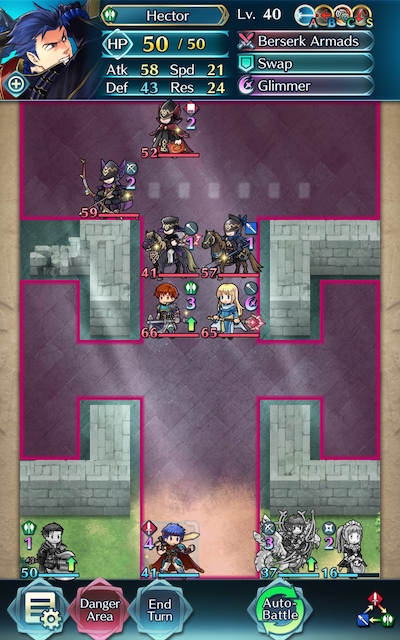
So we ask the age-old question -- where should you begin? While Raven himself should be easily handled by any red unit with good Defense, baiting him isn’t a great option due to all the attacks your unit would have to weather in a row. That leaves two options; though one is more apparent than the other.
Your first, more obvious option is the spot on the bottom right that causes your unit to only be in Lucius’ range. While this isn’t ideal due to the chip damage he will be able to deal with Pain (and the hoops you have to jump through to prevent Savage Blow from activating), it will allow you to more easily take advantage of buffs, Drives, and Spurs, and will also keep you from separating your forces. For many players, this space may be the lesser of two evils, but it’s not your only available avenue.
Though it’s easy to glance over, the spot at the top left of the danger zone behind the breakable wall is also an option, though it does have its issues. If your unit is able to survive the archer and target their lower Resistance, there’s a good chance this foe will be defeated first turn! The bad news is that now that your unit is overextended, it’s likely they won’t be able to rejoin your other units and will likely be overwhelmed by the enemy. Skills such as Wings of Mercy and Escape Route can alleviate this problem, but may take some experimentation and aren’t guaranteed to work. Still, this spot is worth considering if conventional strategies are proving to be too difficult and you have the right tank for the job.
While the opposite spot on the right can also be used, since it requires some more complex maneuvering to reach (and may result in one of your other units being targeted in the process), it may not be the best choice.
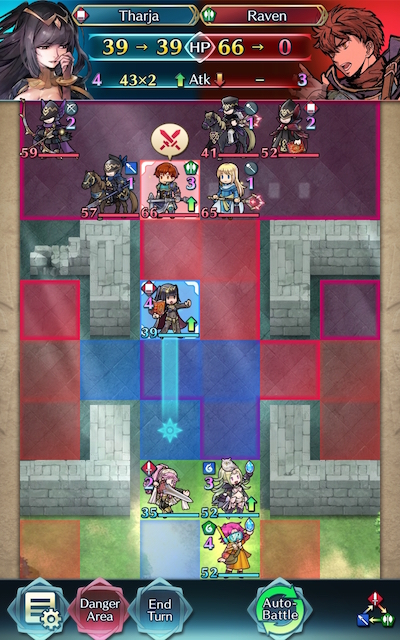
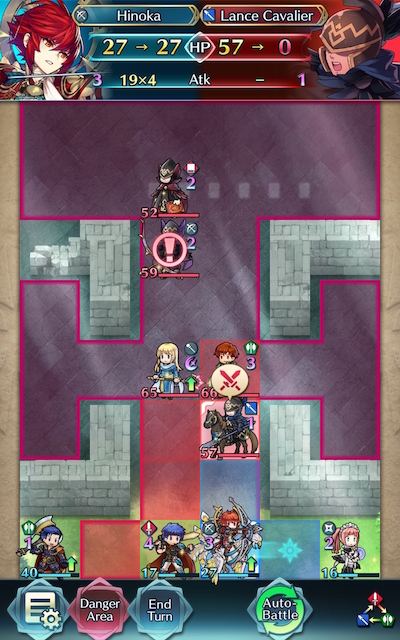
Finally, there’s the typical strike-and-retreat method, with your target this time being Raven. If you can KO him outright, that’s one less enemy to worry about -- speedy red mages and/or Blade tomes will likely prove to be powerful tools for this, given his weaker Resistance reasonably low Speed.
Unusually Unfortunate
So let’s say you’re in the worst case scenario of these three options on the second turn -- while you avoided Savage Blow damage, your chosen bait unit is feeling the Pain from Lucius and now the other foes are advancing. What now? As is customary with most Infernal maps, this is now a war of attrition, and it’s a war you’re determined to win.
While you may be tempted to charge forward before you run out of maneuvering room, it’s usually best not to rush. Raven and the lance cavalier are somewhat pushovers that should be hard countered by any unit with a Weapons Triangle Advantage. Your main goal should likely be to KO the other healer this turn so once you start attacking Lucius, he can’t be healed. Any strong Enemy Phase-oriented tank should do the trick, assuming they target this foe’s Defense.
Quantitative Quads
If you’re struggling with a certain foe, quads are almost guaranteed to KO them outright. While you’ll need a Brave weapon and a decent amount of Speed (or a Breaker skill) to ensure this happens, they can be a great way to stop an enemy in their tracks.
Mastering Manipulation
One of the keys to victory in Infernal maps is understanding the game’s (sometimes incredibly janky) AI, and though this is no simple feat, even having a basic idea of what you foe is going to do next will help you tremendously. Since enemies will usually target the unit who they will deal the most damage to, sometimes it can be beneficial to move one of your units in-range (regardless of whether they can counterattack or not) so that they can prevent one of your other units from getting attacked. Assuming they won’t be KO’d, this will help you conserve HP on your other units for when you need it.
Miserable Miracle
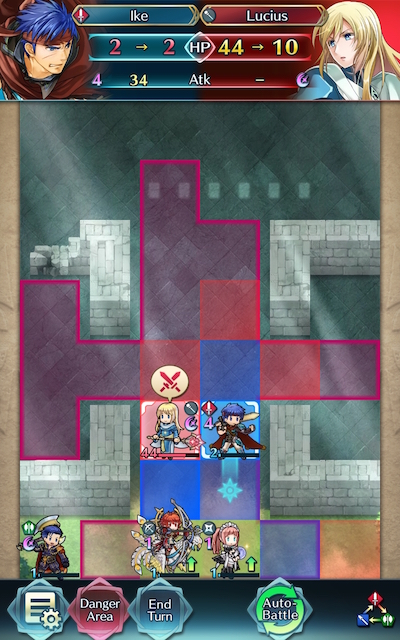
As if Lucius couldn’t possibly get more annoying, his charged Miracle will allow him to survive a blow that would otherwise KO him. This means that even if he’s hit with a Special activation or Brave weapon, he won’t be down for the count -- and if your units are getting low on HP, this could spell out disaster for you.
The simple solution to this is to attack Lucius with a melee unit first, and then attack him with your unit who can double. That way, your first attack will bring Lucius to 1 HP, while your second will finally finish him off for good!
If At First You Don’t Succeed
Don’t be fooled by video walkthroughs of any Bound Hero Battle that you watch -- it’s very rare for anyone to beat high-difficulty content (or record a video of themselves doing so!) on their first try. Additionally, the potential variance in unit builds that Skill Inheritance brought along with the random nature of summoning has resulted in pretty much every single summoner having different building blocks to work with. This, when combined with the high difficulty level of Infernal, may prove frustrating while someone is trying to find the right combination of units and moves. The key thing to keep in mind is that it may take some light Skill Inheritance and seal shuffling as well as multiple tries of the map to find a strategy that works for you. Every single turn you complete gets you one step closer to completing the puzzle. Finally, reading about or watching videos of successful strategies may also help you break through a particularly difficult turn that you can’t complete, or may give you ideas of a new unit to use.
Map Enemies
- Hard
- Lunatic
- Infernal
| HP | ATK | SPD | DEF | RES | |
|---|---|---|---|---|---|
| 44 | 38 | 27 | 26 | 14 | |
| Weapon | Slaying Bow | A | Bracing Blow 1 | ||
| Support | B | Poison Strike 2 | |||
| Special | Vengeance | C | Savage Blow 3 | ||
| HP | ATK | SPD | DEF | RES | |
|---|---|---|---|---|---|
| 38 | 38 | 30 | 18 | 25 | |
| Weapon | Bolganone | A | Swift Strike 1 | ||
| Support | B | Swordbreaker 2 | |||
| Special | Reprisal | C | Drive Atk 2 | ||
| HP | ATK | SPD | DEF | RES | |
|---|---|---|---|---|---|
| 41 | 42 | 22 | 23 | 28 | |
| Weapon | Slaying Lance | A | Fire Boost 3 | ||
| Support | B | Obstruct 2 | |||
| Special | Moonbow | C | Fortify Def 2 | ||
| HP | ATK | SPD | DEF | RES | |
|---|---|---|---|---|---|
| 49 | 40 | 28 | 23 | 20 | |
| Weapon | Brave Axe+ | A | Defiant Spd 3 | ||
| Support | B | Wrath 3 | |||
| Special | Sol | C | Threaten Def 3 | ||
| HP | ATK | SPD | DEF | RES | |
|---|---|---|---|---|---|
| 50 | 39 | 28 | 12 | 33 | |
| Weapon | Pain+ | A | HP +5 | ||
| Support | Martyr+ | B | Dazzling Staff 3 | ||
| Special | Miracle | C | Savage Blow 3 | ||
| HP | ATK | SPD | DEF | RES | |
|---|---|---|---|---|---|
| 51 | 44 | 29 | 29 | 16 | |
| Weapon | Slaying Bow+ | A | Bracing Blow 2 | ||
| Support | B | Poison Strike 3 | |||
| Special | Vengeance | C | Savage Blow 3 | ||
| HP | ATK | SPD | DEF | RES | |
|---|---|---|---|---|---|
| 44 | 44 | 32 | 20 | 28 | |
| Weapon | Bolganone+ | A | Swift Strike 2 | ||
| Support | B | Swordbreaker 3 | |||
| Special | Reprisal | C | Drive Atk 2 | ||
| HP | ATK | SPD | DEF | RES | |
|---|---|---|---|---|---|
| 49 | 48 | 24 | 25 | 30 | |
| Weapon | Slaying Lance+ | A | Fire Boost 3 | ||
| Support | B | Obstruct 3 | |||
| Special | Moonbow | C | Fortify Def 3 | ||
| HP | ATK | SPD | DEF | RES | |
|---|---|---|---|---|---|
| 57 | 42 | 30 | 25 | 22 | |
| Weapon | Brave Axe+ | A | Defiant Spd 3 | ||
| Support | B | Wrath 3 | |||
| Special | Sol | C | Threaten Def 3 | ||
| HP | ATK | SPD | DEF | RES | |
|---|---|---|---|---|---|
| 56 | 42 | 30 | 13 | 35 | |
| Weapon | Pain+ | A | HP +5 | ||
| Support | Martyr+ | B | Dazzling Staff 3 | ||
| Special | Miracle | C | Savage Blow 3 | ||
| HP | ATK | SPD | DEF | RES | |
|---|---|---|---|---|---|
| 59 | 47 | 32 | 32 | 17 | |
| Weapon | Slaying Bow+ | A | Bracing Blow 2 | ||
| Support | B | Poison Strike 3 | |||
| Special | Vengeance | C | Savage Blow 3 | ||
| HP | ATK | SPD | DEF | RES | |
|---|---|---|---|---|---|
| 41 | 48 | 23 | 22 | 45 | |
| Weapon | Pain+ | A | Attack +3 | ||
| Support | Rehabilitate+ | B | Wrathful Staff 3 | ||
| Special | Swift-Winds Balm | C | Savage Blow 3 | ||
| HP | ATK | SPD | DEF | RES | |
|---|---|---|---|---|---|
| 52 | 47 | 35 | 22 | 31 | |
| Weapon | Bolganone | A | Swift Strike 2 | ||
| Support | B | Swordbreaker 3 | |||
| Special | Reprisal | C | Drive Atk 2 | ||
| HP | ATK | SPD | DEF | RES | |
|---|---|---|---|---|---|
| 57 | 51 | 27 | 28 | 33 | |
| Weapon | Slaying Lance+ | A | Fire Boost 3 | ||
| Support | B | Obstruct 3 | |||
| Special | Moonbow | C | Fortify Def 3 | ||
| HP | ATK | SPD | DEF | RES | |
|---|---|---|---|---|---|
| 66 | 45 | 33 | 28 | 24 | |
| Weapon | Brave Axe+ | A | Defiant Spd 3 | ||
| Support | B | Wrath 3 | |||
| Special | Sol | C | Threaten Def 3 | ||
| HP | ATK | SPD | DEF | RES | |
|---|---|---|---|---|---|
| 65 | 45 | 33 | 15 | 38 | |
| Weapon | Pain+ | A | HP +5 | ||
| Support | Martyr+ | B | Dazzling Staff 3 | ||
| Special | Miracle | C | Savage Blow 3 | ||
User Submitted Teams
Follow the steps in the video above. https://www.youtube.com/watch?v=smva2j6MxYM Note: Robin and Corrin have an S Support while Tana and Azura Have an S Support
See link below to see Camilla Emblem in Action:
https://www.youtube.com/watch?v=RtSroVj1nSA&t=51s
We use my Camilla Emblem to beat the Infernal Difficulty for this Bound Hero Battle: Link Below
https://www.youtube.com/watch?v=ajqLzNyiONE&feature=youtu.be
(Lunatic all missions) https://youtu.be/h-BOyNsIUrw
(Old Infernal) https://youtu.be/n1MrzzBEZf8


