Possible Drops:
--
Mission and Clear Conditions:
Mission: Capture Command Post
S-Rank: 15 Kills within 8 Turns
Thank you to @Owls#1086 for help with Clear Condition Translations
Clear Guide:
Team Recommendations:
- 2 Combat Echelons Level 90 5x
- High DPS recommended ,there are several Black Beans running about
- 2 Dummy Echelons
Clear Steps
Gimmicks and Red Beans ahoy. We cannot directly encircle the Command Post. In fact, we cannot even indirectly encircle it, and one way paths prevent Parachute Fairy cheese. Instead, we must convert the three Black Beans surrounding the Command Post into friendly RO635’s, and they will encircle the Heliport. Unfortunately, they also add multiple ways to brick this map without a Parachute Fairy. Speaking of Parachute Fairies, they can speed up the map quite a bit, as the upper left Radar will remove the Red Beans from the upper left diamond, but it is not required in the least. Speaking of the upper left Diamond, do not kill the Black Bean until it is positioned at the top of the diamond, as this will brick the map as well. Fun, huh?
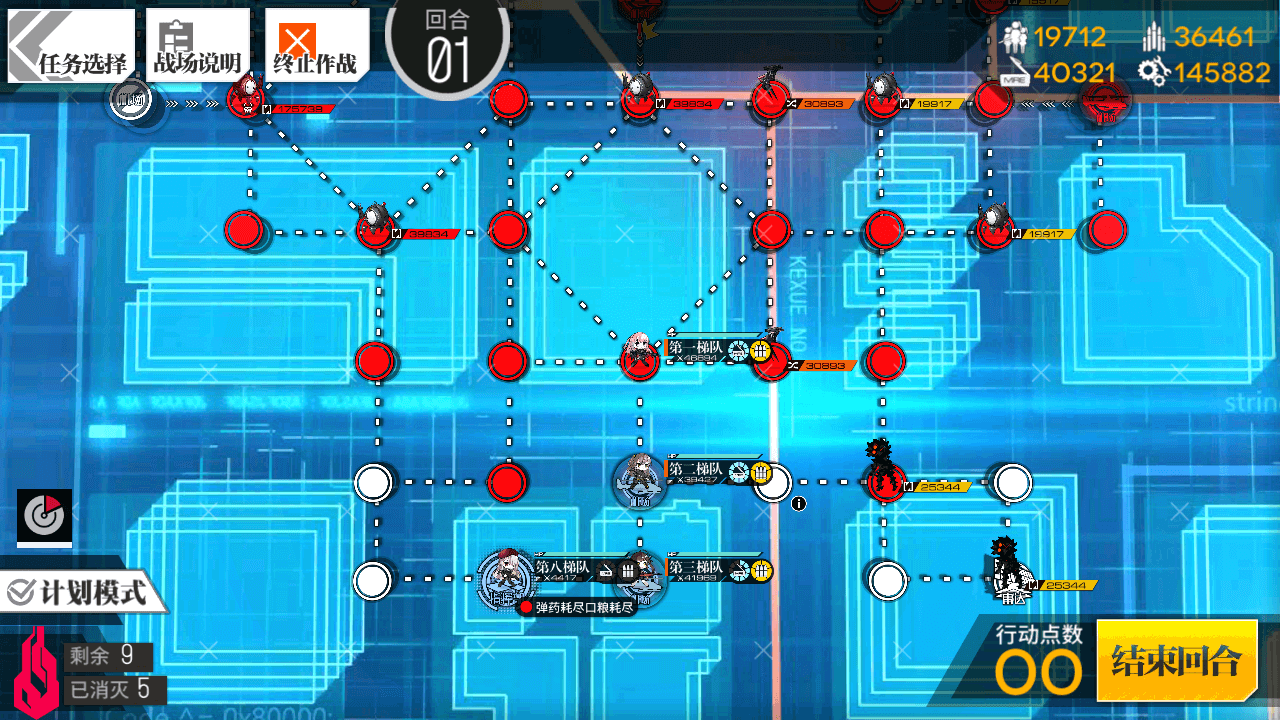
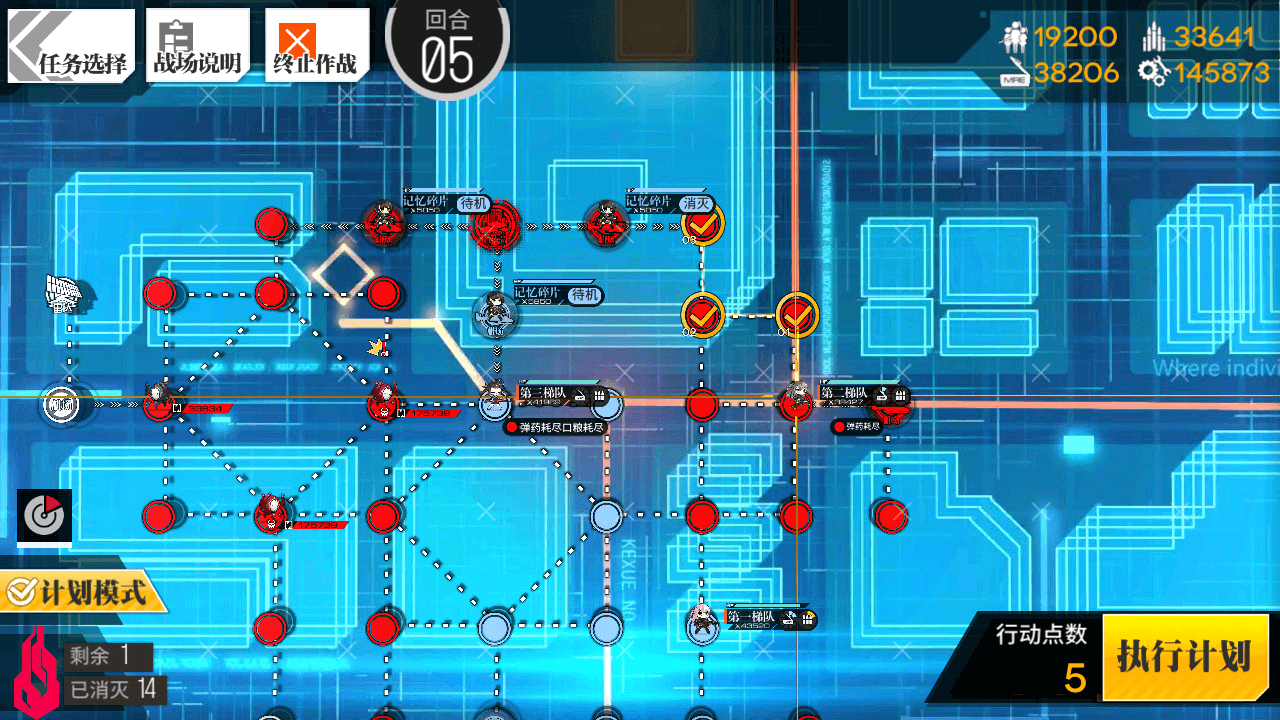
Turn 1
1.1
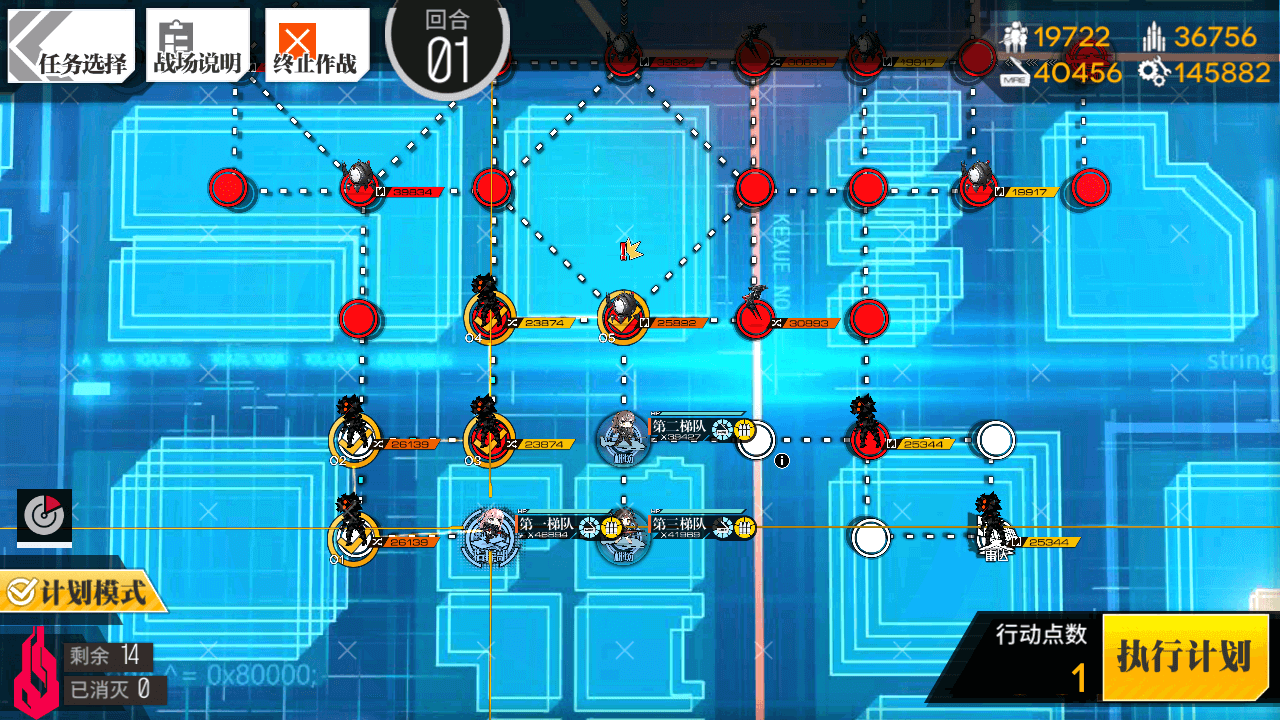
Deploy a Combat Echelon on the Command Post, and on the upper Heliport. Deploy a Dummy on the other Heliport.
Move the Command Post Echelon left, up, right, up, and right again.
1.2
Deploy a Dummy Echelon on the Command Post. Swap and resupply your Combat Teams.
Finally, set the RO who appeared beneath the Heliport to Standby. Failure to do so will Brick your run without Parachute fairies.

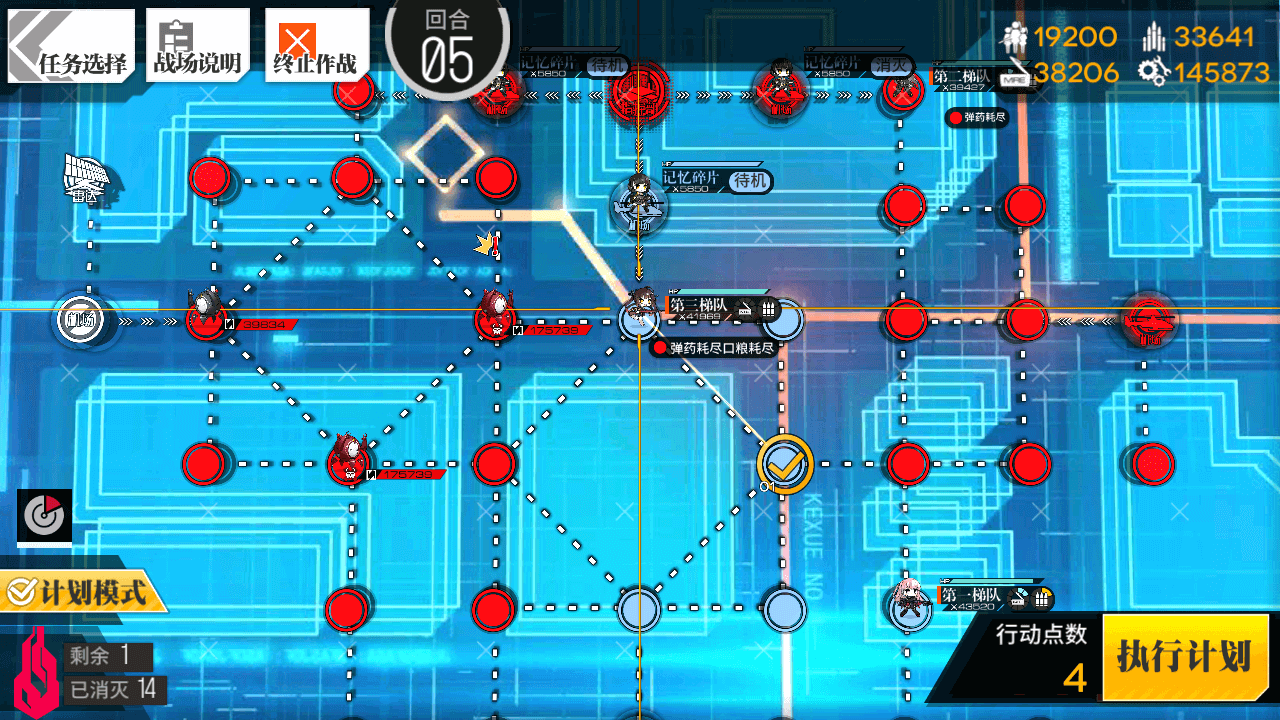
Turn 2
2.1
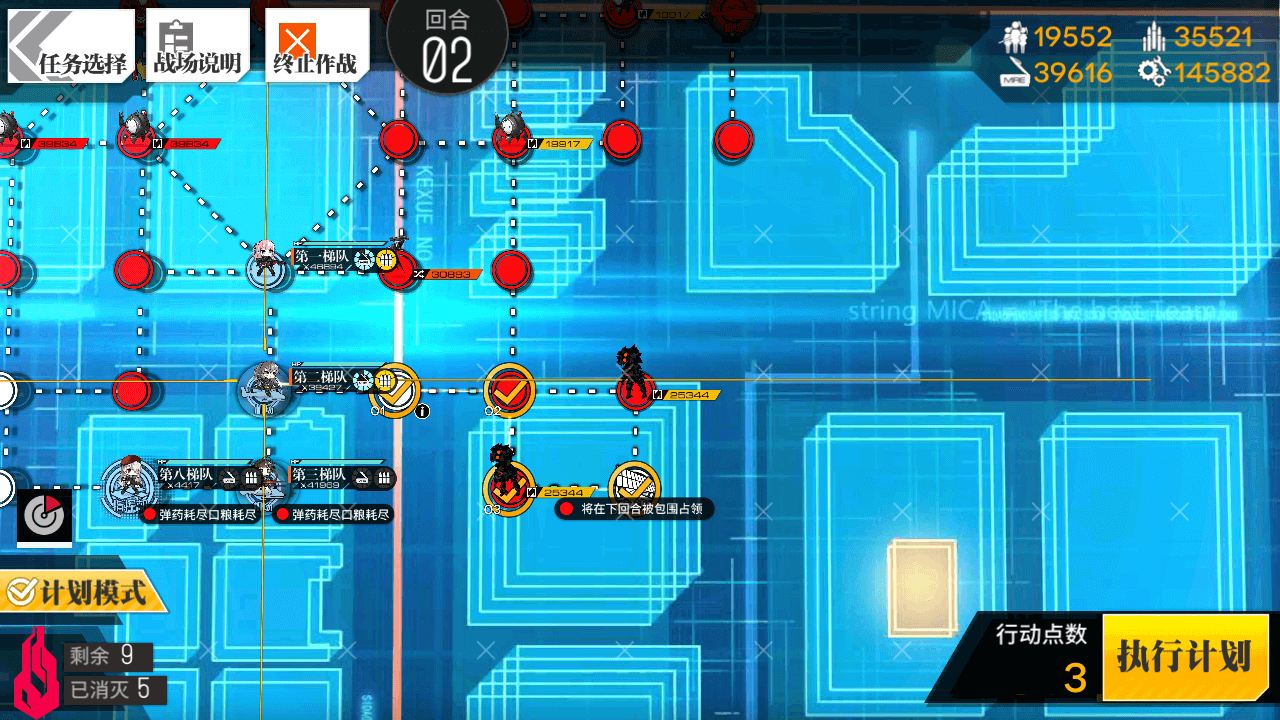
Move the lower Combat Echelon right two nodes, down one node, and right one further node. After stepping on the Radar, set the RO that replaced the Bean to the left of the enemy Command Post to Standby. Failure will brick your run.

2.2
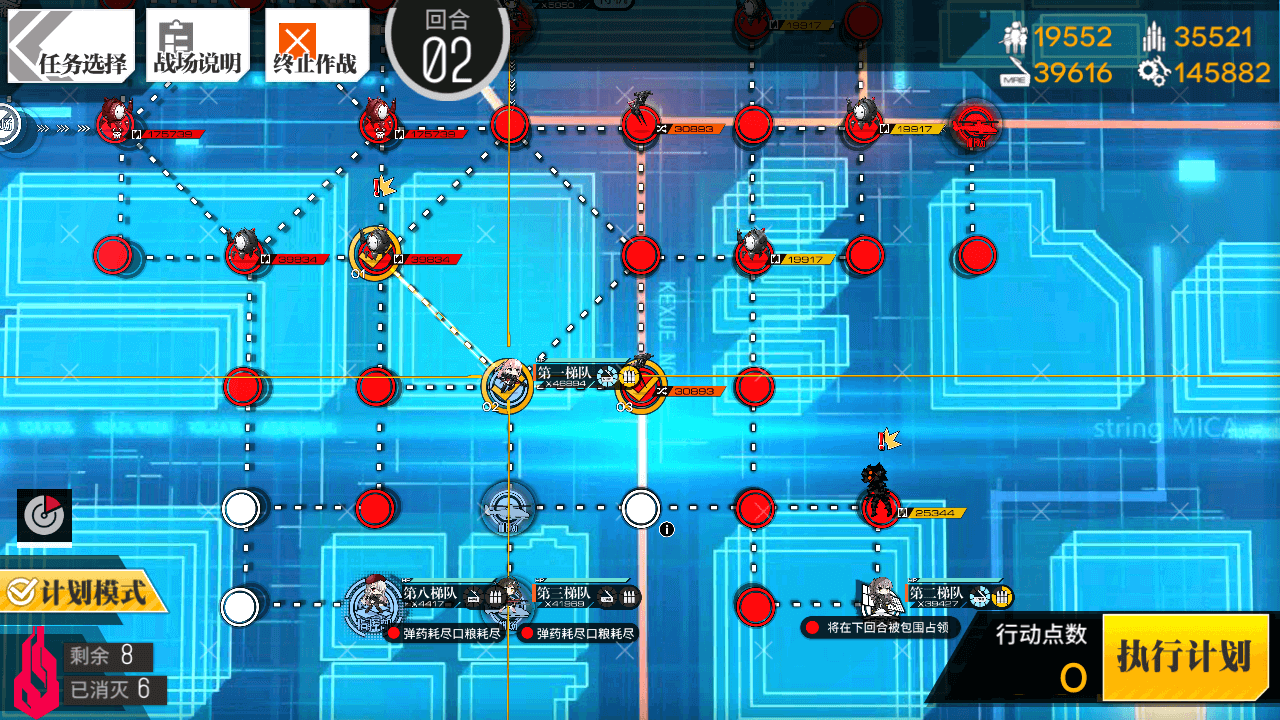
Move the upper Combat Echelon up-left to kill the Black Bean, then back down right, and right again. Mind the Jaguar behind those scouts.
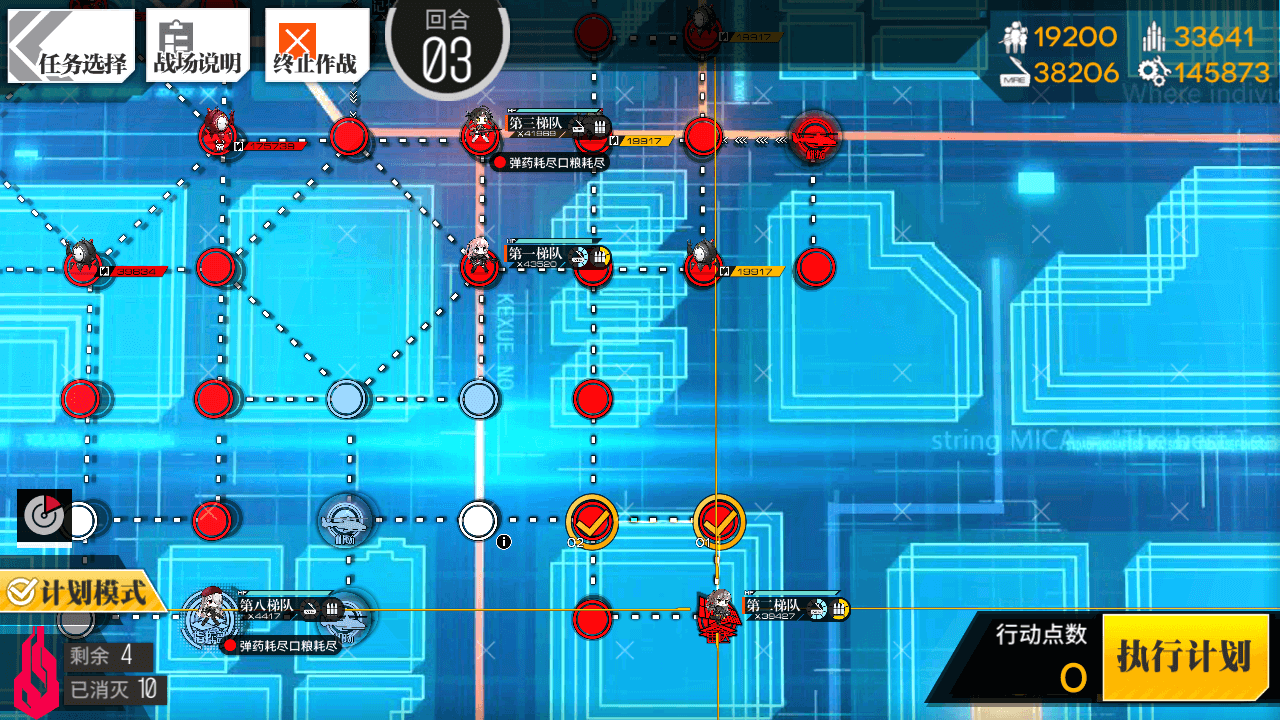
Turn 3
3.1
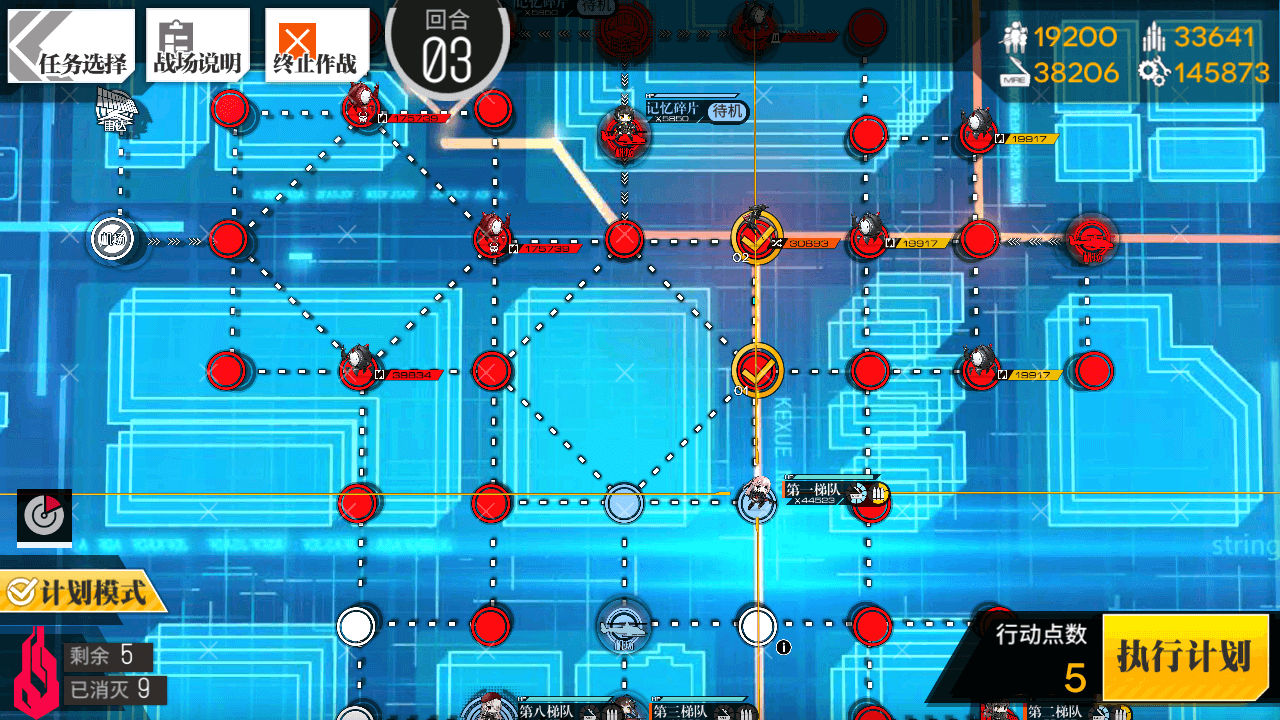
Move the upper Combat Echelon up two nodes to fight the Scouts. Again, mind the Jaguar.
3.2

Move the Dummy Echelon on the lower Heliport up two nodes, up-right one node ,and swap positions with the Combat Echelon.
3.3
Move the Combat Echelon on the Radar up, and to the left.
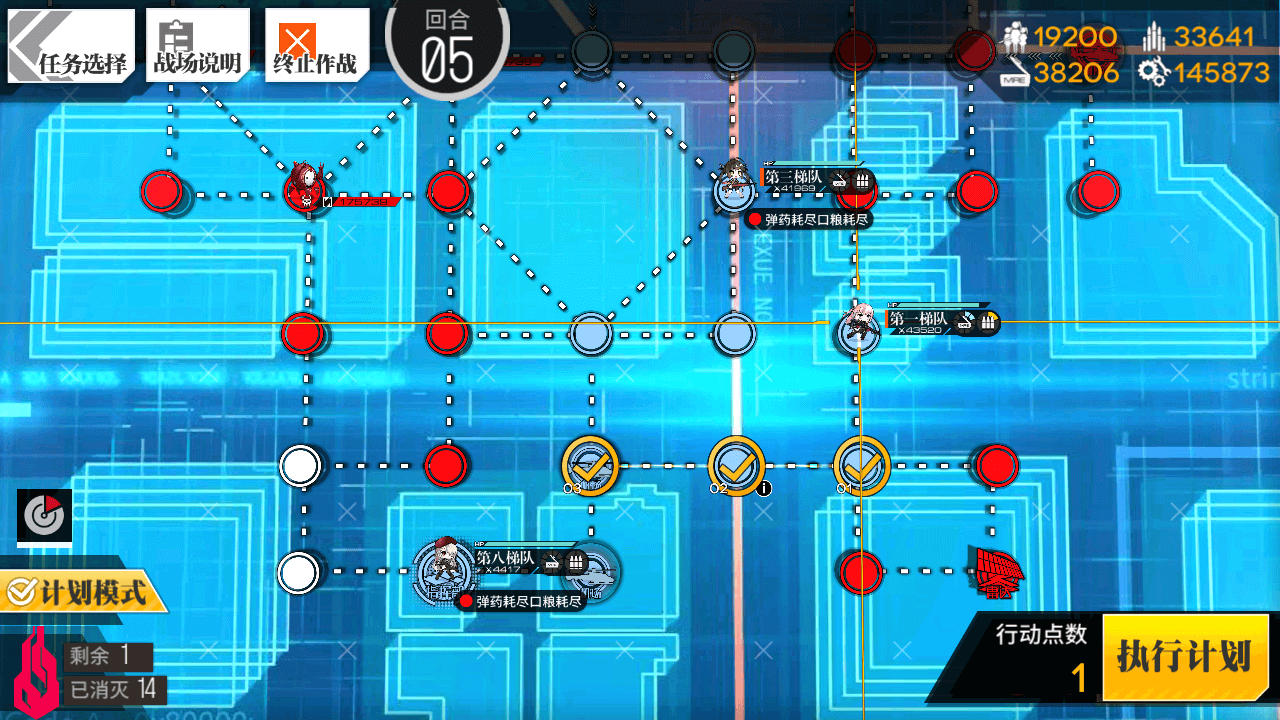
Turn 4
4.1
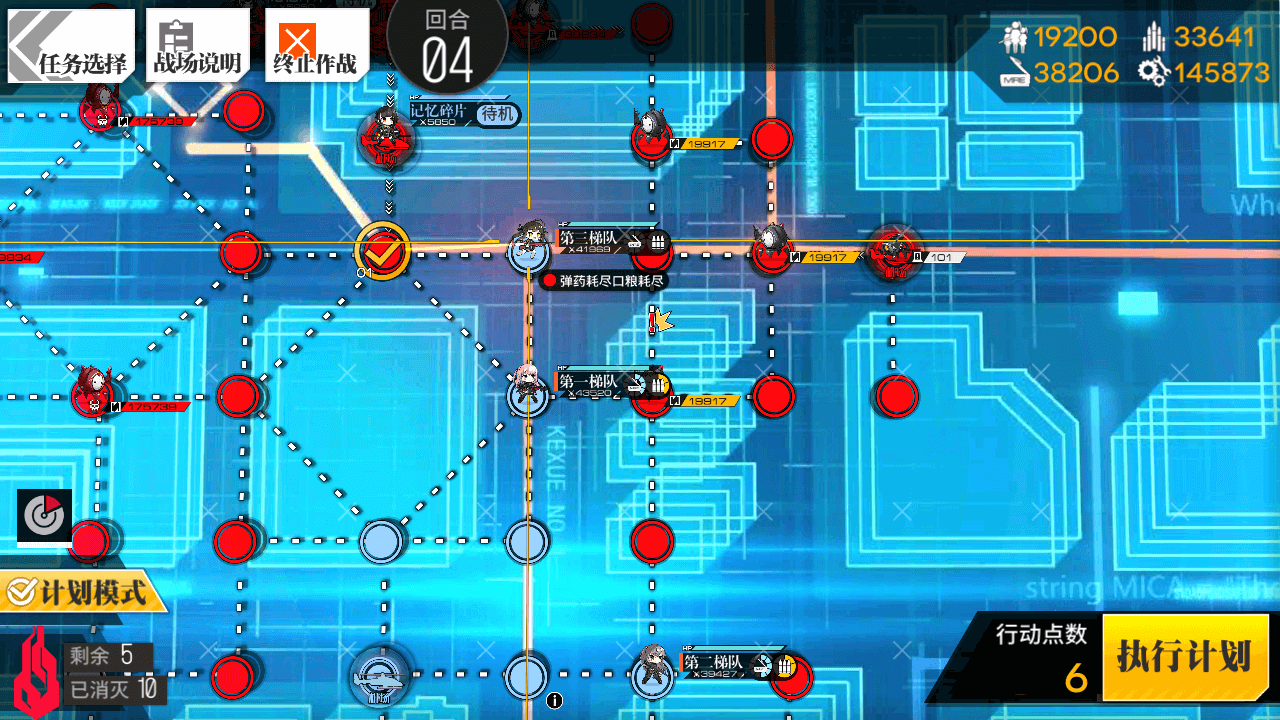
Move the Dummy Echelon to the left one node.
4.2
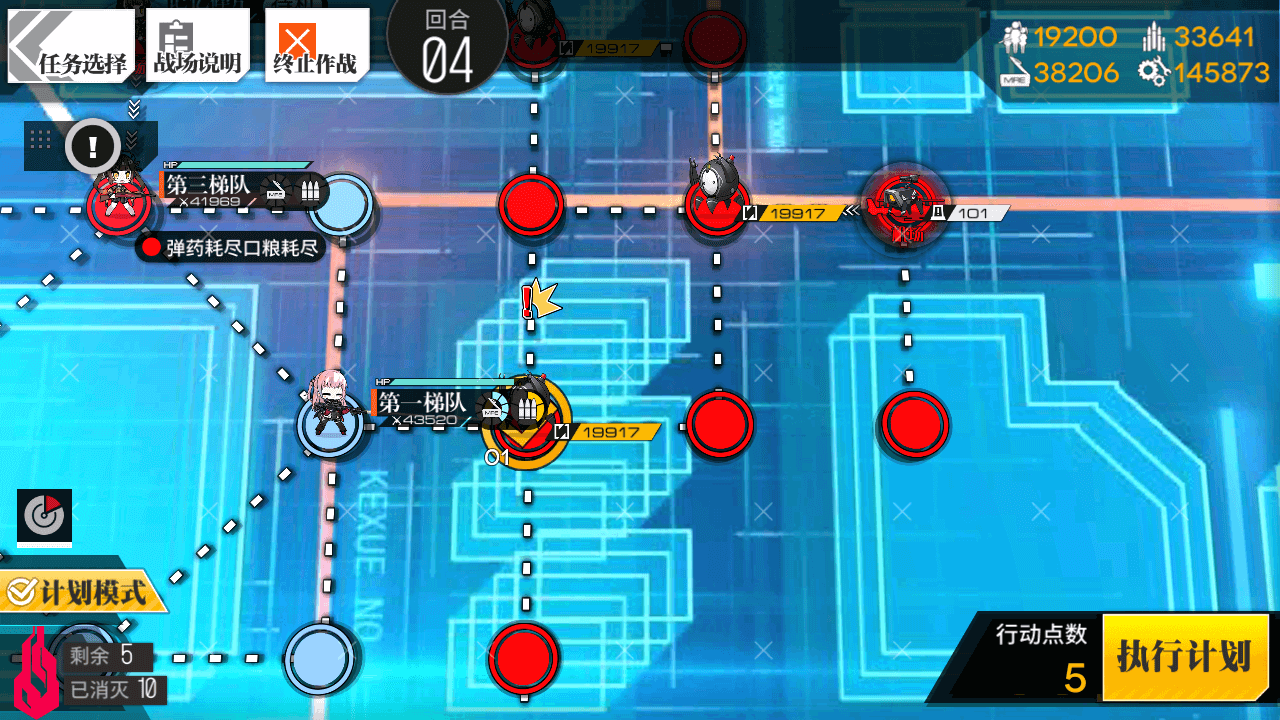
Move the upper Combat Echelon over one node to fight the Black Bean.
4.3
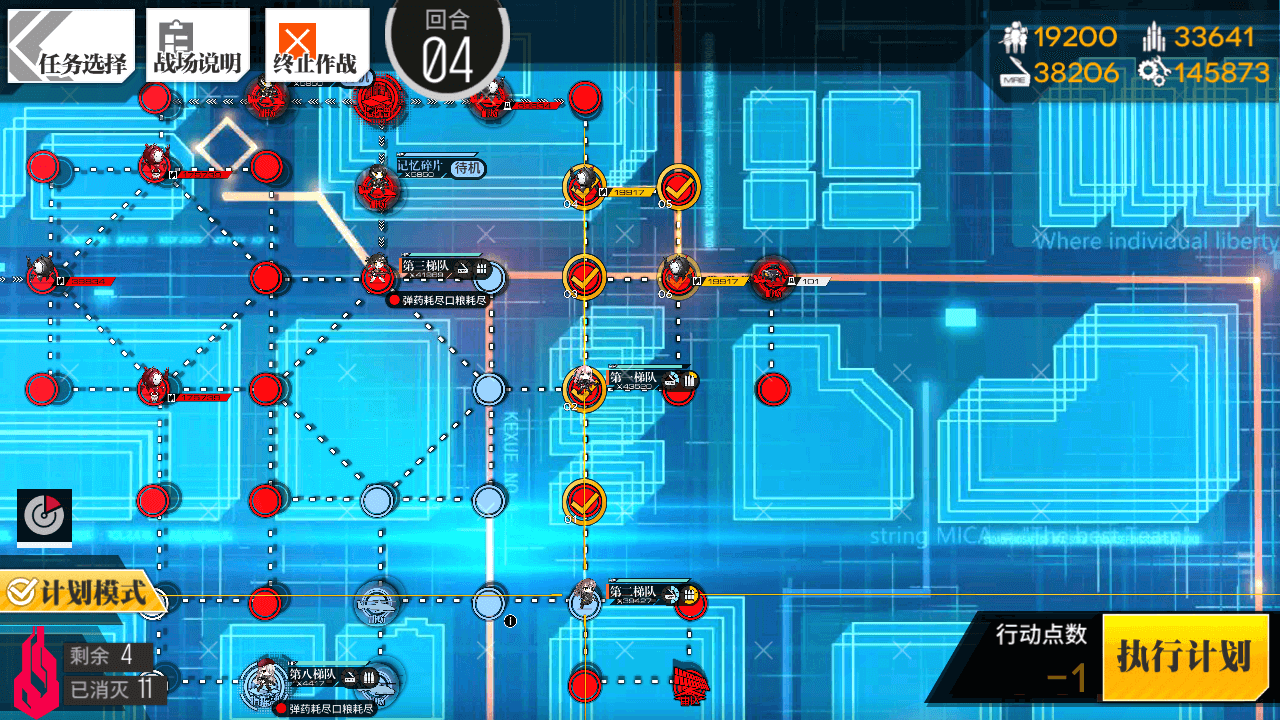
The lower Combat Echelon should move up four nodes, right one node, and down one node.
Turn 5
5.1
Move the Combat Echelon up one node, left one node, and up once again.
5.2
Move the Dummy Echelon back down one node.
5.3
Move the other Combat Echelon down one node, and to the left two nodes. End your turn.
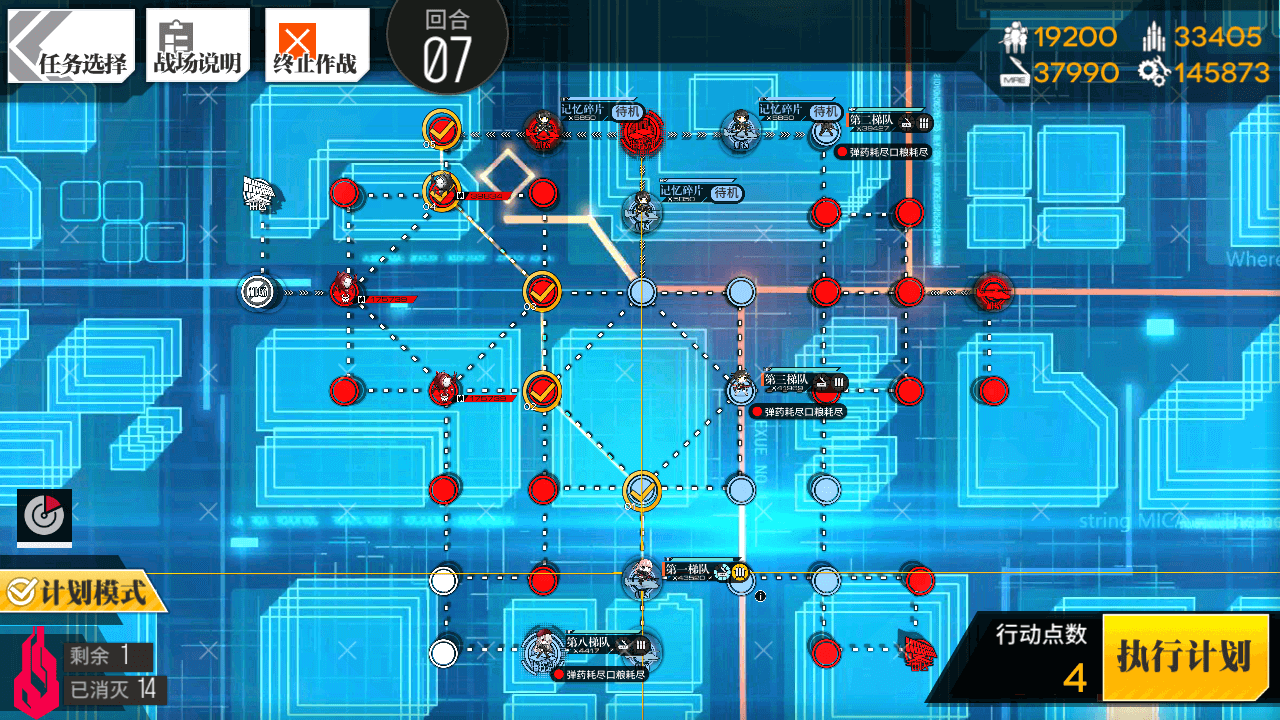
Turn 6
6.1

If you got lucky and the Goliath are there as on the screenshot, you can finish the Mission now!
Move the lower Combat Echelon up one node, up-left, up, and then up left once again, before finally moving up next to the RO. Surround the Command Post and end the mission.
If you got unlucky, you'll have to wait another turn.
End your turn.
Turn 7
7.1
Move the lower Combat Echelon up one node, up-left, up, and then up left once again, before finally moving up next to the RO. Surround the Command Post and end the mission.