Mission and Clear Conditions:
Mission:
Gold: Defeat 7 Enemies in 6 Turns and Capture the Enemy Command Post
Silver: Capture the 2 Heavy Heliport in the bottom right and top left corner
Clear Guide:
Team Recommendations:
- 2 ARSMG Echelons
- Due to the need to fight Dogs and their shield mechanics, RoF and Multi-hit Skills are recommended. Grenades can also be helpful for this map
- 3 HOCs
- Use the three starting HOCs (BGM, AGS, 2B14)
- Taunt or Twin Fairies recommended
Clear Steps
Shattered Connexion mechanics arrive in story fully:
EMP Towers, new KCCO Mobs, and Abandoned Buildings turning to Rubble. We will be using all of these tricks on this map to control and evade the various Enemies, although there are a few fights on the way.
As always, make sure to keep your tanks out of the Archer's Molotov arrows. MP5 Mod2, G36c or Thompson can help with these as well. Bring Rate of Fire or Multi-hit ARs to burst down the Shields on the Dogs as fast as possible, but outside of more precise movement and Enemy control, this map is relatively straightforward mechanically.
This one is 29 pages!!!!


Handholding intensifies.

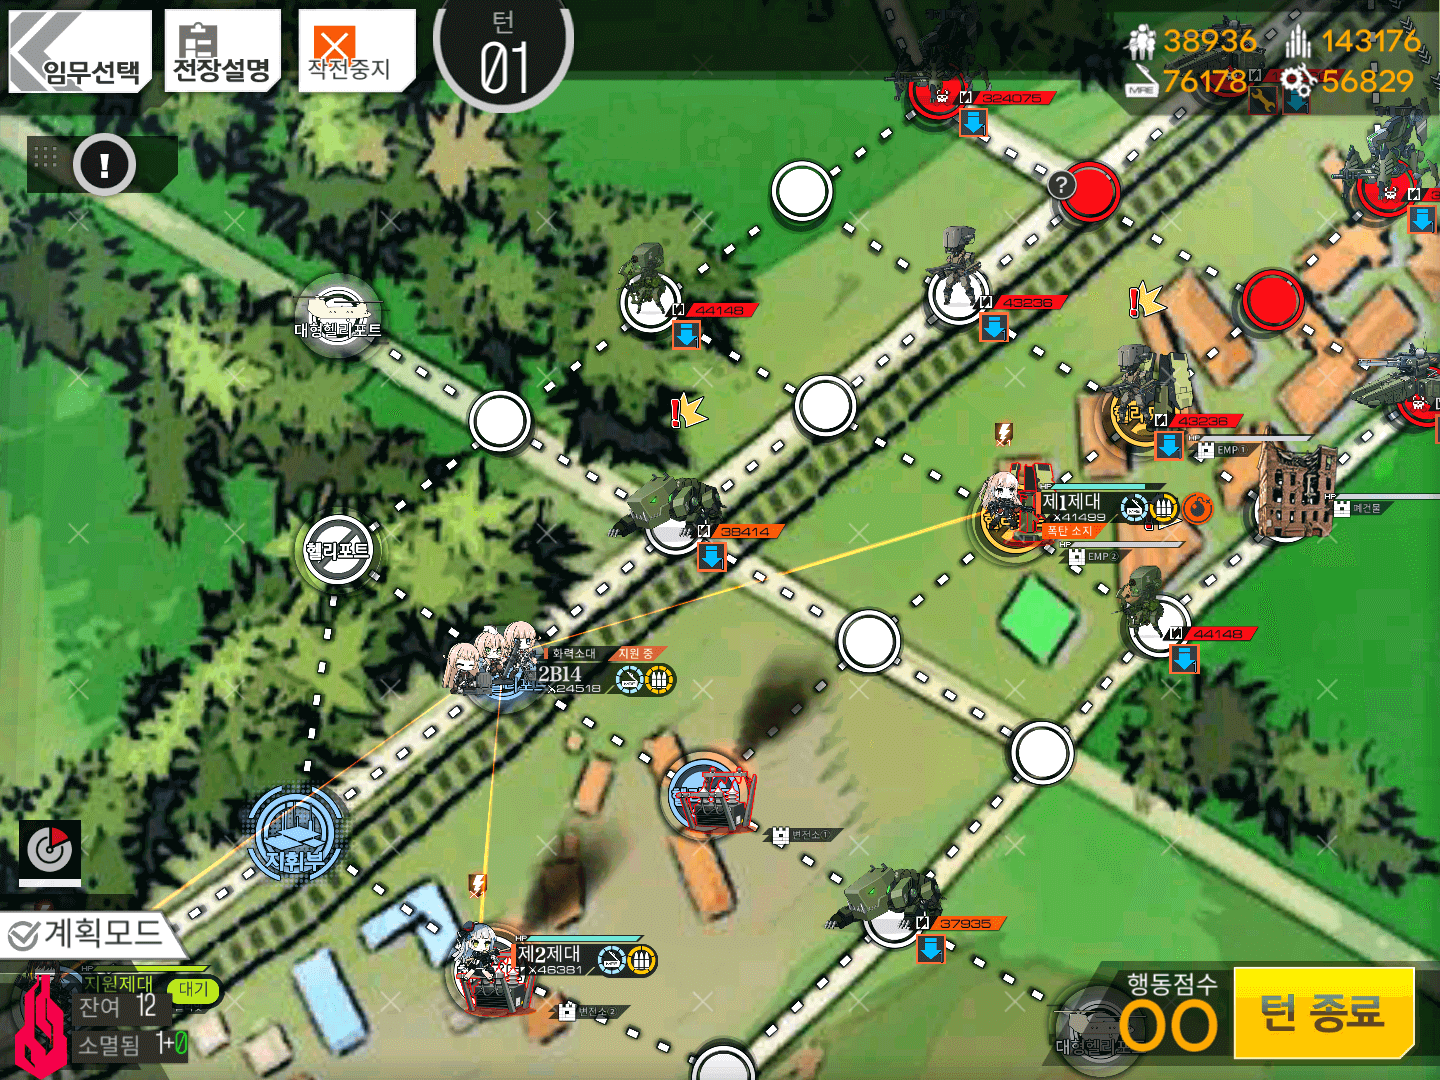
Turn 1
1.1

Deploy two Combat Echelons, preferably with Taunt or Twin Fairies. Send the Echelon on your Base down to pick up the Abandoned Goliath.
1.2
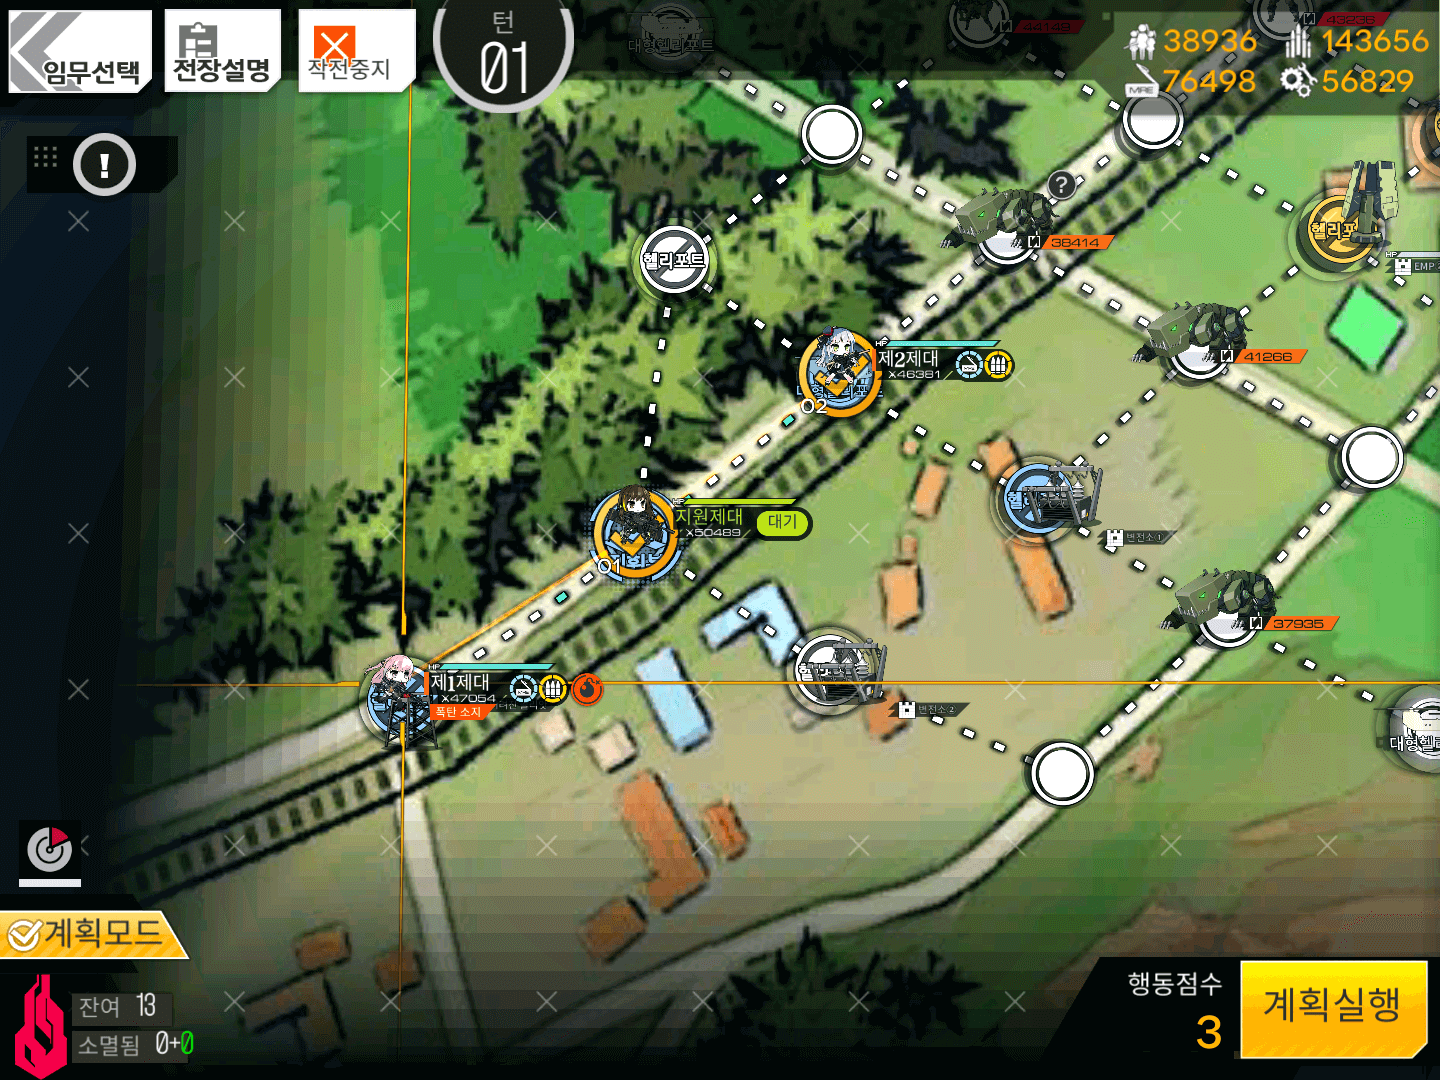
Deploy a Friend Echelon on your Base. Now switch your Goliath Echelon with the Friend and your Echelon on the Heavy Heliport, so the Echelon carrying the Goliath is on the Heavy Heliport, and the other is on the Command Post.
1.3
Move your Goliath Echelon down-right to the upper Powerplant and activate it, then move the Echelon from the base down-right to the lower Powerplant and activate it as well. This way, the EMP Towers will have even more power when activated.
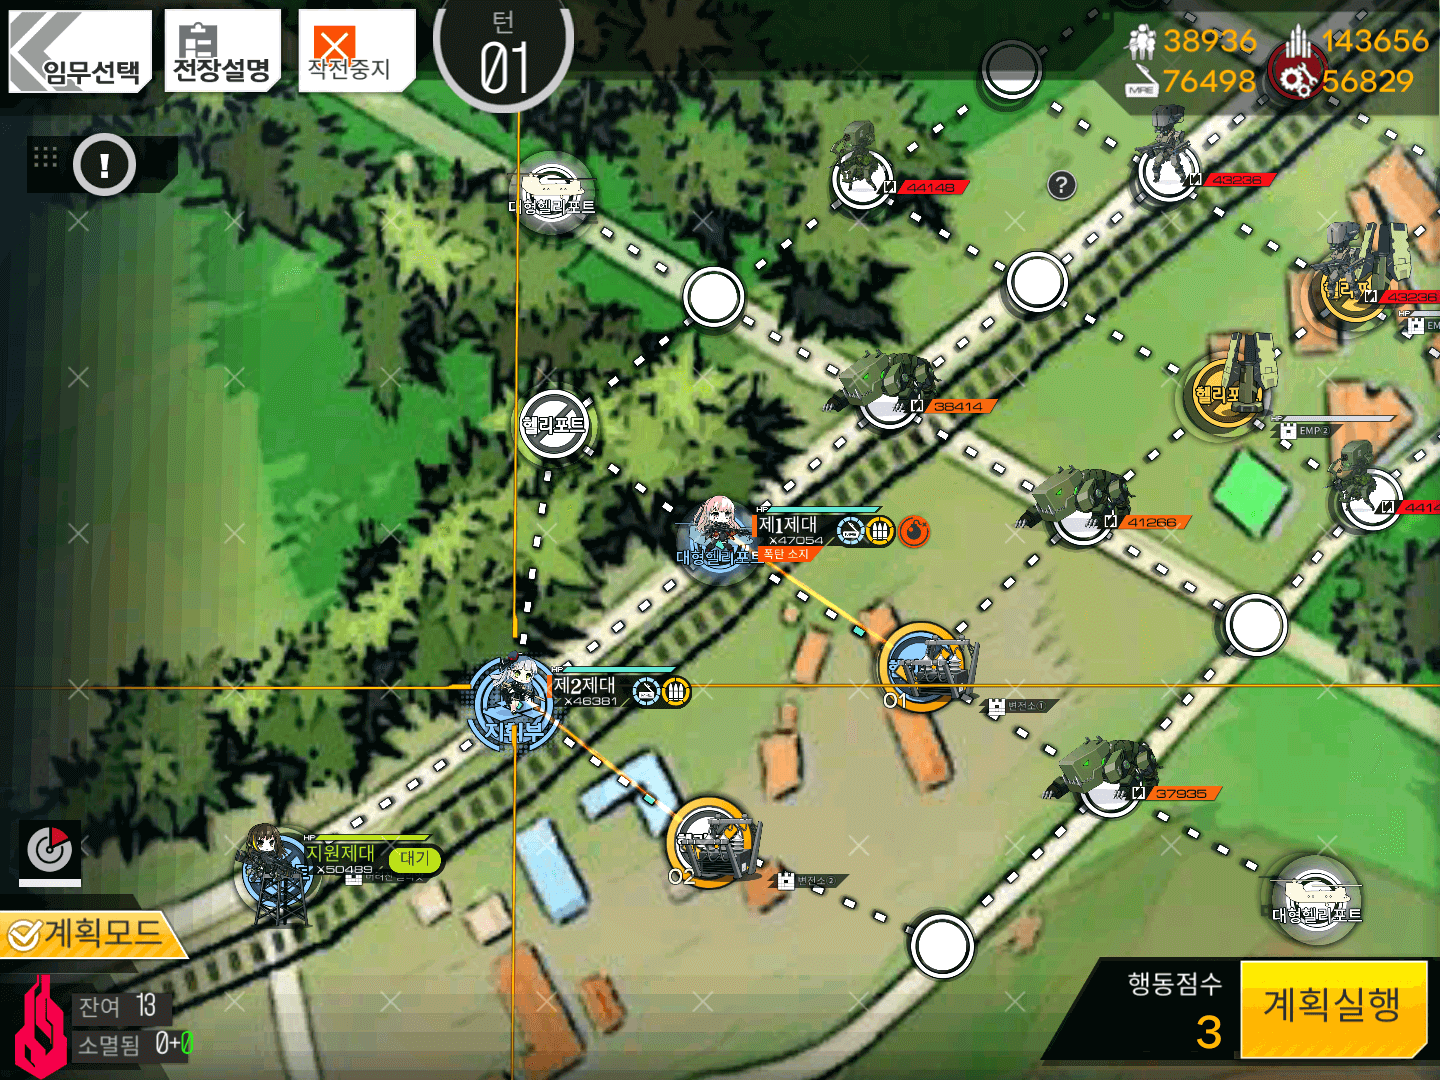
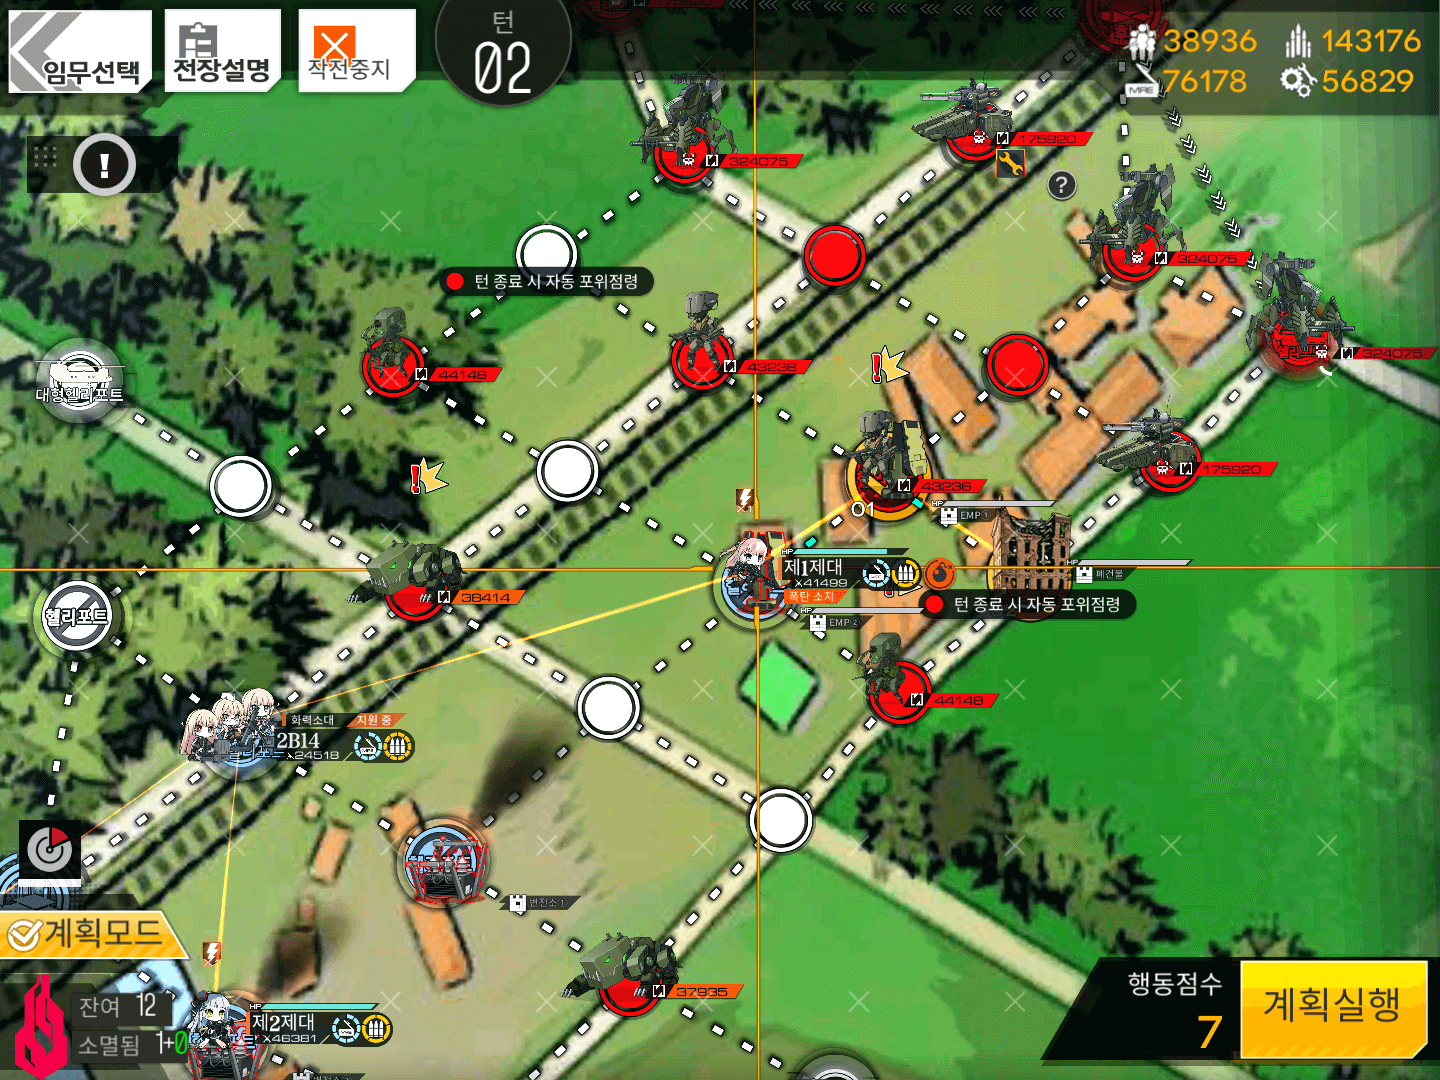
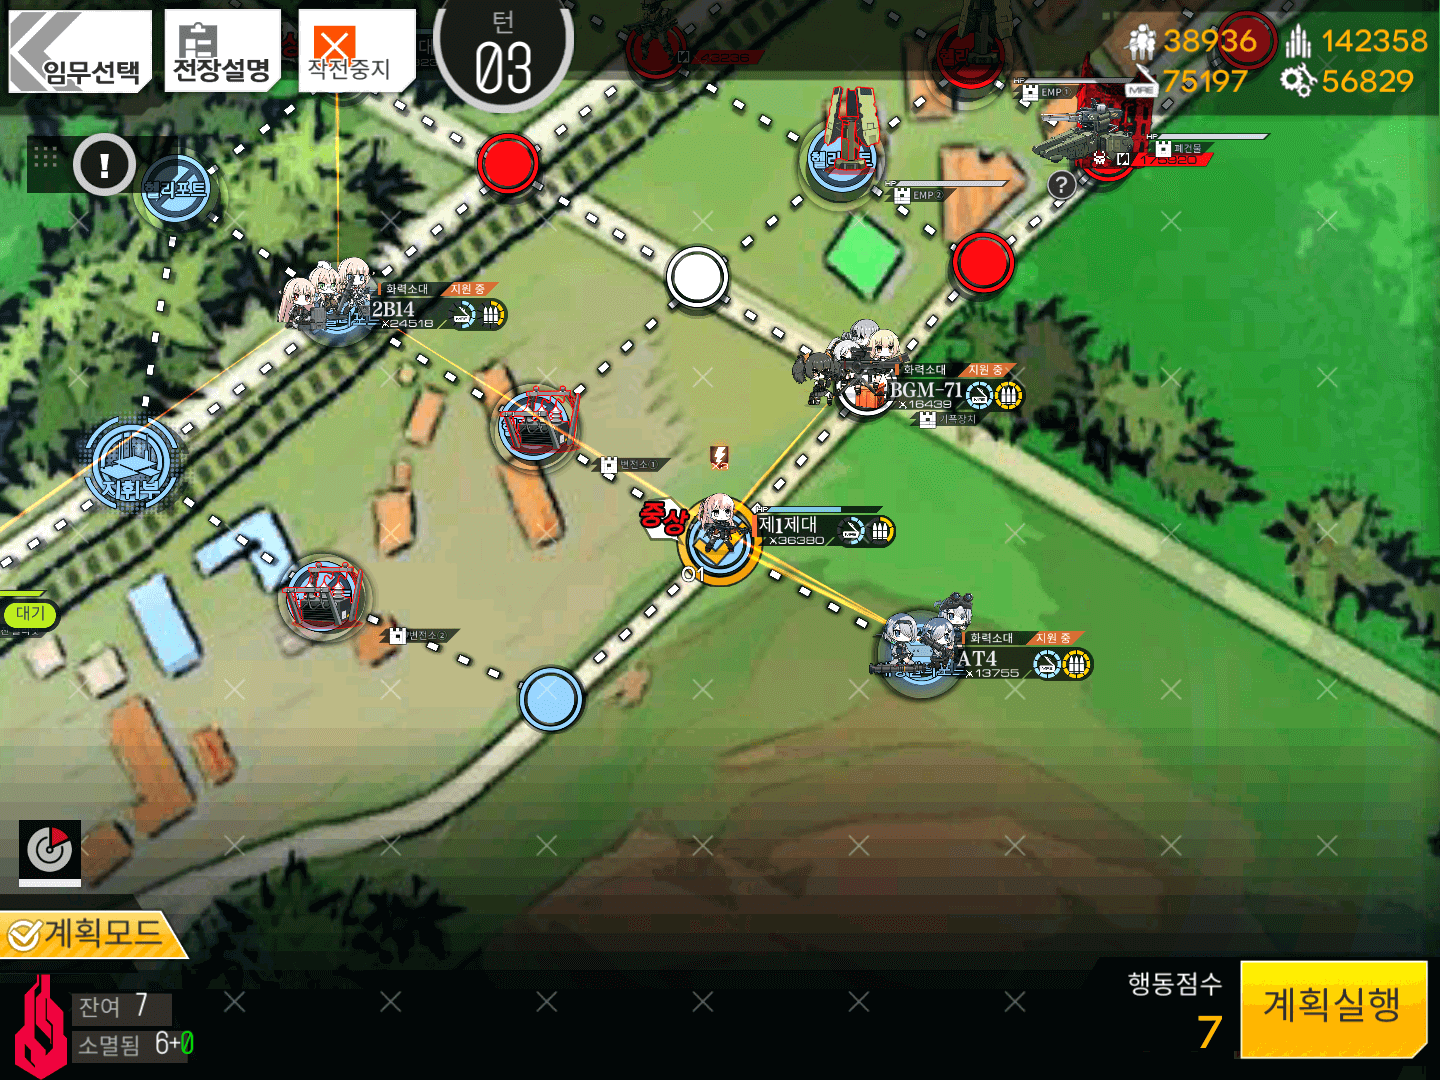
1.4

Move your Goliath Echelon up-right two nodes to the first EMP Tower and use the EMP.
Notice the blue Arrow-Down Icon on Enemies.
Thanks to the EMP all Enemies that got hit by it won’t be able to move this turn.
1.5
Deploy a 3-Range HOC (2B/M2/AGS) on the Heavy Heliport next to the Powerplant and then end your turn.
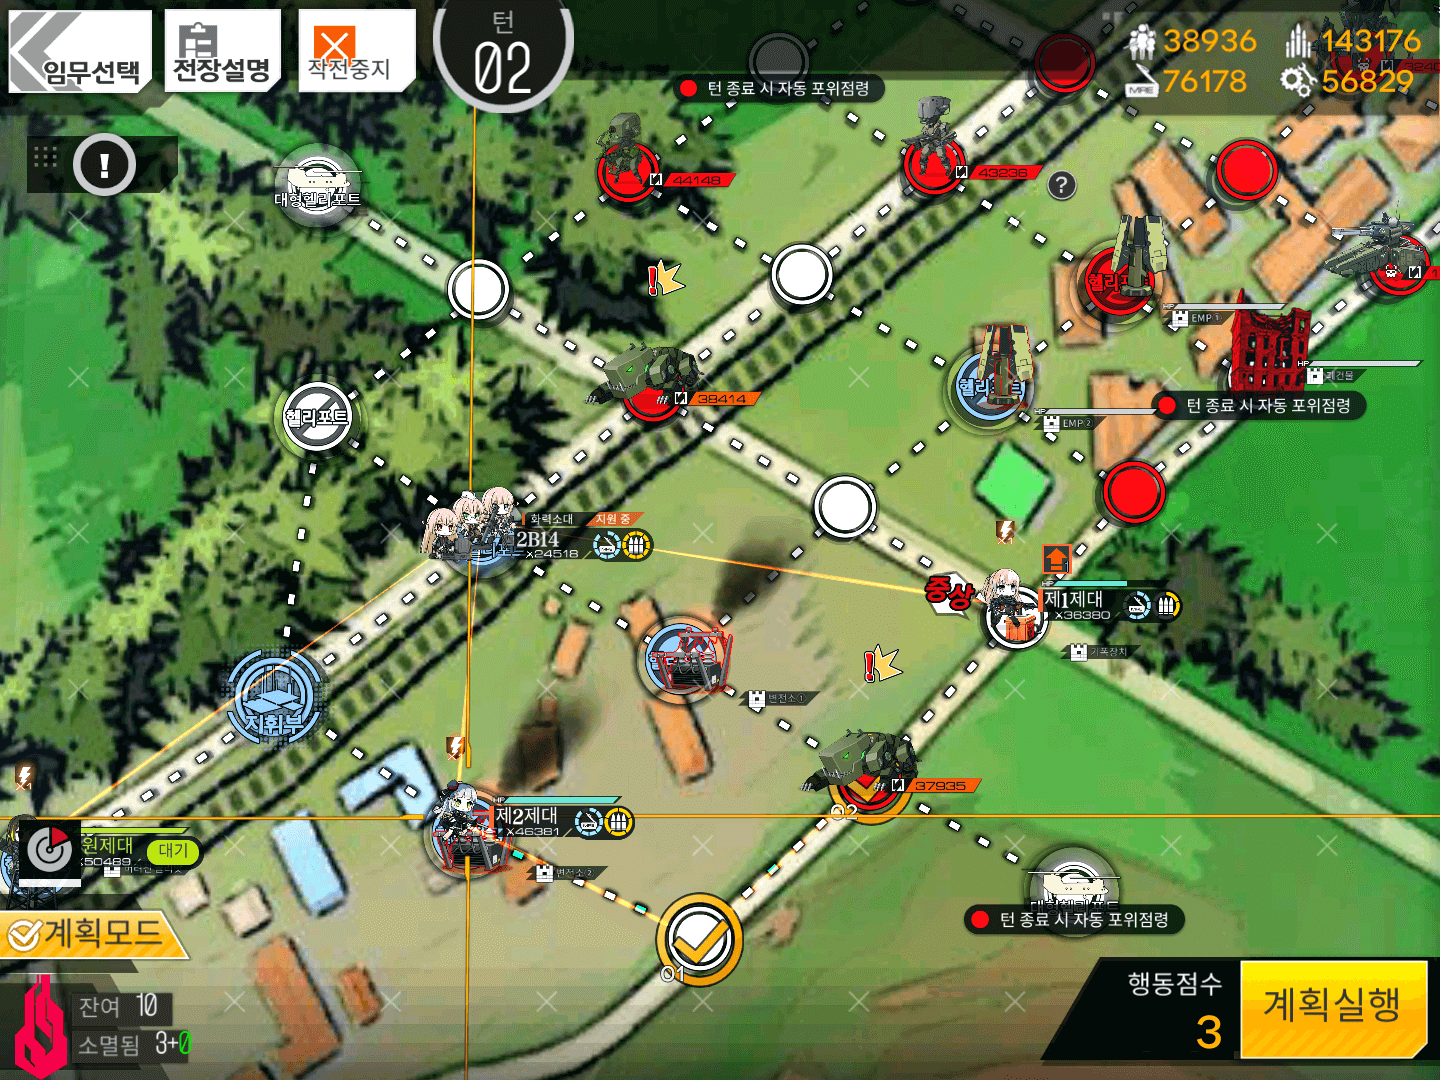
Turn 2
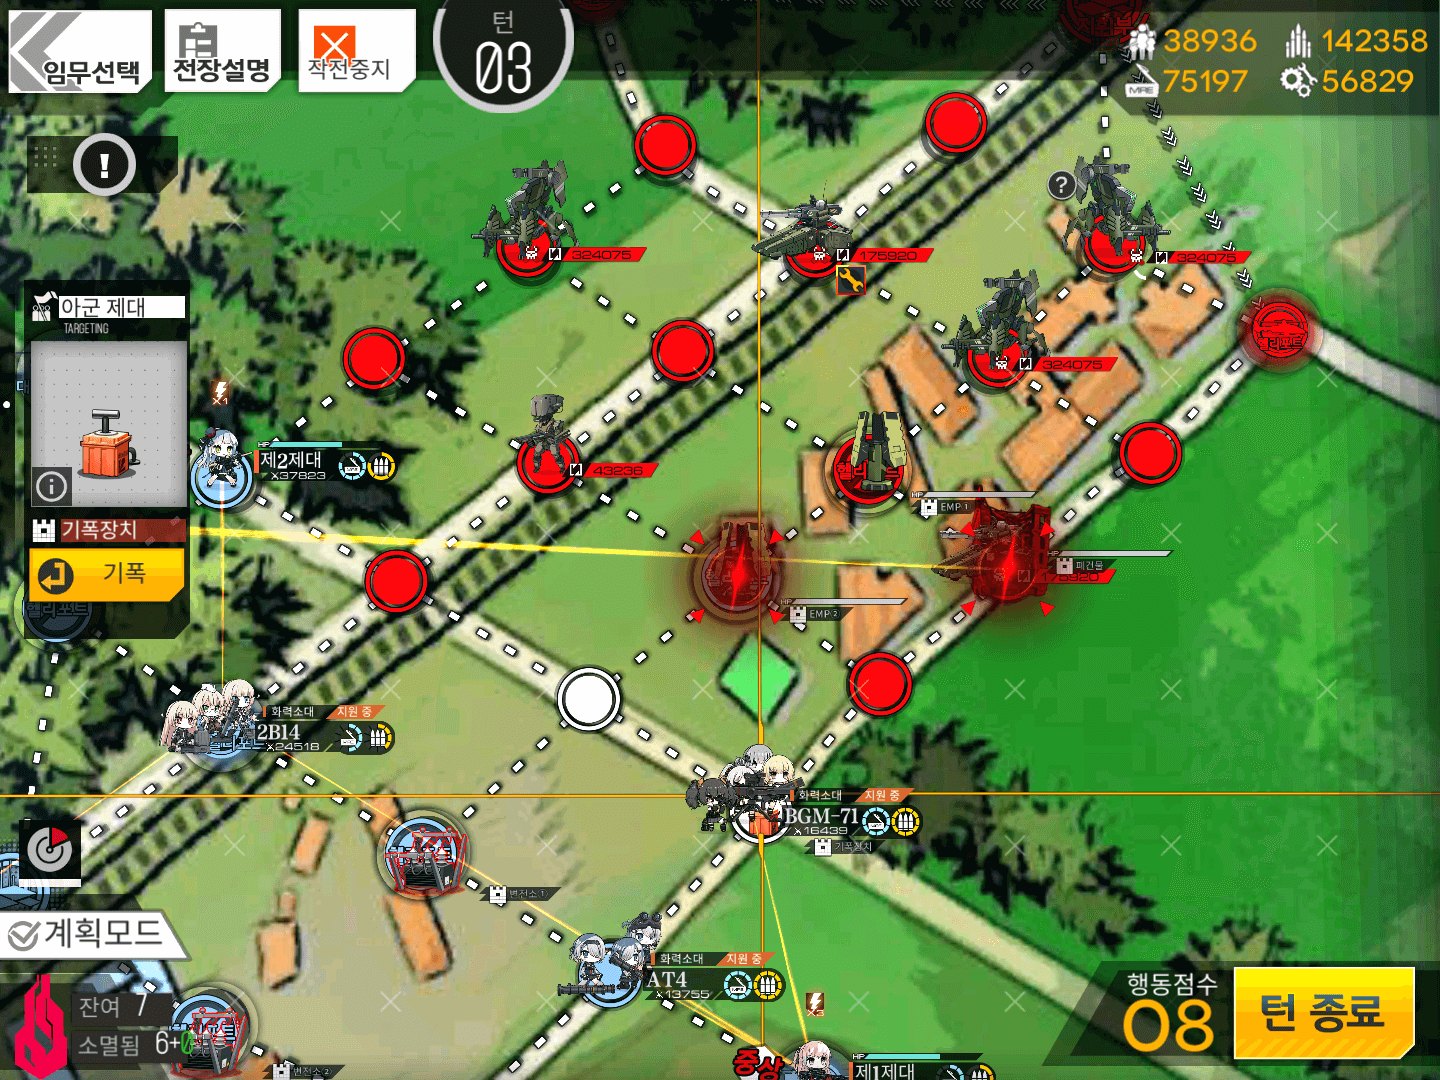
2.1
Move the Goliath Echelon to the upper EMP Tower, then down-right onto the Broken Building and use the Goliath.
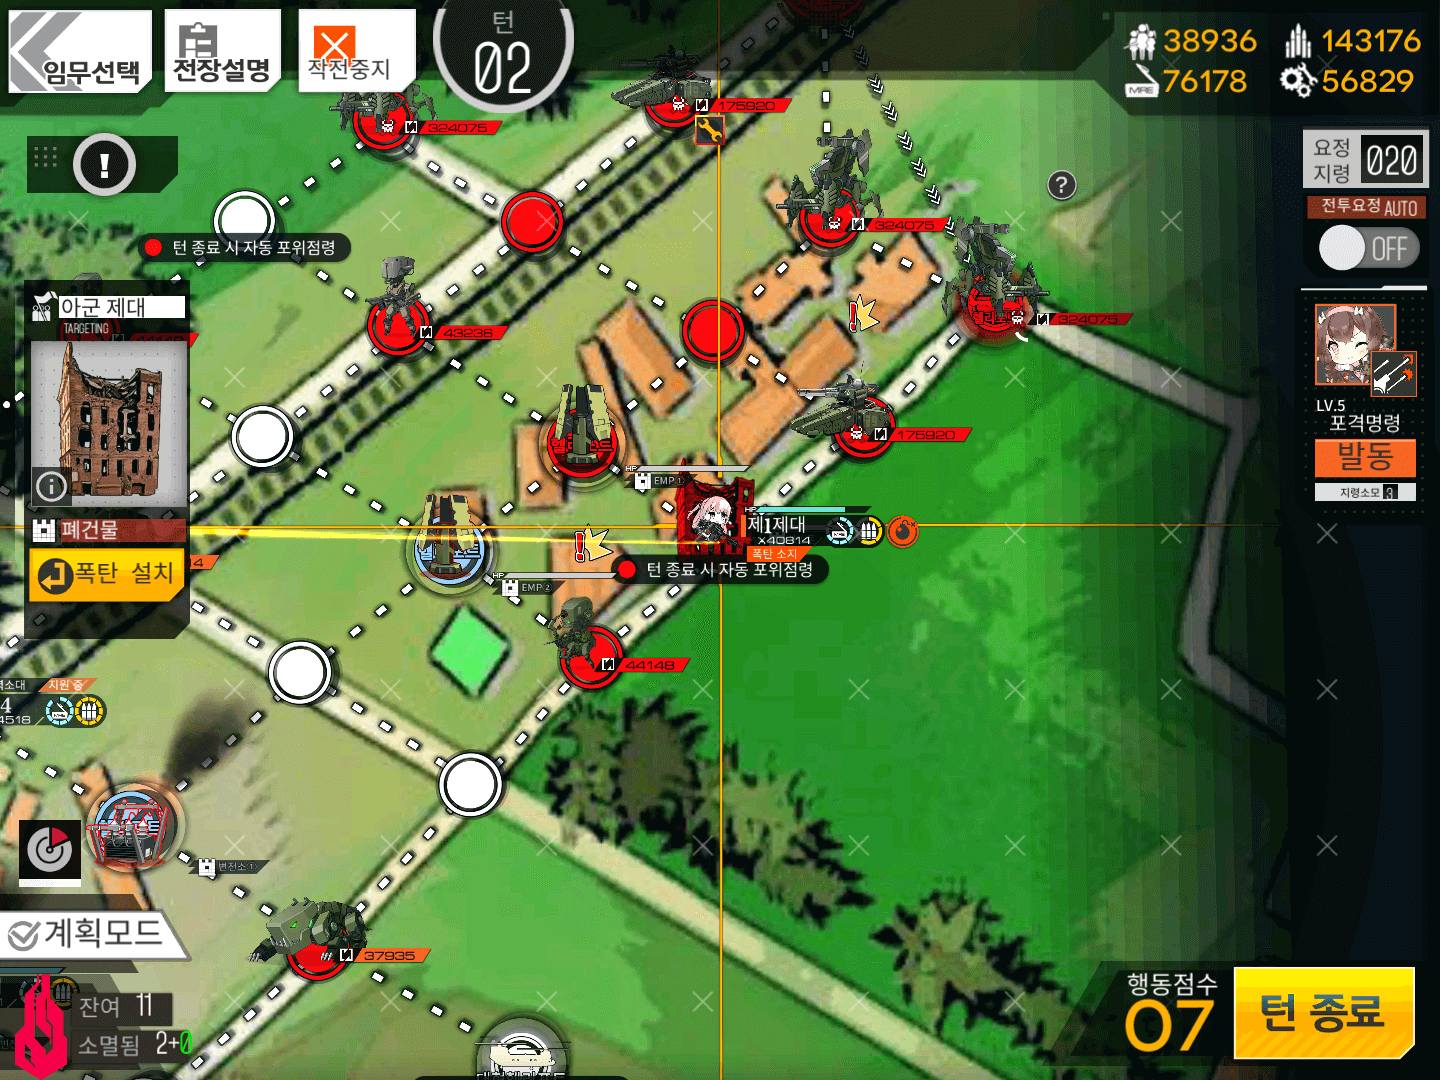
You place it and it’ll explode when you activate it, destroying everything around it! This will also spawn a Detonator two nodes down.
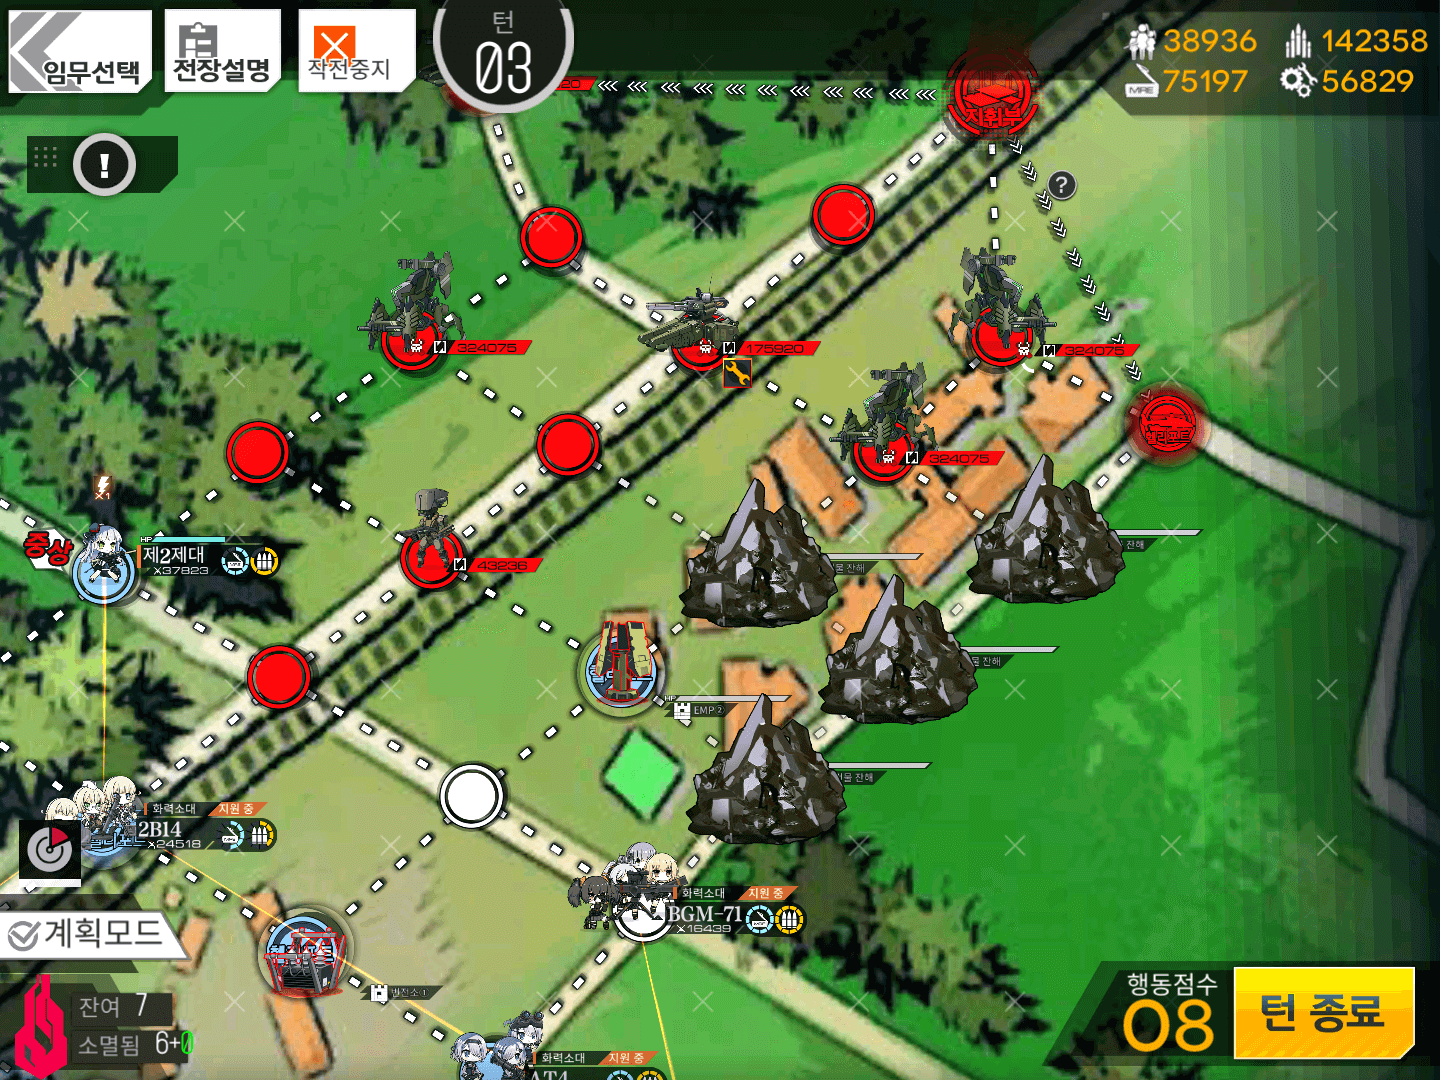
2.2
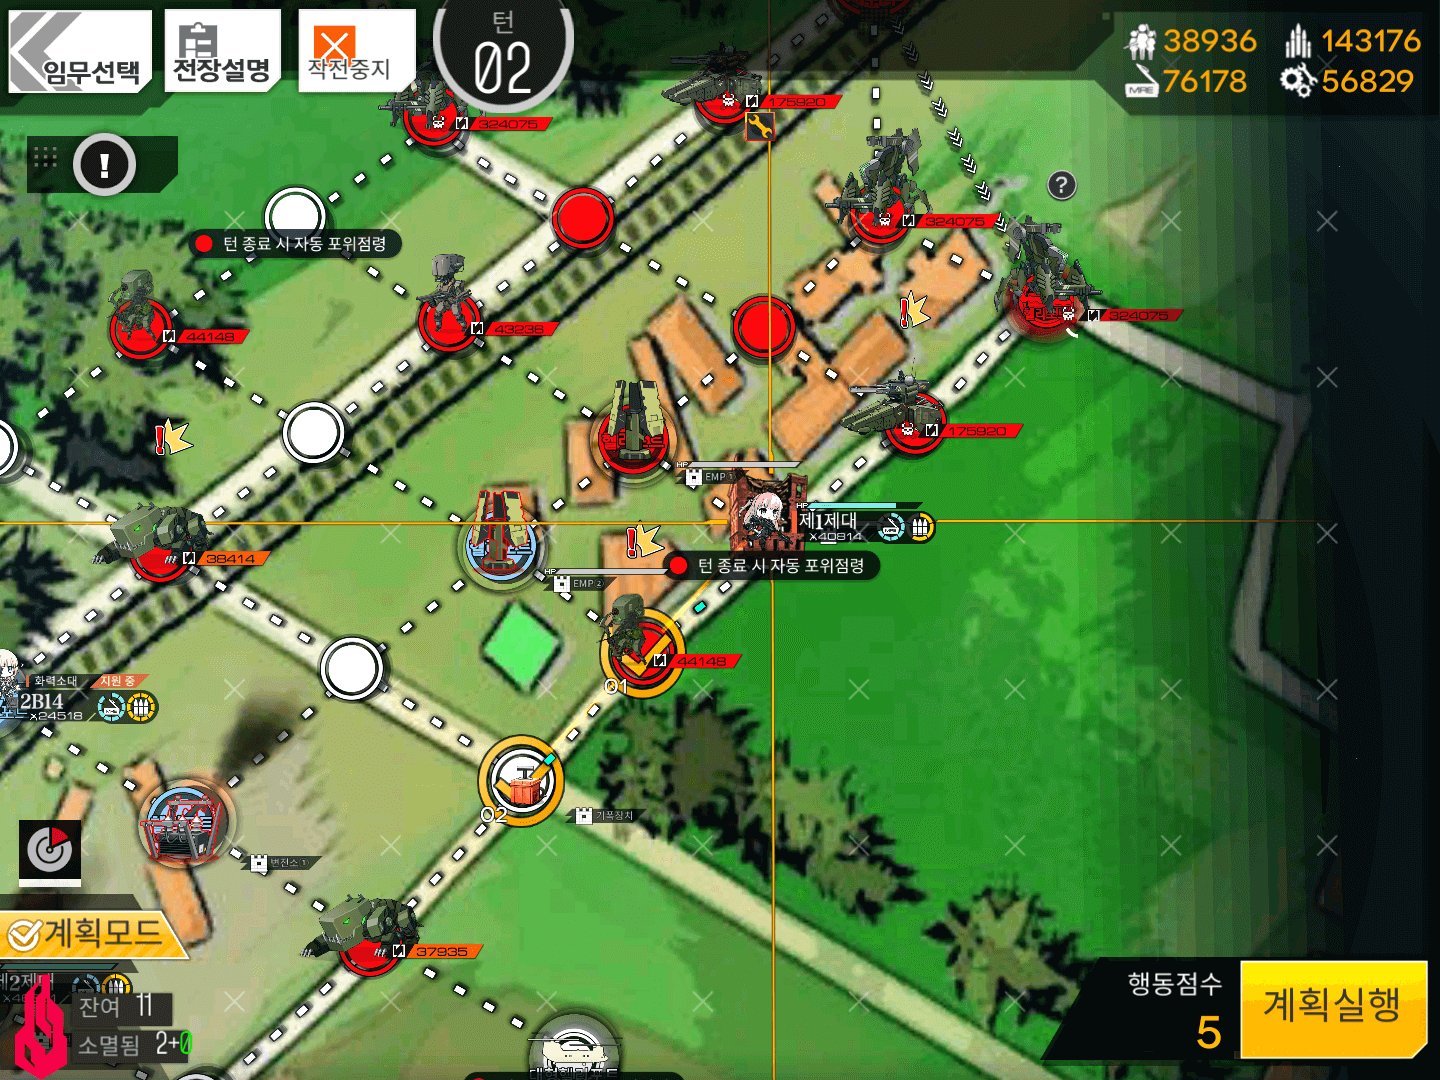
Move the upper Echelon down to the Detonator.

2.3
Move the lower Combat Echelon right one node and then up one node to surround-capture the Heavy Heliport.
2.4
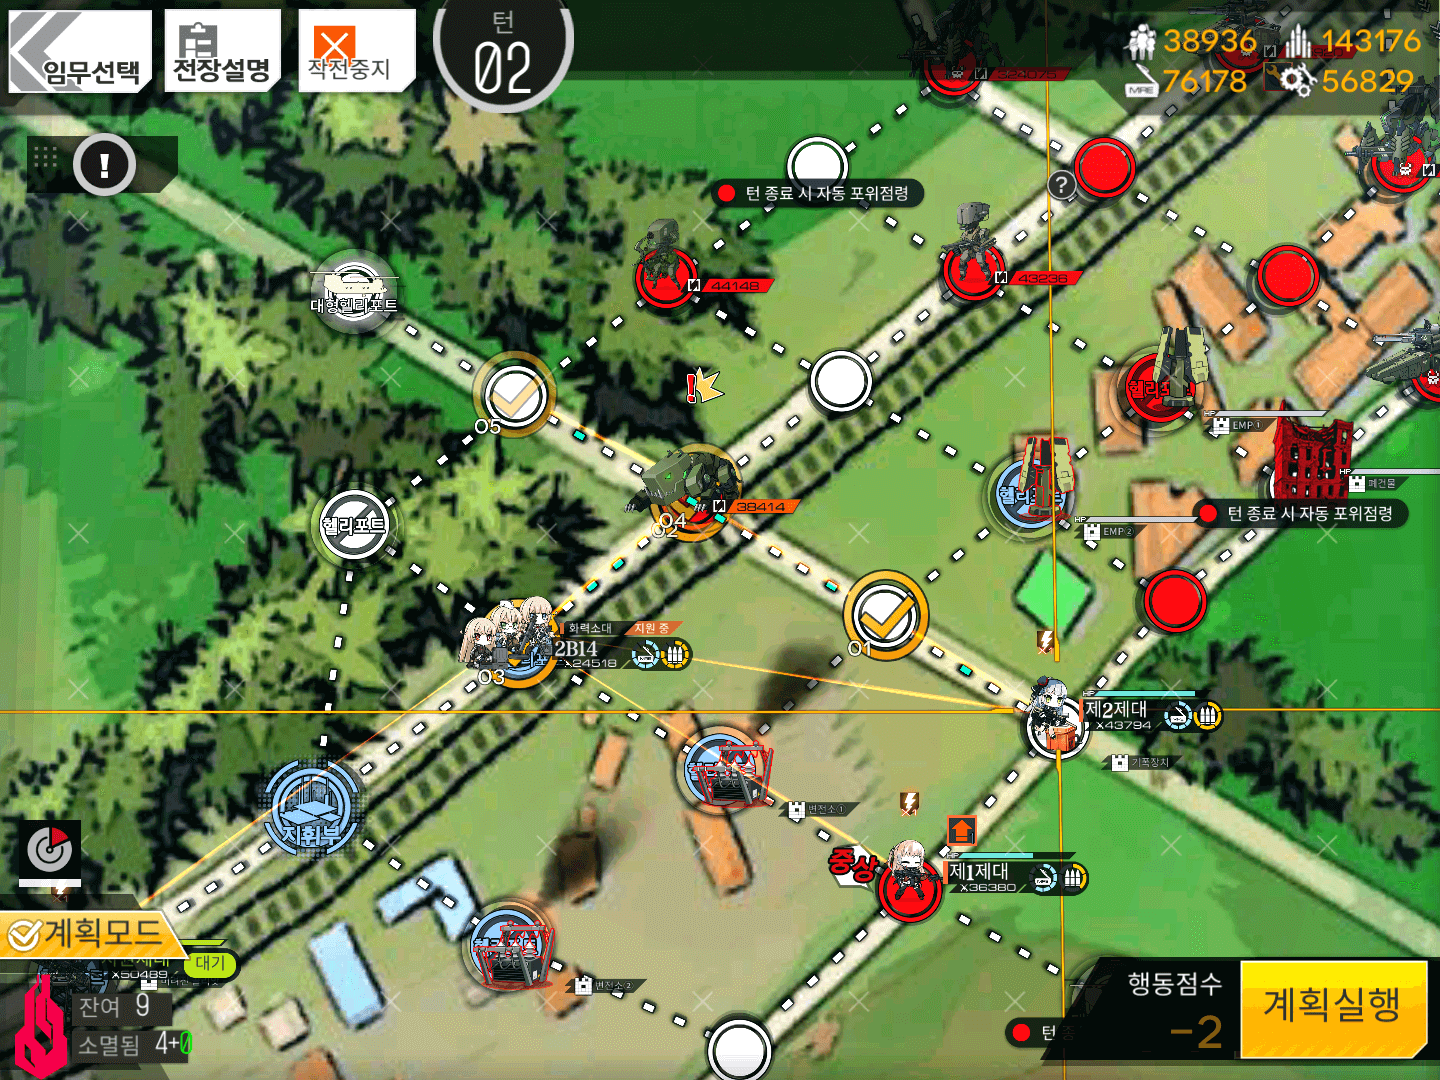
Move the Echelon on the Detonator-node up-left two nodes.
Resupply if needed by switching with the HOC on the way, then move up-left one more node to surround-capture the left Heavy Heliport.
End your turn.
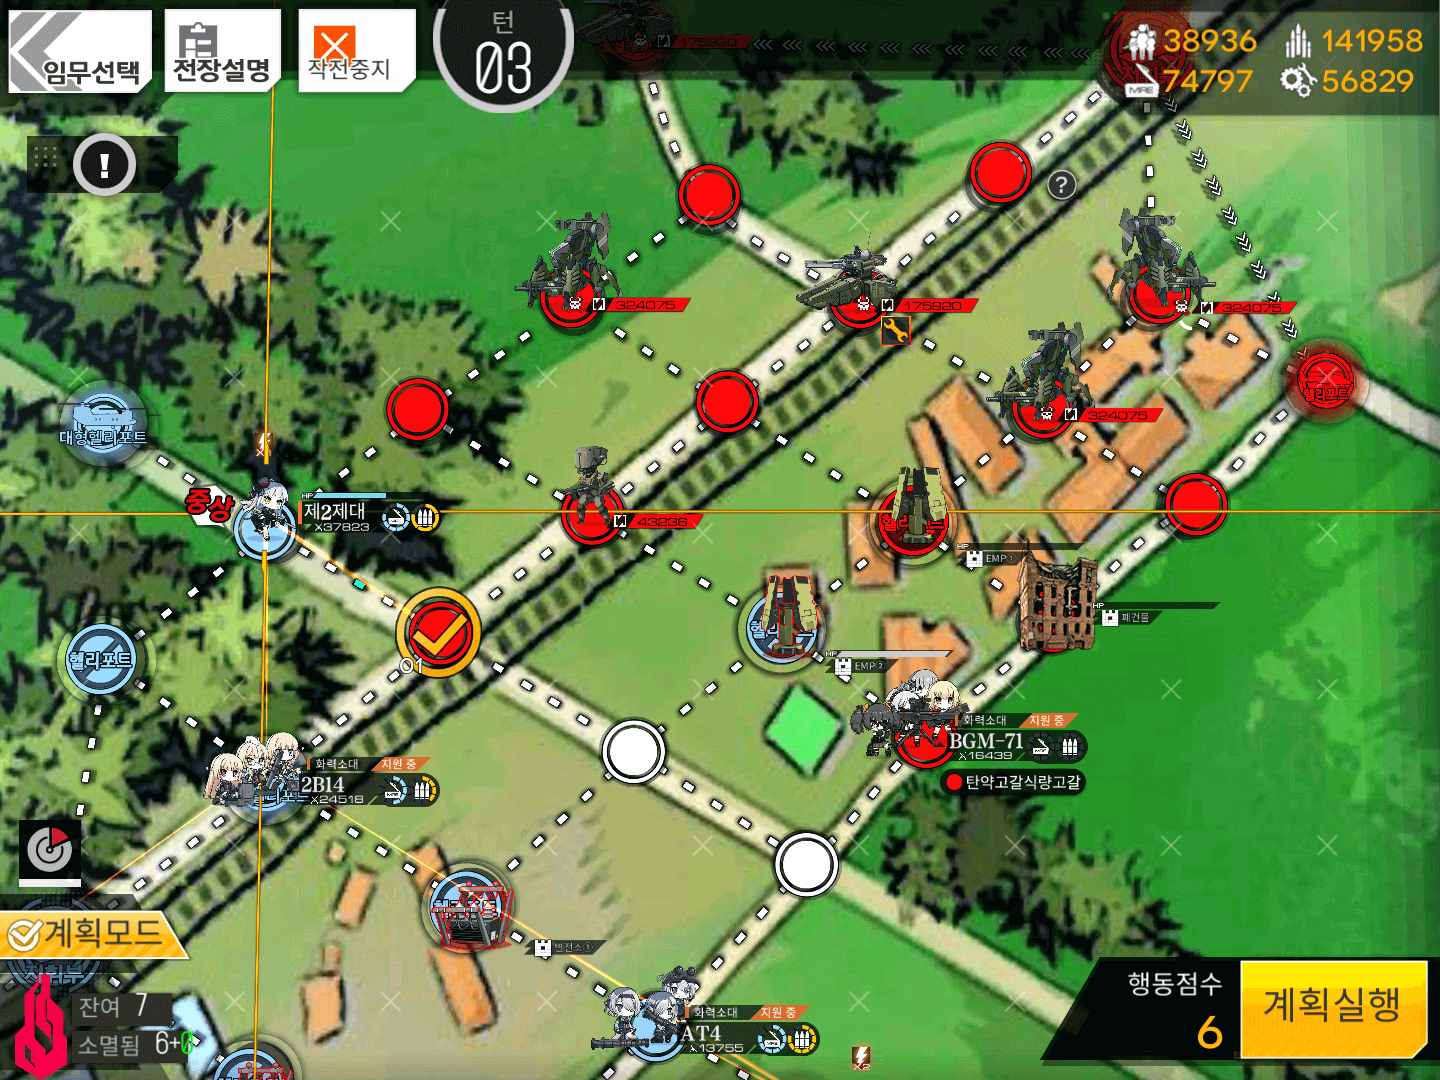
Turn 3
3.1
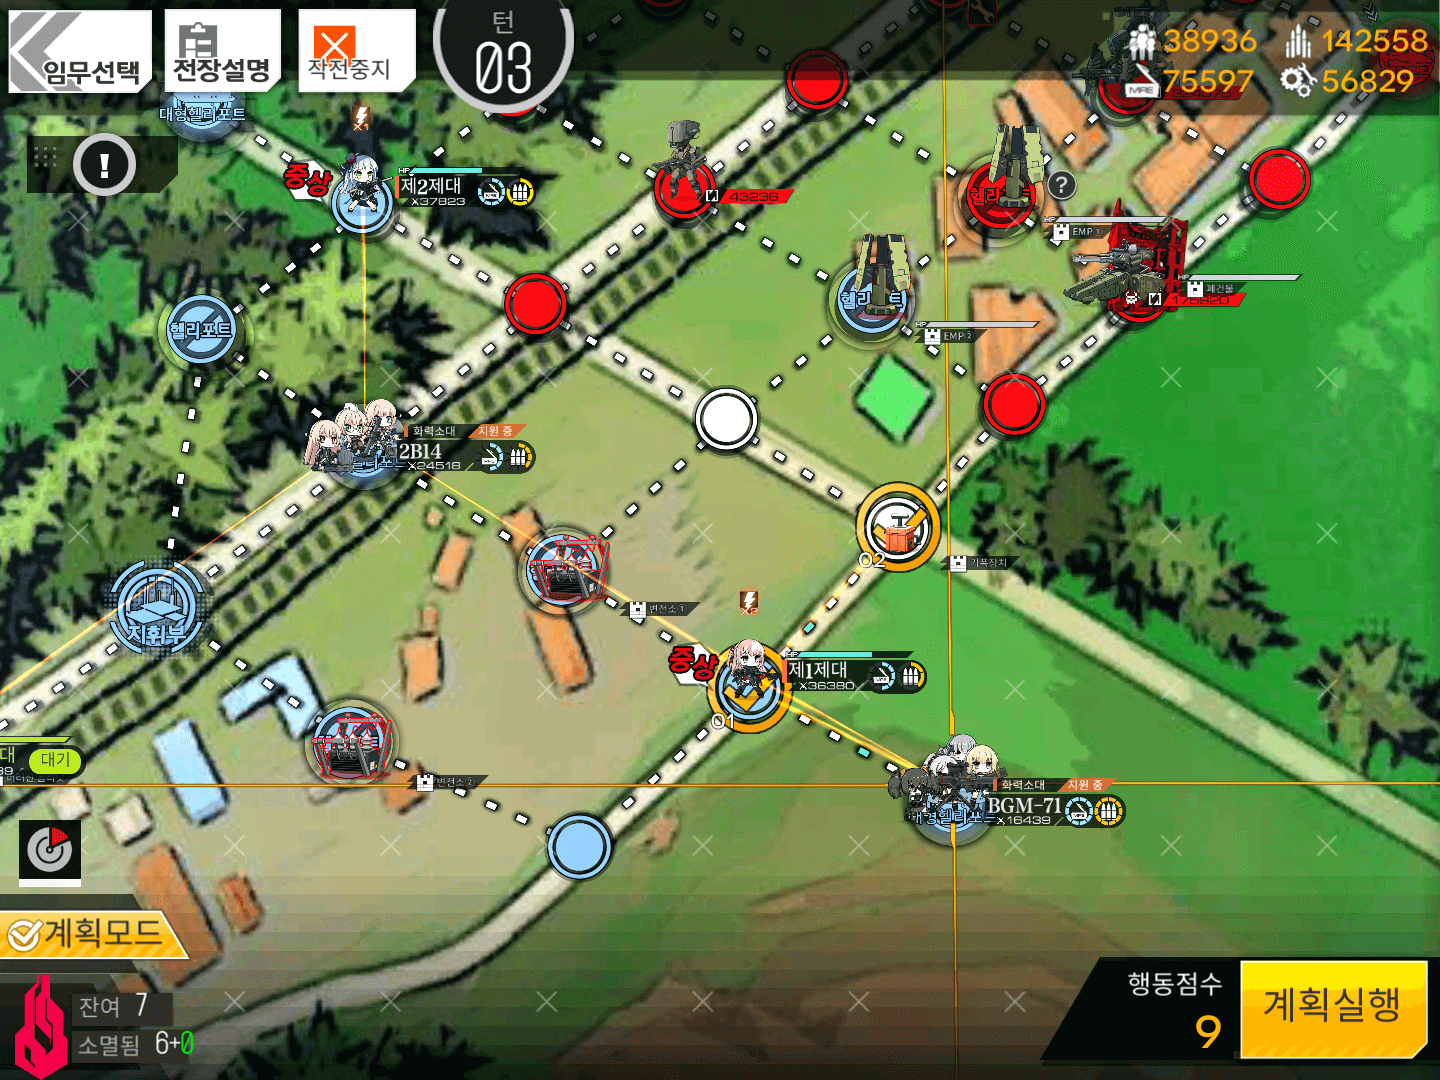
Deploy BGM on the newly captured Heavy Heliport in the bottom right corner.
Resupply, then swap her with a Combat Echelon and move her up one node onto the Detonator.
3.2
Move the Echelon which is now standing on the Heavy Heliport left one node.
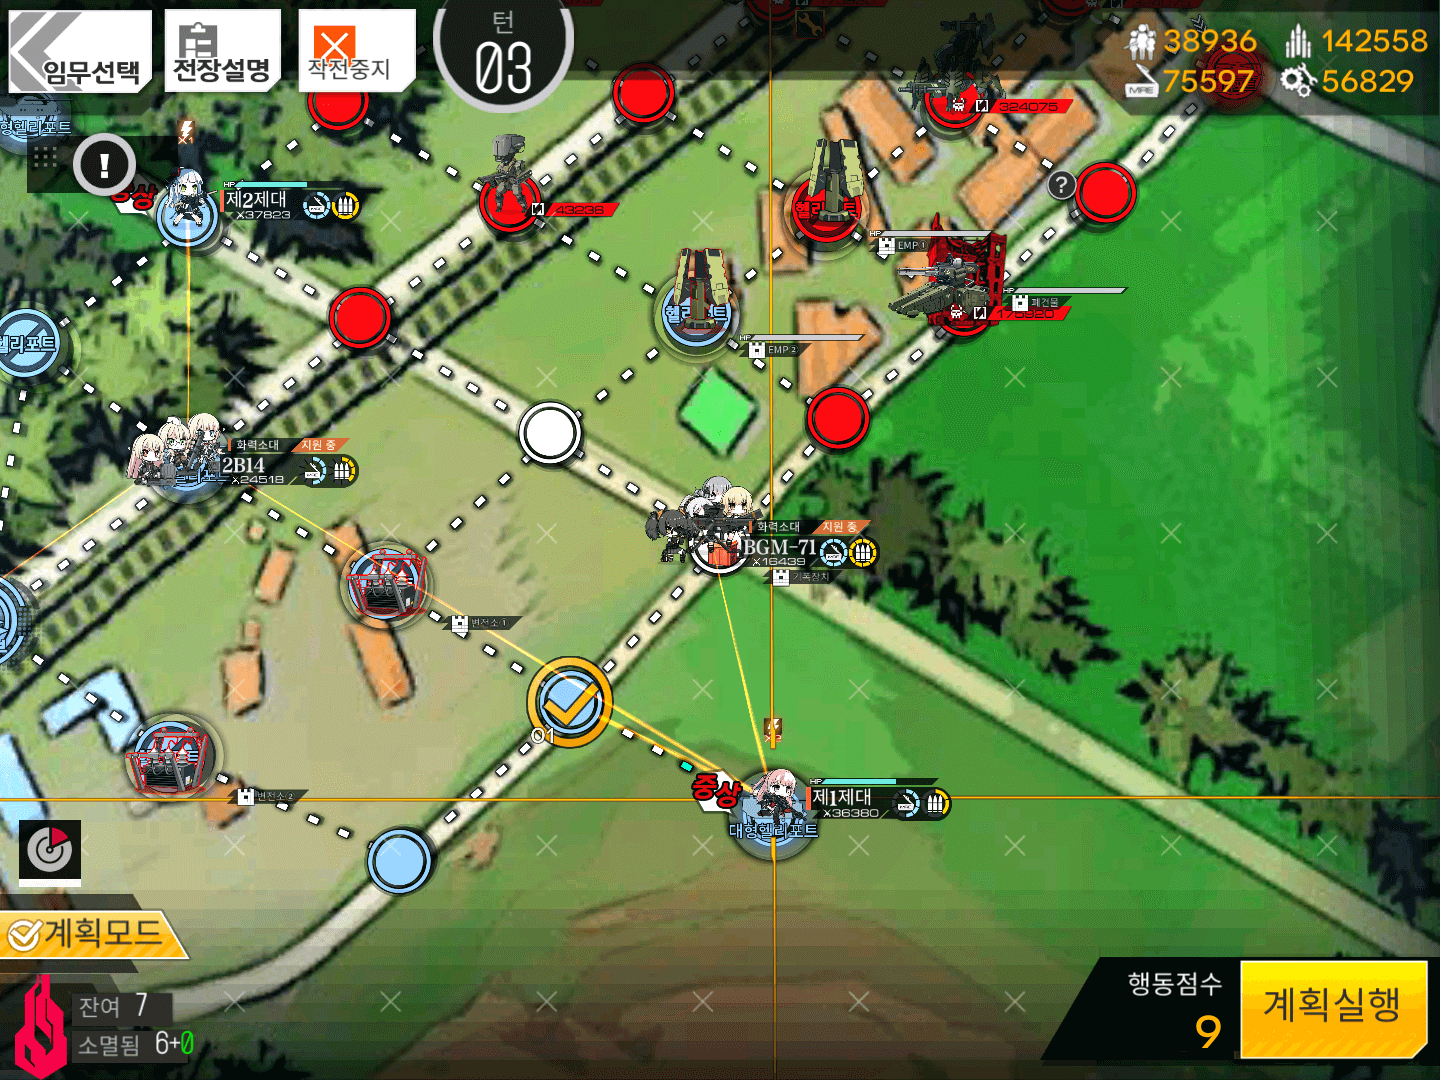
3.3
Deploy another HOC (AGS) and switch with the Echelon next to it.
AGS is recommended for this because she can bombard Rubble on the next turns before BGM mops up what's left behind.
3.4
Use the Detonator BGM is standing on.
3.5

Begin destroying all the Rubble with BGM - start first the nearest two.
3.6
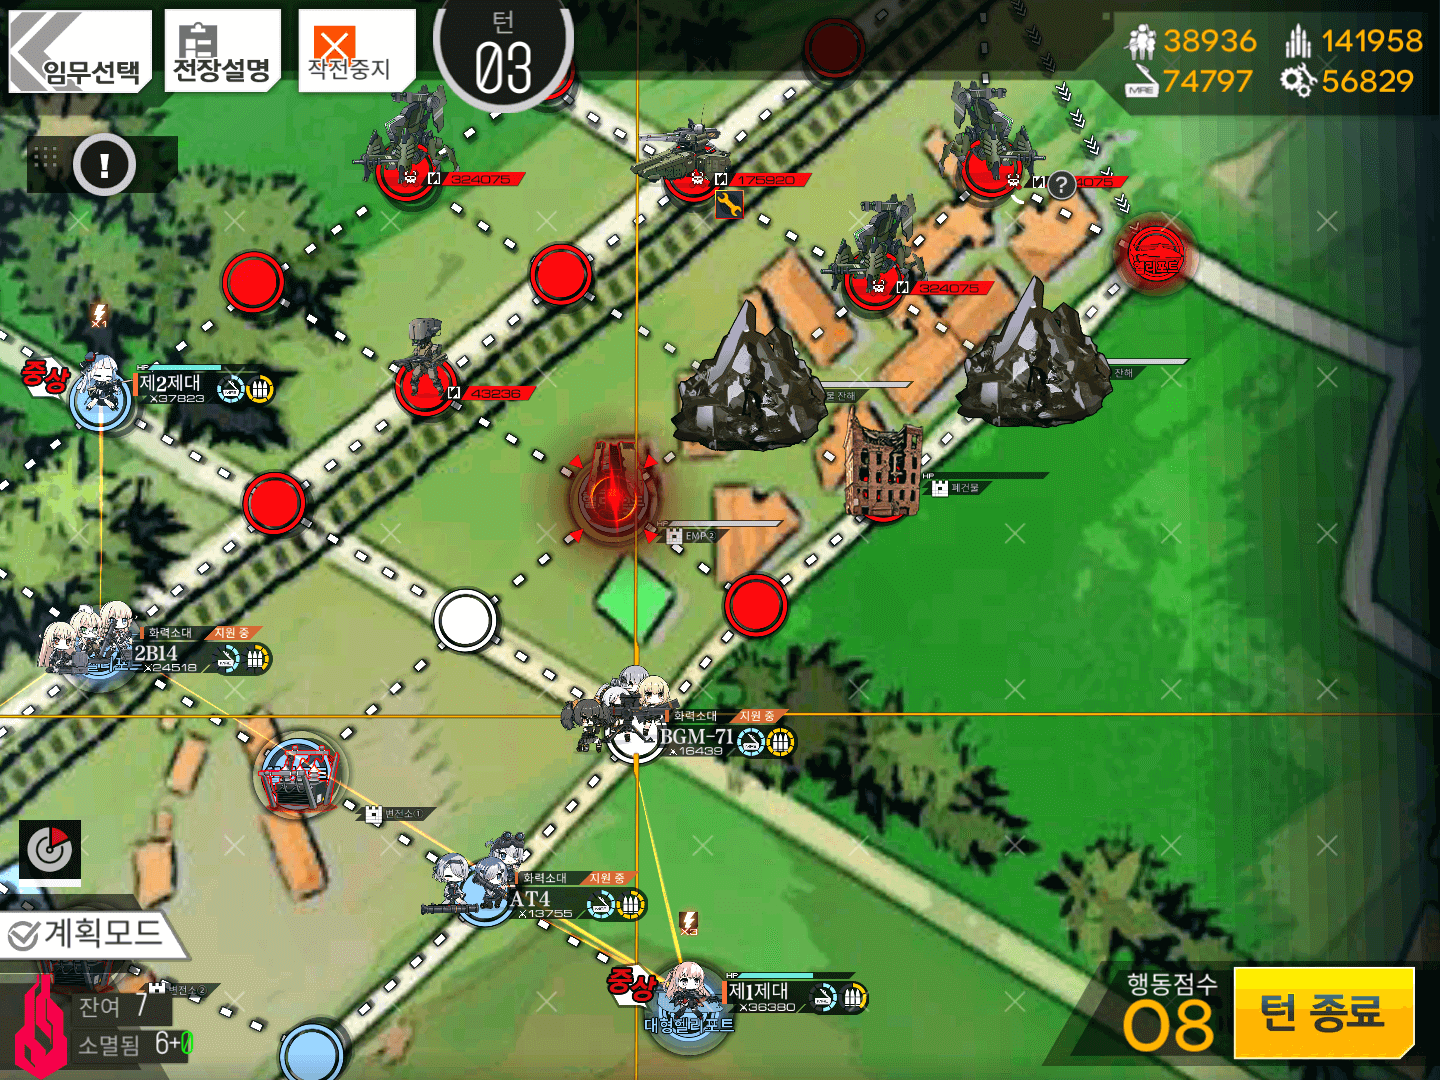
Now! Before you go on, resupply AGS, and swap her to where BGM is. Use AGS to damage or destroy the remaining Rubble before going forwards. This saves you some hassle.

3.6

After resupplying BGM, move her up one node, and then destroy any remaining rubble with her.
3.7
Move your left Combat Echelon down-right one node, so that it is right in front of the Cyclops (this can also be done on Turn 4) and end your turn.
Technically we don't have to fight on the left side of the map any longer, so you can move the Combat Echelon next to 2B14 out of the way if you wish.
Turn 4

Turn 5
5.1
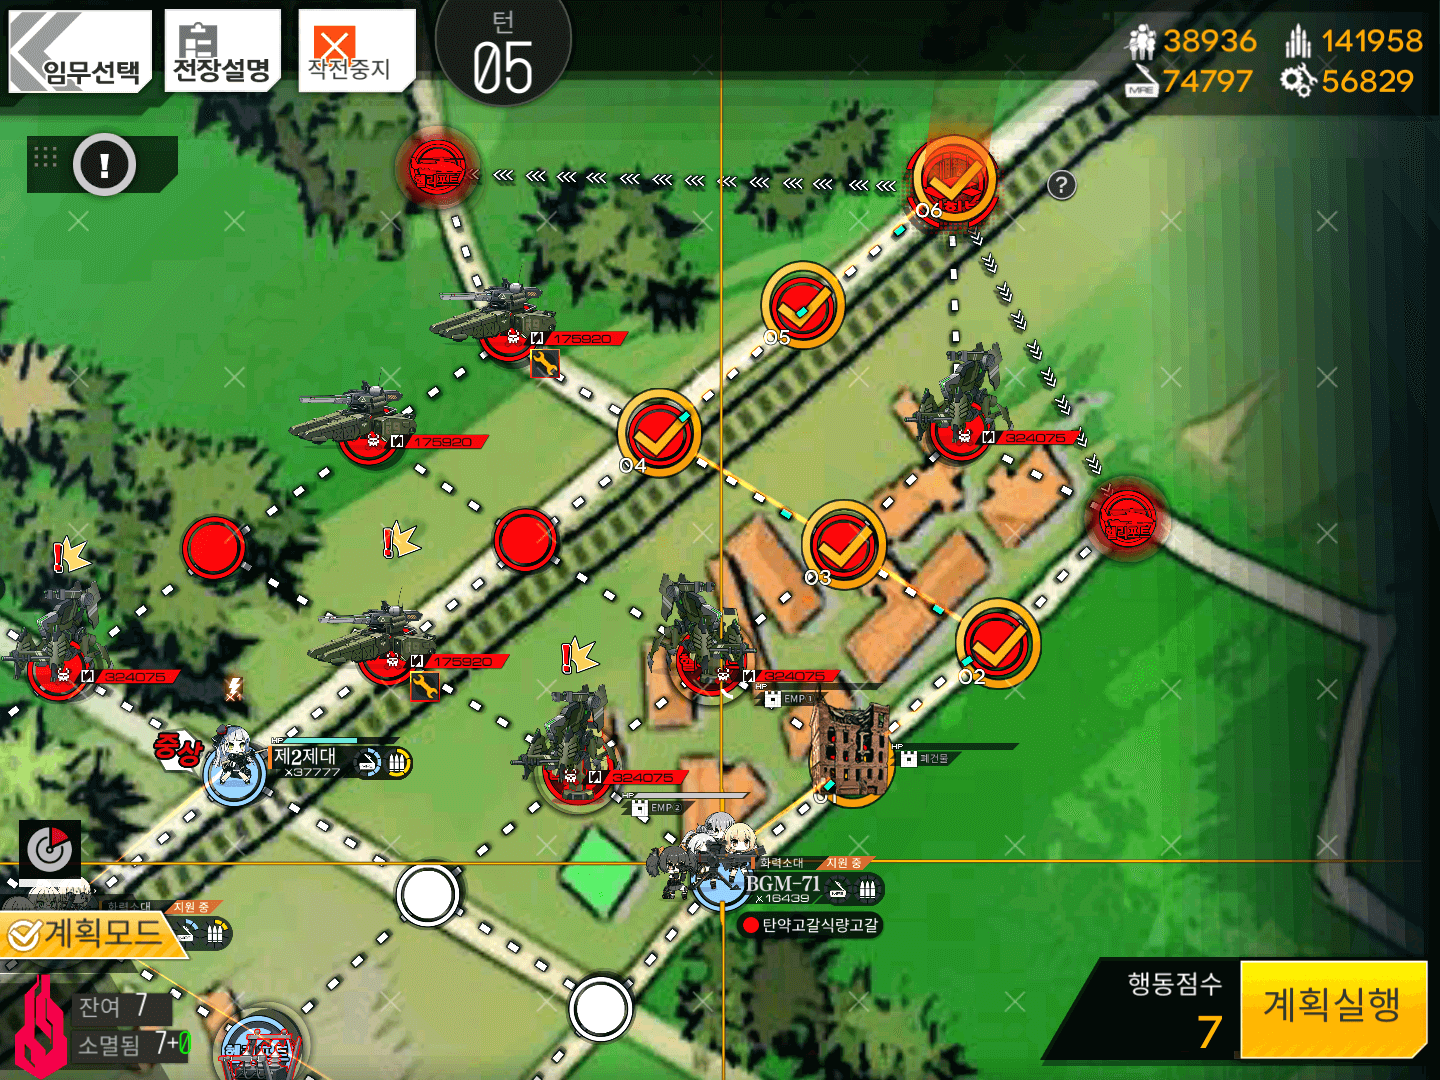
BGM will now charge the Command Post. Move her up-right two nodes, then up-left two nodes and again up-right two nodes, onto the Enemy Base.
End your turn to capture it and beat the map!
Video Guides:
Next Chapter:
-
Chapter 12 Emergency
-
Chapter 12 Normal