Possible Drops:
--
Mission and Clear Conditions:
Mission: Kill all enemies
Clear Guide:
Team Recommendations:
-
2 Combat Echelons. 2 RF/HG recommended, or 1 AR/SMG, 1 RF/HG. Level 70 4x linked
-
1 Dummy Echelon (2 if not using BGM)
-
Optional: 1 HOC: BGM-71
-
If you do not have BGM, she can be replaced by a Dummy Echelon
-
Yes if you are using an HOC just use BGM. She’s really that good.
-
Clear Steps
This map is the first time HOCs are able to be deployed during CT, and for newer players, it will be amongst their first chances to using them in battle. For a detailed discussion of HOCs please see the guide below. There is no level requirement for BGM, even at level 1 without any training, she will provide excellent support.
Outside of the ability to deploy HOCs, this map is a fairly straight forward search and destroy operation. The KCCO Typhons make a return, although substantially weaker than their Singularity counterparts, and this time you can have BGM help out if needs be, making the Typhon far less threatening. The rest of the map is a mix of KCCO units, including a few Dactyls, which rush out in front of squads of Cyclops and can be killed by HGs if need be. The Cerynitis and Aegis/Cerynitis enemies are the most threatening, but a little micro will allow you to handle them without issue. If using AR/SMG echelons, damage buffs are a must to punch through armor, otherwise, let your RFs led the way to victory.
Writers Note: While the example uses BGM-71, she is by no means required, and most Commanders will be able to get away with not using her here. A Dummy Echelon can be used in BGM's place without any issues.
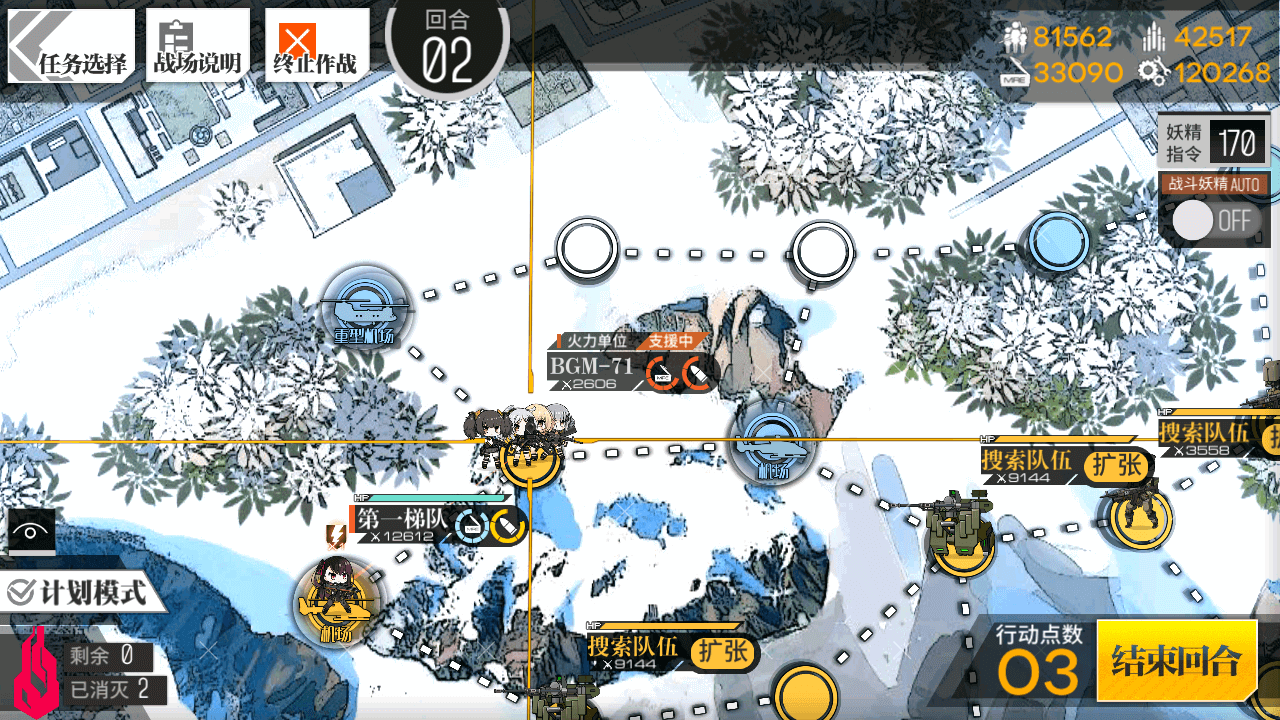
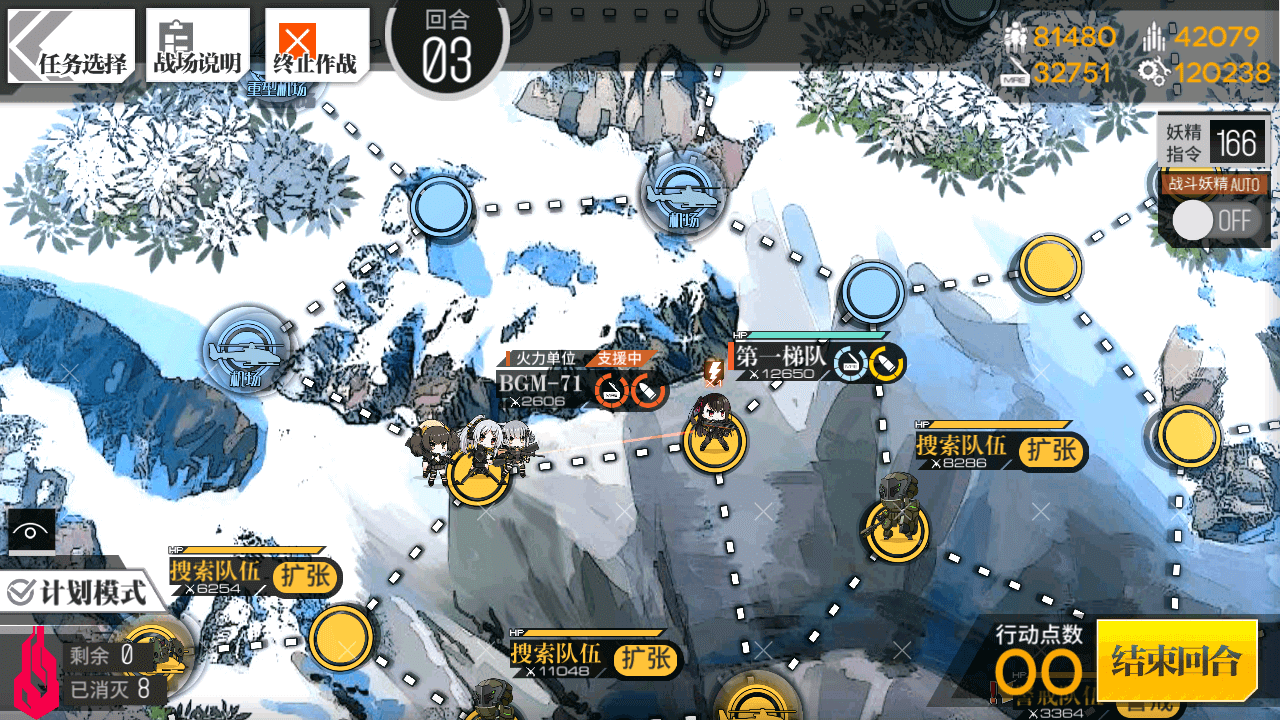
Turn 1
1.1
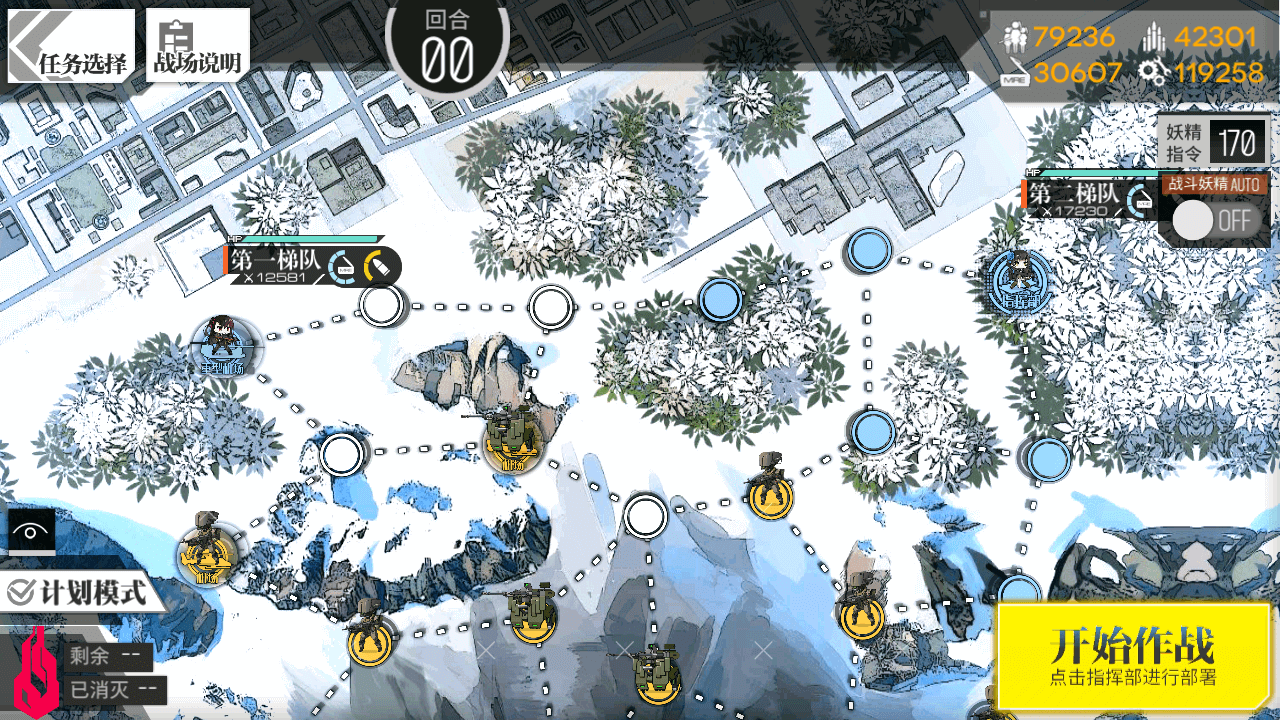
Deploy an AR/SMG Combat Echelon on your Command Post, and an RF/HG echelon on the Heavy Heliport. If you have two RF Echelons of appropriate level, these should be used instead.
1.2
Move the RF/HG echelon down 1 node, and deploy BGM behind them. If you do not have BGM, deploy a Dummy Echelon instead.
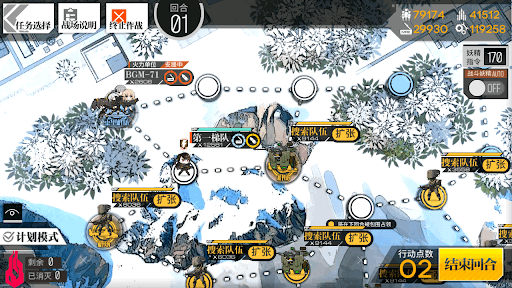
1.3
Move the RF Echelon to the right one node, engaging the Cerynitis.
1.4

Move the Combat Echelon on the Command Post down one node, and end your turn.
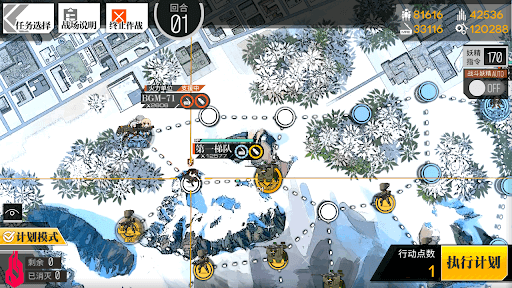
Turn 2
2.1
Move the RF Echelon to the left two nodes.
2.2
Move BGM down one node, so she is adjacent to the RF Echelon.
2.3
Move your AR echelon left three nodes, engaging the two Cyclops and Cernytis along the way. Some kiting may be required for the fight with the Ceryntis. End your turn.
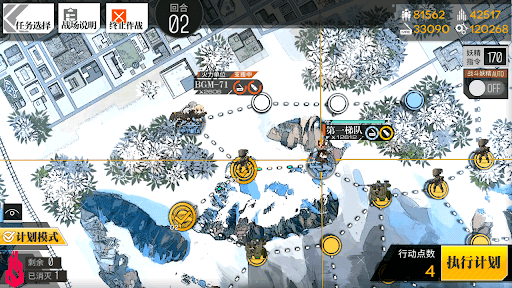
Turn 3
3.1
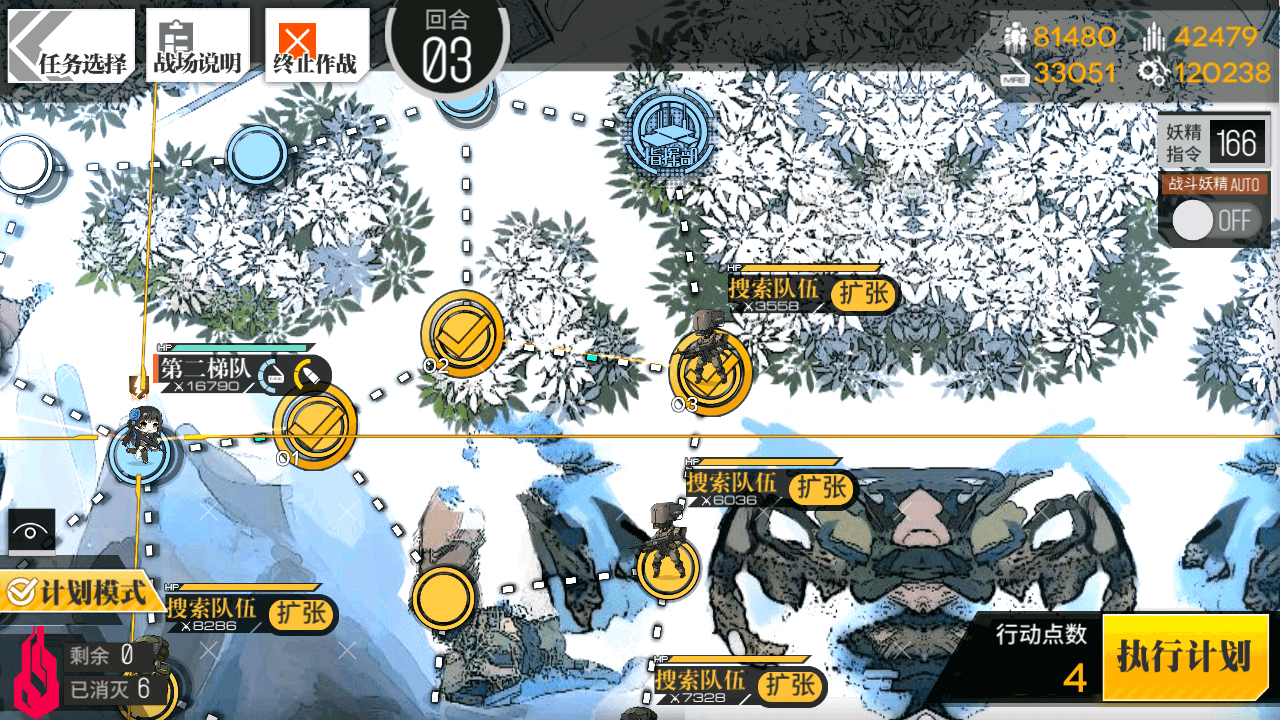
Move the AR/SMG echelon right three nodes to protect the Command Post.
3.2
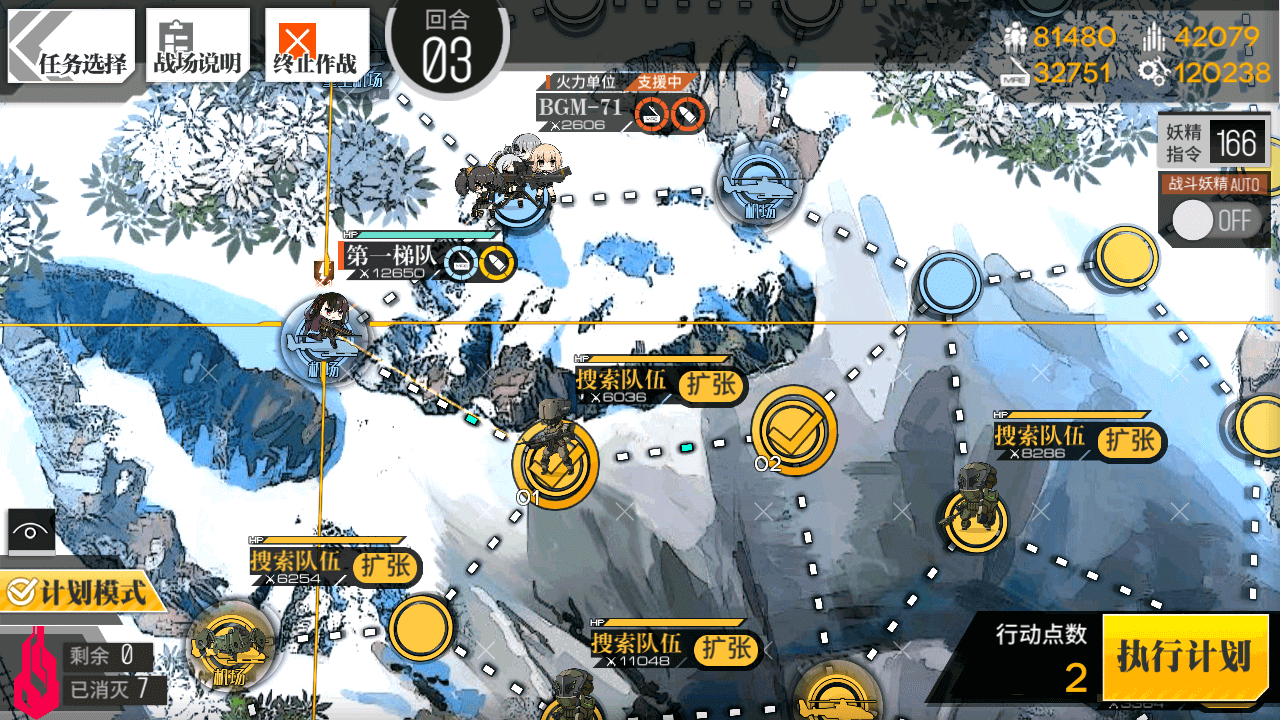
Move your RF Echelon down-right and right again.
3.3
BGM should follow behind, stopping adjacent to the RFs once again.
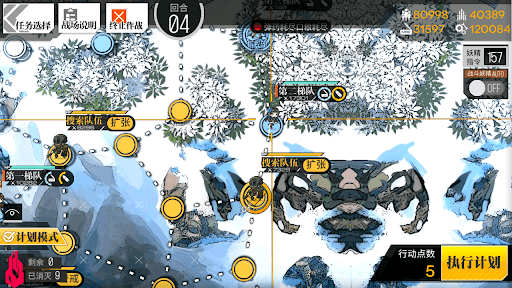
Turn 4
4.1
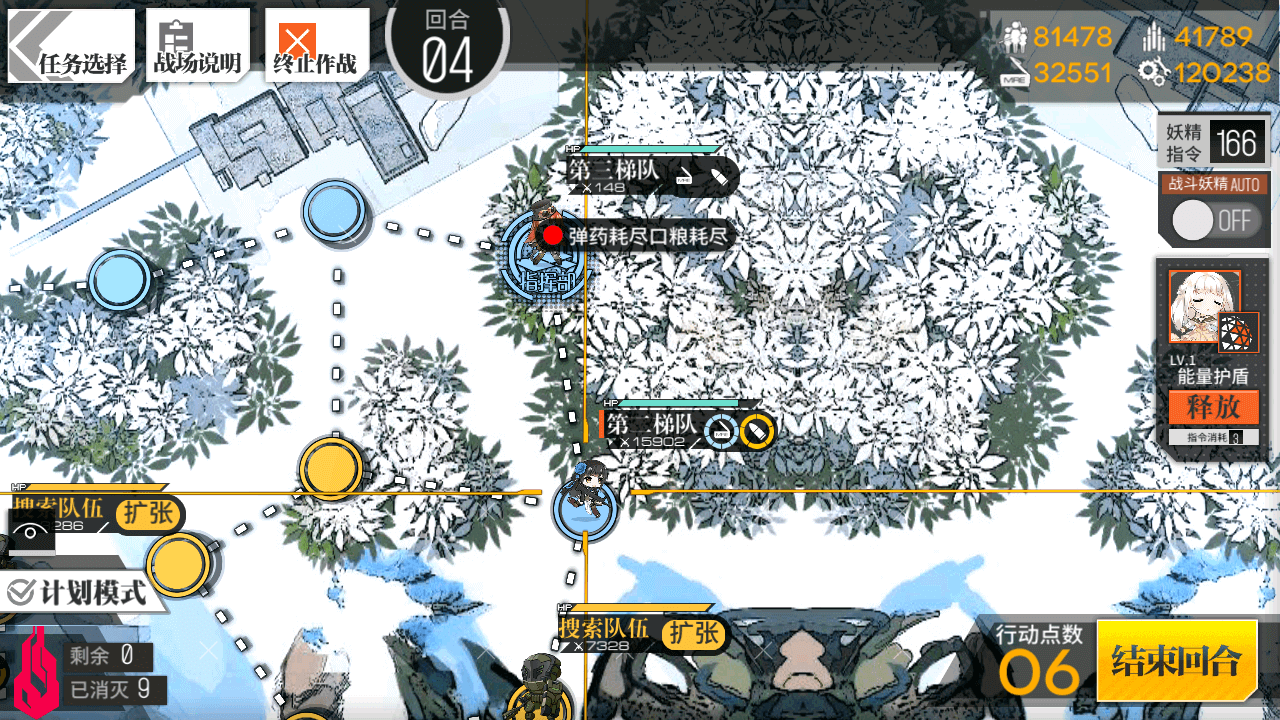
Deploy a Dummy Echelon on the Command Post. Swap with your AR/SMG Echelon to resupply.
4.2
Move your RF Echelon right once again, killing the Aegis.
4.3

The RF Echelon should now move back to the left two nodes, swapping with BGM. Then, they should move down, engaging the Dactyl, before coming back to the right, and ending the turn on the Heliport, having killed the Typhon.
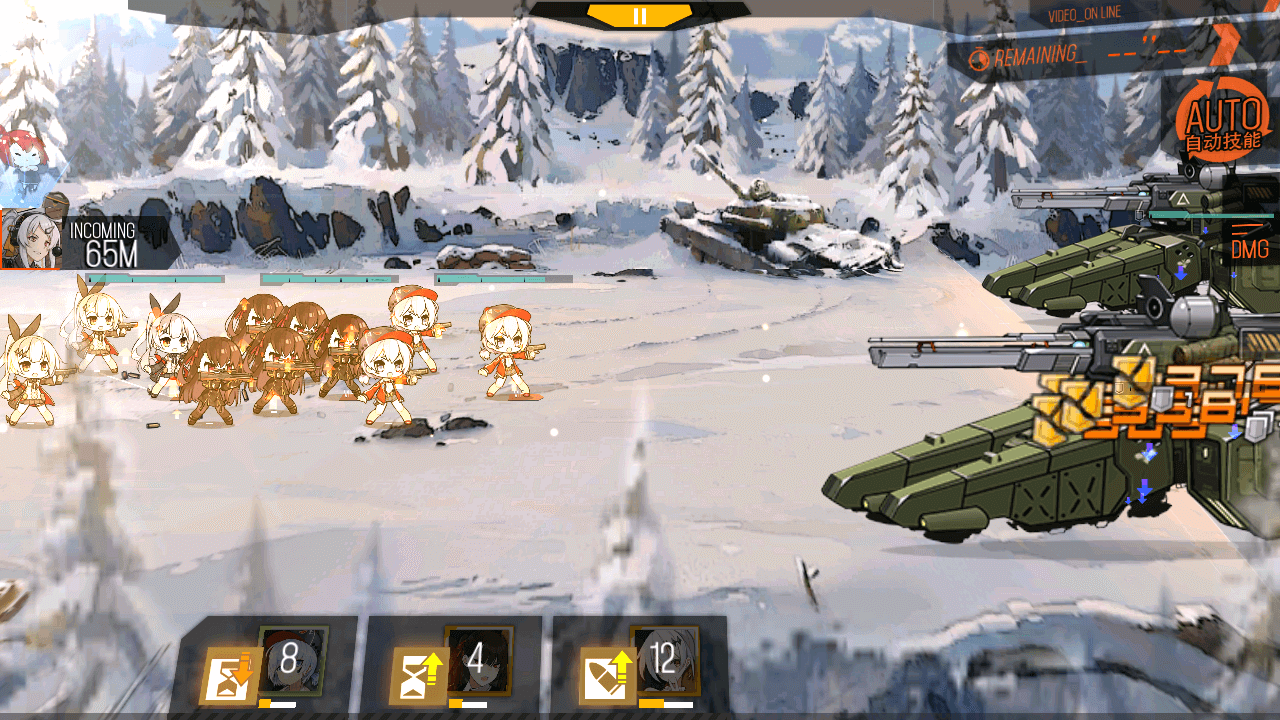
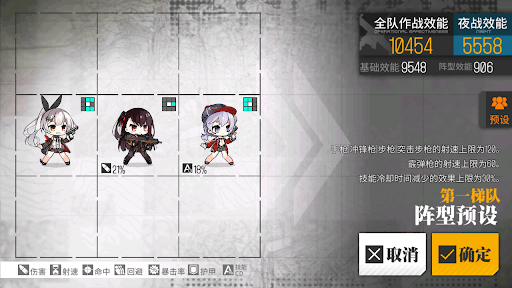
Because the Typhons are positioned at the top and bottom of the battle screen, they will target positions 1, 2, 3, 7, 8, and 9. A way to minimize the difficulty of this battle to to rearrange your echelon so that the DPS Dolls are standing in the central row, and you can swiftly retreat any other Dolls, thereby avoiding any damage. This does require a bit of effort before and after the battle to manually adjust your positioning but if you struggle to micro your units, it can save repairs and stress.
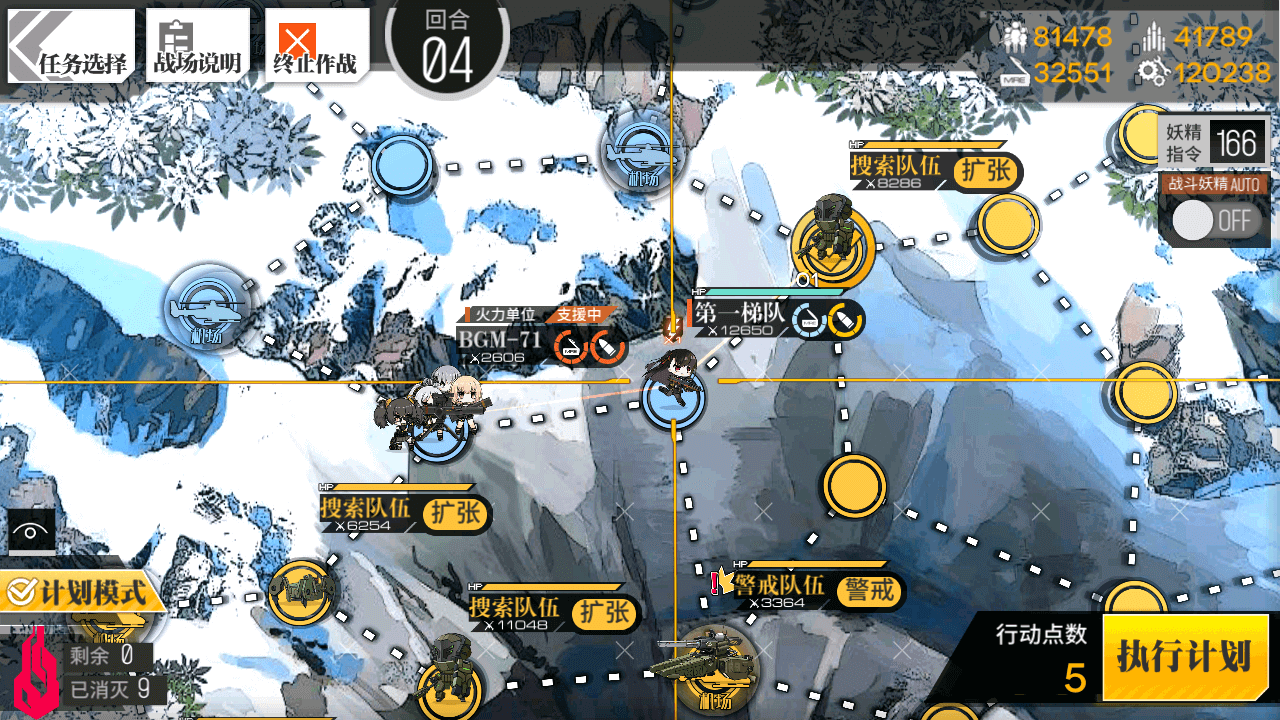
4.4
Move the AR/SMG Echelon down one node. Once again, some kiting will assist in limiting damage during the Aegis fight.
Turn 5
5.1
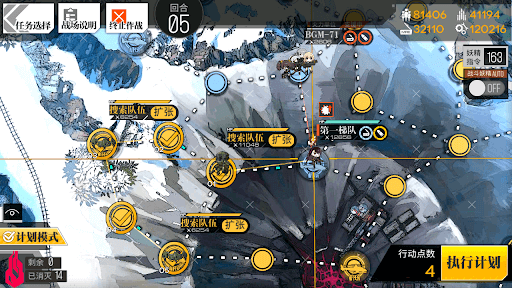
Resupply the Rf Echelon, then move left three nodes, then down two nodes to kill the Ageis and Dactyl enemies.
5.2
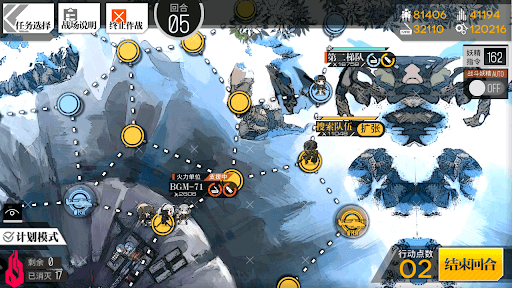
Move BGM down, and to the right one node. This brings her into support range of the AR/SMG echelon.
5.3
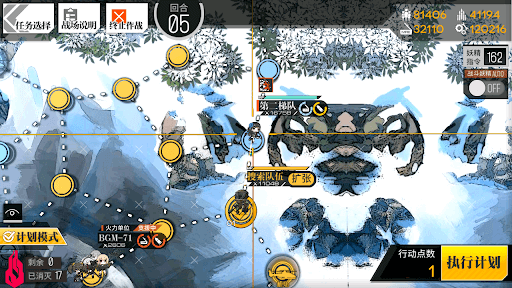
The AR/SMG echelon should now move down one node and engage the final enemy.