Possible Drops:
--
Mission and Clear Conditions:
Mission: Kill all enemies
Clear Guide:
Team Recommendations:
-
2 Combat Echelons Lvl 90 5x Linked.
-
1 RF/HG Echelon Recommended.
-
1 AR/SMG Echelon Recommended
-
-
1 Dummy Echelon
-
1 HOC: BGM-71
Clear Steps
This is the first map where HOC usage is recommended, namely to handle the Doppelsoldner and Uhlan units. The Paradeus behemoths sporting a beefy 81 Armor, on top of 30% shielding, so destroying these units without HOC support can be quite painful for players that don't have fully decked out echelons.
Players that haven't unlocked HOCs and received BGM-71 are highly recommended to clear Chapter 8-5 of the main story before moving forward. BGM-71 can help against all force shields in Continuum Turbulence even with low investment.
This map also introduces the Command Tower Structure, which buffs units spawned within 2 spaces of it. This can be destroyed in the same manner as other structures, either via HOC bombardment or walking over it with a friendly Echelon. It will not do much on this map, however.
When the allied M4 SOPMOD II unit on this map engages in combat, the player should try to micromanage her in battle to avoid enemy skills if possible, as she can prove quite useful in mitigating the annoying random enemy movement on the far side of the map. With solid micro, SOPMOD can kill even the 13k CE Rodeleros and associated trash, but this isn't a requirement so consider her a bonus. If you do not already have M4 SOPMOD II's Mod III, consider this her audition for a Neural Upgrade.
Enemy movement is highly randomized, especially on the far right of the map near SOPMOD, so you may see different enemy positions from the example.
Turn 1
1.1
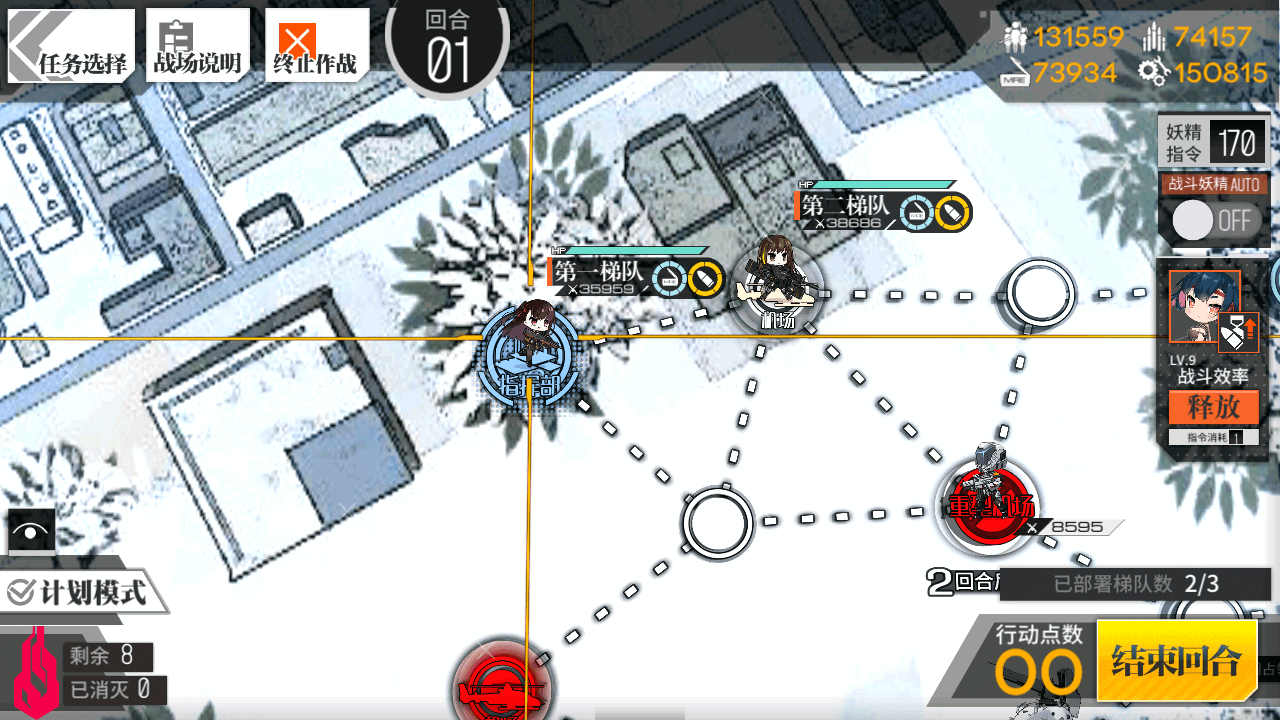
Deploy an AR/SMG Echelon on the Command Post, and move right one node. Deploy an RF/HG Echelon on the Command Post, and end your turn.
Turn 2
2.1
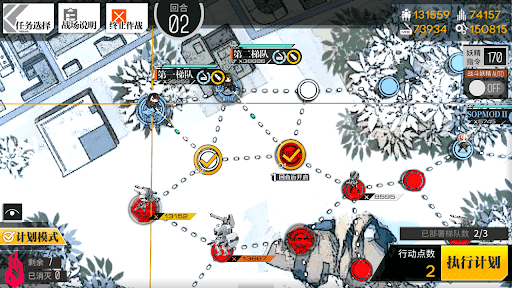
Move one node down with both Echelons, the AR Echelon ending on the enemy Heliport.
2.2
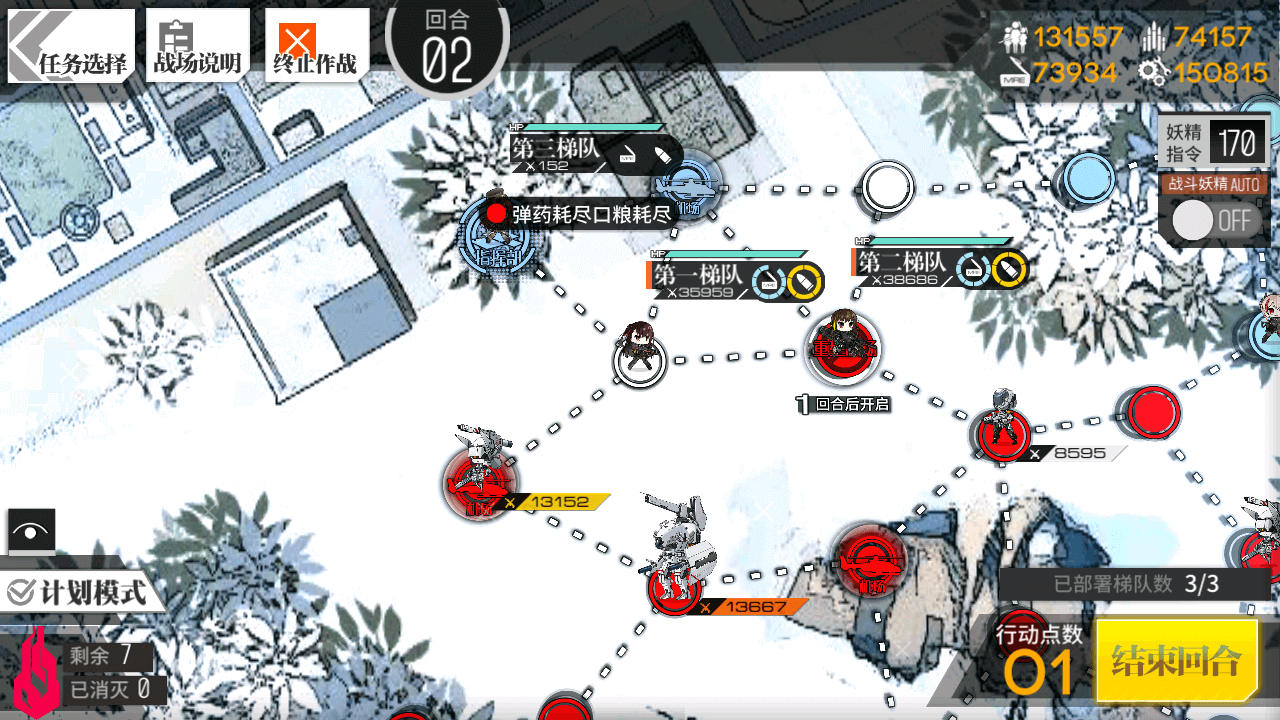
Deploy a Dummy Echelon on the Command Post. End your turn.
Turn 3
3.1
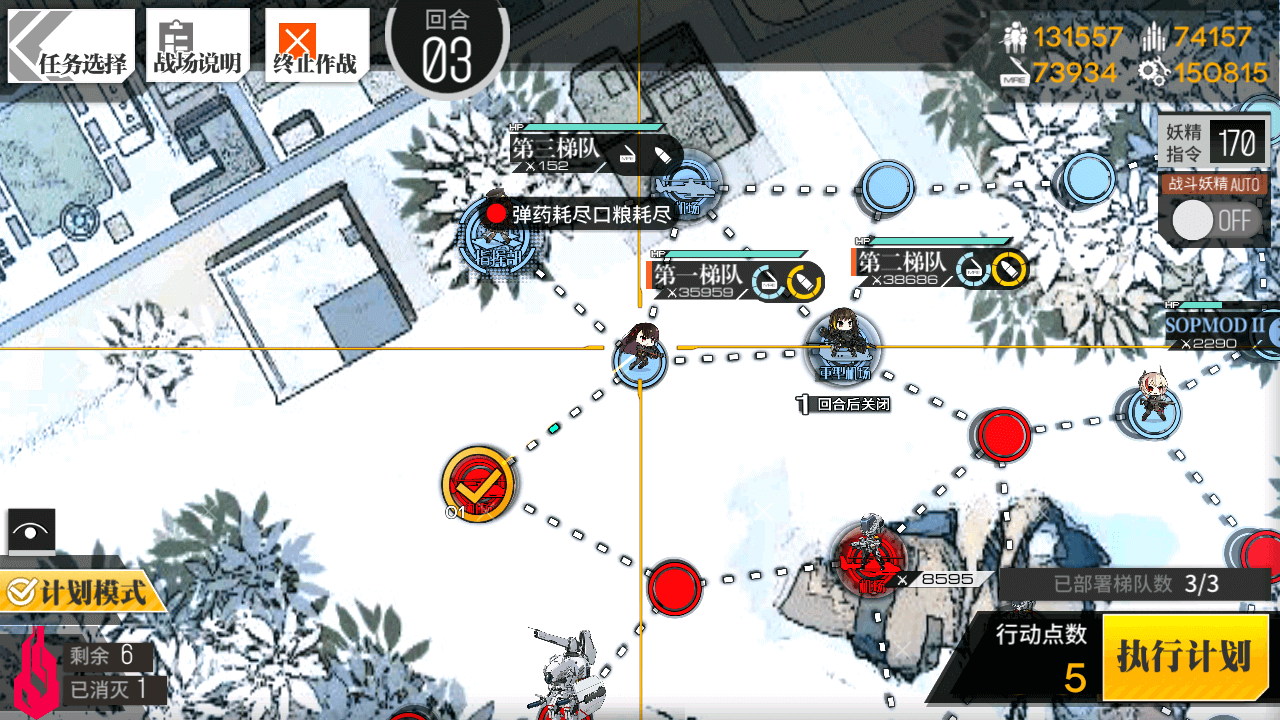
Move the RF/HG Echelon to the left one node.
3.2
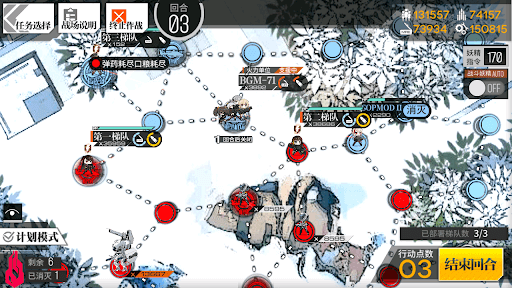
Move the AR/SMG Echelon to the right one node, and Deploy BGM-71 on the Heavy Heliport. Make sure to resupply BGM and disable bombardment unless you are about to fight a Shielded enemy to avoid wasting resources.
3.3
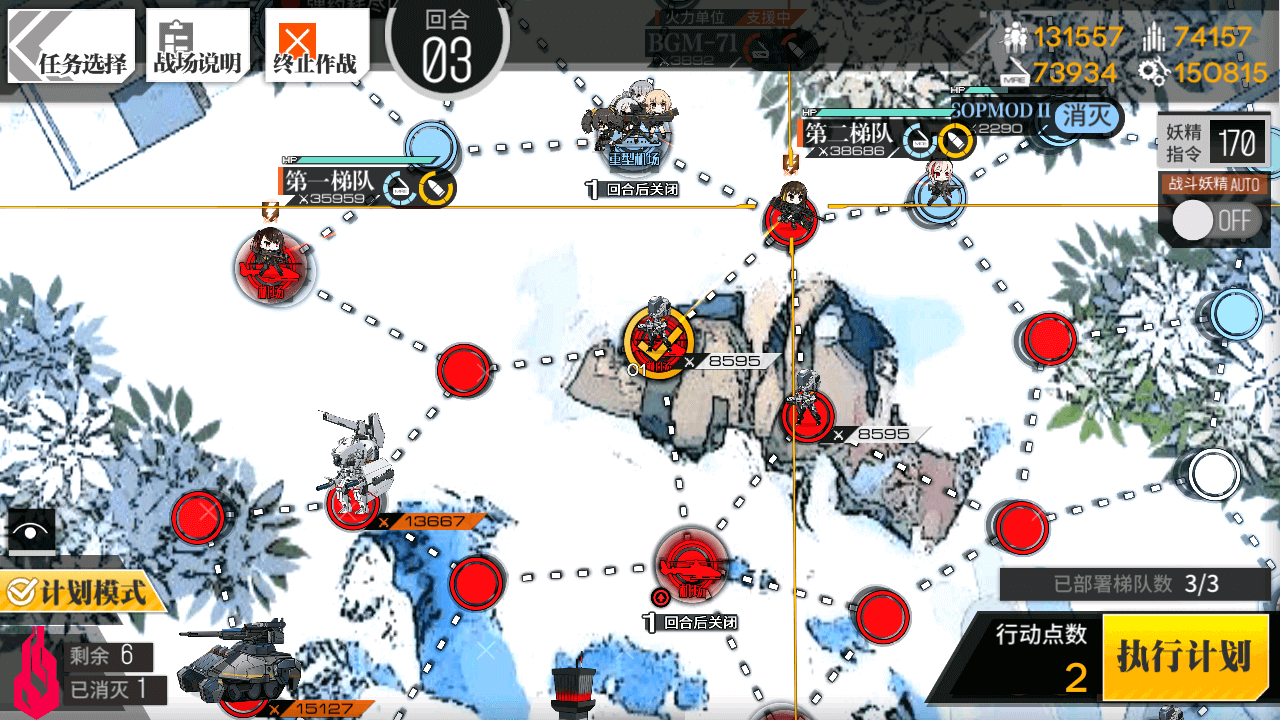
Move the AR/SMG squad down-left one node, to the Heliport.
3.4
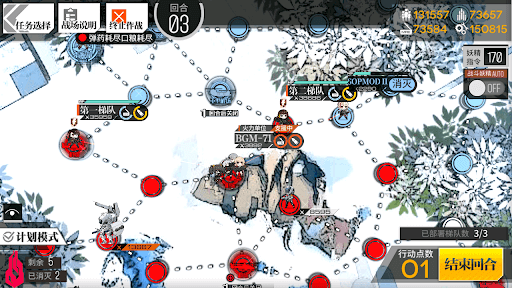
Move BGM to the right one node. Depending on enemy positioning you may need to swap BGM onto the Heliport as shown. It is also possible that you may need to move the RF/HG echelon to the right one node to kill the Doppel.
Turn 4 onwards is mostly freestyle due to enemy movement RNG, so the shown paths should be considered guidelines from this point on rather than something you can directly copy.
Turn 4
4.1
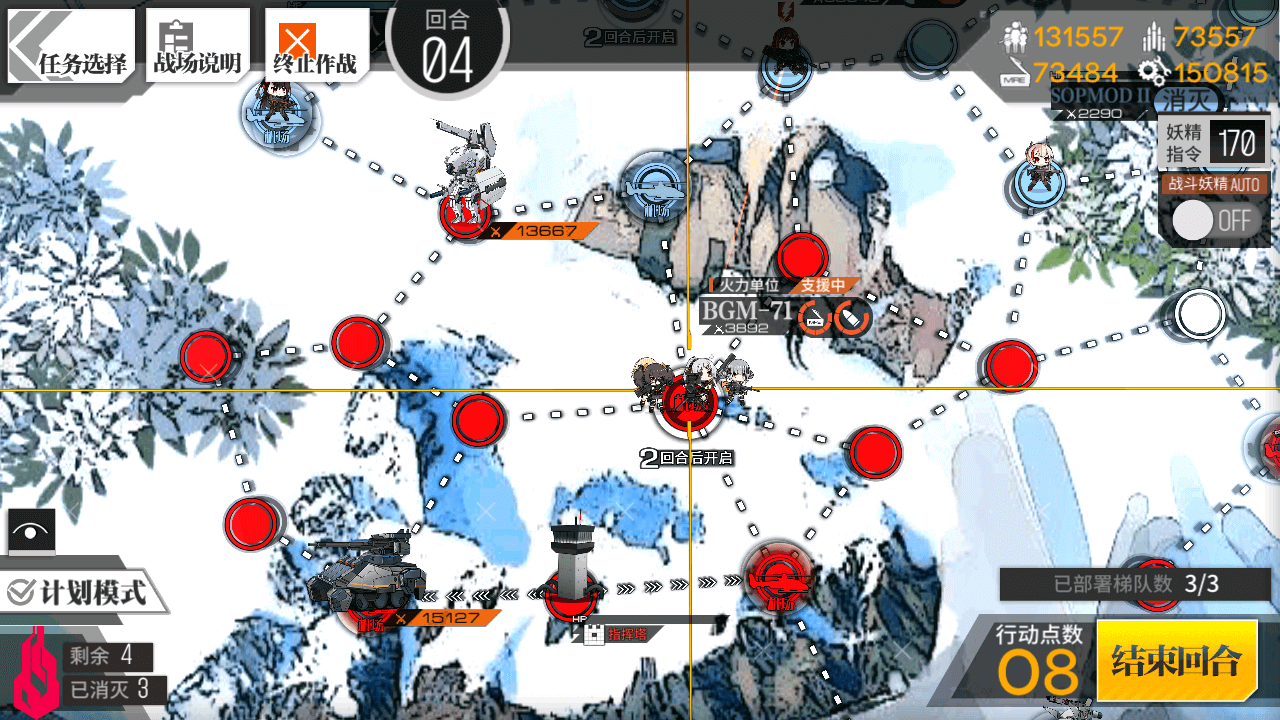
Move BGM down one node, and you can Bombard the Command Tower.
4.2
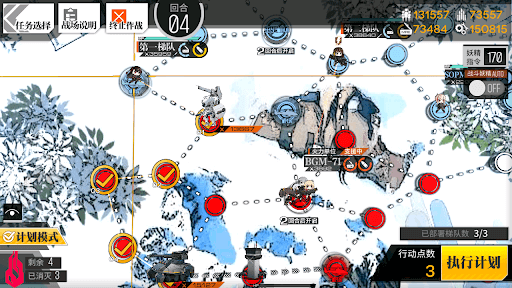
Move your RF/HG squad right one nodde, down one node, left, down and right ,ending the turn on the Heliport. This route typically encounters both the Doppel and the Uhlan.
4.3

Your AR/SMG Echelon should move down, swap with BGM, and move down again.
4.4

BGM should move one node down, back onto the Heliport to capture it.
Turn 5
5.1

Turn 5 is a free for all to finish off whatever is left alive. The route shown in the example will hit almost every location enemies typically are, but you will be able to use a shorter route to finish the map.