Possible Drops:
--
Mission and Clear Conditions:
Mission: Kill all enemies
Clear Guide:
Team Recommendations:
-
2 Combat Echelons Level 90 5x Links
-
1 RF/HG
-
1 AR/SMG
-
-
1 Dummy Echelon
-
1 HOC: BGM-71
Clear Steps
For those who already completed 2-6A, this map will be quite familiar, the primary difference being the presence of an extra Doppelsoldner, and the Heavy Heliports are no longer time-locked, easing up the clear. Enemy movement does remain random however, which can be a bit frustrating. The Uhlan is the less threatening foe by far, and a good Echelon can generally handle it without HOC support, although the Doppelsoldners generally need an HOC and powerful combat team to punch down.
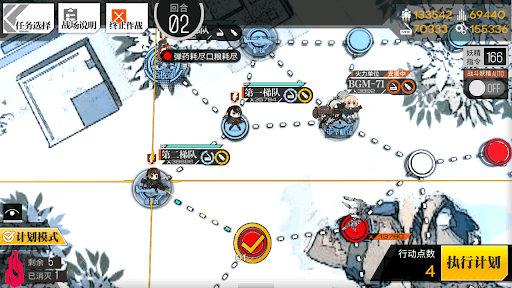
Turn 1
1.1
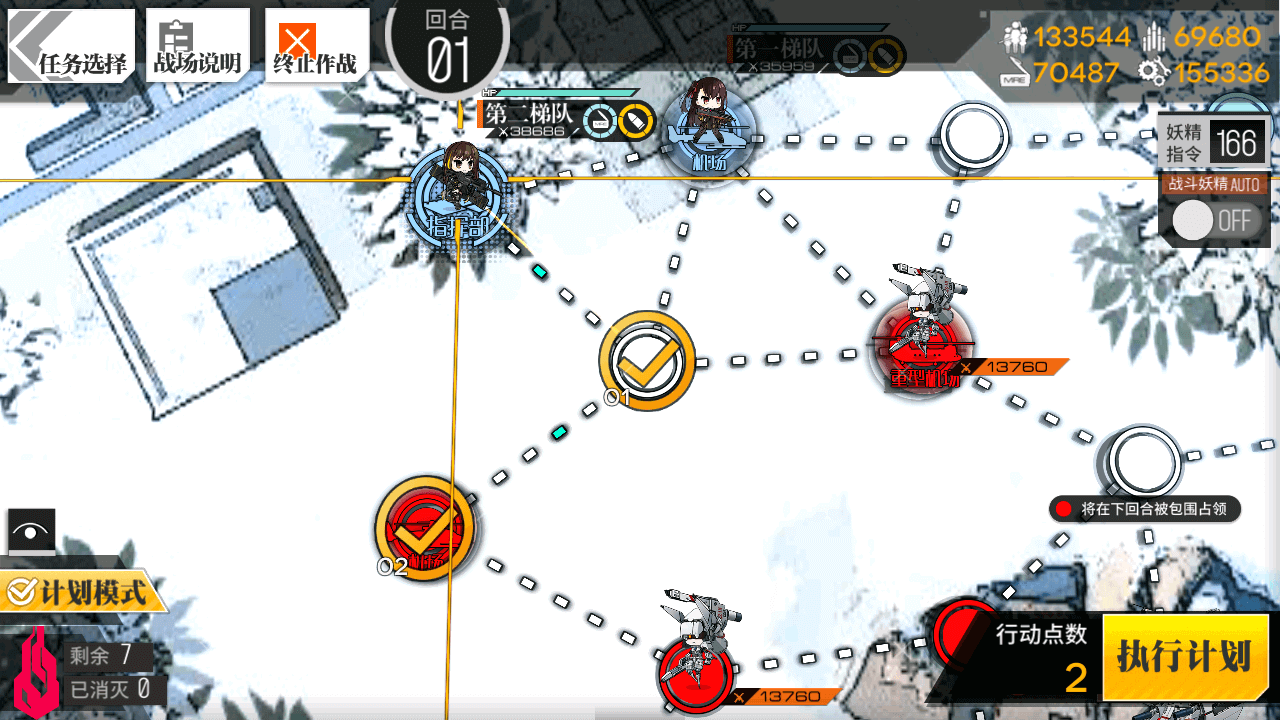
Deploy an AR/SMG Echelon on the Command Post, and an RF/HG Echelon on the Heliport. Move the AR/SMG Echelon down one node, and to the left one node.
1.2

Move the RF Echelon down-right onto the Heavy Heliport.
1.3
Deploy a Dummy Echelon on the Command Post.
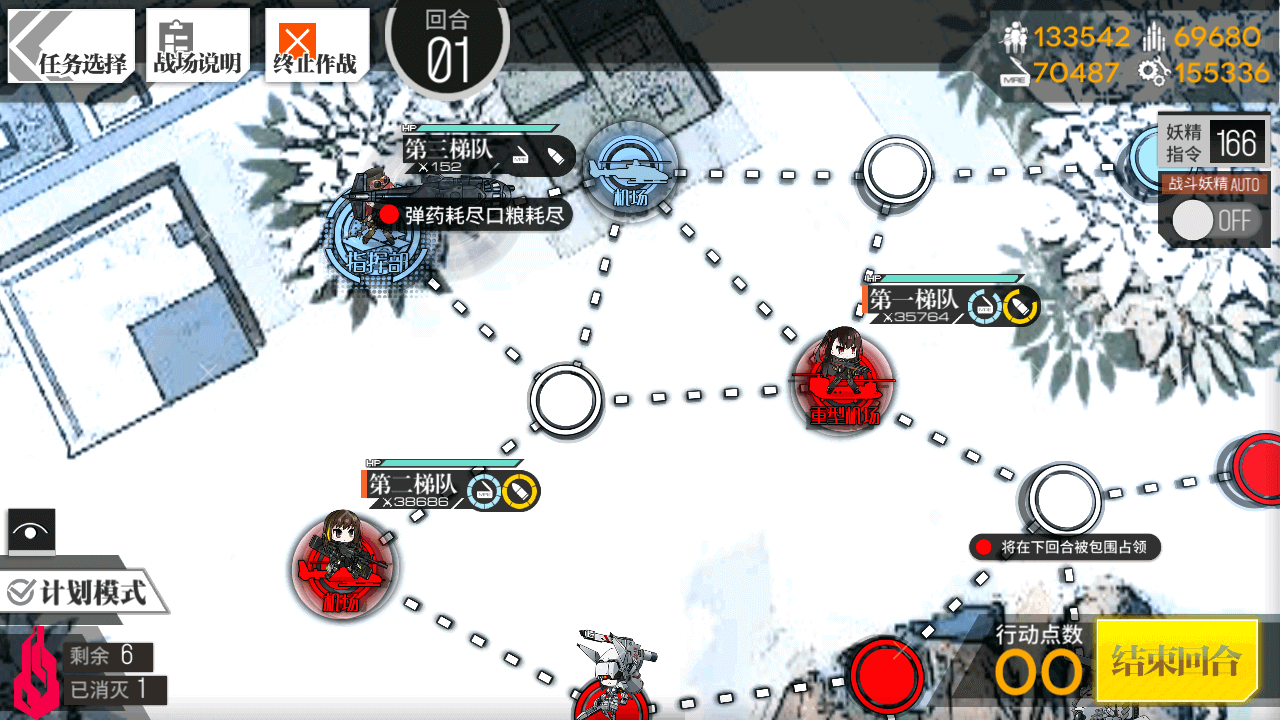
Turn 2
2.1

Move the RF Echelon to the left one node.
2.2

Deploy BGM-71 on the Heavy Heliport.
2.3
Move the AR Echelon to the right one node.
2.4

Swap BGM with the RF Echelon then move then right ,and down-left, ending the turn next to the AR Echelon.
2.5
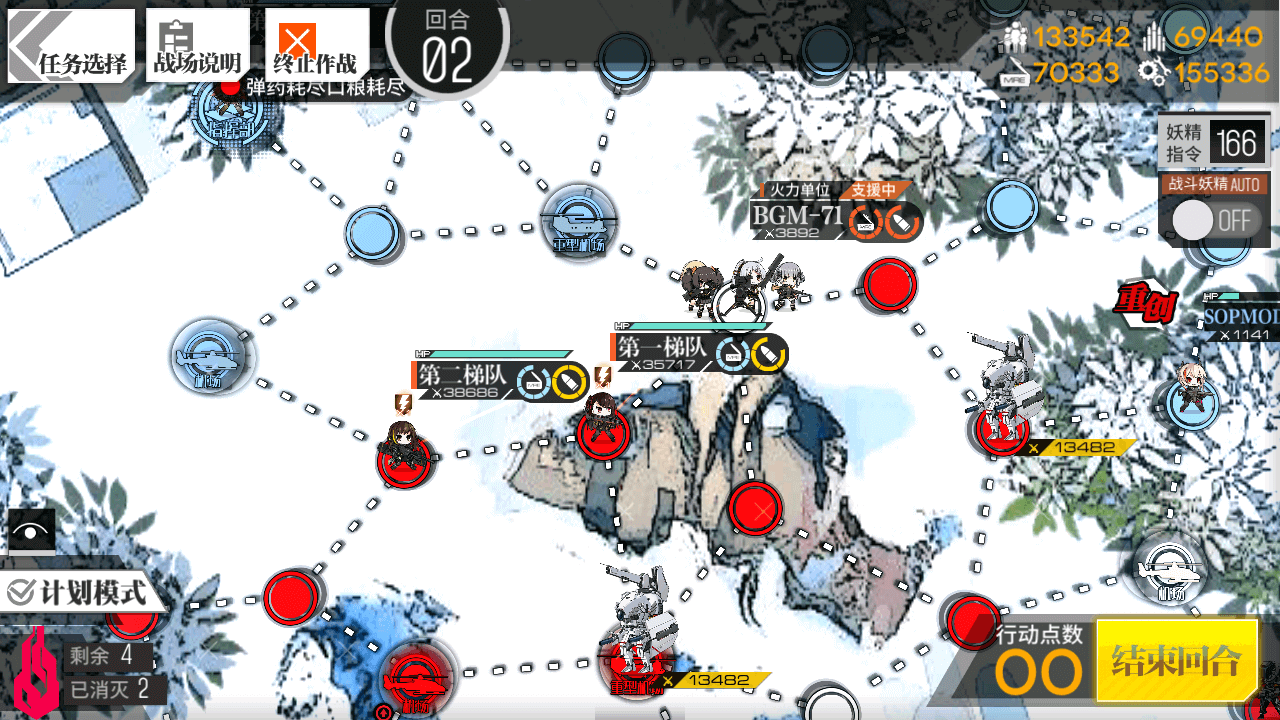
Move BGM to the right two nodes. There is a slim chance that any enemy is adjacent to this node, in which case, leave BGM on the Heavy Heliport.
Turn 3
Mostly freestyling at this point, so be willing to adapt to differing map conditions. .
3.1
Turn 4
4.1
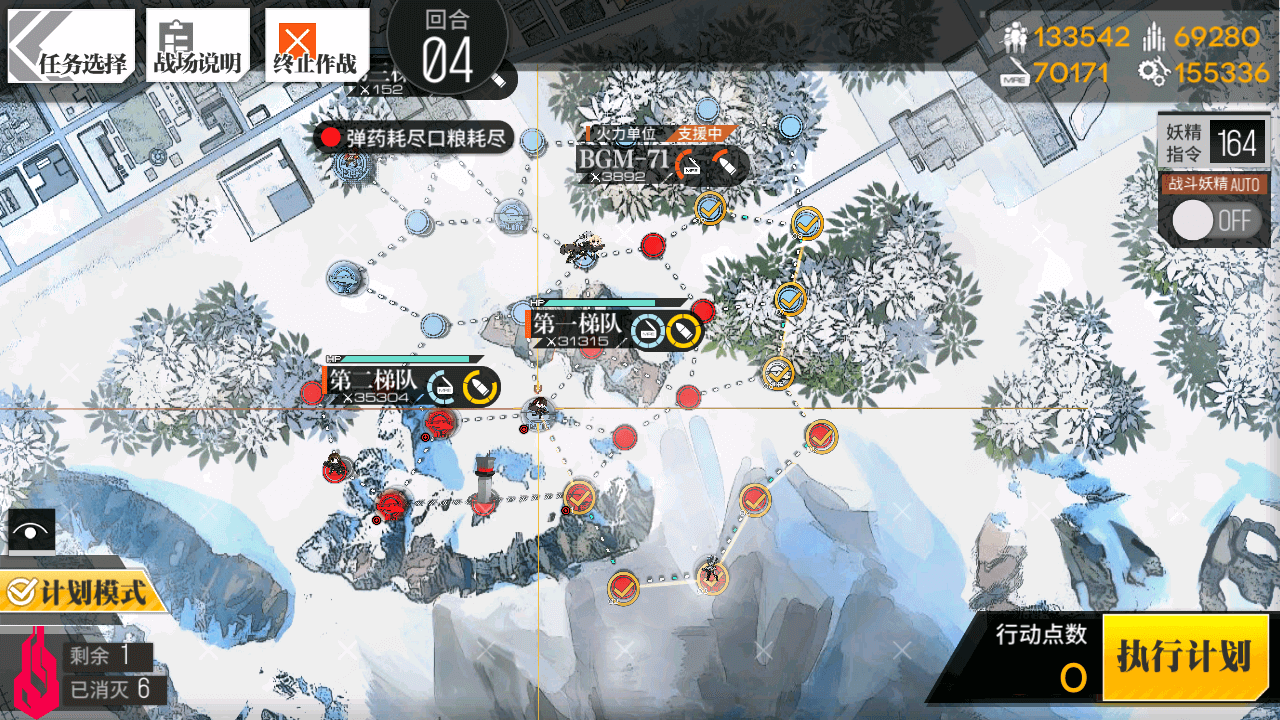
At this point you need to mop up remaining enemies. In the example, there is only a Strelet at the bottom, so we move down, and the right all the way around, but your path will differ.