Possible Drops:
--
Mission and Clear Conditions:
Mission:
Rescue Hostage (Back to the main route - Yellow Zone)
OR
Survive for 5 Turns (Side Route)
Clear Guide:
Team Recommendations:
-
2 Combat Echelons, Level 90 5x Linked
-
1 Dummy Echelon
Clear Steps
3-3B introduces the third type of ELID, the Swarmer (Smasher), a Boss-type monster that we will be avoiding for this clear as they are incredibly difficult to defeat. It also co-introduces terrain effects to the field along with 3-3A. Much of the outer edge of the map features nodes marked with a small green skull and smoke effects over them. DO NOT end your turn on these nodes, all Dolls in your Echelon will take substantial damage, which is capable of killing Dolls should they be at low enough HP.
Fortunately, the Swarmer ELIDs are easy to avoid, and you are given plenty of AP to prevent the need to stand on a damaging Node. While the first phases require some attention to ensure nothing goes wrong, this map is deceptively easy to clear.
Writers note: For those who want to try and be cheeky with Parachute Fairies, there is an Anti-Air tower covering the Heliport you need to evacuate from, which must be destroyed by going through the rest of the map. Unfortunately, MICA has wizened up to that trick, so don’t expect to get much mileage out of parachute fairies in most of Chapter 3.
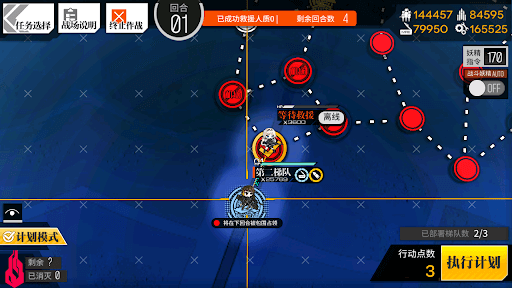
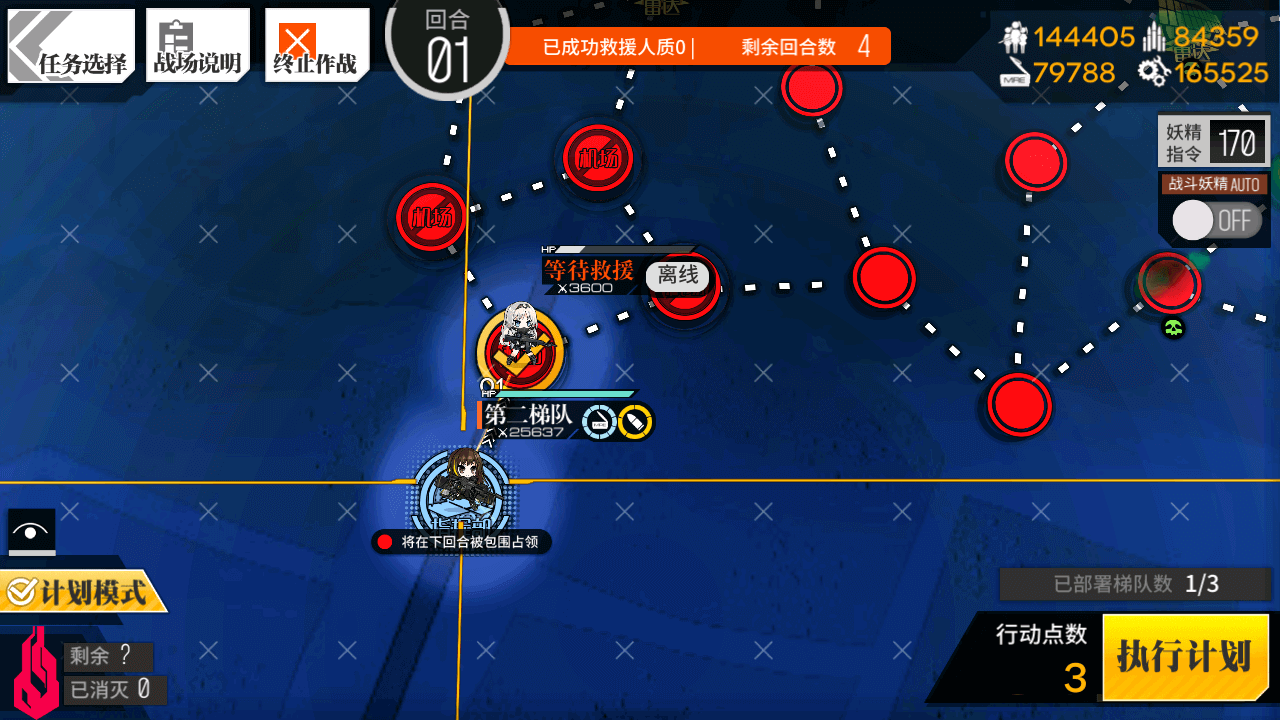
Hostage Rescue
Turn 1
1.1

Deploy a Combat Echelon on both the Command Post and the Heliport in the upper right. Move the Echelon on the Heliport to the left one node. ELIDs will be attacking across the one way path every turn.
1.2
Move the Combat Echelon on the Command Post up to rescue AN94.
1.3
Deploy a Dummy Echelon on the Command Post.
1.4
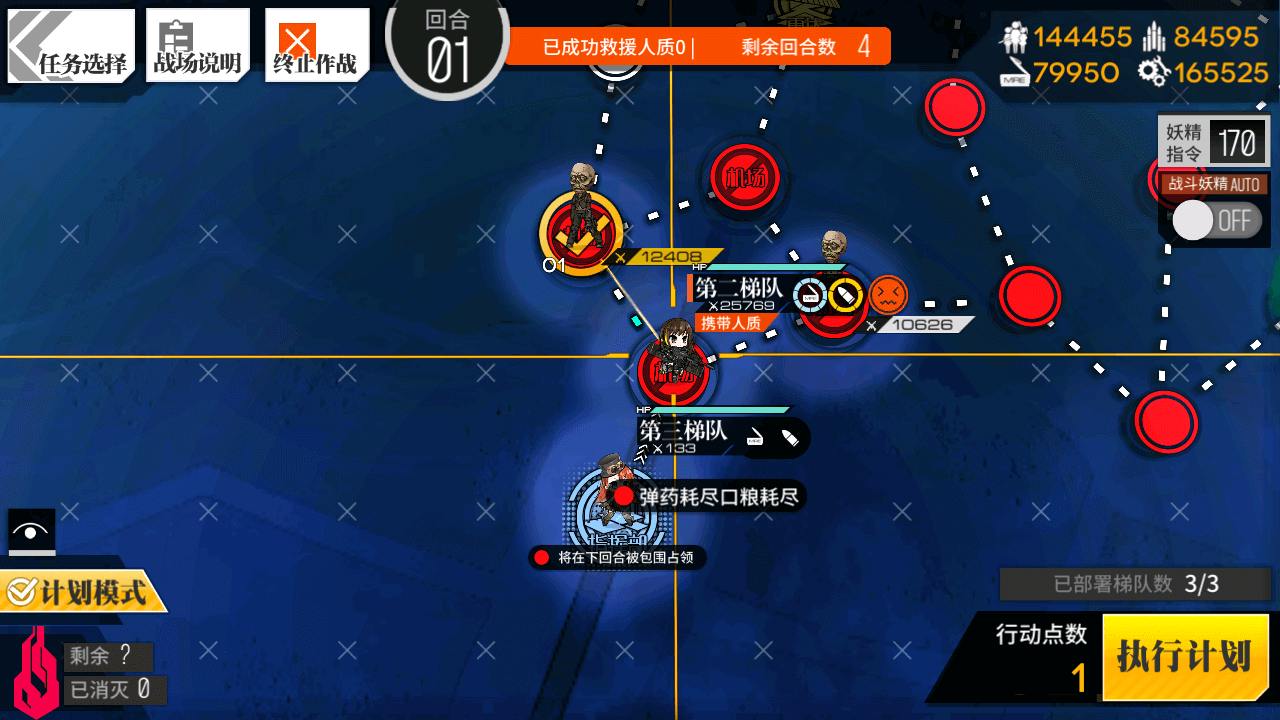
Move the Combat Echelon to the left, killing the ELID there.
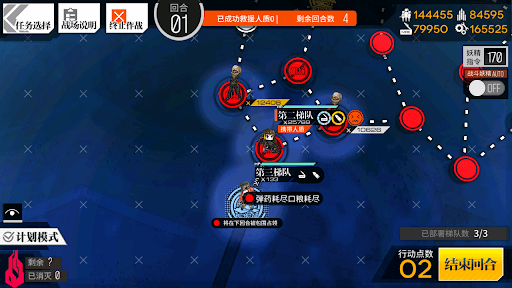
Turn 2
2.1

Swap the places of your Echelons once again,then move the Combat Echelon to the right, up onto the Radar Node, then right two nodes. This will ensure you are out of range of any ELID Swarmers.
2.2
Move the Dummy Echelon to the left, then up-right to take the Heliport.
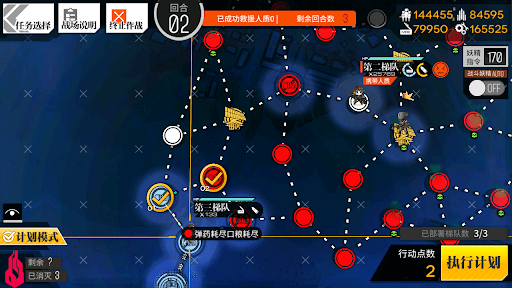
Turn 3
3.1
Move the upper Combat Echelon right onto the Heliport.
3.2

The Combat Echelon carrying the hostage should now move three nodes to the right, up two nodes, then to theright once again, destroying the AA tower on the way. Swap onto the Heliport, and ma nually rescue AN94 to finish the map.
Survive for 5 Turns
Turn 1
1.1
Deploy a Combat Echelon on the Command Post. Move up to Rescue AN94, and prevent the Command Post from being encircled, then end your turn until the map finishes.