Possible Drops:
--
Mission and Clear Conditions:
Mission: Hold Supply Line for 3 Turns
Clear Guide:
Team Recommendations:
-
1 Gunboat/Typhon Killing Comp
-
2 Dummy Echelon
-
1 RF/HG Combat Echelon (Can be AR/SMG in a pinch, be mindful of Hydras if so)
The gunboat can consist of only 2-3 MGs, 1-2 Damage-buffing HGs, and M4A1.
Clear Steps
Supply Line time once again. While there is a Heavy Heliport, HOCs are not needed as no Shielded enemies appear on this map, and everything else can be handled in the traditional manner. Making a rather rude return, however, are Typhons, everyone’s old friend from Singularity.
As such the Gunboat formation makes a ‘glorious’ return to kill the Typhons, and in the upcoming 3-5. For those who missed Singularity, or are unfamiliar with the term, a Gunboat refers to a 4 MG/1HG(There are a few other options, but HGs), designed to deliver the maximum Alpha damage, before the HG, traditionally Contender (Thunder and CZ-75 also work), is killed the Typhons. Luckily, the threshold DPS for Gunboats in CT is fairly low, making the usual ‘Big 4 and Contender’ recommendation less of a requirement than in Singularity. If lacking for any of the previously mentioned HGs, M4 Mod III, SR-3MP, or Night ARs will work in a pinch although some variety of Damage buff is recommended to keep up the Damage during Skill Downtime.
Fully specced out Gunboats are in fact capable of dealing enough damage to kill all of the trash, and the lower Typhon before it fires, requiring only two Dolls to retreat (Contender/4th MG).
Gunboats are a decent answer to the majority of the KCCO units on this map, with the exception of Cyclops who have enough evasion to be troublesome, so bear this in mind. AA Towers once again prevent cheeky Parachute antics, so be forewarned.
Turn 1
1.1
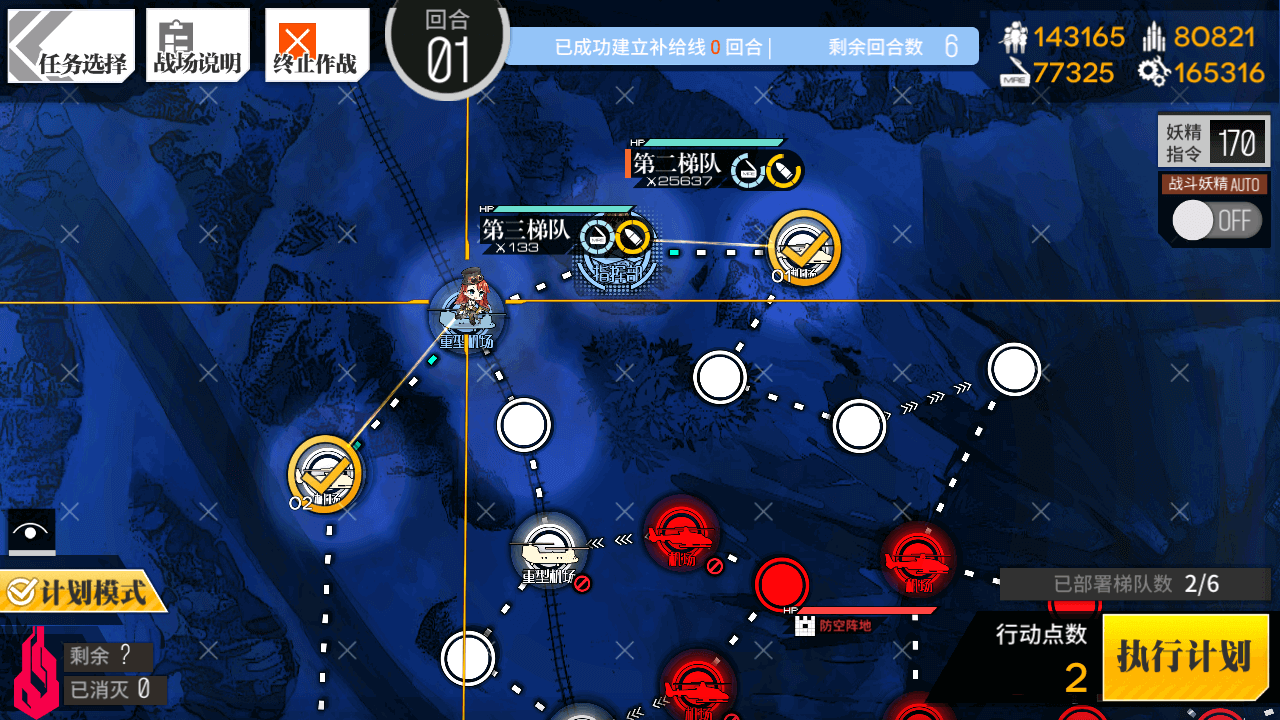
Deploy a Dummy Echelon on the Heavy Heliport, and a Gunboat or other Typhon killer on the Command Post.
1.2
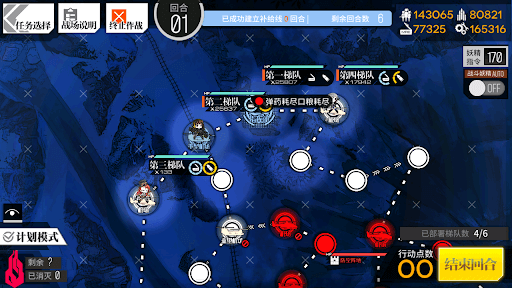
Deploy a Dummy Echelon on the Command Post, and a second Combat Echelon on the Heavy Heliport.
Turn 2
2.1
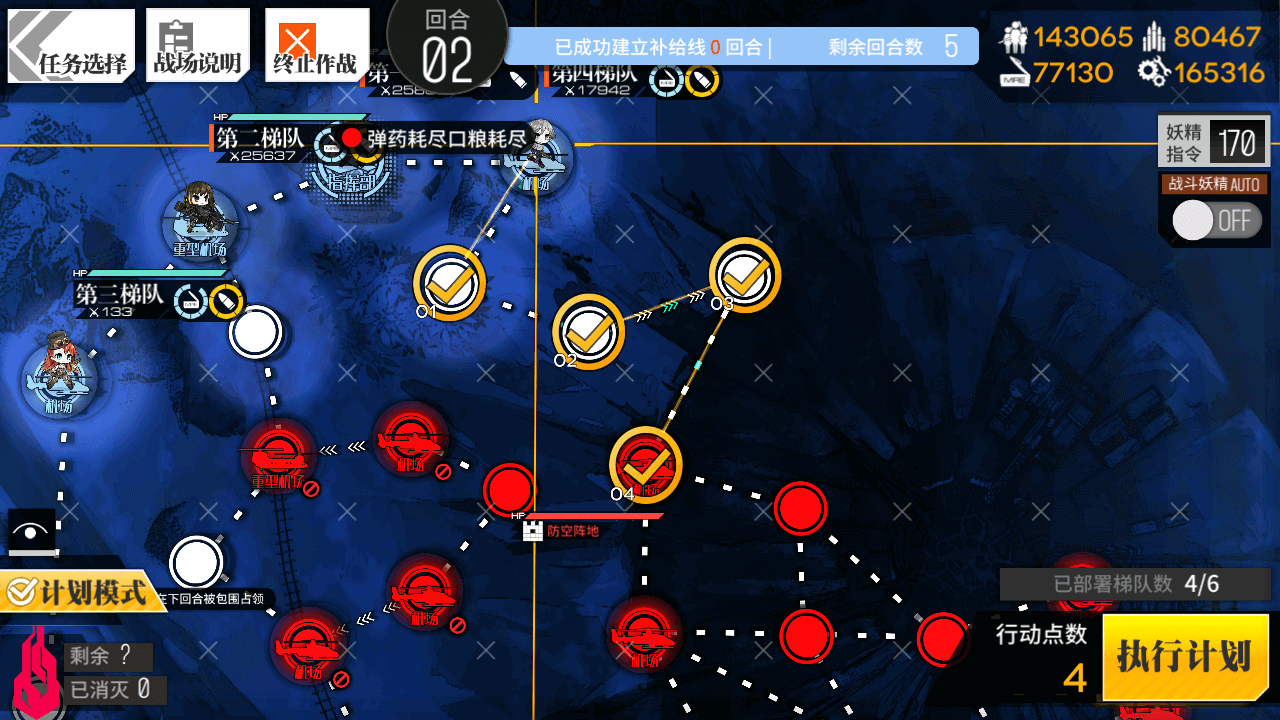
Send the Typhon killing squad down, right two nodes, and down again, onto the enemy Heliport.
2.2
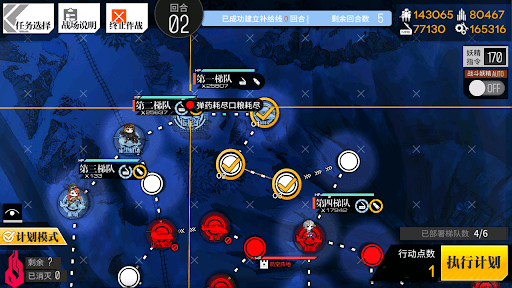
The Dummy Echelon on the Command Post should move right down, and right again. This will allow you to encircle two nodes at the start of next turn. While you will have an AP remaining, end your turn.
Turn 3
3.1
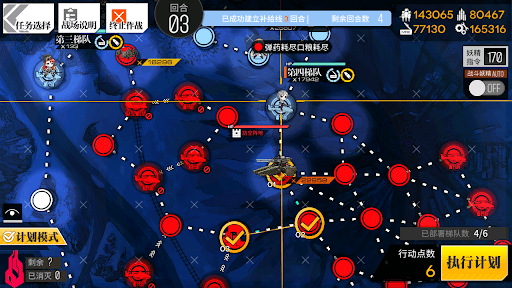
Move your Typhon killer down two nodes, killing the Typhon, and then to the left onto the Supply Point.
3.2

The Right dummy Echelon should move right, and down two nodes.
3.3

Retreat the upper left Dummy Echelon, and redeploy them on the rightmost Heliport.
3.4
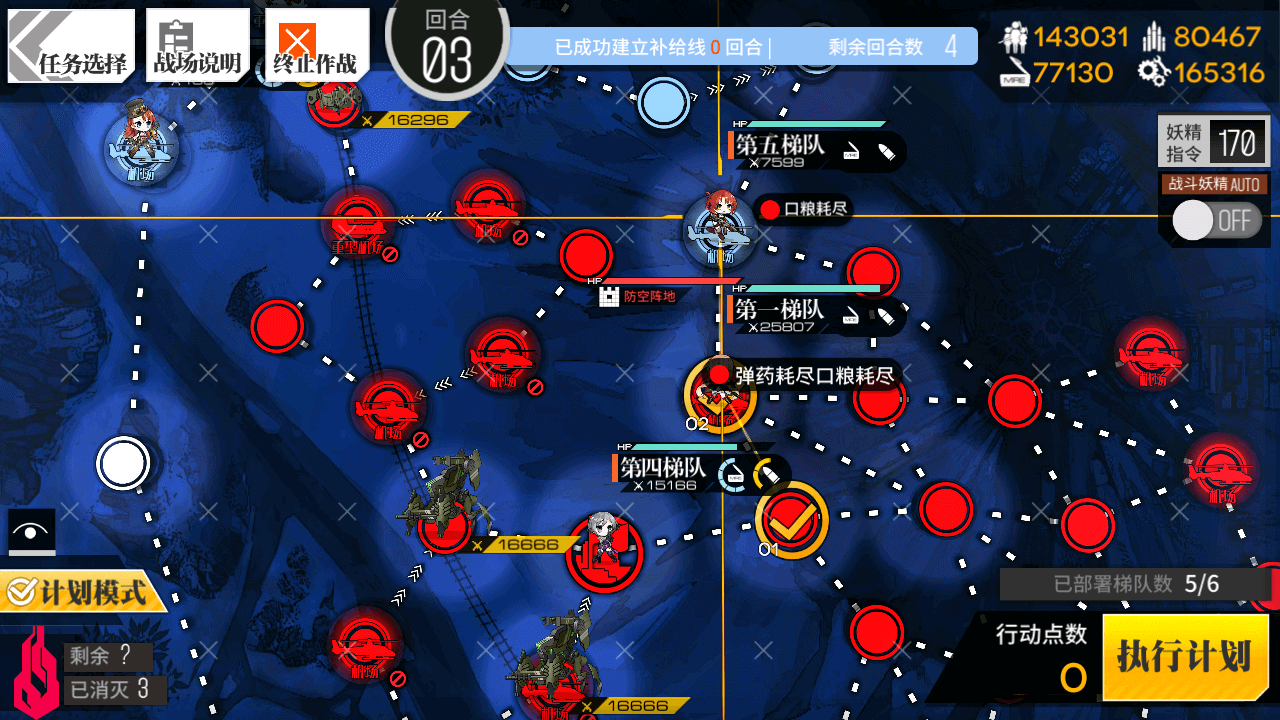
Move both Dummy Echelons down one node, to complete the Supply Line.
Turn 4
4.1
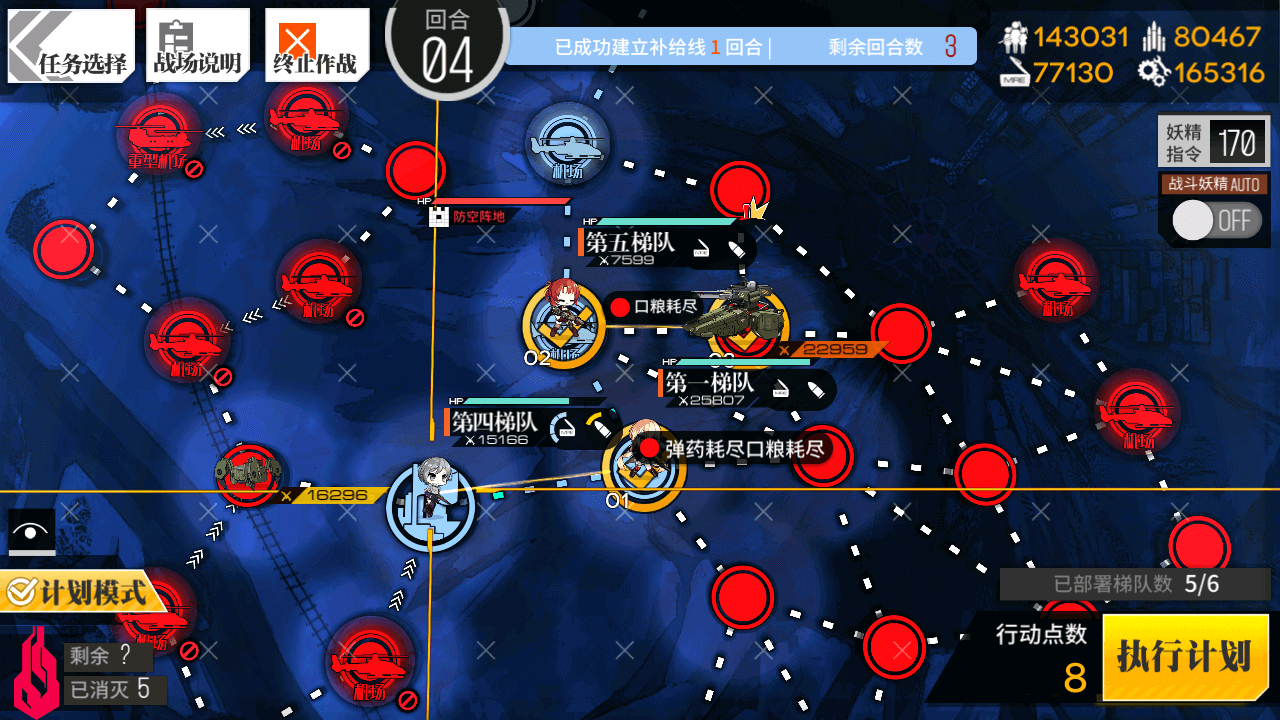
Perform a series of swaps to move your Typhon killing Echelon back, to engage the Typhon.
4.2

Move the Typhon killer back onto the Heliport, and then swap them onto the Supply Point once again to end your turn and complete the map.