-
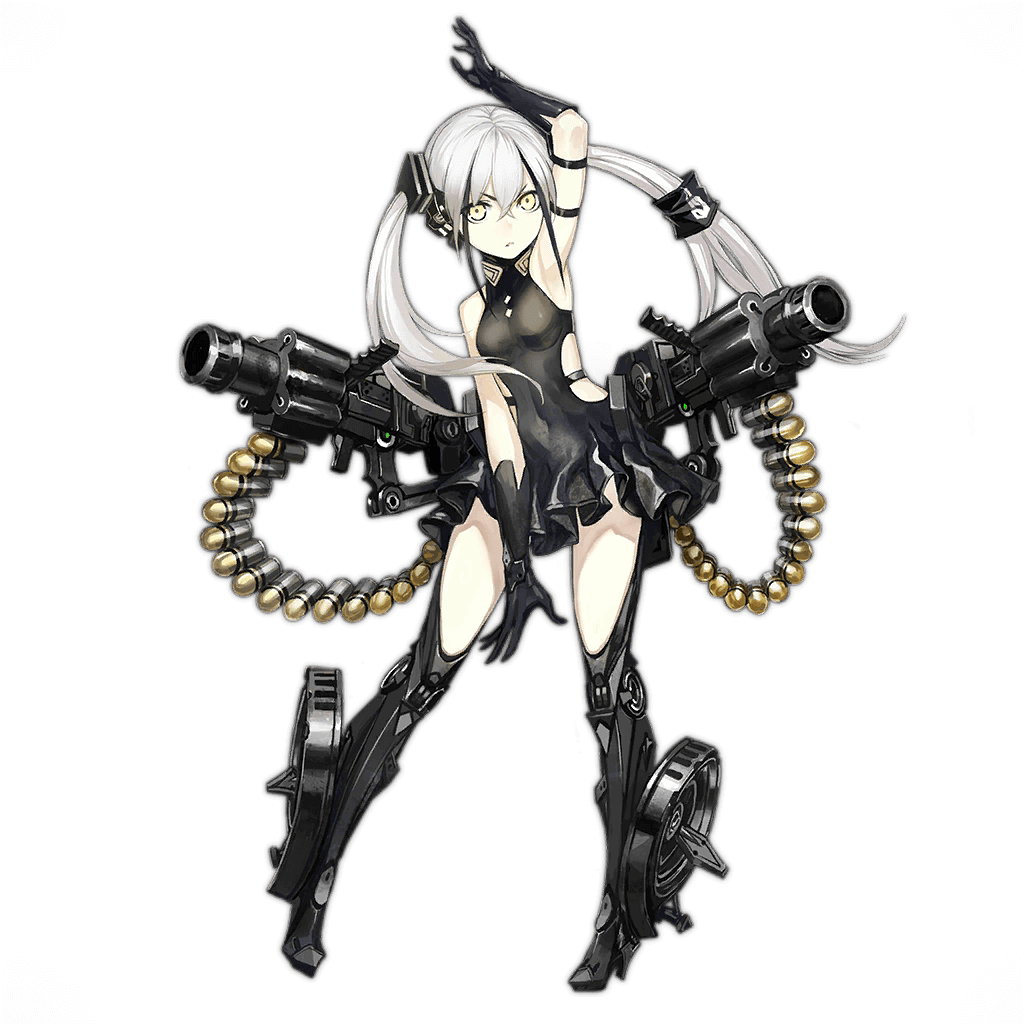
Initial Art
-
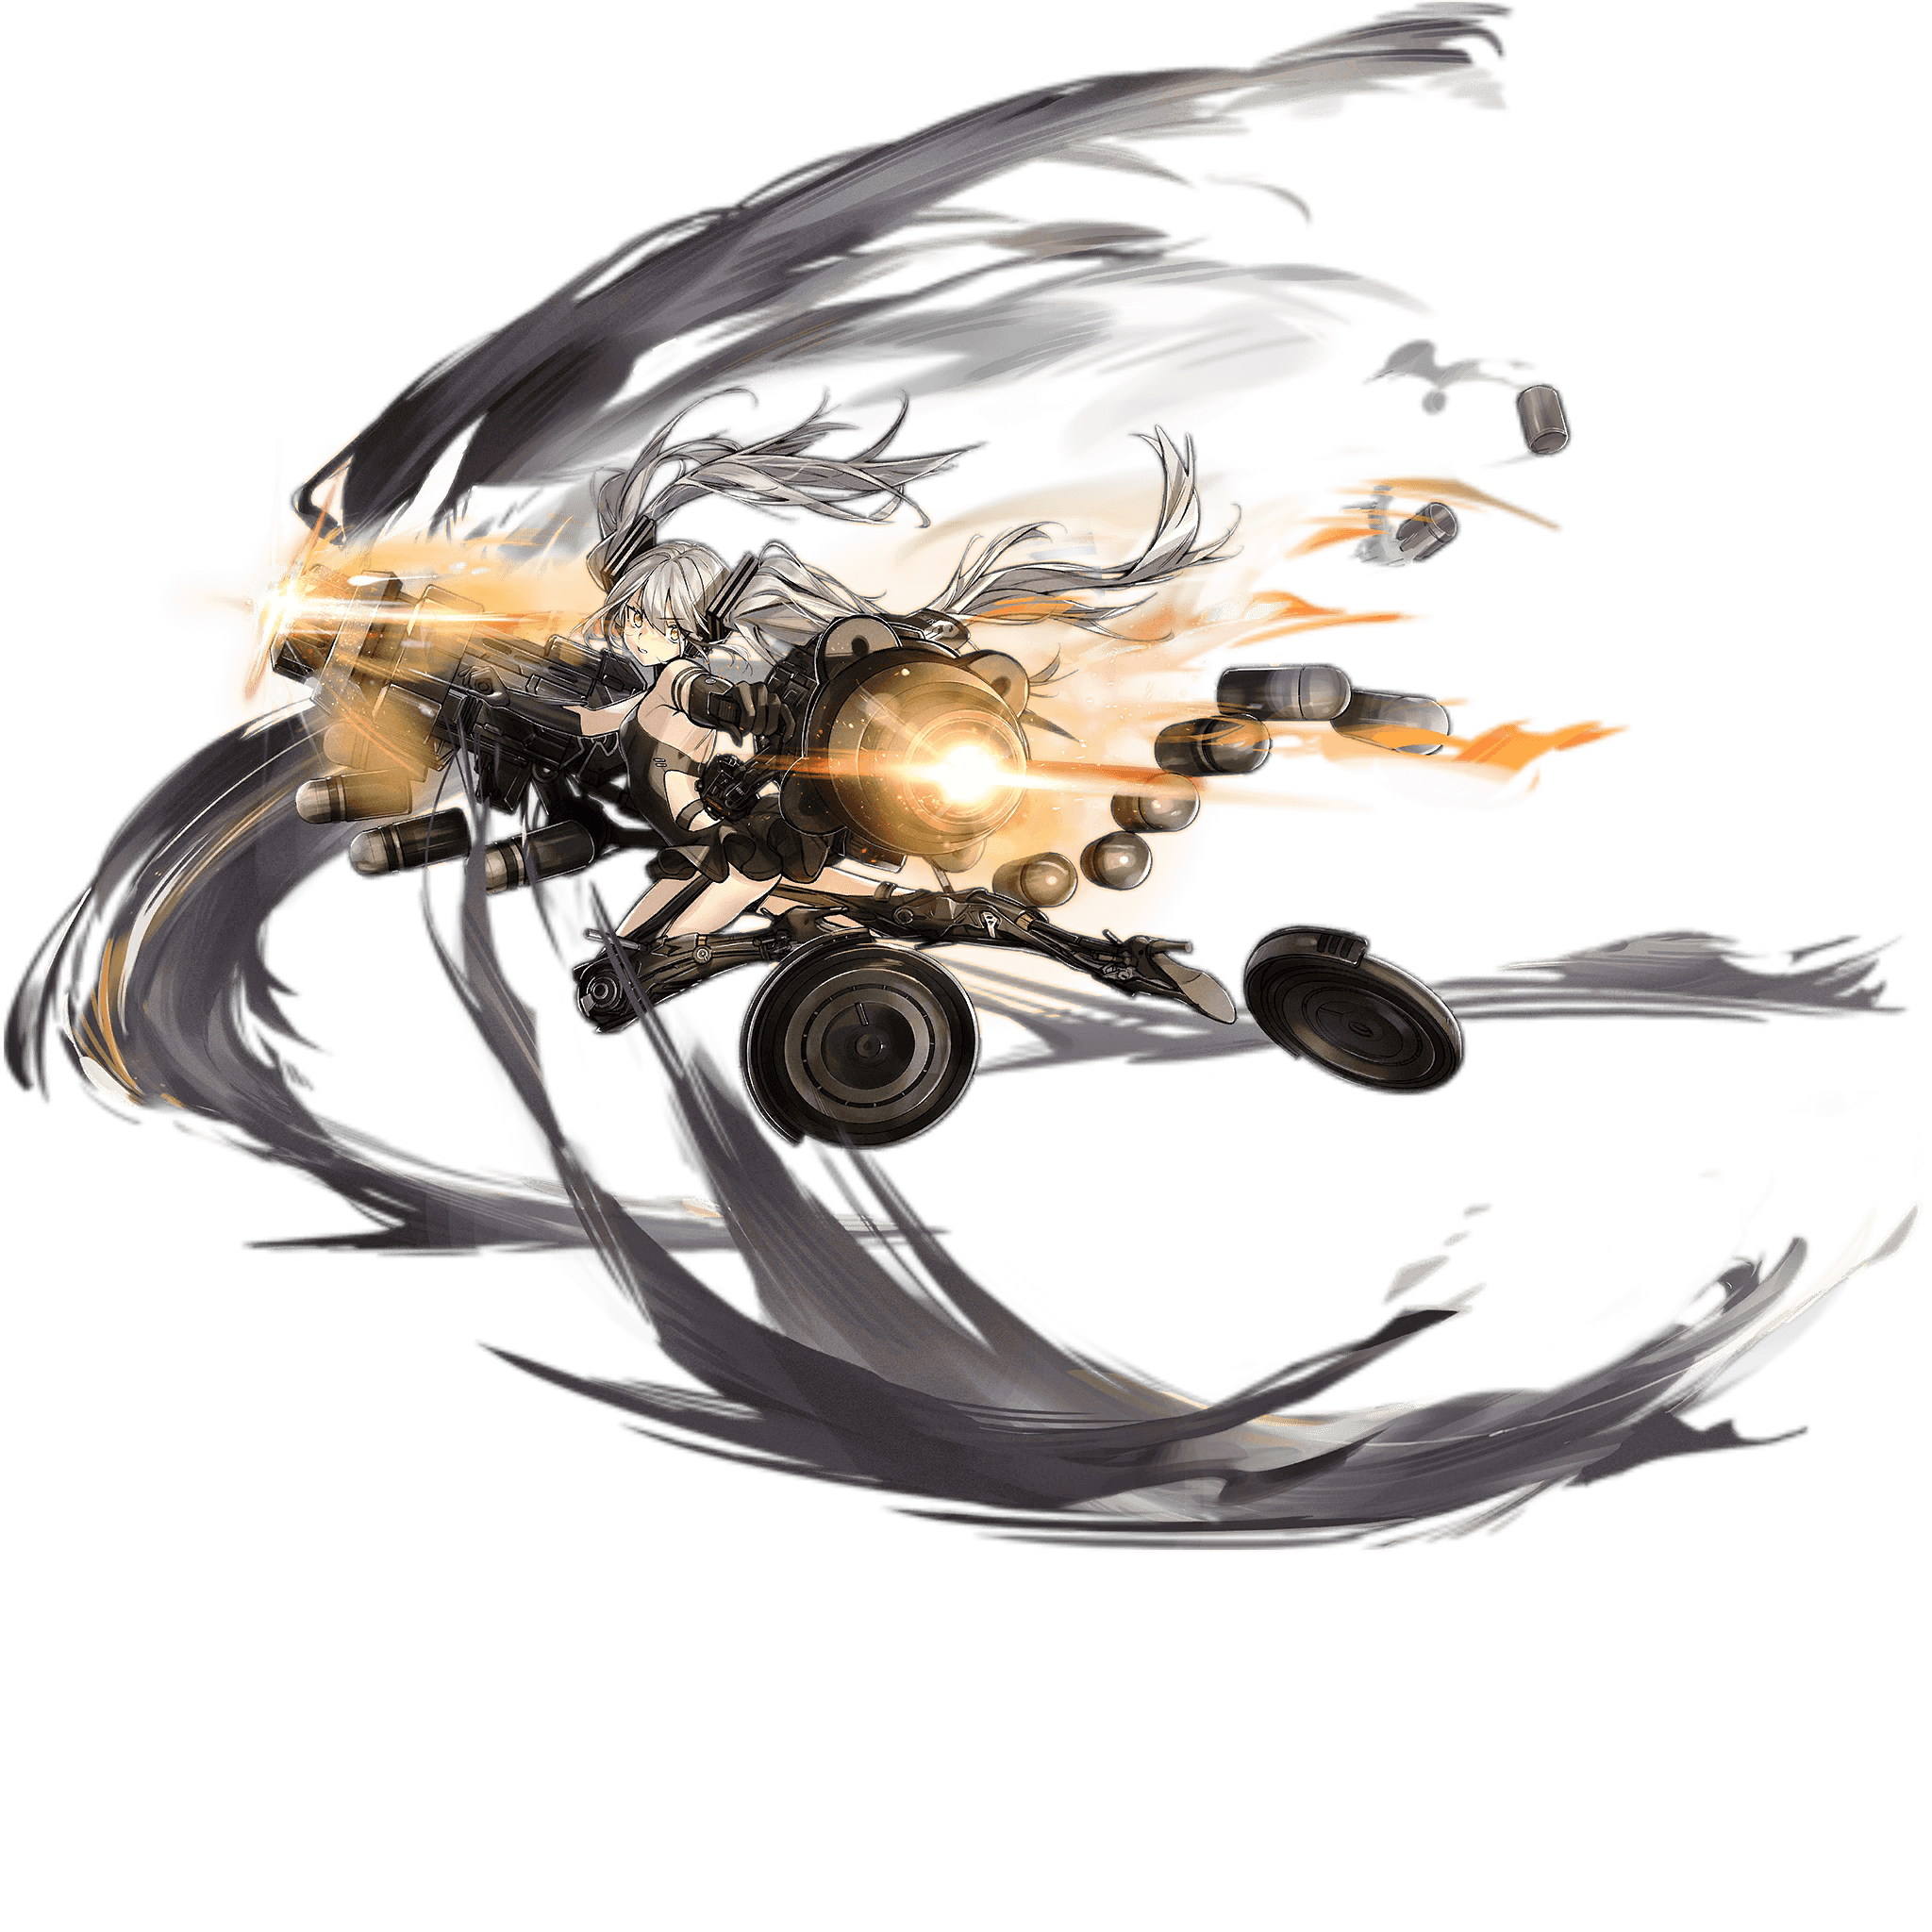
Max Rarity
Stats
Initial Stats -> Level 100 5★ -> Level 100 5★ Maximum Potential
| HP | 595→1263→1263 | Evasion | 56→146→176 |
|---|---|---|---|
| Damage | 252→880→930 | Rate of Fire | 33→74→79 |
| Accuracy | 39→109→124 | Armor | 0 |
| Critical Rate | 20% | Critical Damage | 150% |
| Armor Pen | 15 | Move Speed | 15 |
Rank Up Cost
| Level | Rarity | Petri Dish |
|---|---|---|
| 70 | 4 | 300 |
| 90 | 5 | 450 |
Tile and Formation Buff
Unlike G&K Dolls, Ringleaders provide their Buffs to any unit in the Echelon that is tagged appropriately, making positioning less important. Instead, they operate via a series of 'Tags'.
| Unit Type | Armored | |
|---|---|---|
| Effects | Base | Max Analysis |
| Damage | 6% | 10% |
| Armor | 6% | 10% |
| Unit Type | Machine | |
| Effects | Base | Max Analysis |
| Damage | 6% | 10% |
| Accuracy | 9% | 15% |
Team Building Notes
Destroyer’s Tiles are fantastic, and almost tailor-made to synergize with Manticores, and to a lesser extent Aegis and SWAP Aegis. Armor buffs for Armored units are always in demand, and the Damage buff only improves upon a Manticore’s stopping power. The Buff to Machine units stacks with Armored units for extra strength.
Skills
| Wind-Grasping Hand ICD: 6 Seconds |
||
|---|---|---|
 |
Level 10 Effect
Target Enemy with Highest HP, launch grenades in a cross pattern dealing 2x Damage that ignores armor and dealing damage to all Dummy Links.
Peak Value Analysis 4: Increases Damage Multiplier to 2.5x. (Cooldown: 12 seconds) |
|
| Waypoint Strike HOC Support |
||
 |
Level 10 Effect
Provide Fire Support to friendly Echelons within 2 nodes, firing 2 Grenades every 6 seconds that deal 0.5x Damage to all Links within 1 unit. Deals 0.1x damage to Structures.
|
|
| Composite Grenade Passive |
||
 |
Level 5 Effect
Destroyer attacks using Grenade Launchers with 12 Ammo. When ammo is expended, she will reload for 2 Seconds. Destroyers attacks consist of volleys of 2 Grenades that deal 0.5x explosive Damage in a 1 unit Radius. This Skill reduces Destroyer's Rate of Fire by 50%.
|
|
| Inferno Reload Passive |
||
 |
Level 5 Effect
The first shot after reloading will deal 0.8x Damage and applies a burning effect which applies 10% vulnerability and deals 0.15x Damage every 0.5 seconds, for 2.5 seconds.
|
|
Analysis
Destroyer closely resembles her enemy self, with a sizable Damage stat, low Rate of Fire and passable Accuracy. Like (almost) all Ringleaders, she should be kept off the frontlines, so her otherwise middling durability is not a major concern, and Destroyer does get one major upgrade in her transition to a playable character, all of her attacks are treated as ‘Explosion Damage’, meaning her attacks hit all Dummy Links within a radius, and ignore Armor. Her Skill 2 also lets her function as a HOC, but we’ll address that later on.
Destroyer’s basic attacks are governed by her third Skill ‘Composite Grenade’, and consist of volleys of two Grenades per attack, dealing AoE Damage. Both Grenades will target the same enemy, which does leave Destroyer somewhat susceptible to Corpse Whipping, or wasting shots on an enemy that is already dead. With 12 Grenades in her magazine, Destroyer will need to reload every 6 attacks, taking a fixed two seconds. This cannot be reduced by external means, but appears to be interrupted by her Active Skill. Finally, this Skill cuts Destroyer’s Rate of Fire to between 22 and 39, depending on Skill levels and Destroyer’s Potential. Thanks to her hit per shot Damage, this is less of a hindrance to Destroyer’s abilities than it seems, but it does make leveling this Skill a priority, due to the massive improvement in Destroyer’s effective Rate of Fire. Destroyer will also overperform against large swarms of enemies, such as Strelets, where her AoE damage is favored, but will comparatively struggle against enemies such as Minotaurs, Doppelsoldners, or Patrollers, which tend to appear as single large HP targets that Destroyer cannot exploit explosions and dummy link splash damage to defeat.
Inferno Reload, Destroyer’s Skill 4, builds on her basic Attacks. The first Grenade fired at battle start and after reloading deals increased Damage, as well as applying a burning and vulnerability effect in the attack’s AoE. While the AoE is small, and increasing enemy HP has cut into the effectiveness of Molotov effects in general, thanks to Destroyer’s high base Damage even a small fraction of her base Damage as ticking Damage deals a respectable amount of Damage, which is further enhanced by the minor Vulnerability effect applied. While it is slowly losing its novelty, Vulnerability remains an uncommon effect, even though the ability to boost the damage from all sources, including HOCs, inflicted on a target is quite potent. In return for this extra effect, Destroyer’s burning Damage ticks slower, and has less uptime than a Skill Level 10 SMG Molotov, but adds a respectable Damage kick early in the battle either by letting her allies burst down targets faster due to the Vulnerability effect, or by boosting the Damage from the first HOC volley.
Destroyer’s Skill 1, ‘Wind-Grasping Hand’, is ripped straight from Gaia’s special attack in Deep Dive. sad Red noises
Destroyer fires a large number of grenades cross pattern, centered on the enemy with the highest HP dealing up considerable Damage to all enemies within the area. It also ignores Armor completely, and will do very well at clearing large clusters of enemies such as Strelets, ELIDs, Cyclops, or Nightmare zombies, but also loses potency against singular targets. Highest HP targeting is generally not a concern, but it can result in Destroyer bombarding an approaching Doppelsolderner or Hydra instead of the cluster of enemies you want her to aim for so be a bit careful about what can be targeted in certain battles.
Now, with all of that out of the way, let’s discuss Destroyer’s abilities as a HOC, which is governed by her Second Skill.
For some quickfire bullet points:
- 2 Range;
- Cannot Damage Force Shields;
- Can be enabled/disabled for no cost;
- Costs Rations and Ammo per use (like a traditional HOC);
- Can Damage Buildings, but inefficient.
As a HOC Destroyer retains her slow Rate of Fire and high Damage profile, firing two shots every 6-10 seconds, dealing purely Lethality Damage, meaning she will still need ATW support when fighting shielded Paradeus such as Doppelsoldners, Gladiators, and Patrollers. Her AoE is smaller than other HOCs, and her Damage per shot will be in the middle of the pack. In return for these performance issues, Destroyer can be fielded anywhere a Coalition Echelon can be deployed, without the need for a Heavy Heliport, and provided her Coalition Allies are capable, holds her own in Combat. Overall, Destroyer should be treated as a nice bonus to using her in combat, rather than as a HOC, outside of one Scenario.
SF Dragging
Destroyer’s HOC status does enable SF Dragging for the first time one EN. This is a low resource method of leveling Sangvis Units although it does take a considerable amount of time, using 8-2 and a pair of friend Echelons with Ringleader HOCs, favoring Destroyer, White Nyto and Dreamer, although other HOC Ringleaders that can act as an HOC can be used.
The major point to note here is that Commanders will not use their Destroyer as an HOC, but rather summon a Friend Echelon who happens to have Destroyer. As she acts as an HOC unit outside of combat, Friend Echelon Destroyers also can act as one, and thus provide fire support to your dragging team.
Unlike traditional T-Doll Corpse Dragging, SF Corpse Drag does not require two teams to resupply the DPS unit, because
- SF echelons do not allow individual resupplies;
- Friend Echelon’s Destroyer is the DPS, acting as an HOC that doesn’t cost Ammo and Rations, as Friend Echelons don’t need resources to work.
On the other hand, SF Corpse Drag does require an enemy to tank damage, much like M16 in 0-2 and an SG in 12-4E, so it is advised to leave one Manticore as tank.
Also, unlike traditional Corpse Drag, there isn’t a limit per run as to how much Commanders can Corpse Drag, as it abuses the nature of Friend Echelons and Enemy Heliport spawns. The map used for SF Corpse Drag is 8-2, and the setup is fairly simple, as shown in the image below:
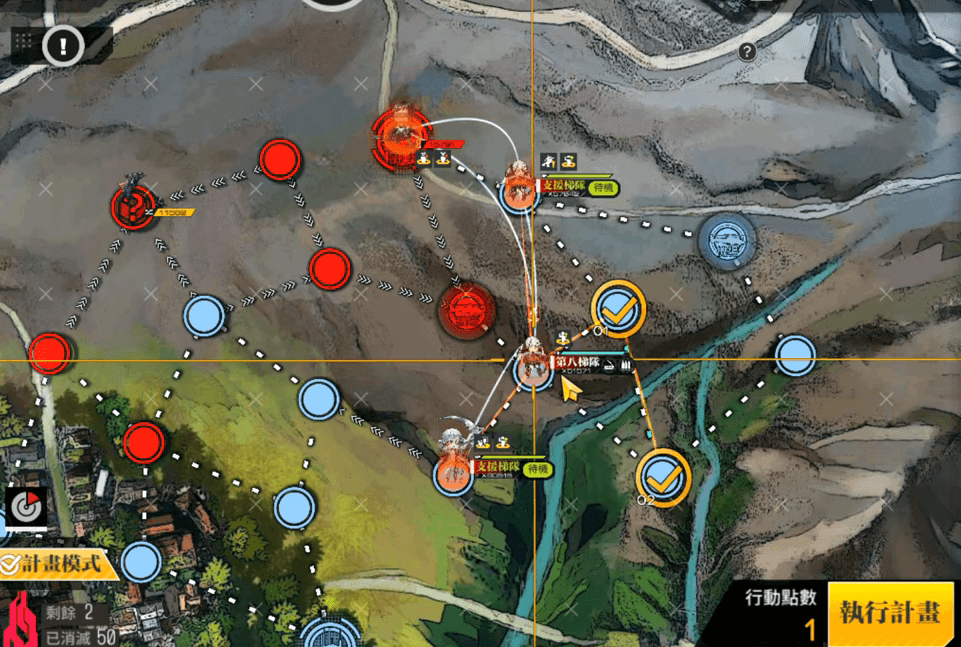
As to how many turns it’s possible to farm? As many as possible to plan with Planning Mode, or until the tank is in dire need of repairs:
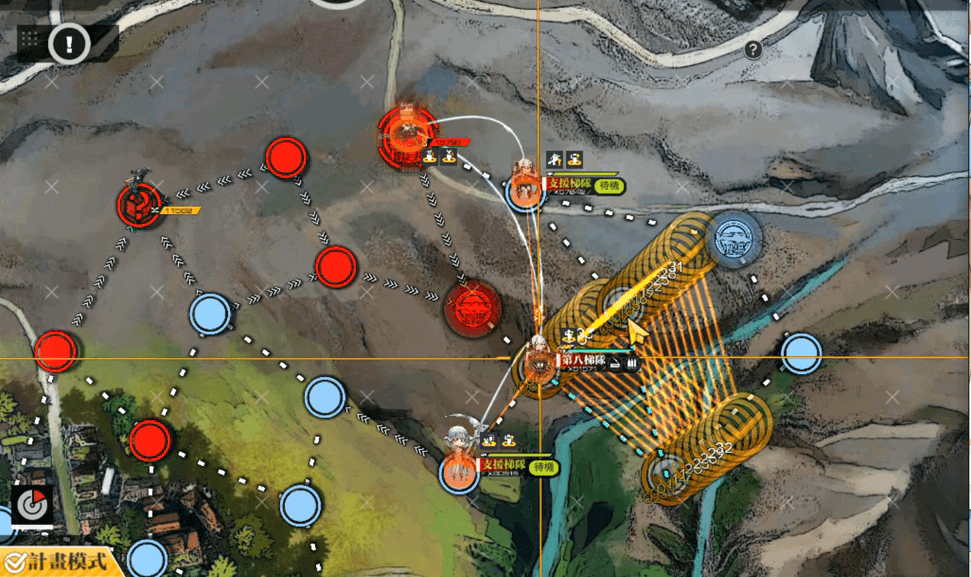
Do note that Corpse Dragging with SF takes significantly more time to level up PA units than it does to G&K Dolls, as PA units do not have dummy link multipliers. A PA unit, such as a Jaeger or Manticore, will take 3 times more to earn the same XP that a 5 link T-Doll does, and 2.5 times more to earn the same XP that a 4 link T-Doll does.
Please see Ceia's Video for a visual example of the setup:
Skill Priority
| Wind-Grasping Hand ICD: 6 Seconds |
||
|---|---|---|
| Medium-High Priority |
Thanks to its extreme AoE, and high potential Damage multiplier this Skill should be leveled, unless you merely intend to use Destroyer as a Friend Point Generator. | |
| Waypoint Strike HOC Support |
||
| Medium/High Priority |
If you intend to use Destroyer as a Friend Echelon for SF dragging Leveling this Skill is worthwhile, but for general use this Skill can wait, as Destroyer's value as a traditional unit is not in her HOC abilities. For those cashing in on Friends Point however, this Skill is extremely valuable.. | |
| Composite Grenade Passive |
||
| Medium/Low Priority |
While Leveling Destroyer’s basic attack does not improve the Damage dealt directly, the reduction to the Rate of Fire Debuff serves to boost her Damage quite a bit. If you intend only to use your Destroyer to farm friend points via SF dragging, this Skill can be leveled later, but for best combat performance this should be leveled. | |
| Inferno Reload Passive |
||
| Low Priority |
While the Damage from the burning is nice, and the entire Echelon appreciated vulnerability, having to wait for Destroyer to reload to get a second application cuts into the usefulness of this Skill. | |
Peak Value Analysis
| Potential Level | Effect |
|---|---|
| 1 | Tile Buff Improved |
| 2 | Damage +25, Rate of Fire +5 |
| 3 | Damage +25, Accuracy +15, Evasion 30 |
| 4 | Skill 1 Improved, see Skill description. |