Introduction
'Chapter' three of Isomer is divided into two Paths, labeled A, and B. The A Path is the top of the side-scrolling layout. B is the central line. C route disappears for here on out. A Route has 2 Combat Missions and B Route has 4 Combat Missions.
Chapter 3 sees a decent bump in difficulty on Normal, and by the end, your Echelons should be approaching level 90 5x linked.
EX finally bumps the difficulty again, with the introduction of SWAP units. Most of these are relatively non-threatening, except for SWAP Dragoons, which are extremely threatening and will bowl over unprepared Echelons.
Sample Teams
The following teams are EXAMPLES only. They should be taken only as guidelines, not as hard and past rules for what you should use to complete these stages. Use your best equips and Fairies possible in all cases. This requirements are probably bordering on overkill, and will be for a clear the entire chapter the requirements early on are not nearly this stiff.

-
Normal
-
EX(Hard)
Normal Maps will need at least level 30 3x linked Dolls by the end, although at the start you can make do with weaker Echelons.
AR/SMG
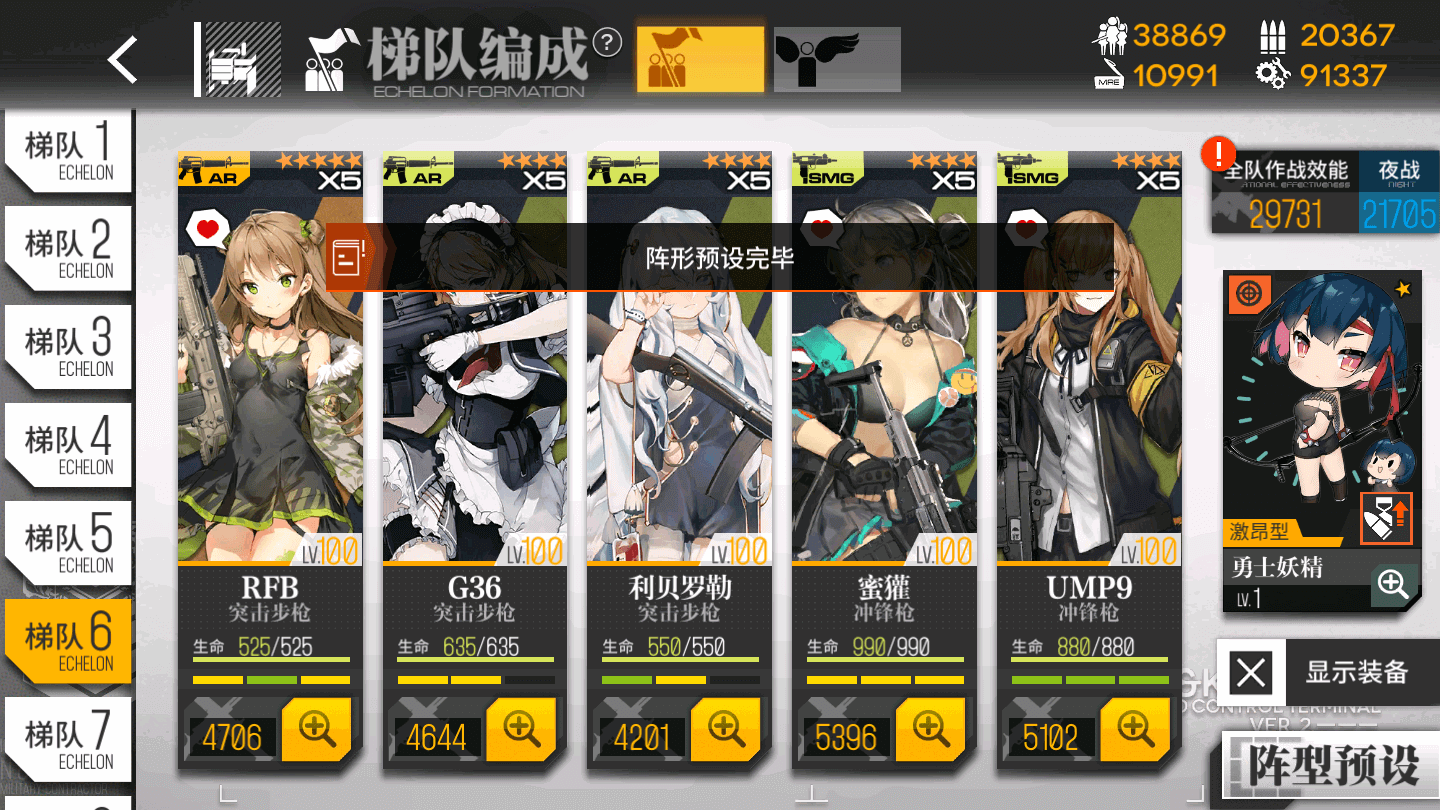
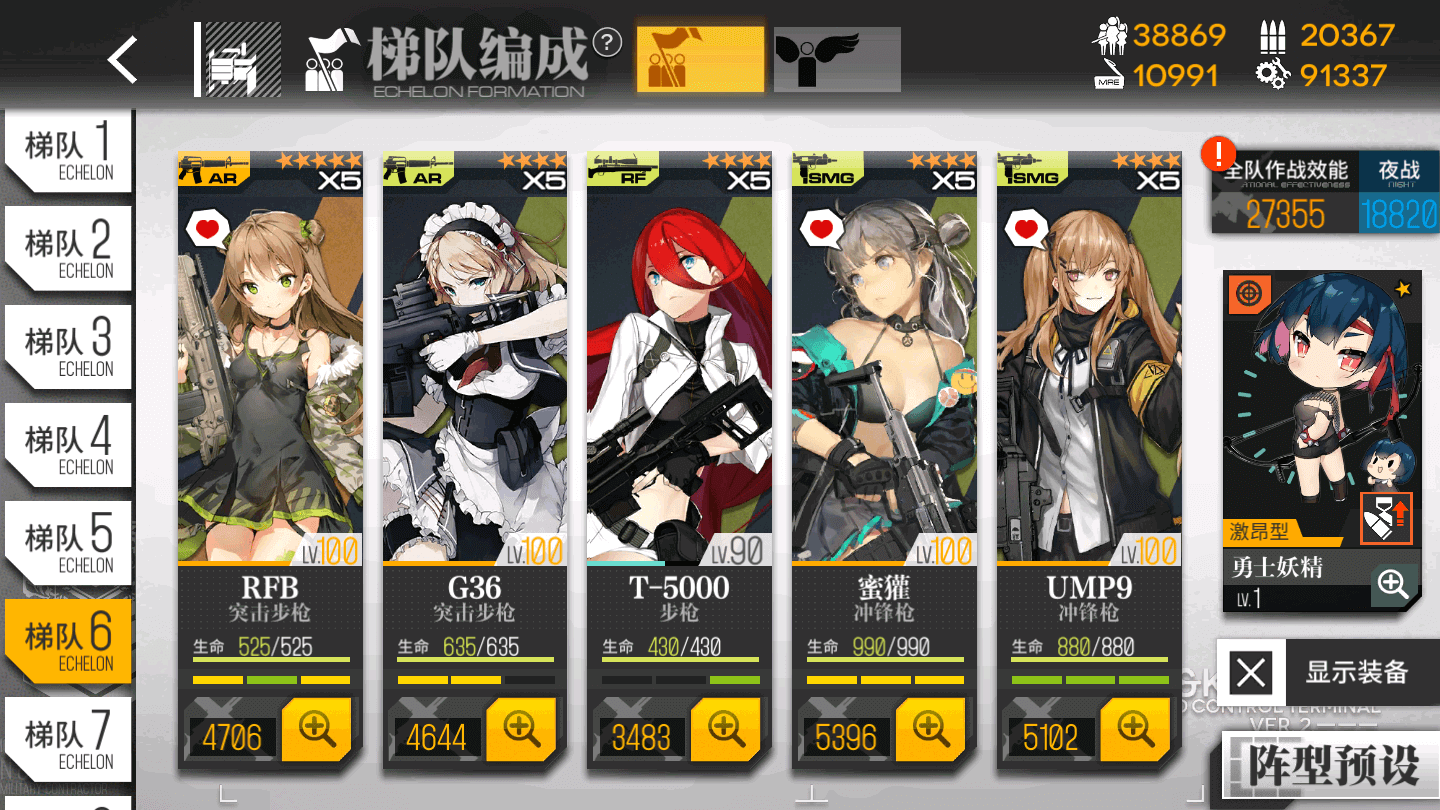
Hybrid
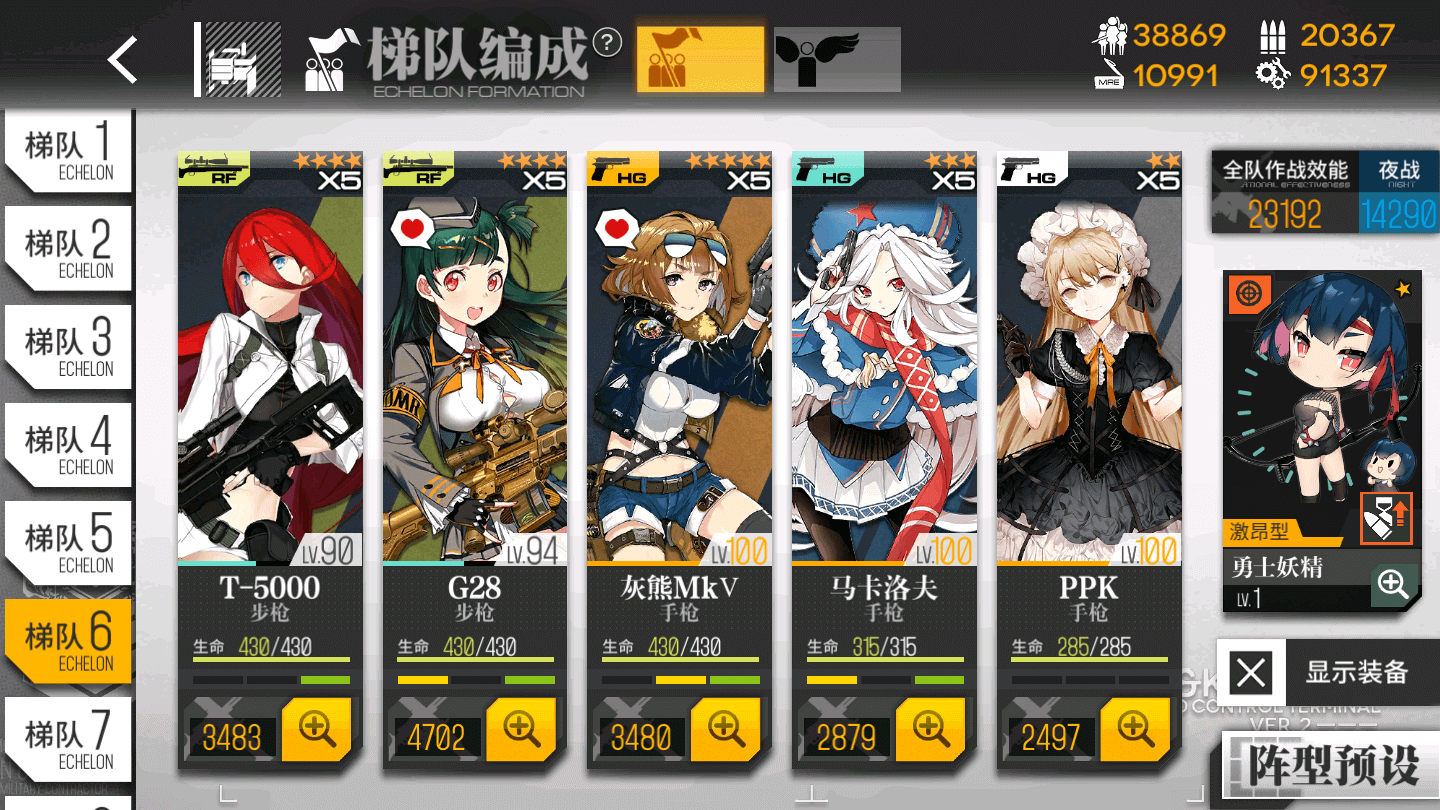
RF/HG
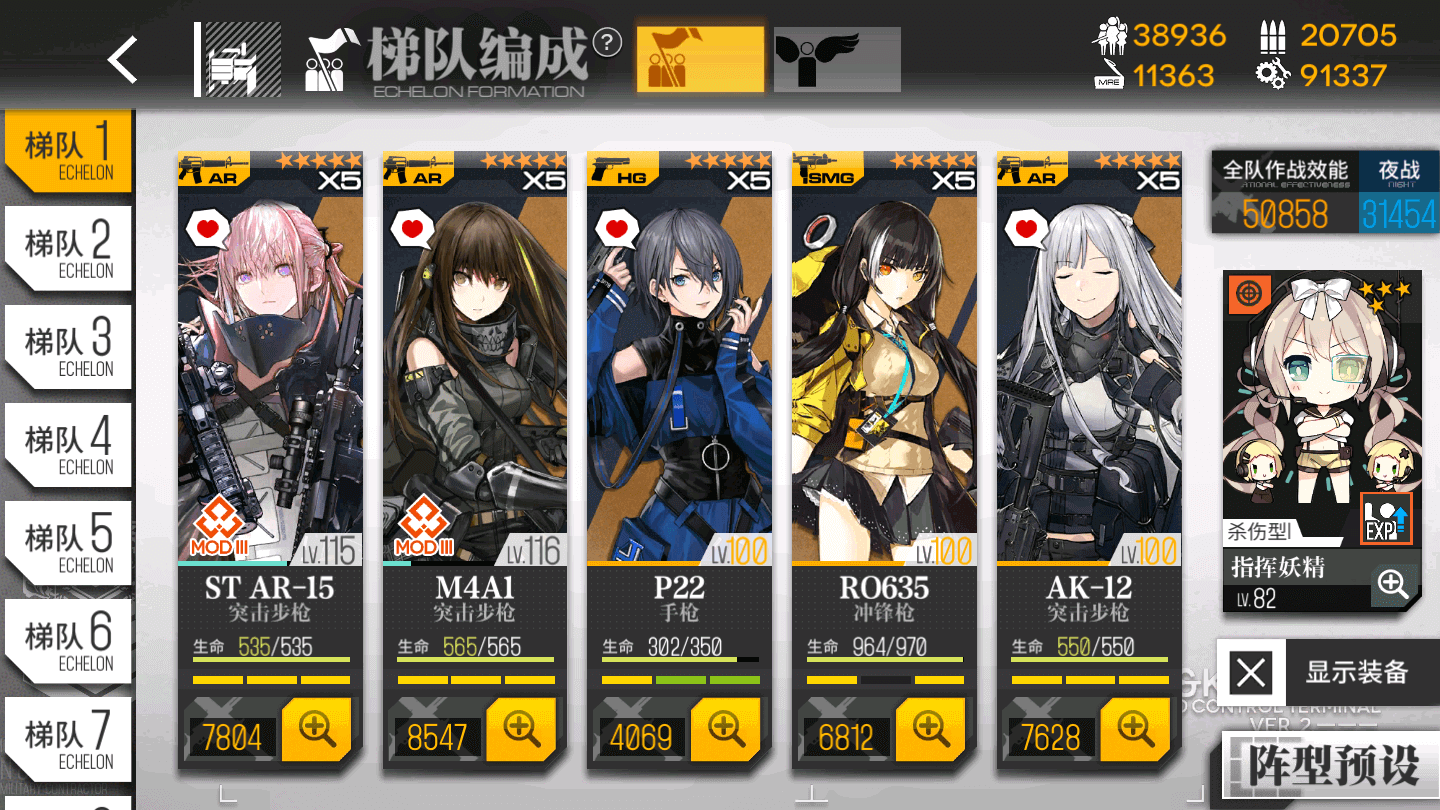
EX Mode does not play around. You will need to bring at level 90 5x Linked Echelons with good equipment, the best fairies you have (fairy requirements aren't that high, as you can see), and you will want a level 60 BGM (additional HOCs optional). The requirements for EX are the same across all chapters.
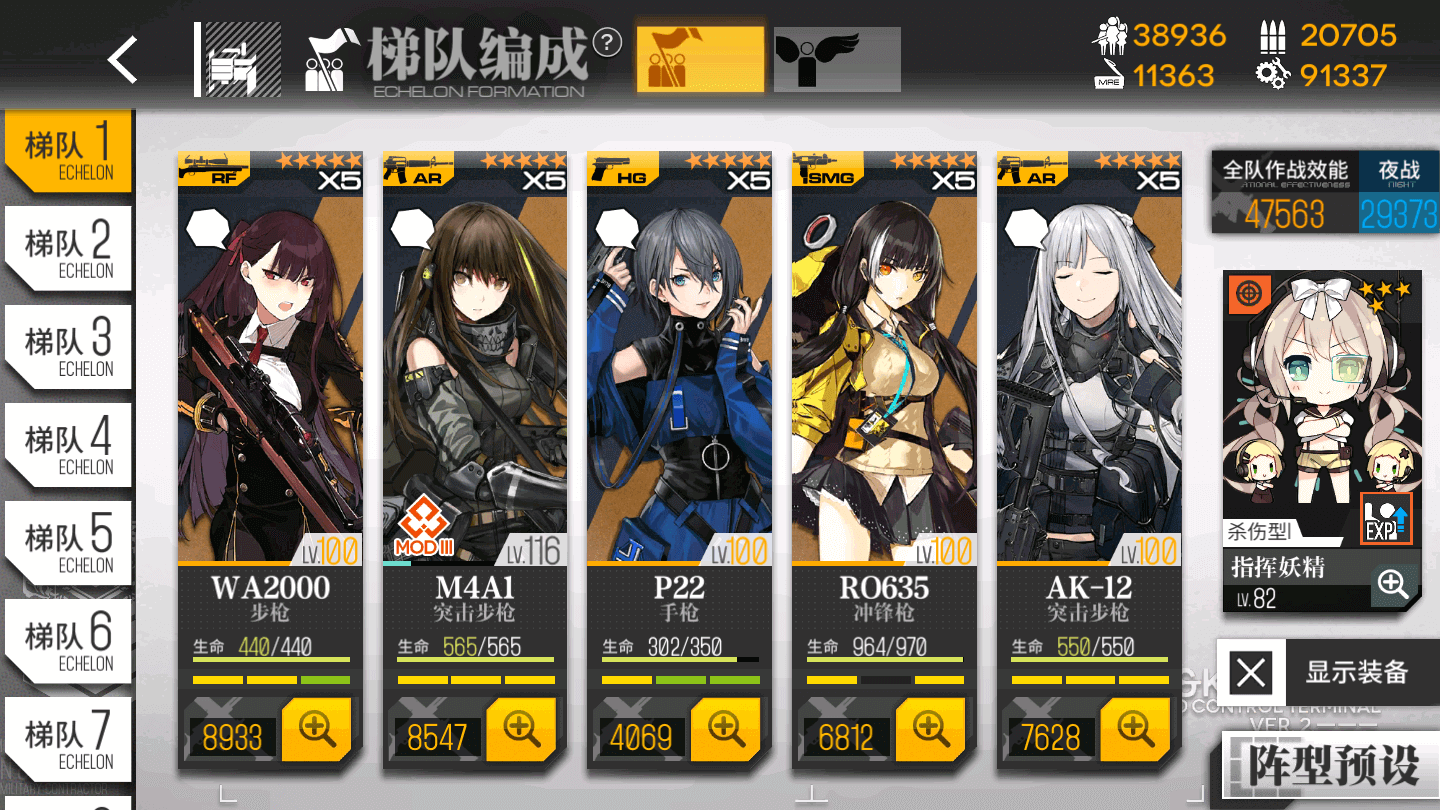
AR/SMG
Hybrid
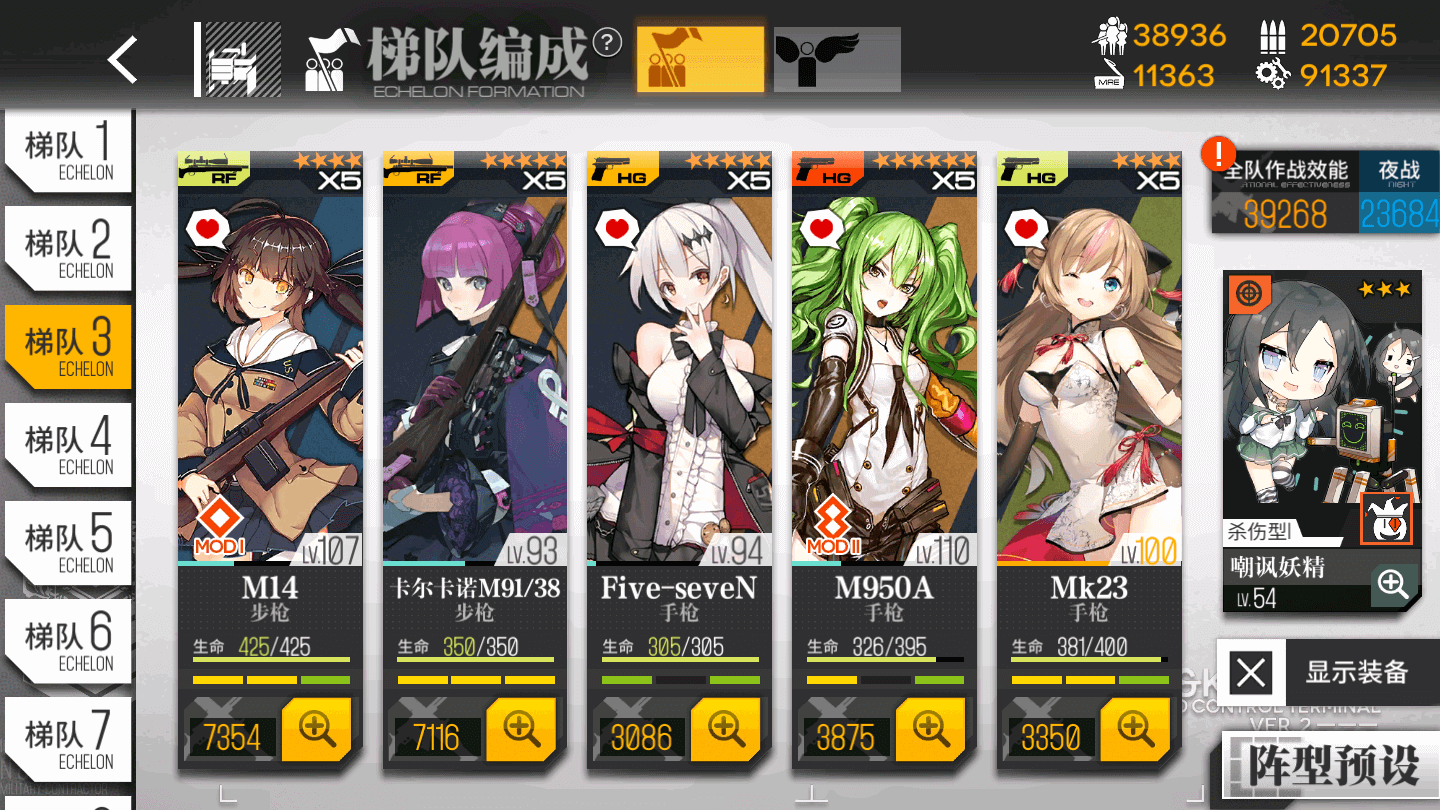
RF/HG
Chapter Clear Guides
-
Normal Guides
-
EX Guides