Possible Drops:
--
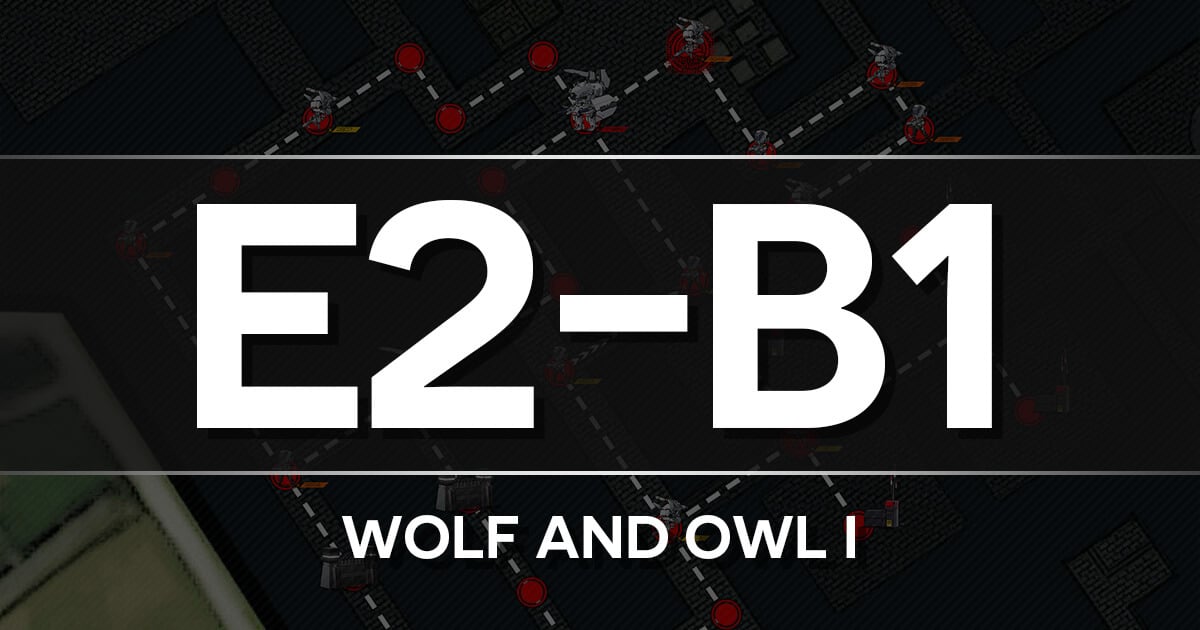
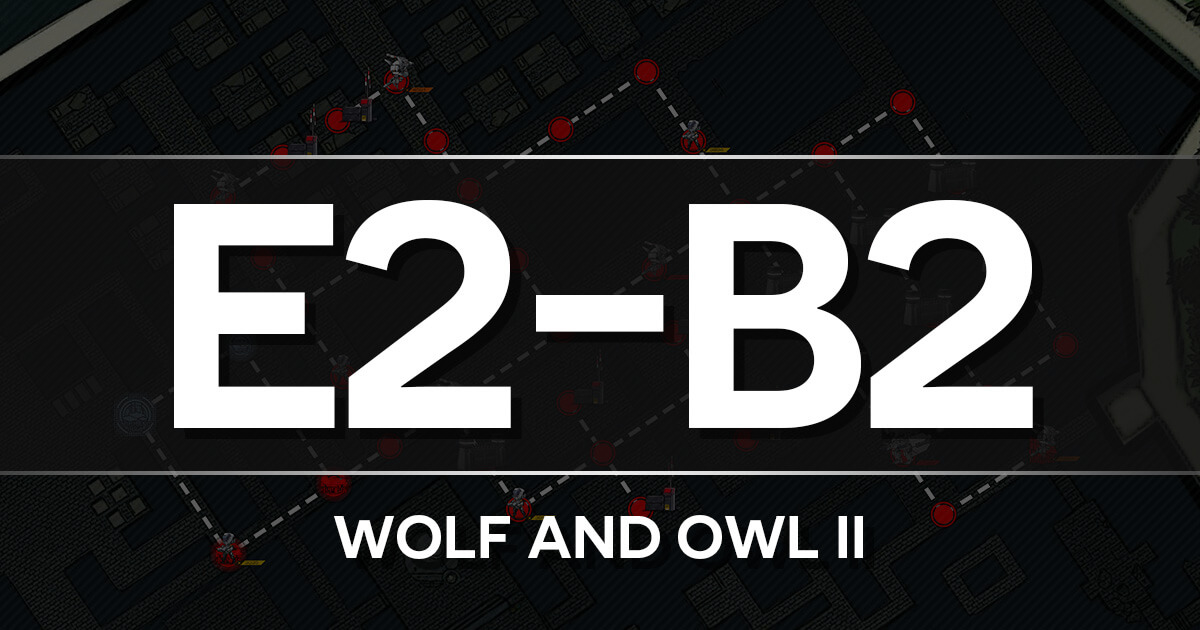
Mission and Clear Conditions:
Mission: Capture Command Post
Clear Guide:
Team Recommendations:
- 3 Combat Echelons -
- One Boss Killer AR/SMG that should be able to fight a Doppel with HOC support.
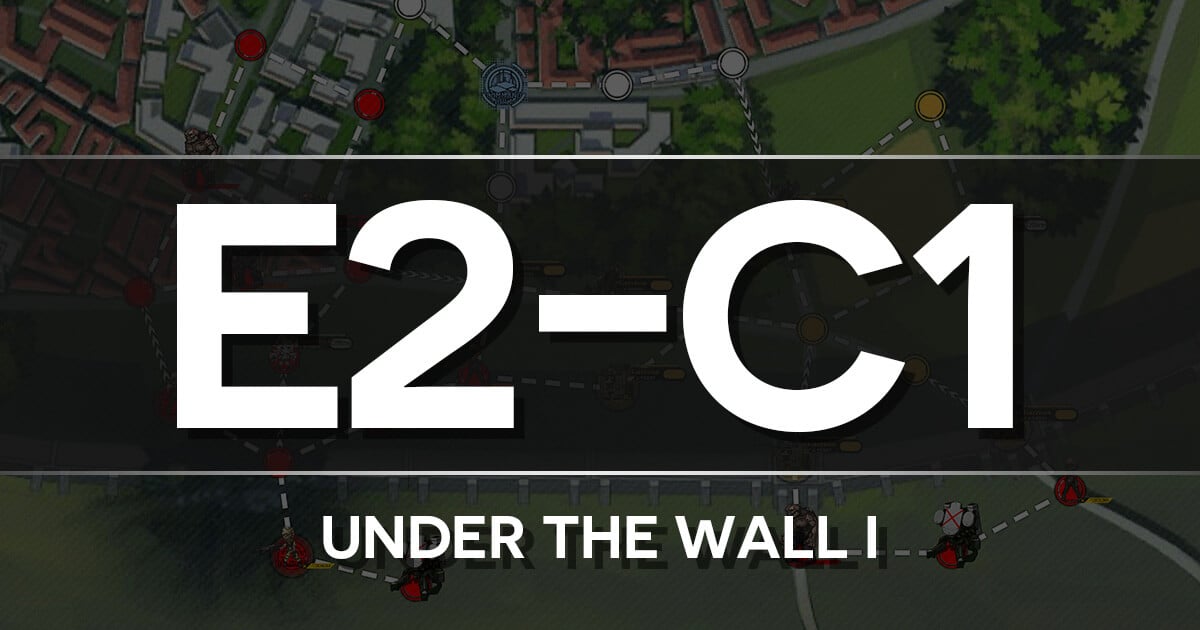
Clear Steps
This map is strategically identical to the Normal version, with the primary difference being the Nimogen fight is much much easier. Thus, the guide will fight Nimogen this time around. M16 can still be freed via the console, with a minor detour to wait on Doppelsoldner positioning (Or a very long trek with a HOC, the gate only has 1300 HP, so a decent BGM can 2 Shot it). However, if you made it this far, you should be able to kill Nimogen, and do it faster than M16 can, (unless you provide M16 with HOC support). A standard AR/SMG echelon will be able to pull this off easily enough. See the NImogen writeup for full details about the fight. As a note, Nimogen has mechanics that favor high RoF. Bring AR-15 (Modded if possible).
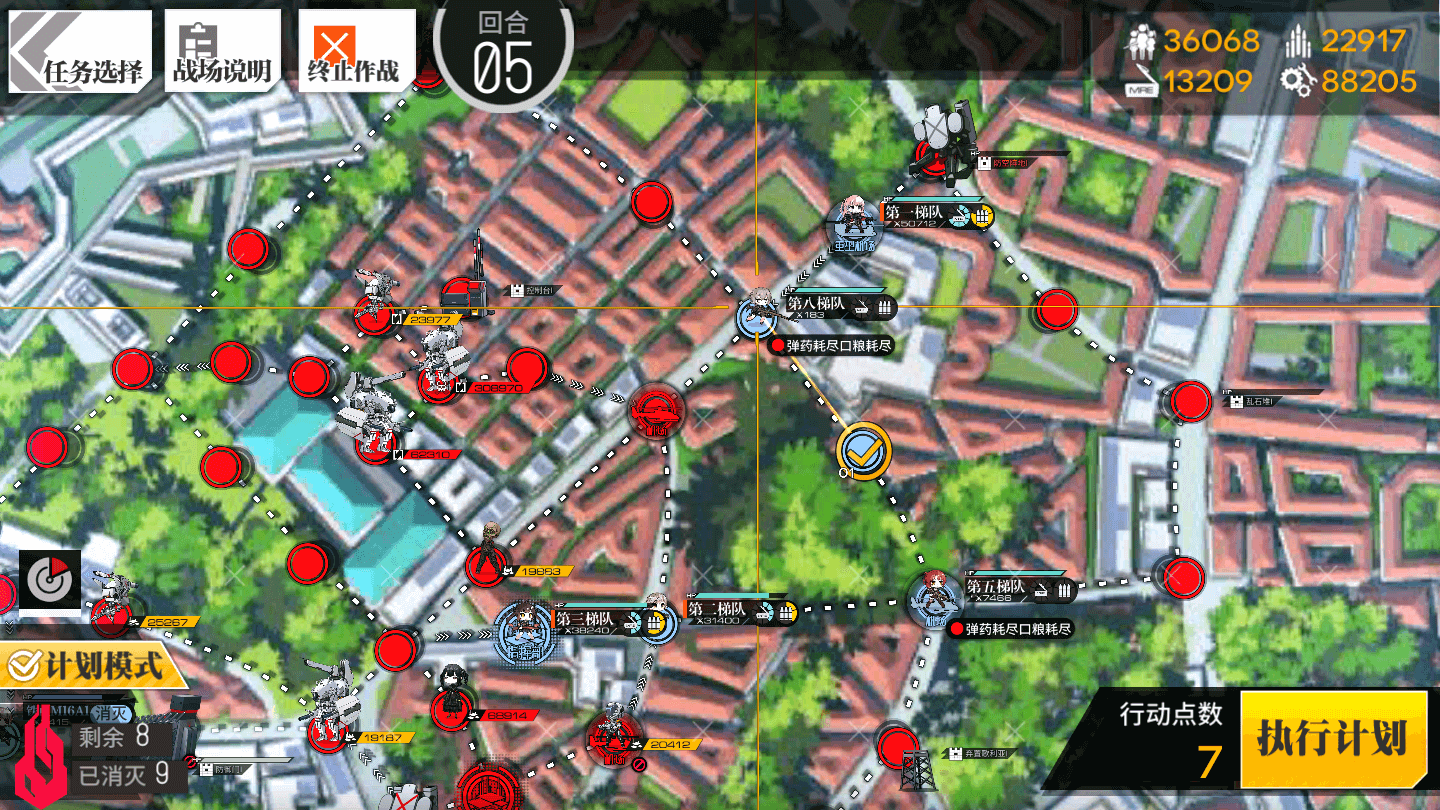
Turn 1
1.1
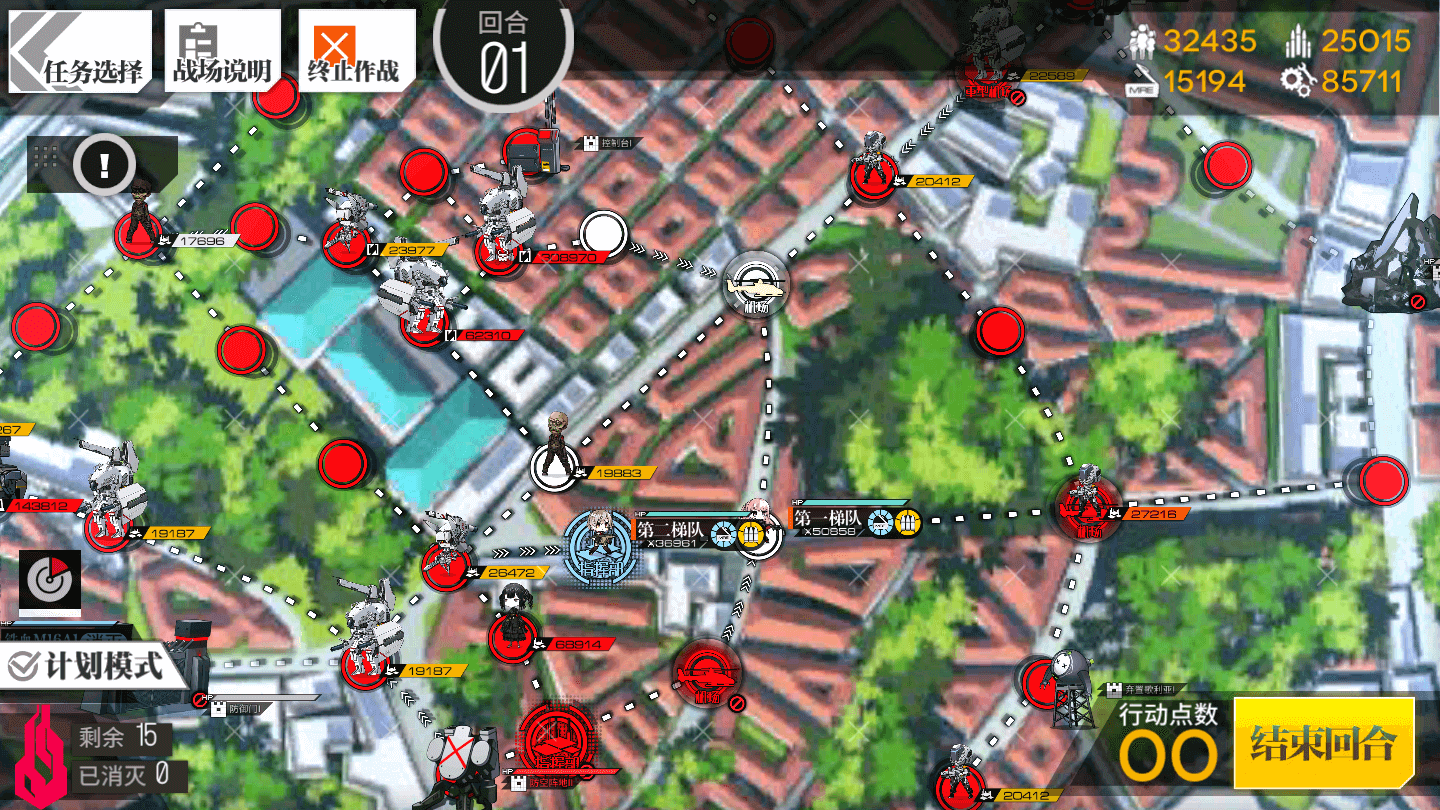
Deploy a Combat Echelon on the Command Post. Move to the right one node, and deploy a second Combat Echelon on the Command Post.
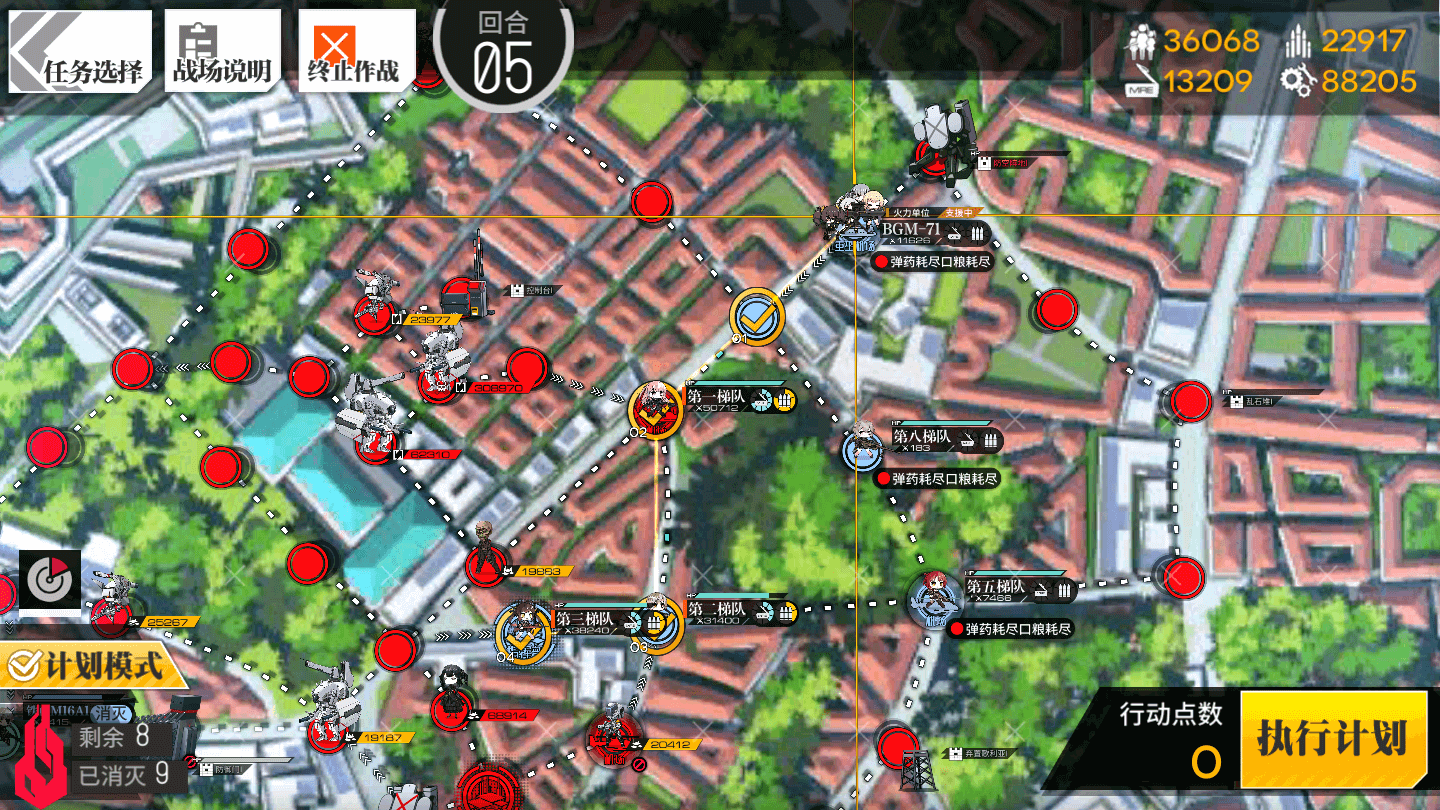
Turn 2
2.1
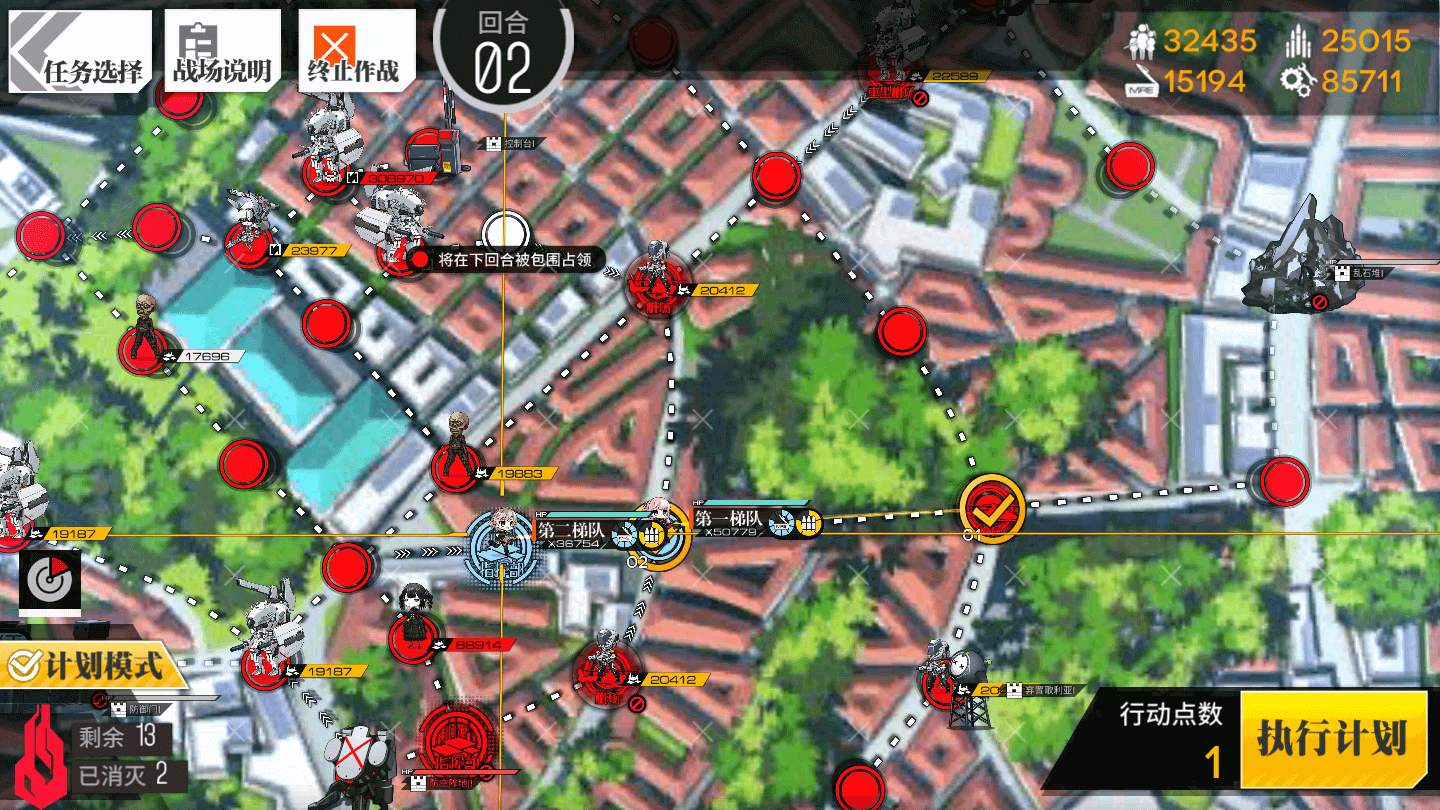
Move the right Combat Echelon one node to the right.
2.2
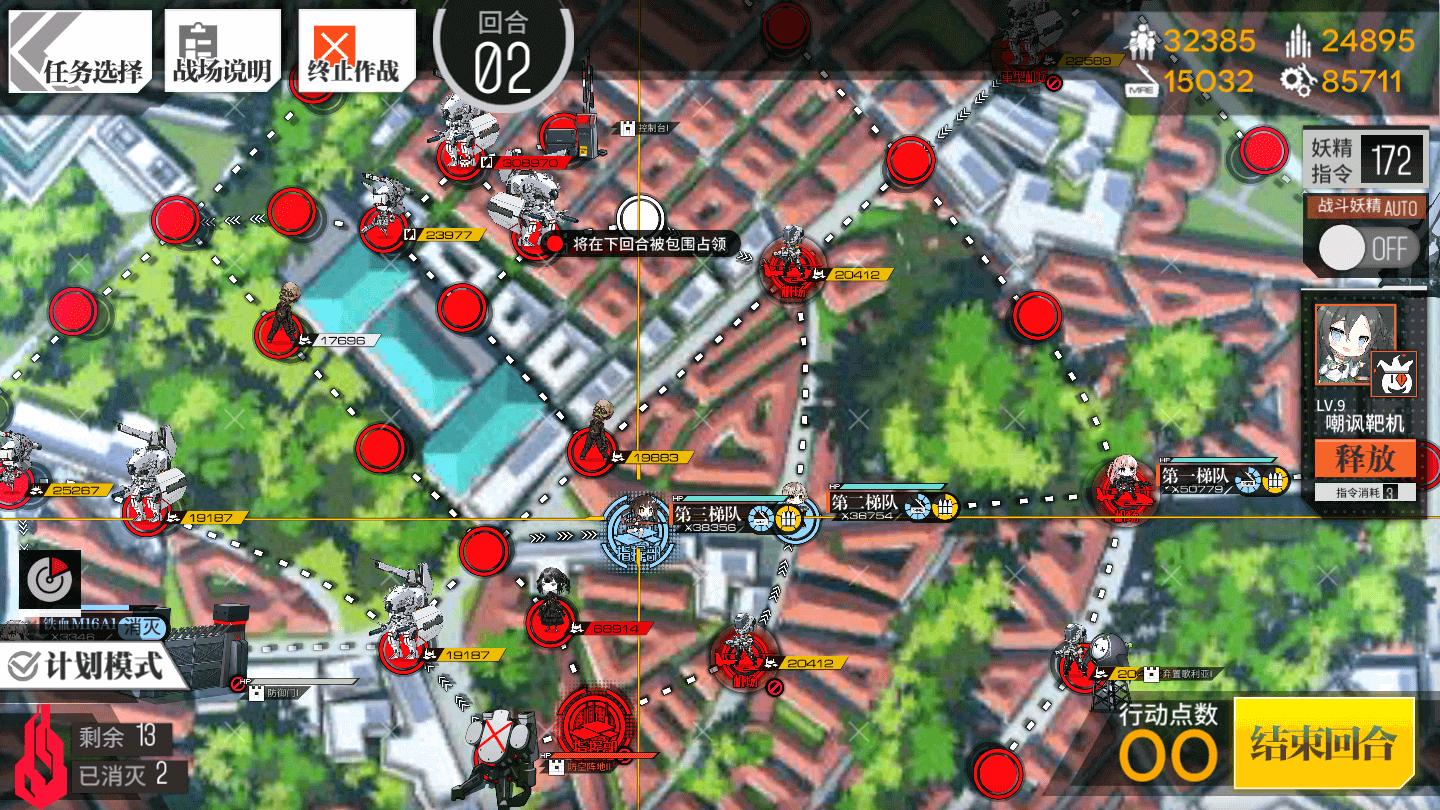
Move Combat Echelon on the Command Post to the right one node. Deploy a third combat Echelon behind them.
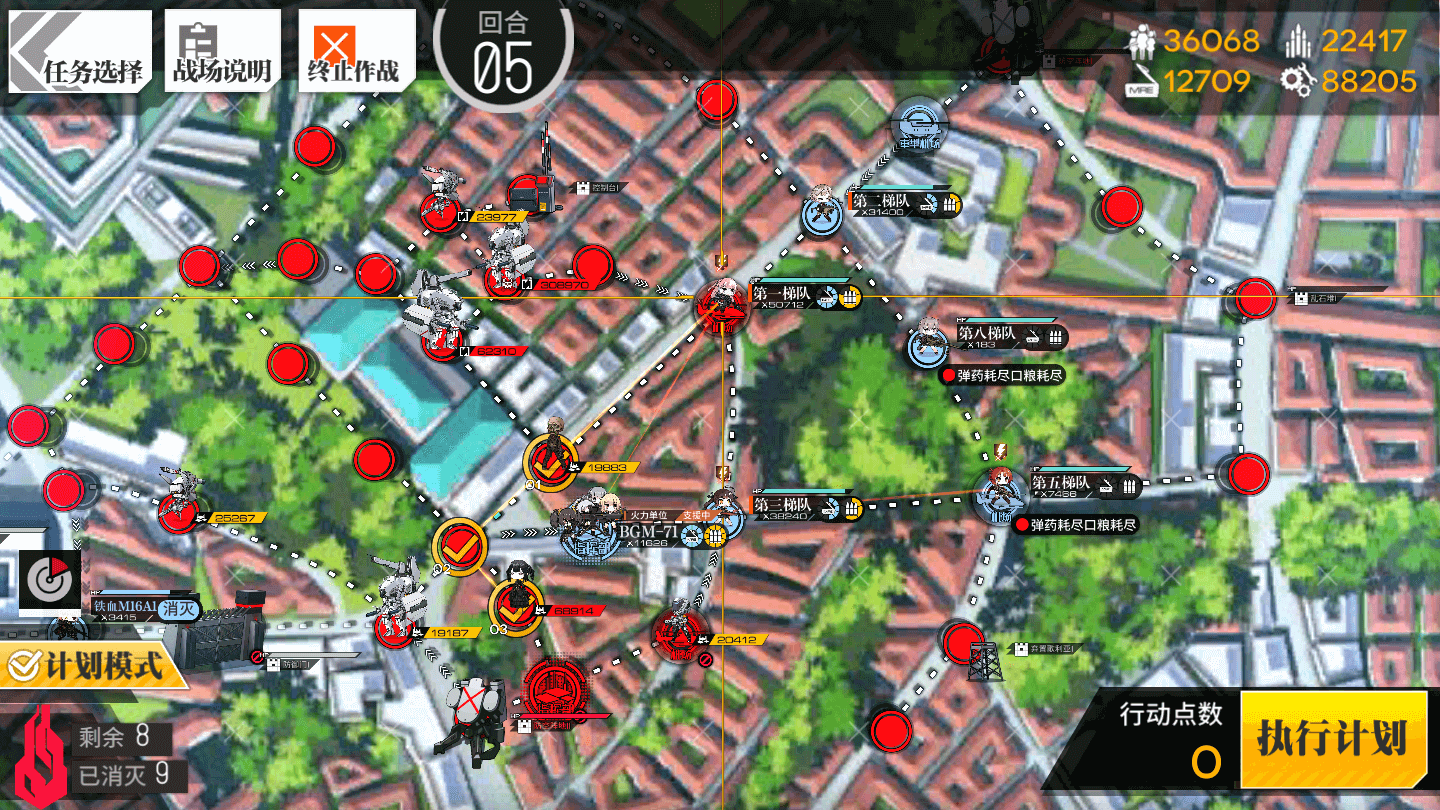
Turn 3
3.1
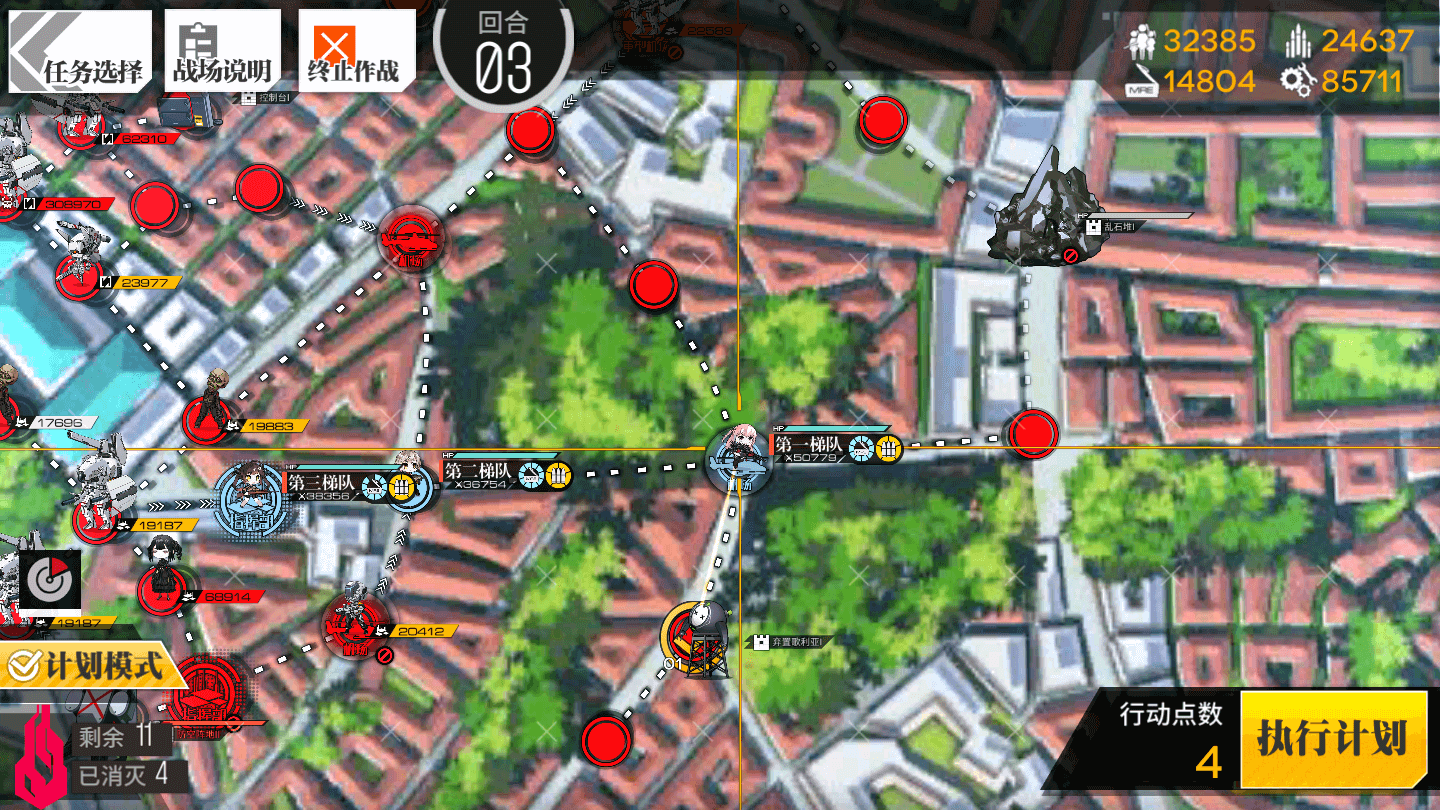
Move the right Combat Echelon down one node. Pick up the Bean.
3.2

Move the right Combat Echelon up and right one node each. Explode the Rubble with the bean.
3.3
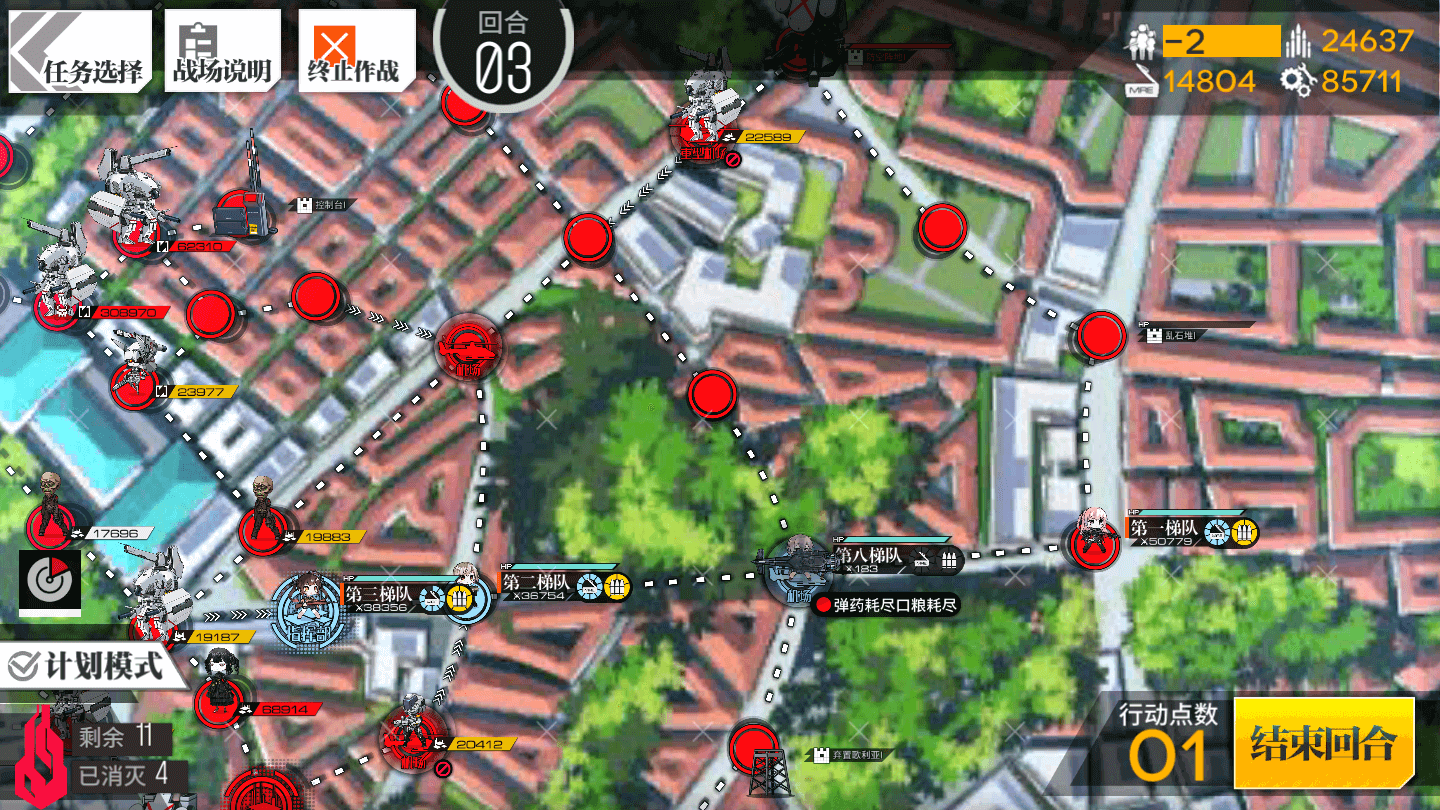
Deploy a Dummy Echelon on the Heliport.
3.4
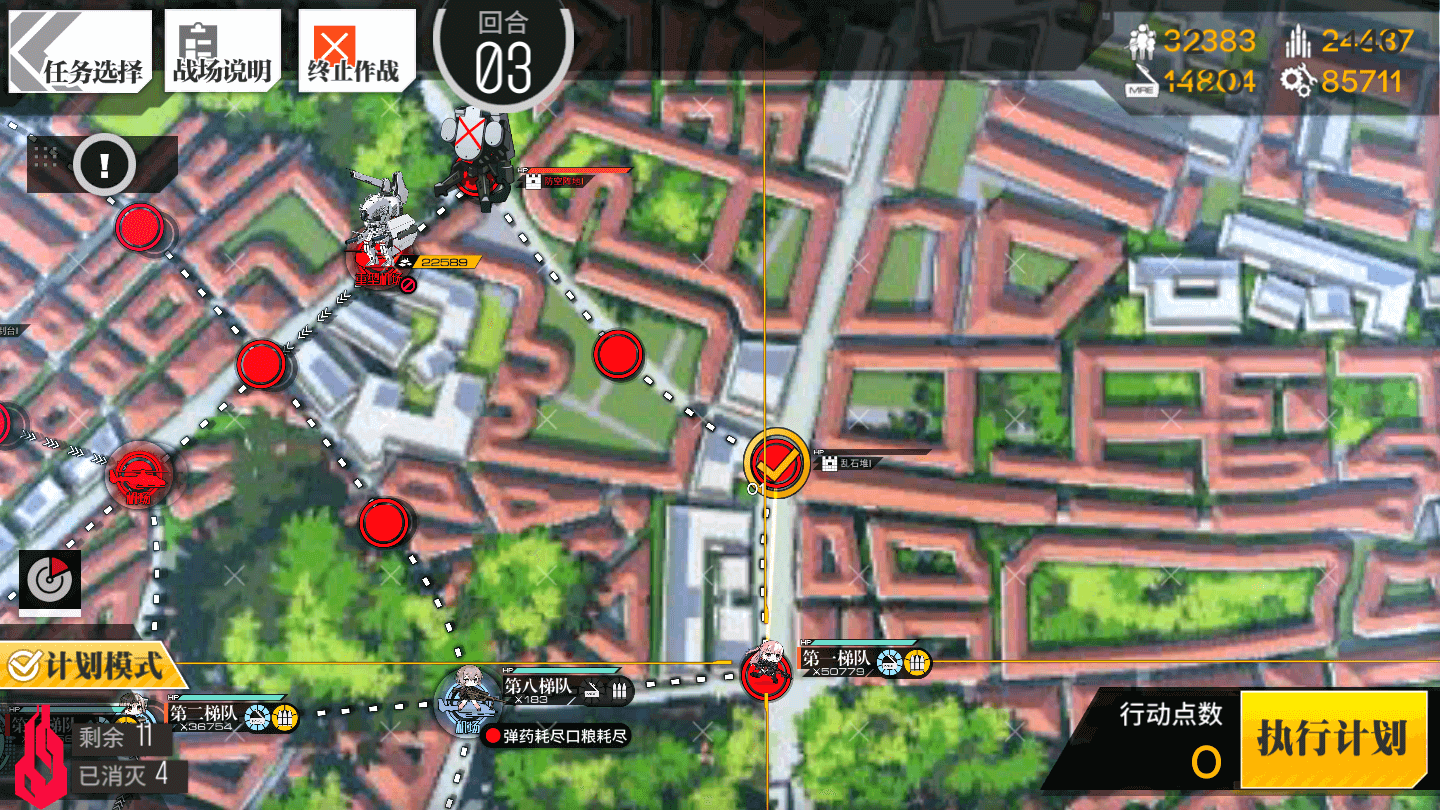
Move the Rightmost Combat Echelon up one node further.
Turn 4
4.1
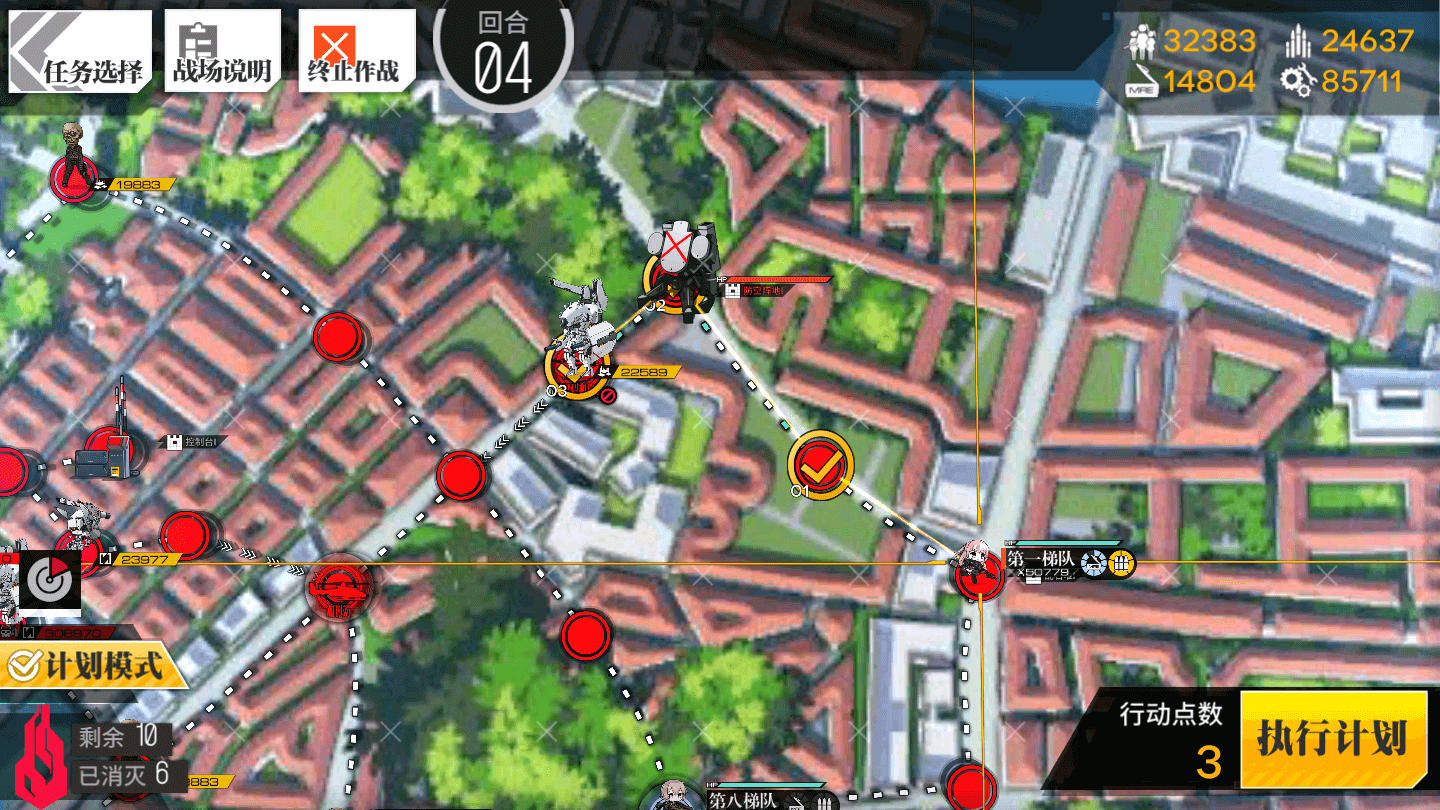
Move the right Combat Echelon to the up two nodes, then left one node to kill the Doppelsoldner.
4.2
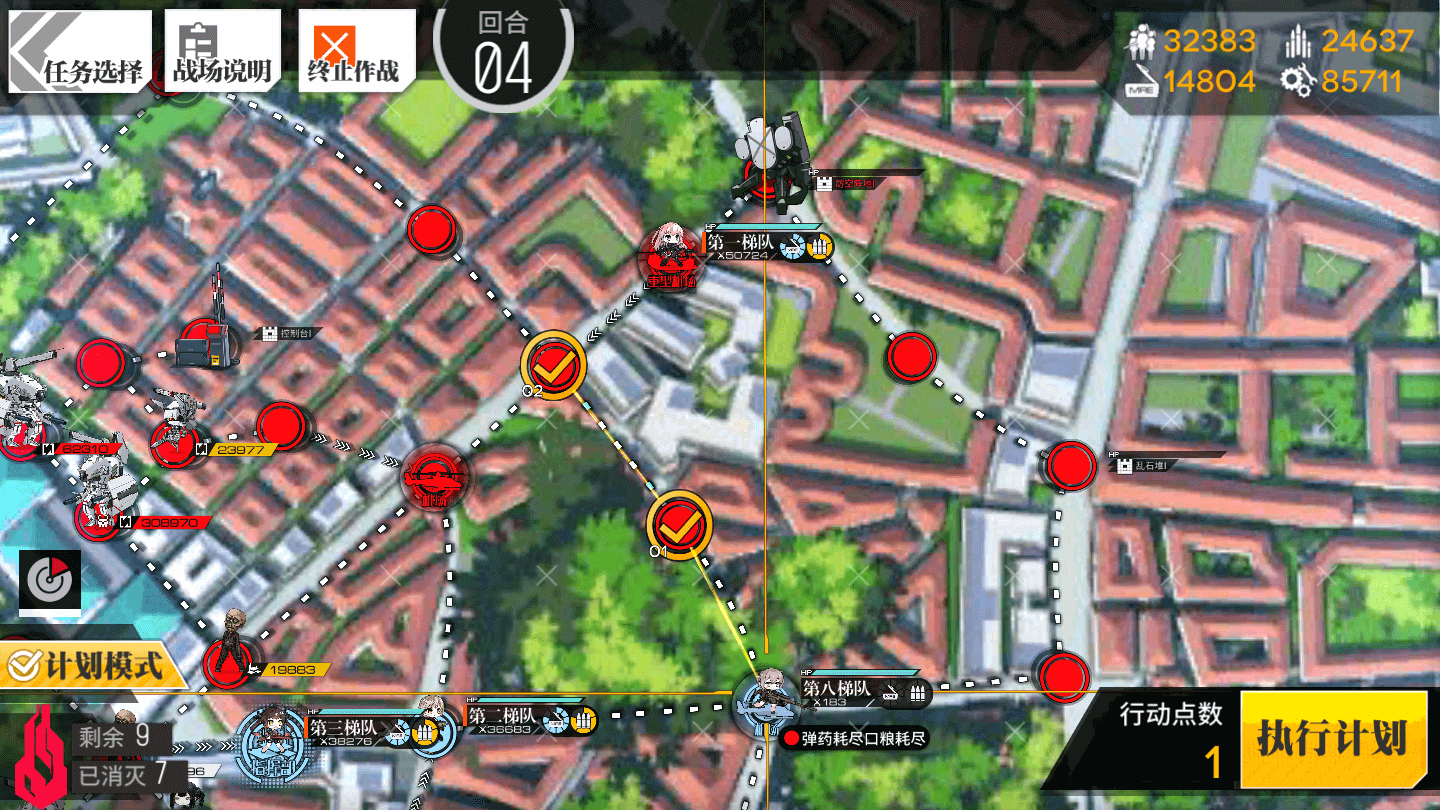
Move the Dummy Echelon up two nodes. Deploy a second Dummy on the now Vacant Heliport.
Also, at this time, make sure to resupply the Echelons near the Command Post.
Turn 5
5.1
Move the Dummy Echelon back down one node.
5.2

Move the upper Combat Echelon two nodes down-left to occupy the enemy Heliport.
5.3
Deploy a HOC on the Heavy Heliport. They should move down-left two nodes, down one node, and then left to stand on the Command Post.
5.4
Pick your Boss-Killer Echelon. Swap them into the Central Heliport. From there, move them down-left two nodes, and then down two nodes once more to the Command Post, killing Nimogen on the way.
BOSS: Nimogen
| HP | Damage | RoF | Accuracy | Evasion | Armor | Shield% | Shield HP |
|---|---|---|---|---|---|---|---|
| 160,000 | 70 | 60 | 250 | 40 | 30 | 100 | 6000 |
Nimogen is a familiar face to anyone who played the Valhalla Collab. She is mechanically identical to her appearance there, although her stats are substantially buffed, and she sports a beefy 100% Shield at the start of the fight. BGM is a must for fire support, as her shield has a staggering value of 6000 meaning even BGM needs a number of shots to remove it.
Unlike her CT brethren, Nimogen doesn't summon trash during the battle, instead she rotates through a sequence of attacks, Mark, Laser, and a Skill.
Mark is pretty simple. Nimogen floats to a random row, and applies a debuff to all Dolls in that row. This ‘Mark’ increases Damage from Nimogens other attacks and Skill, as well as reducing the RoF of Dolls it is applied to about roughly half.
Laser is the same as Mark, Nimogen floats to a random row, and fires a laser that hits all Dolls in that row. This happens roughly 2 seconds after she Marks a row, but is not always the same as the Marked row. Marked Dolls will take double Damage from the laser.
Finally at every quarter of her health, and if below 25% every mechanic Rotation (Mark, Laser, then Skill), Nimogen will use her Skill, ‘Tide of the Apocalypse’. A random Doll is chosen and is frozen in place. This Doll cannot attack or move during this period. Damaging pulses are emitted vertically and horizontally from the frozen Doll which deal Damage per hit. Marked Dolls take Double Damage once again. While a Doll is frozen, a Decoy is created on Nimogen’s side of the battle. This Decoy takes 1 Damage from ALL attacks and must be destroyed to free the Frozen Doll. ST AR-15’s Mod Skill is especially useful here, as multi-hit Skills still deal multiple hits on the Decoy, allowing for faster burst down. While somewhat Micro heavy, Nimogen is a fairly straightforward boss to defeat as long as you are quick with your fingers.
Video Guide:
Next chapter?
-
EX Guides
-
Normal Guides