Missions and Clear Conditions
Mission:
Clear Guide:
Team Recommendations:
Clear Steps
Seeing as I drastically overestimated this map the first time around, let's make some adjustments to this:
HOC can help a little against Narciss, though obviously is not necessary, so it's been removed entirely from this example.
My echelons have been downgraded to green equipment standard, do equip better gear than this if you have it. You should have several gold equipment from the 7-day login that starts when you start the game. In addition doll choices have been reduced from a respectable set of better dolls to weaker options as an example.
I downgraded the echelons to Prototype and a level 1 skill level 1 Sniper.
Prototypes are weak, barely useful, but better than nothing stat sticks for combat purposes. If you have better fairies, you should use them. Sniper fairy specifically is good against bosses, but so is Taunt or Twin fairy for stalling, or Shield fairy for providing some extra damage and protection.
The normal mode of this map is quite easy, Narciss can be beaten with just about any proper level 90 5-linked echelon with adequate equipment. Units that target the back are especially useful, so I've opted for a RFHG over an ARSMG. Surehit can also help as she has substantial evasion. Sniper fairy is also good for having consistent hp% damage that targets the highest hp enemy, which should be the boss. Skilling her up is obviously also helpful, but for this even a sl1 Sniper fairy will do the job.
Everything else can be beaten with just about anything, provided you avoid the deathstacks.
If you are struggling with the basics, I would recommend teambuilding guides to understand the basics of how to build your teams:
https://gamepress.gg/girlsfrontline/arsmg-teambuilding
https://gamepress.gg/girlsfrontline/rfhg-teambuilding
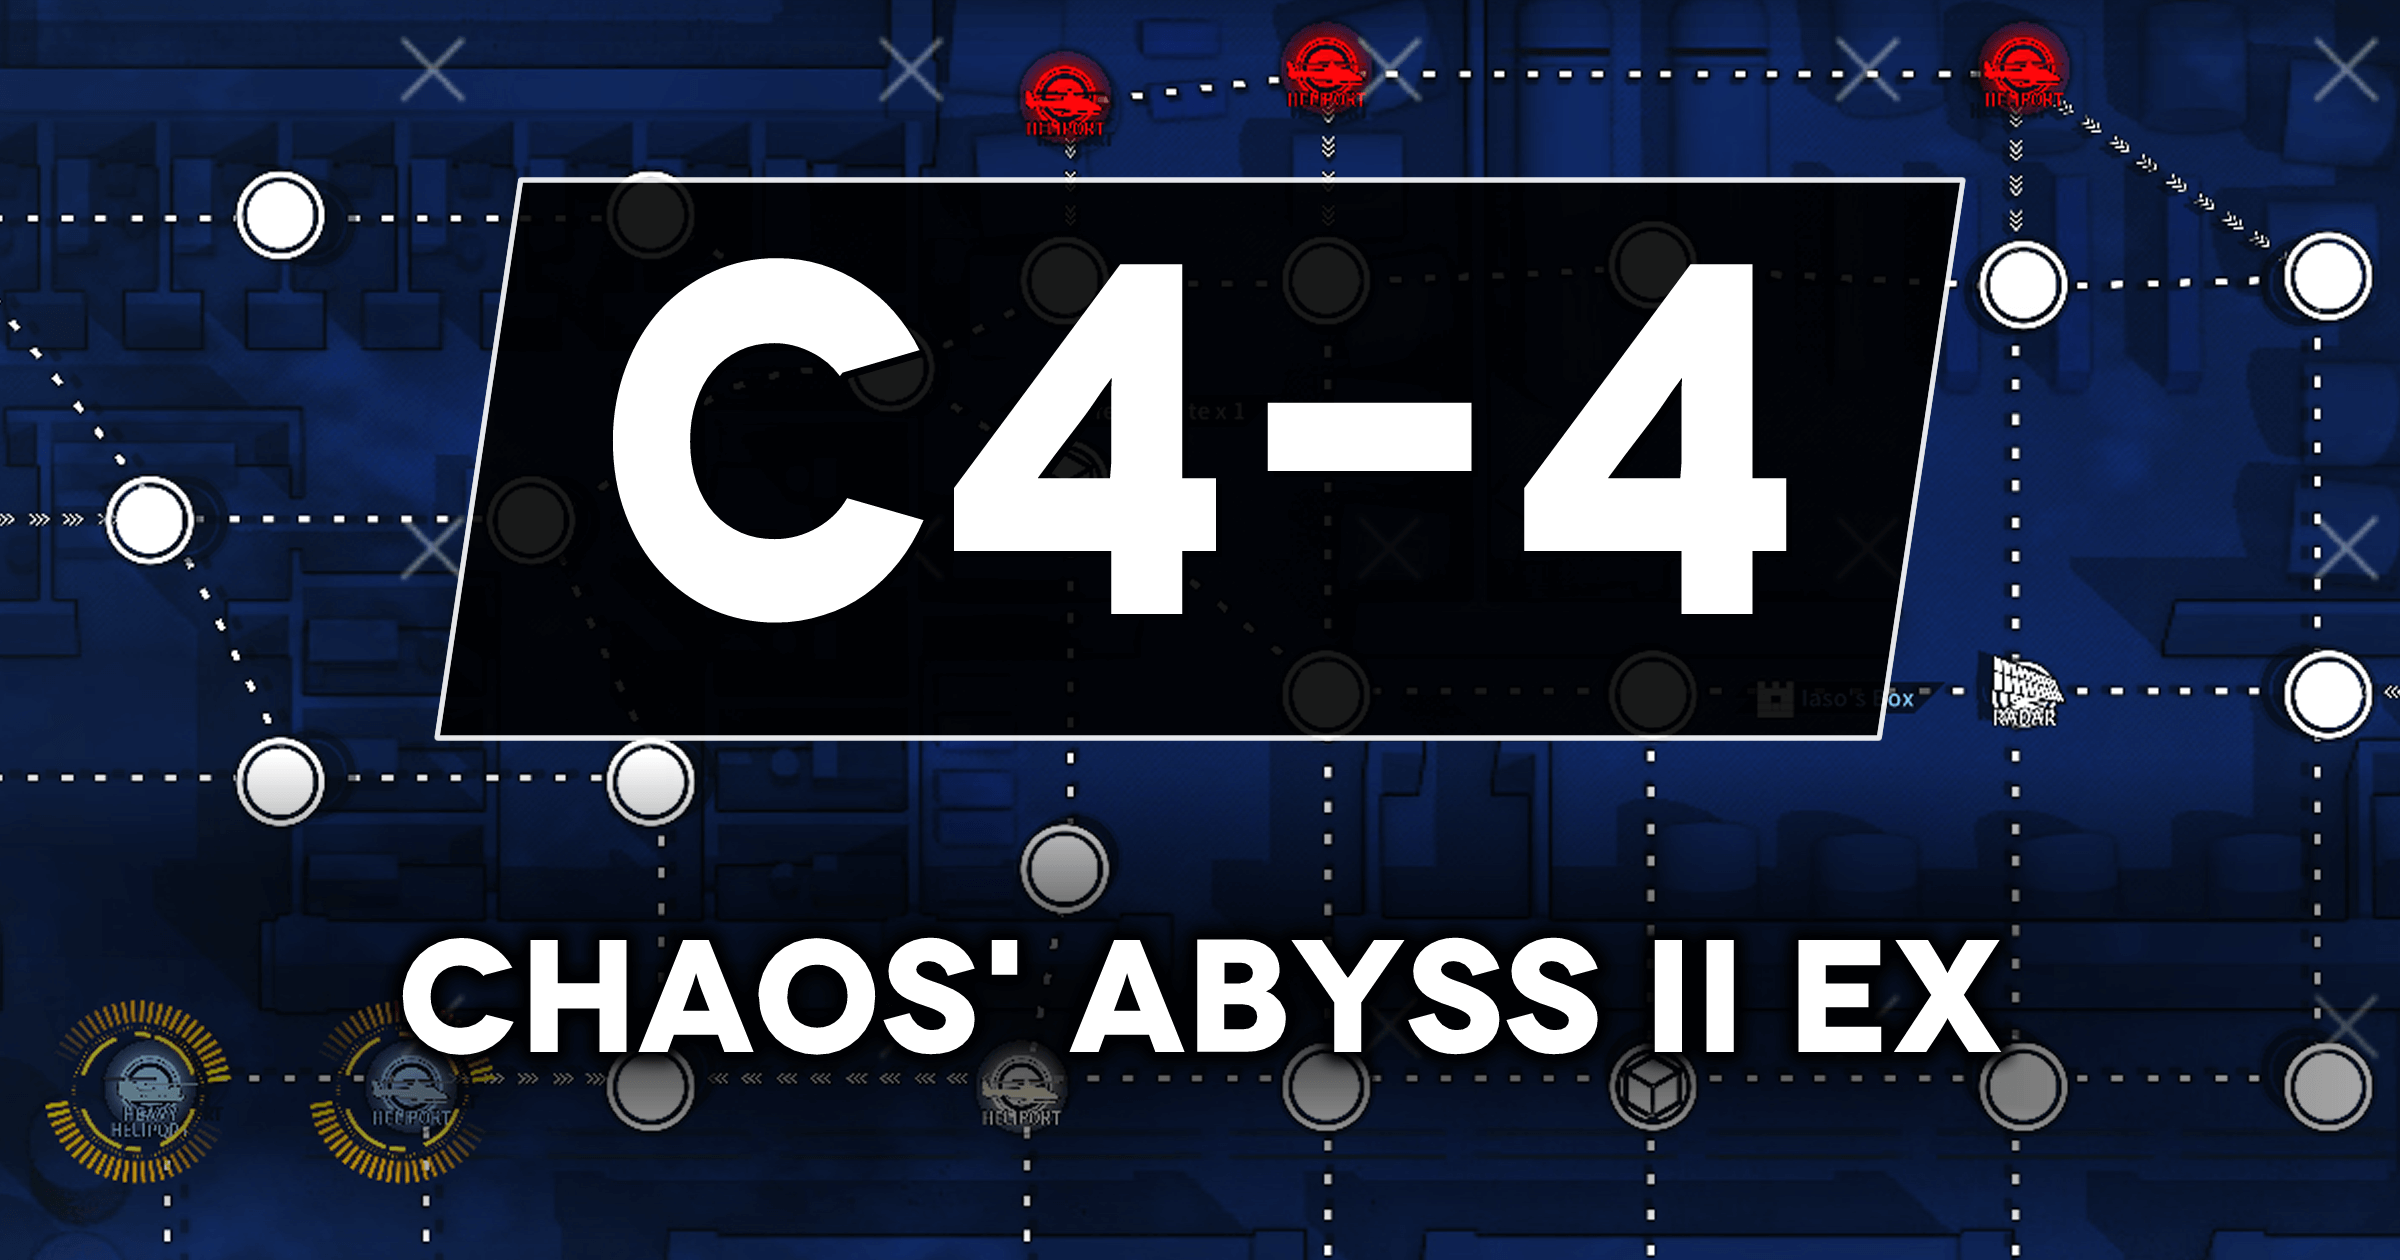
Narciss herself on normal mode has so low health that she will trigger her rampage even from HGs with no PEQs equipped, and you should expect taking some damage here, simply retreat the echelon afterwards and repair it if you intend to use it further, or replace it with another echelon.
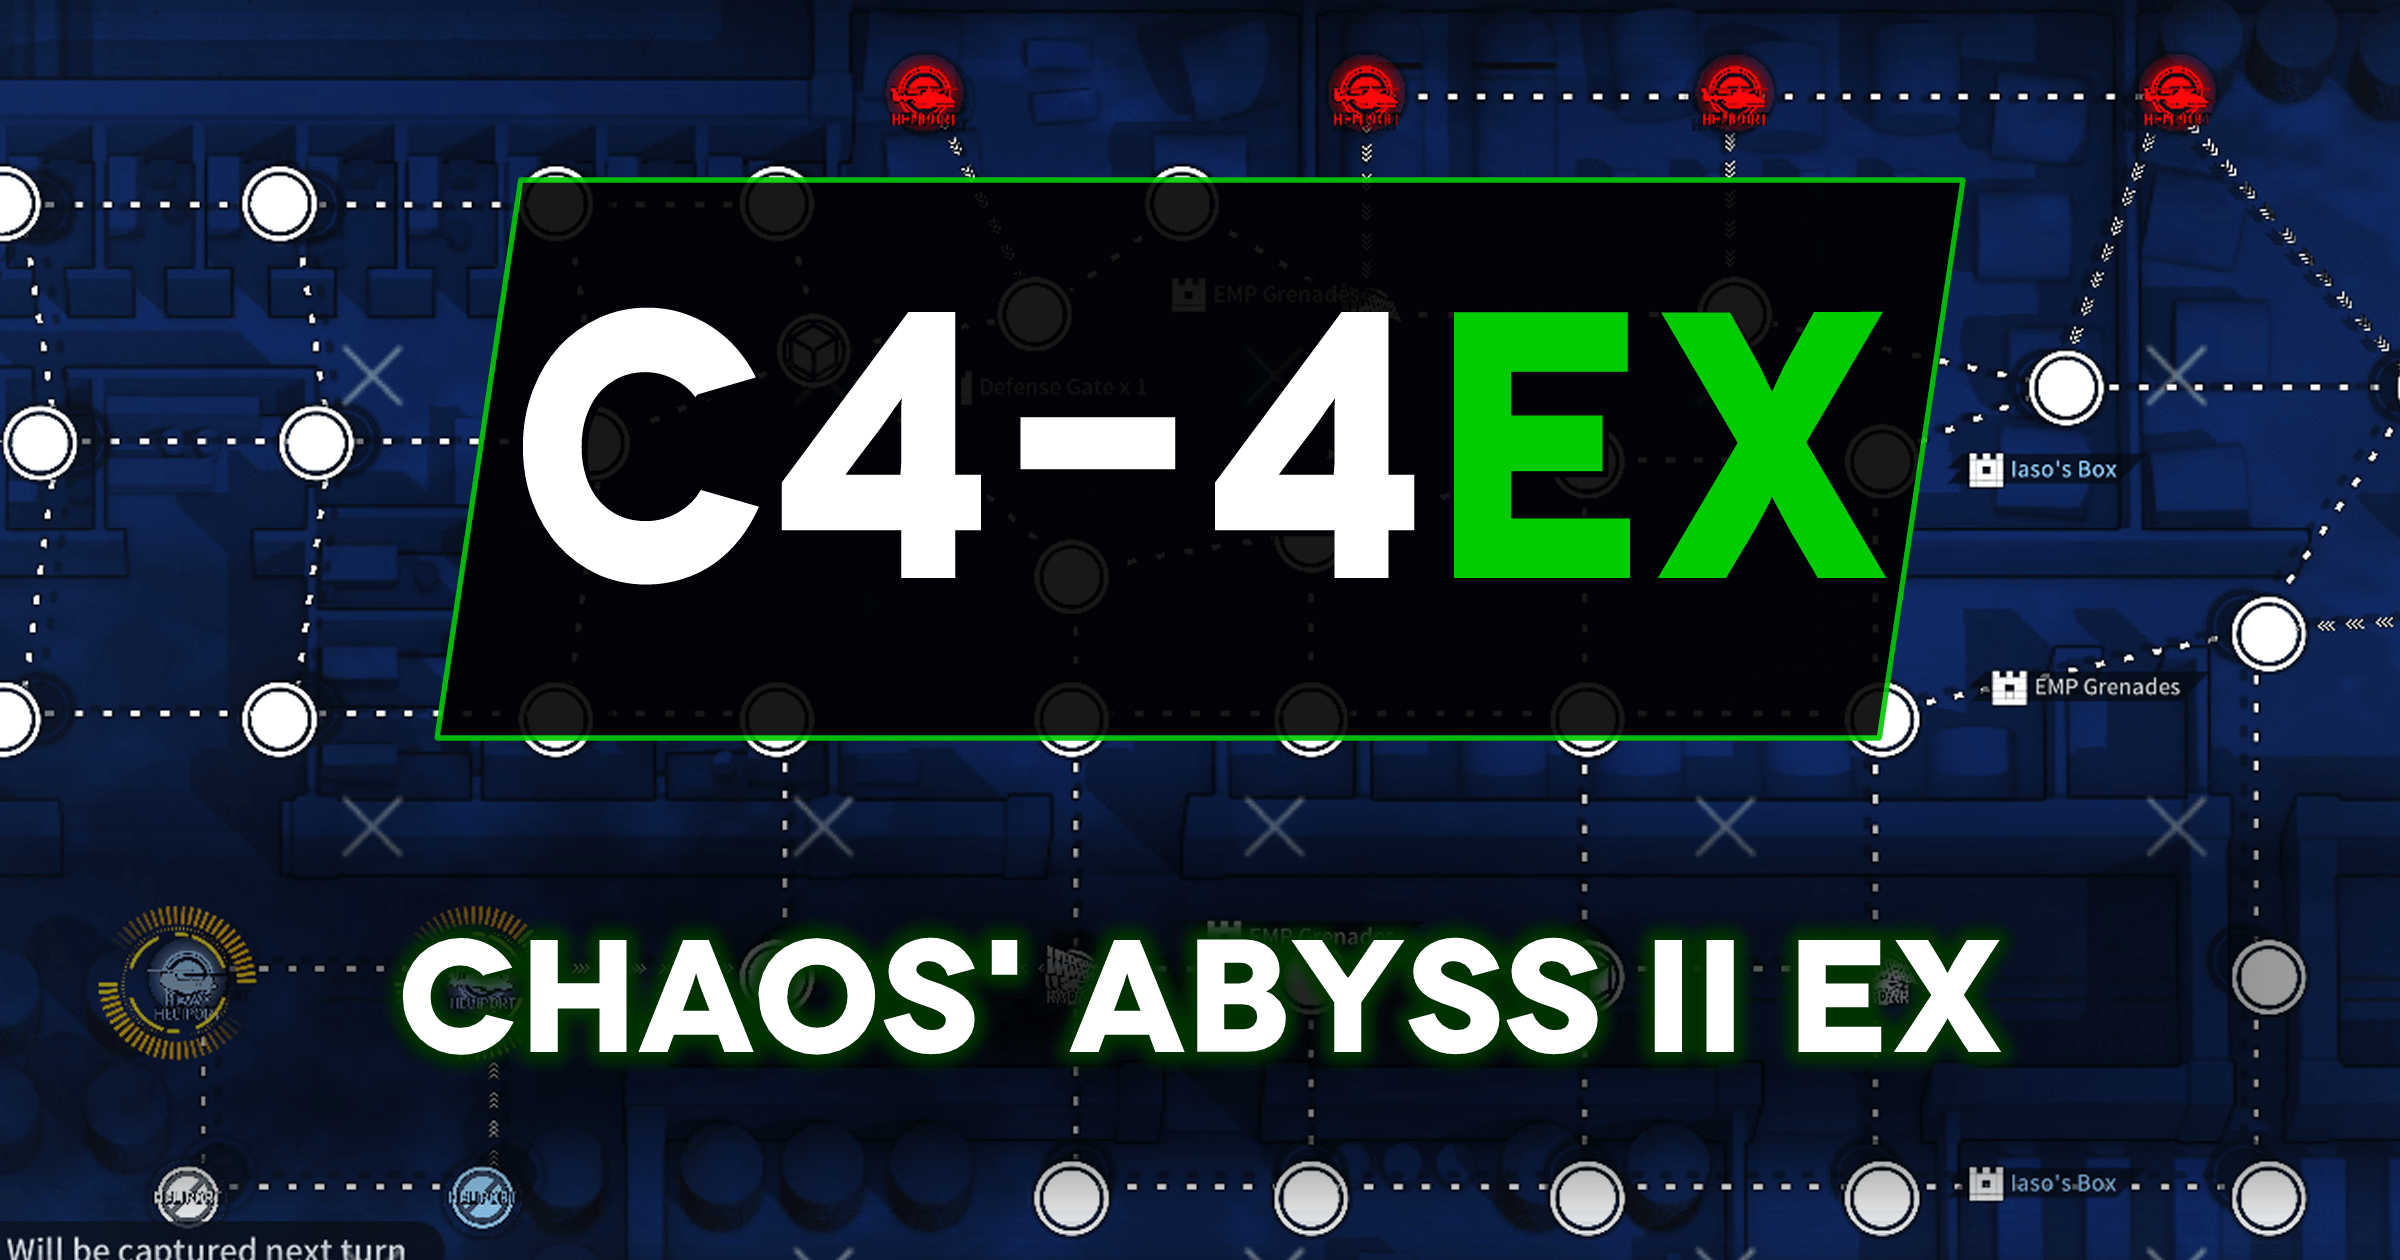
After this you must disarm the box within 2 turns, while avoiding the Uhlan deathstack on the left side, and Morridow deathstack on the right.
Morridow starts in the far bottom right corner of the map and will not ever block your path to the Iaso's Box, though you will need to evade her afterwards. Where you go to avoid her ultimately doesn't matter as long as you survive with at least 1 echelon on the field until turn 6. The EMP grenade can be used to root an enemy in place for one turn, or for it's 90% stat debuff if you need it to fight something difficult. It will not remove force shields so don't try to fight deathstacks with it.
Survive until the start of turn 6 and you win!


