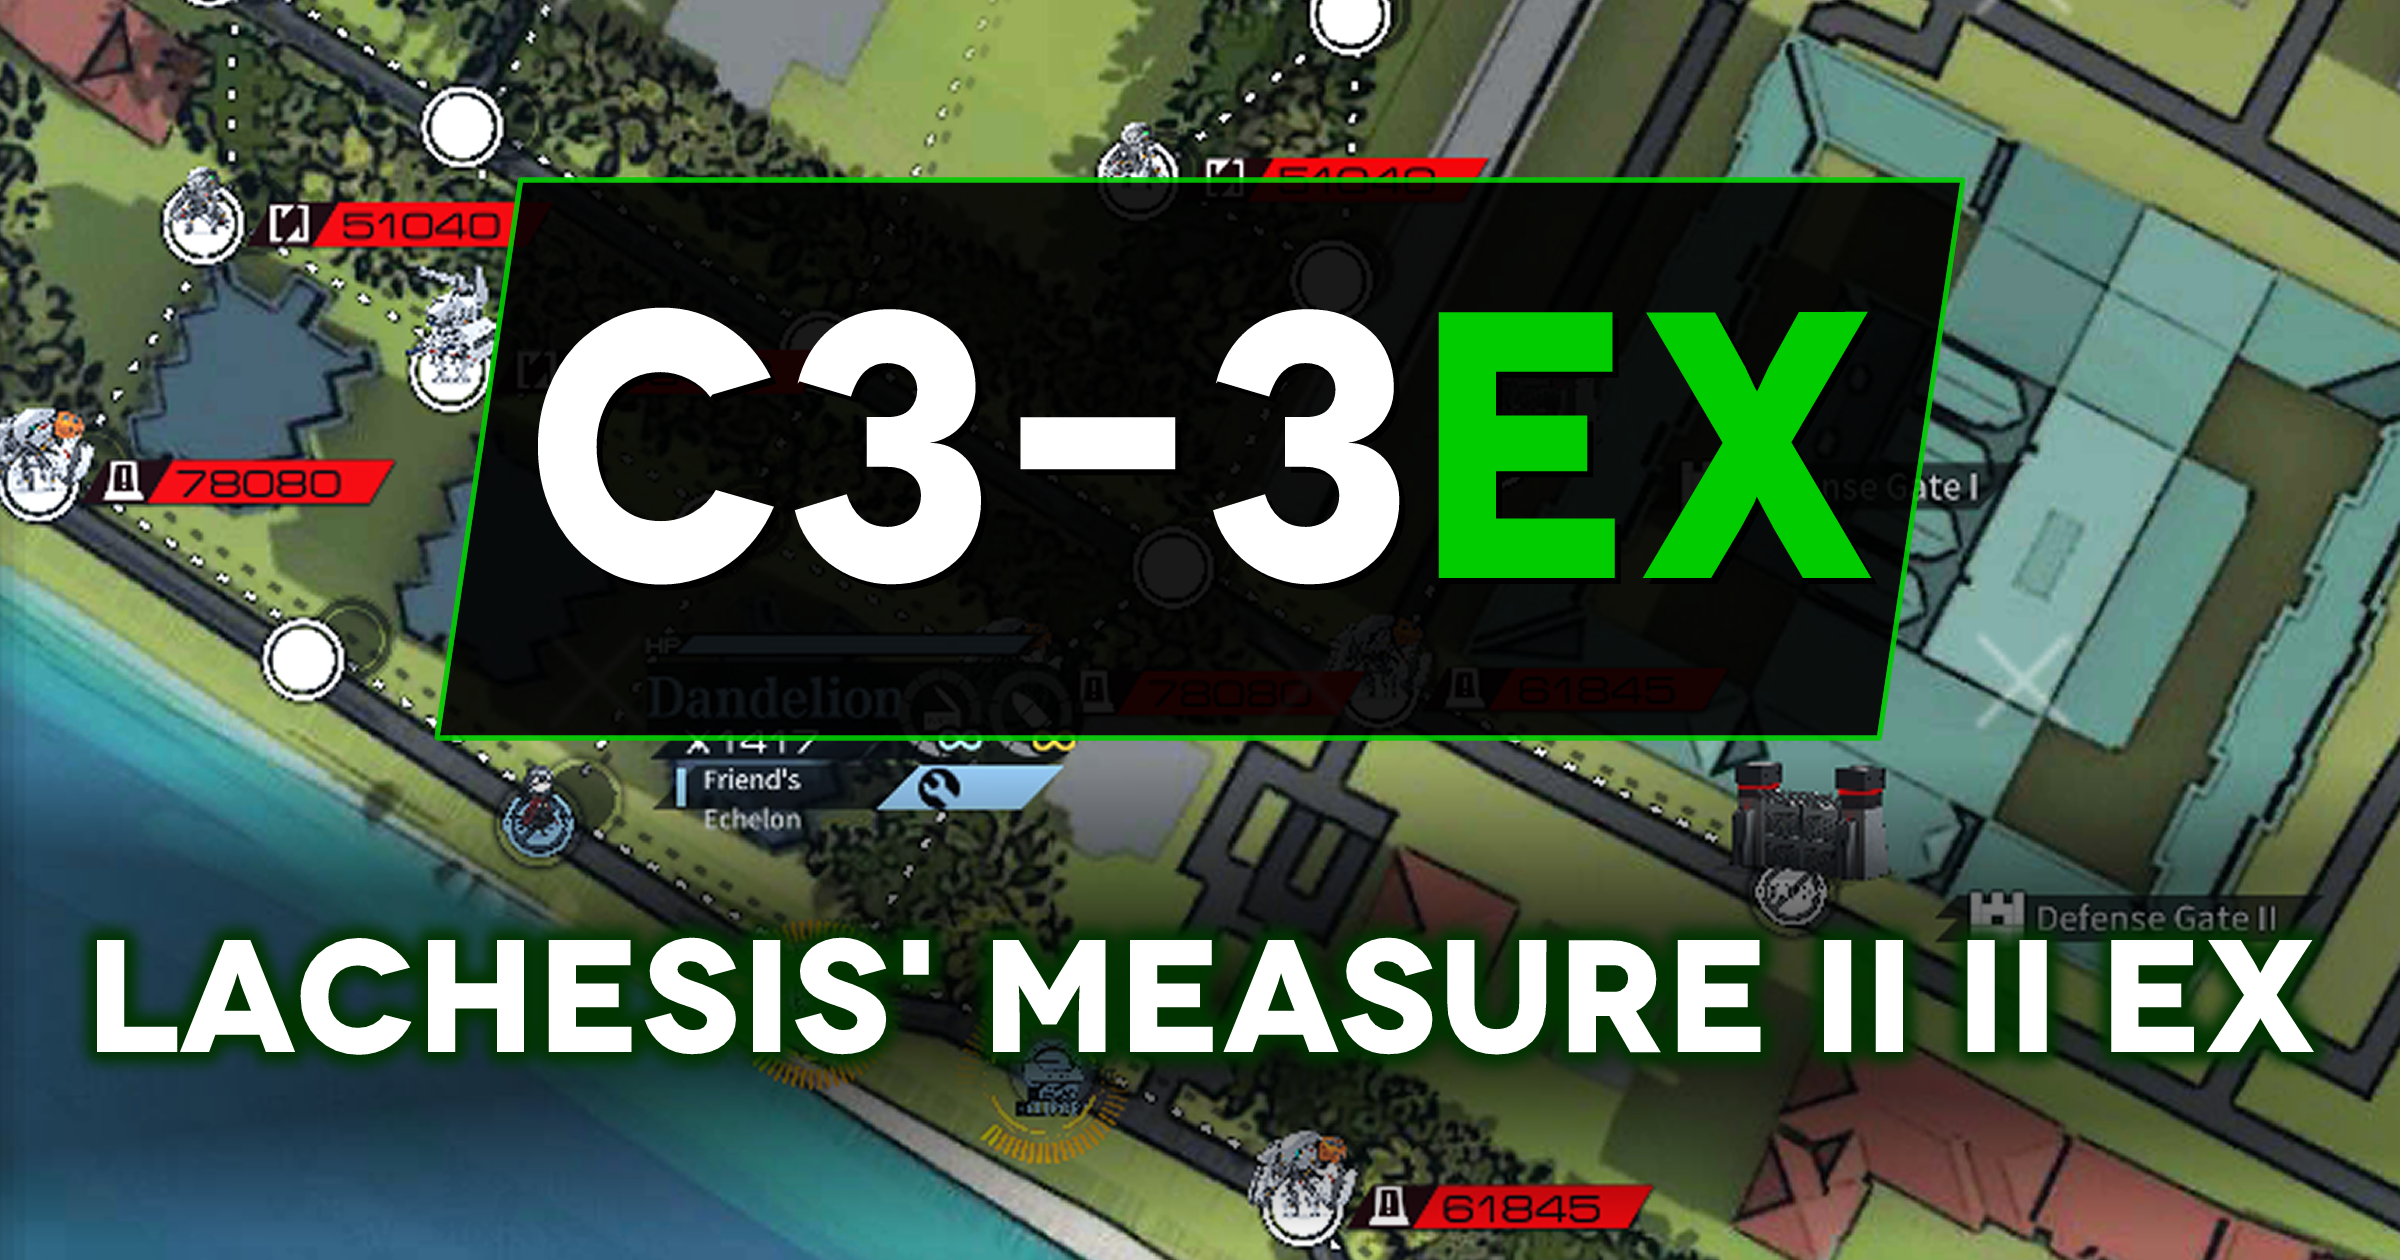
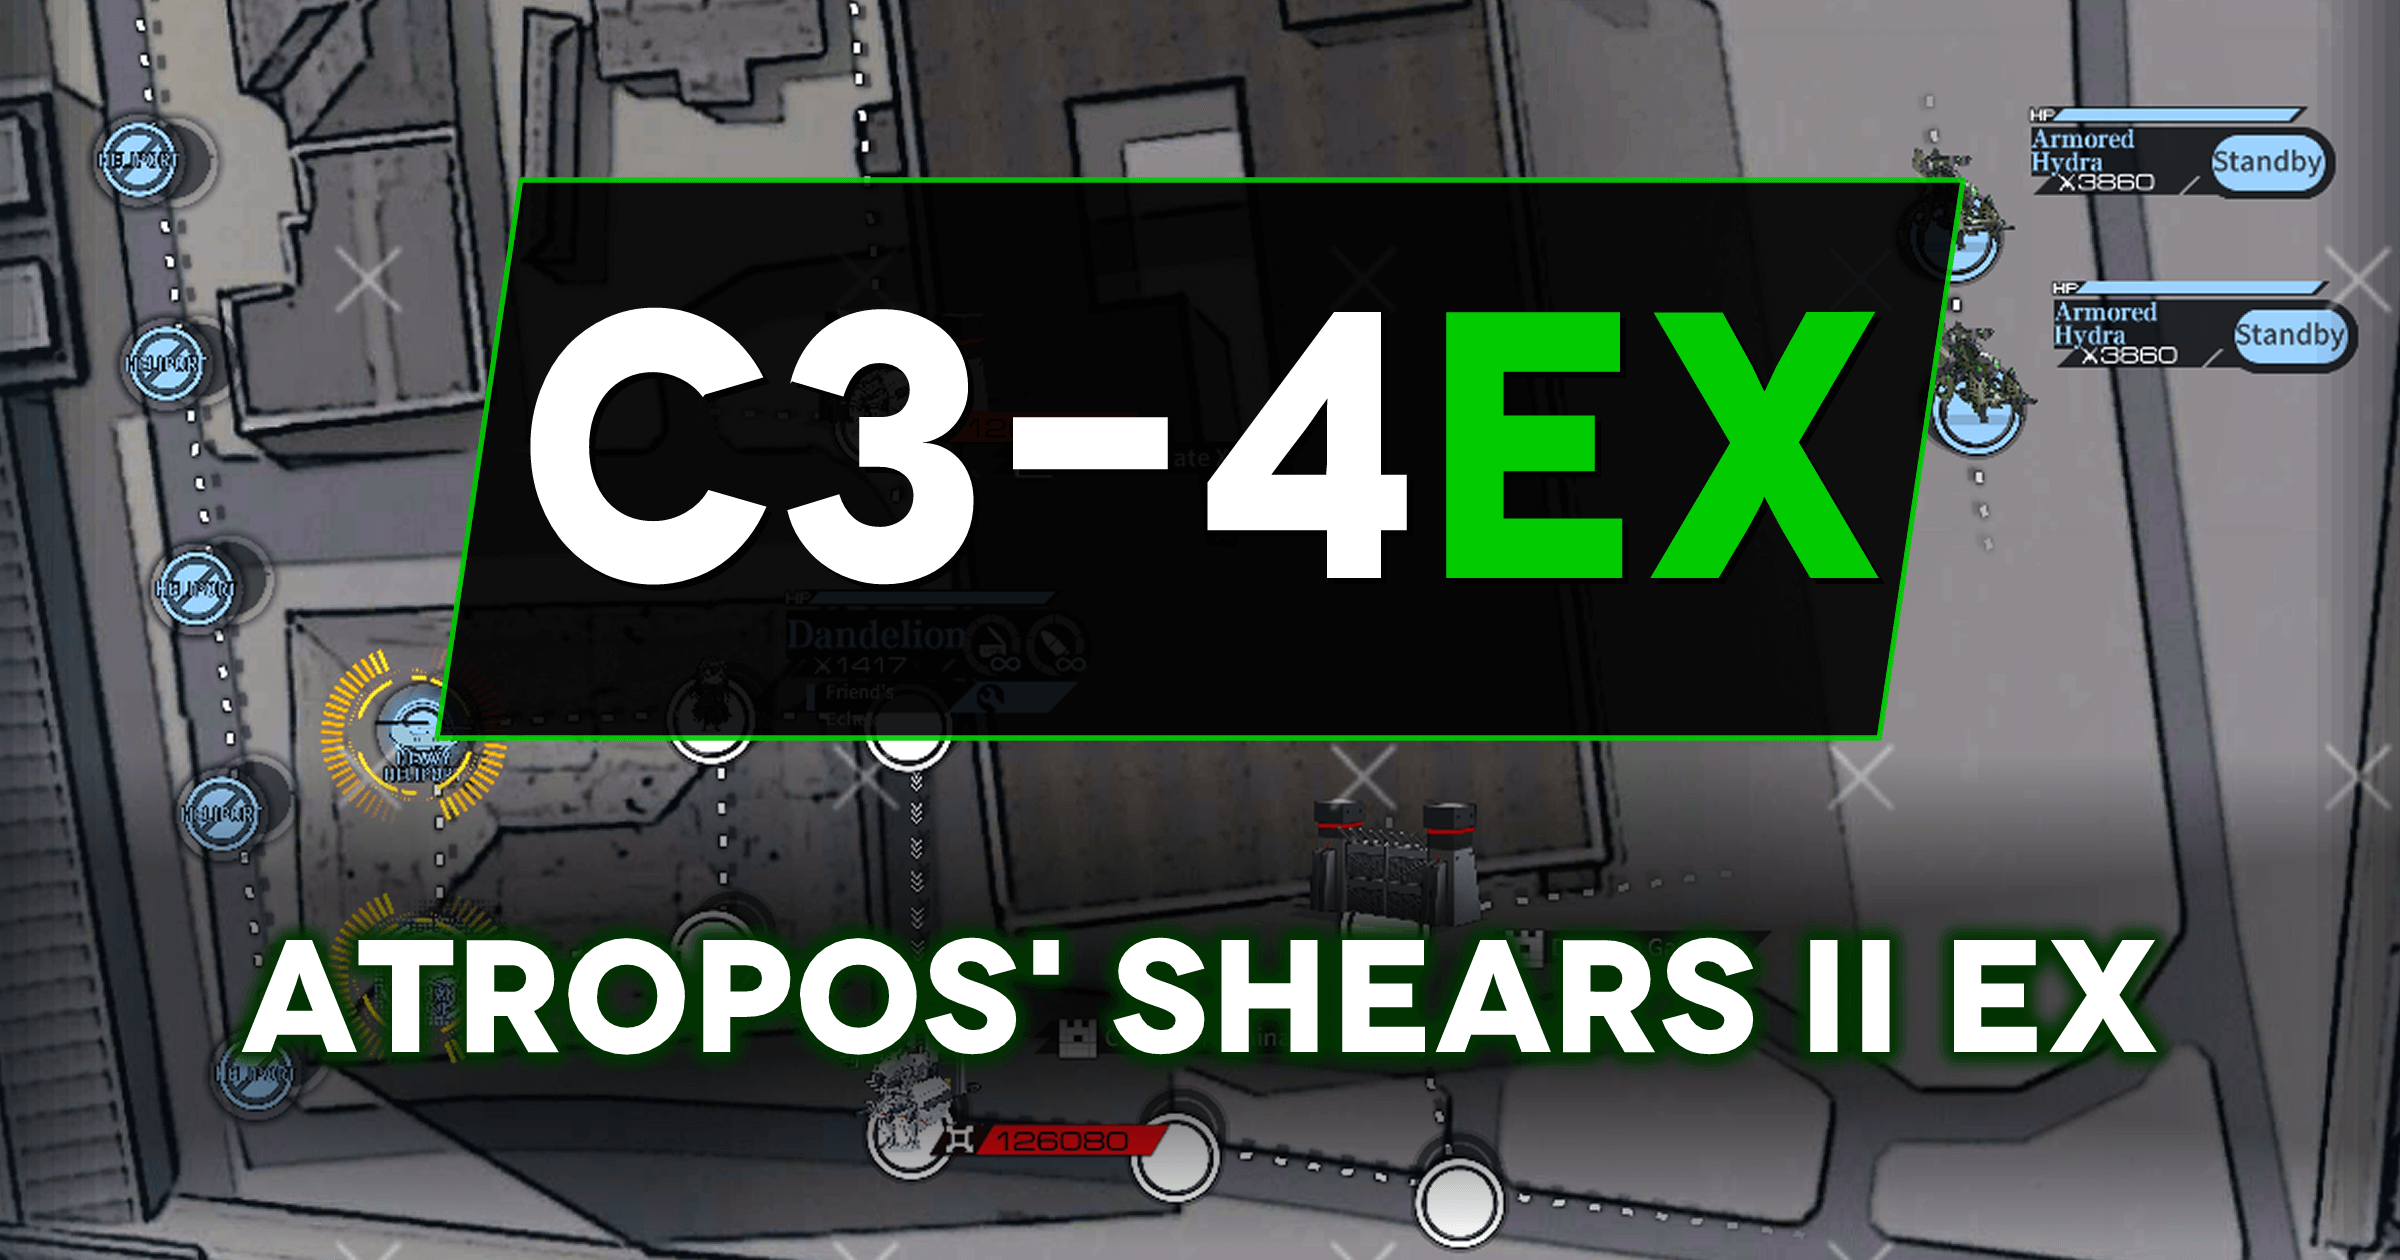
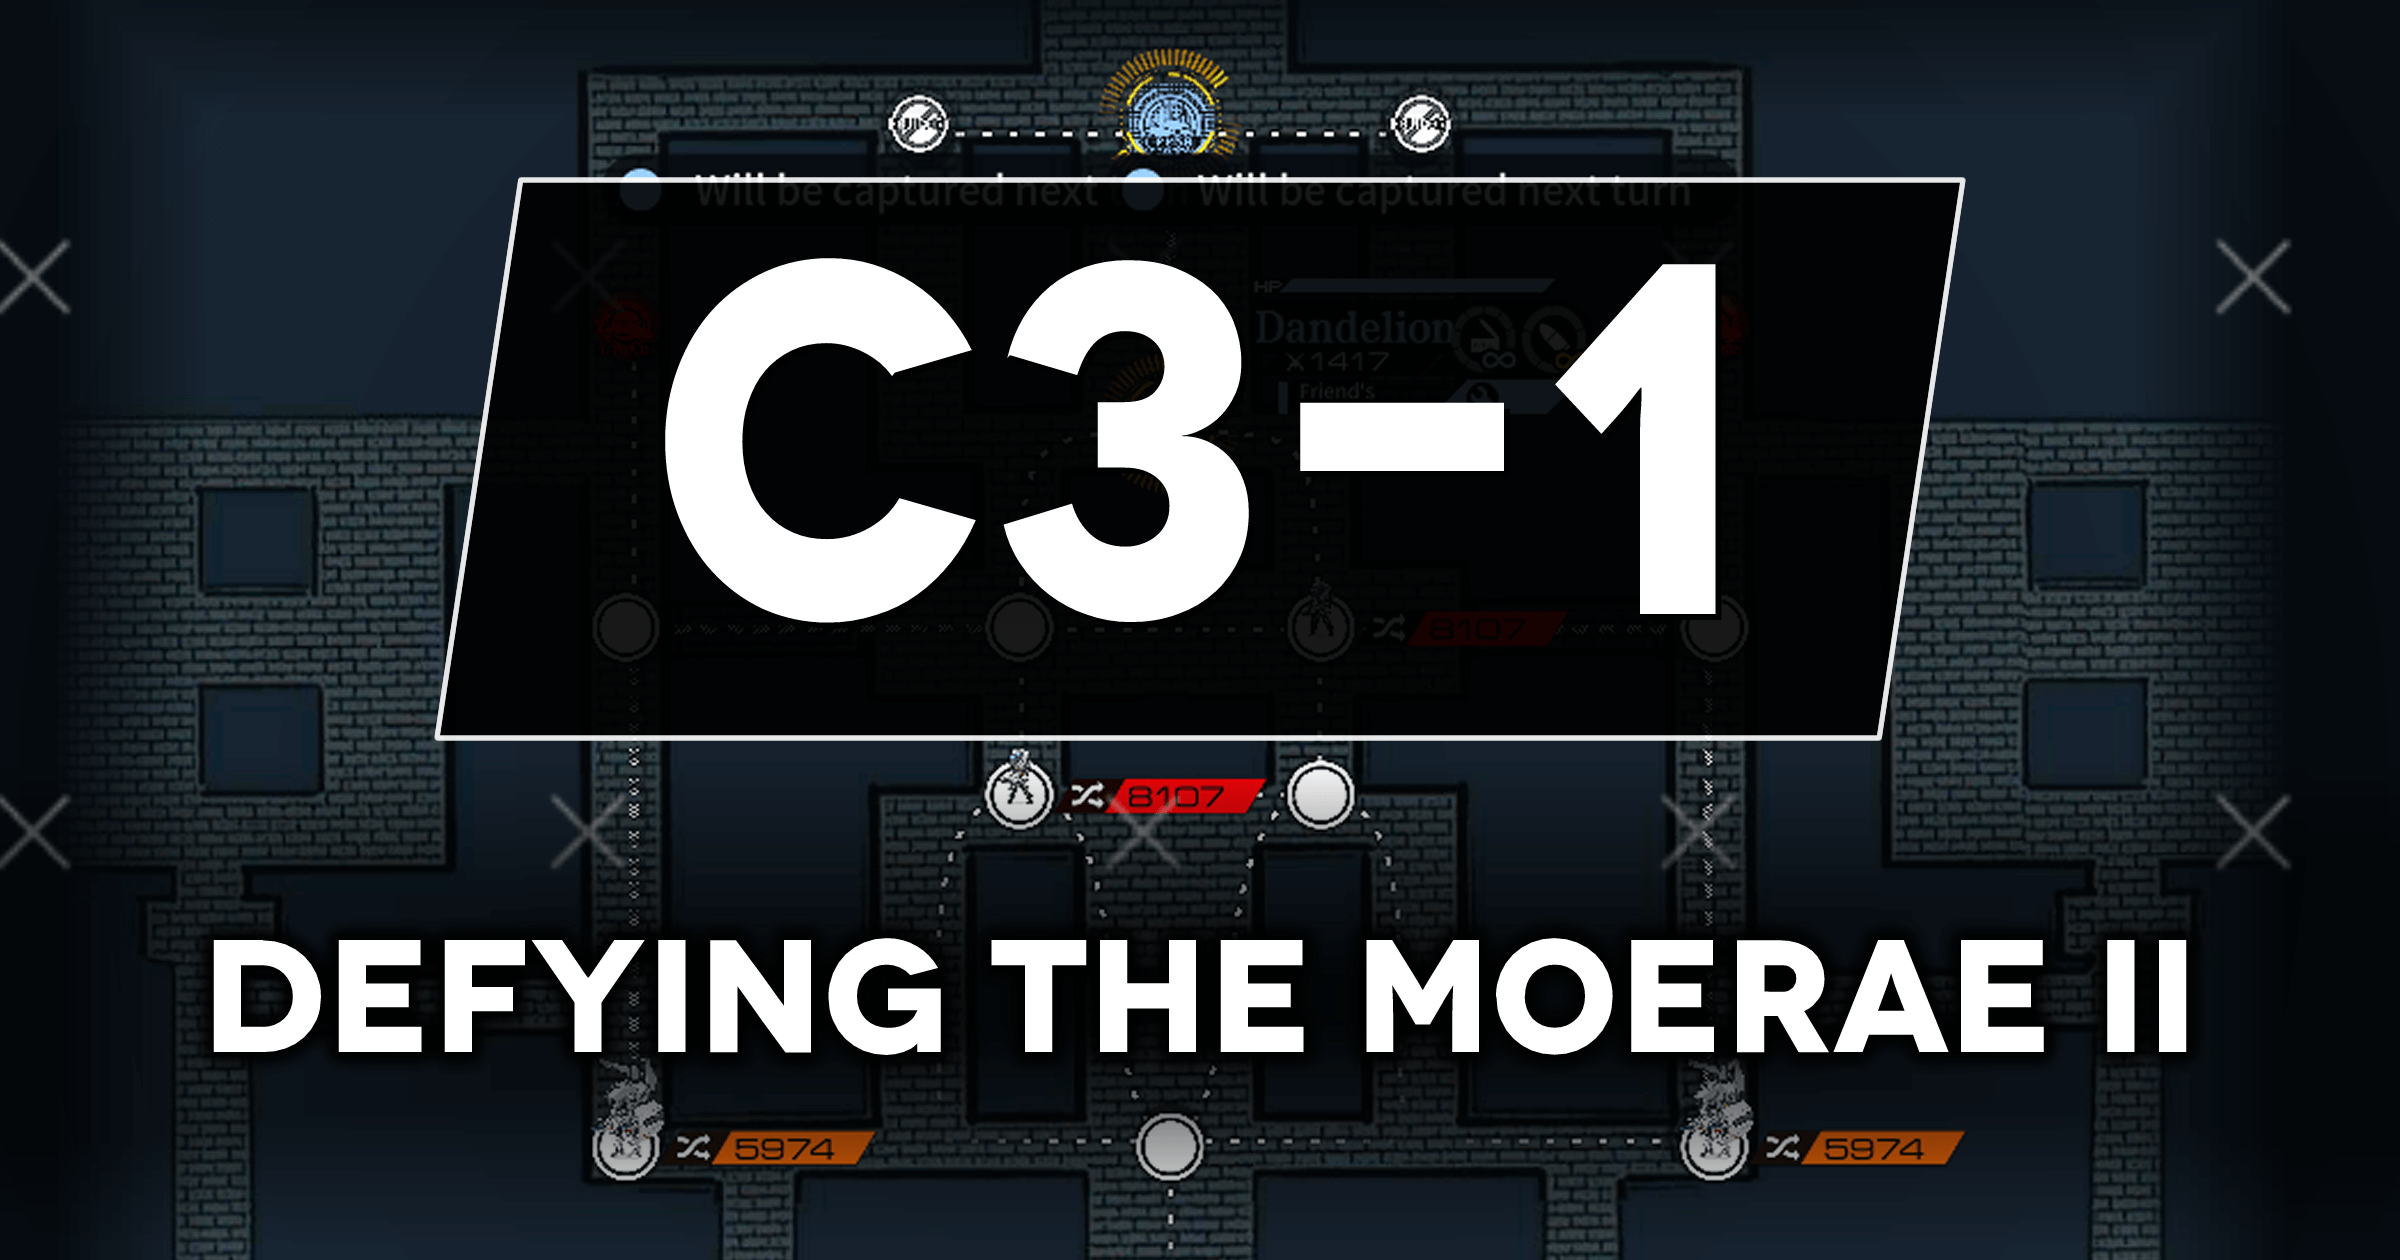
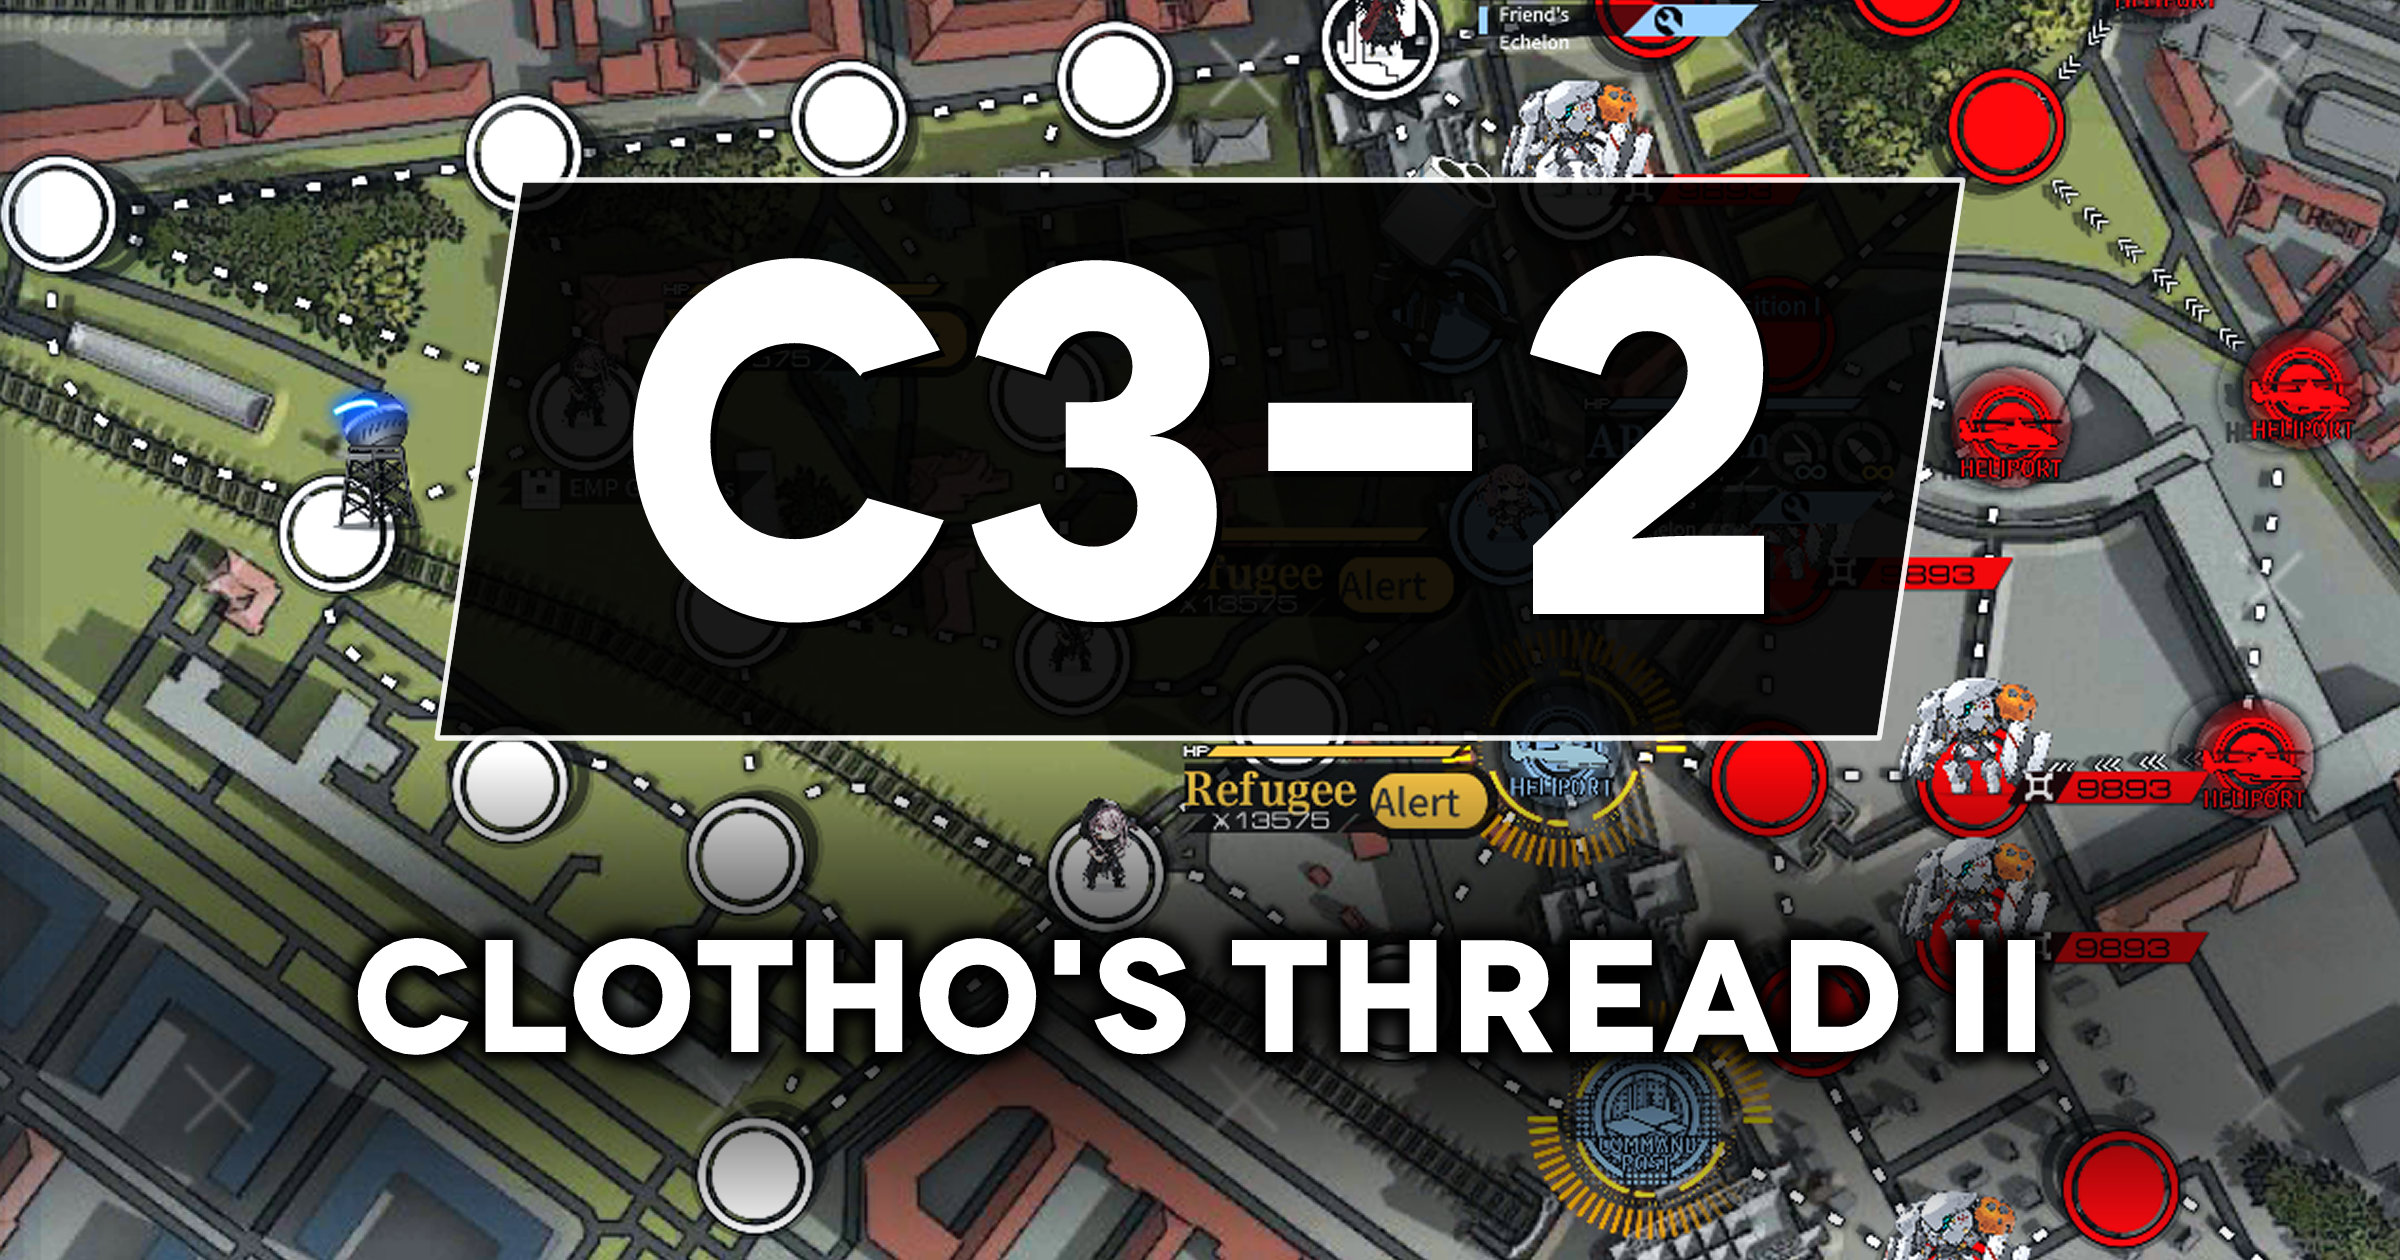
Missions and Clear Conditions
Mission:
Clear Guide:
Team Recommendations:
Clear Steps
There is no sure foolproof way of clearing this map that can be followed one-to-one.
Most of the deathstacks have random spawn locations. The orientation of the patrols around each switch are random. The movement of enemies is random.
What you need to do is first activate both upper switches, which should be done on turn 1. If you cannot do this on turn 1, restart the mission because it'll just be jank otherwise.
Retreat any echelon that will be caught by a deathstack (marked with skull).
After this, you must path your way down to the bottom half of the map, and escort Dandelion there to reveal the next switches, paying attention to which way Narciss goes here can be useful to avoid her. Make sure to buff the echelon that will be fighting the most with Dandelion's friendly buff, as this will absolutely wreck all Gunner stacks basically on it's own.
Defending your starting area is not really important, but you must be able to redeploy your echelons from somewhere, if you get caught.
If you get caught or cornered, retreat and redeploy and find another path to your goal, the orange glowing nodes. Either one works.

