Mission and Clear Conditions:
Mission:
Win Special Battle
OR
Rescue 1 Hostage
Clear Guide:
Team Recommendations:
- 1 Combat Echelon
- AR/SMG
- 1 Dummy Echelon
- 1 HOC (Special Fight)
Clear Steps
Welcome to a very interesting map. The two objectives here are quite different, the first being simply a hostage rescue. The second objective involves completing a special battle. The special battle is started by stepping onto the 'Enemy' M4 on the Enemy Command Post. Details of this battle will be given below, but a quick summary that your objective is not to defeat M4. Instead, you need to kill the trash and spawns.
In order to reach M4 you will need to step on the Radar in the upper section of the map to cause the bosses to assume a patrol route instead of standing in place. M4 will not move off the Command Post.
Turn 1
1.1
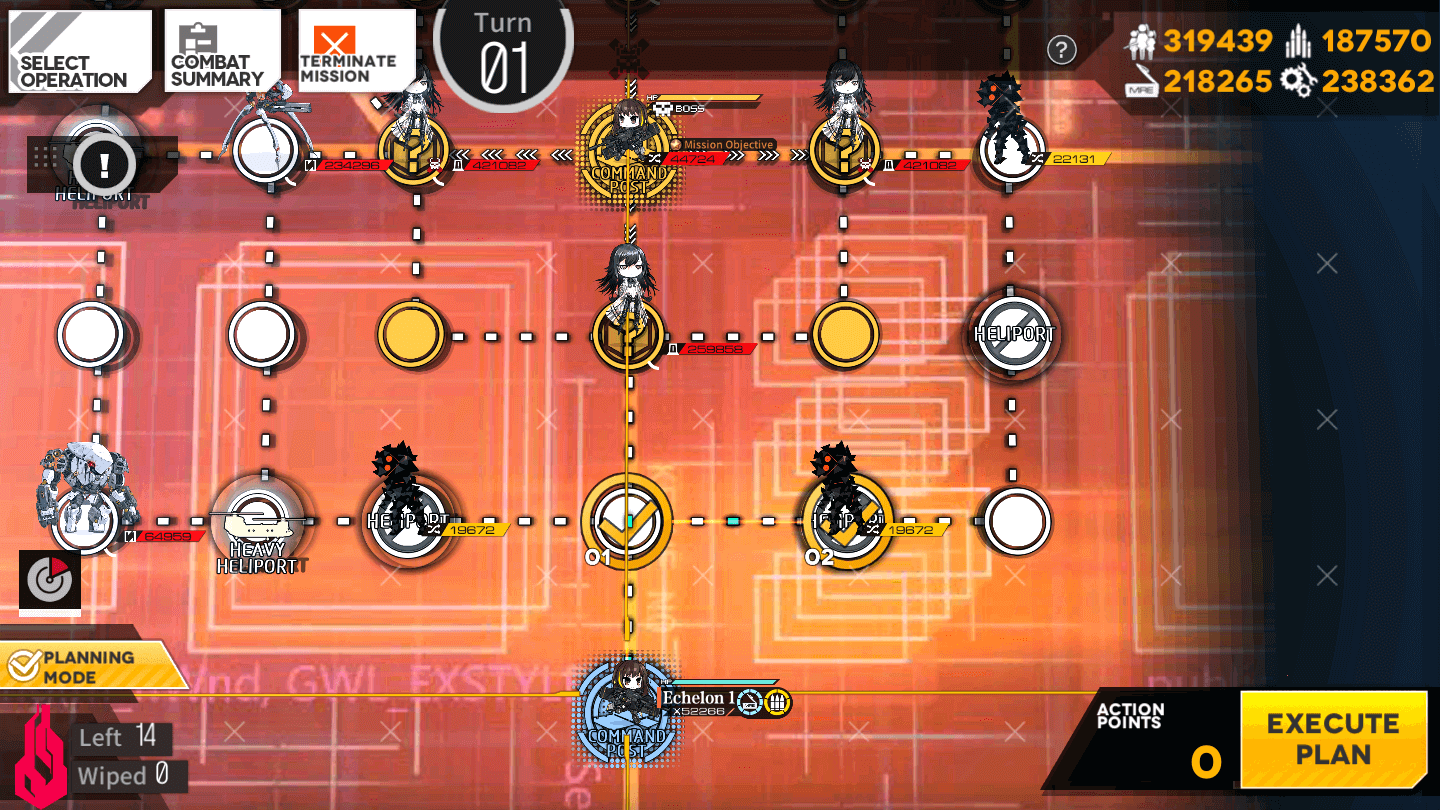
Deploy a Combat Echelon on the Command Post. Move up one node, then to the right one node.
Turn 2
2.1
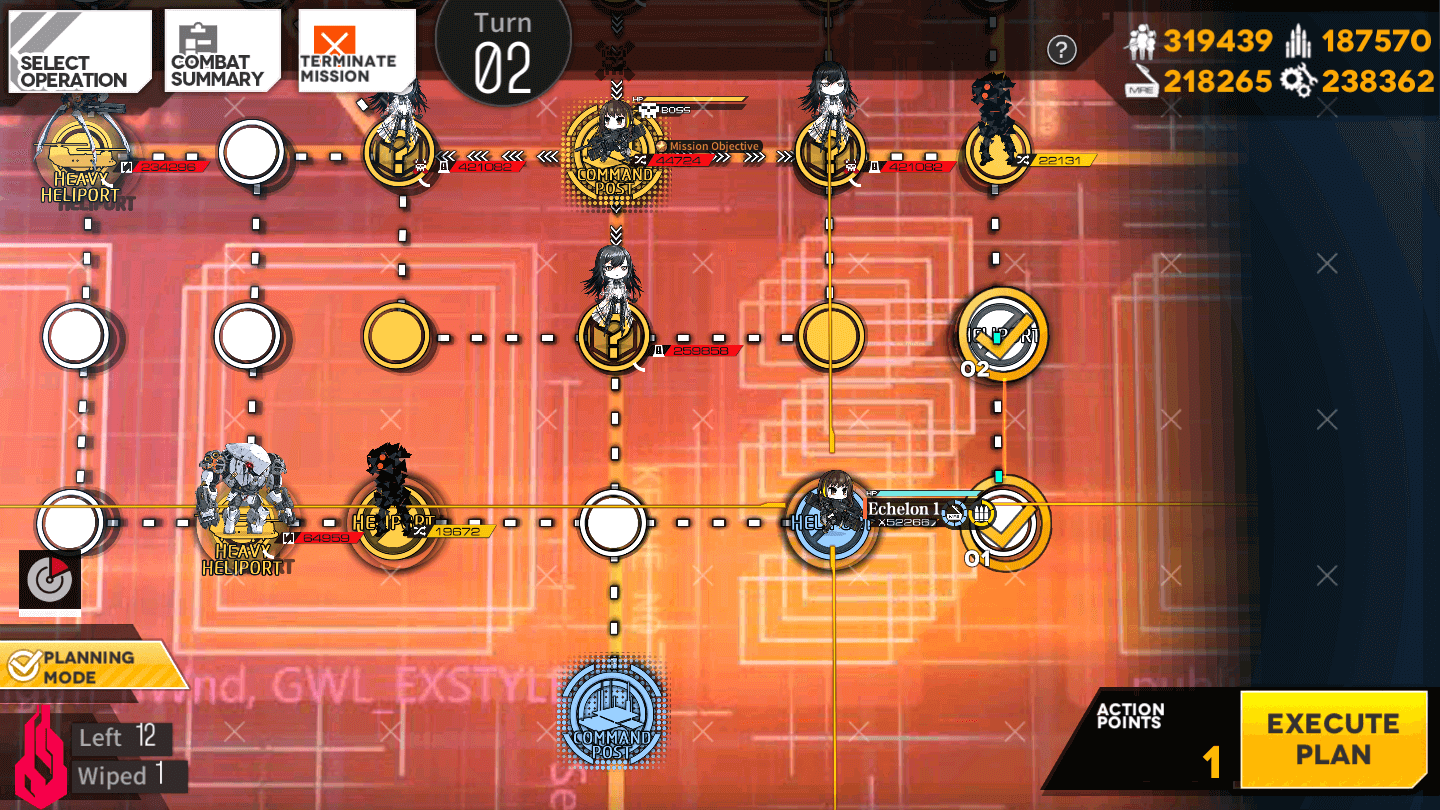
Move the Combat Echelon to the right one node, then up one node.
2.2

Deploy a Dummy Echelon on the Command Post.
Turn 3
3.1
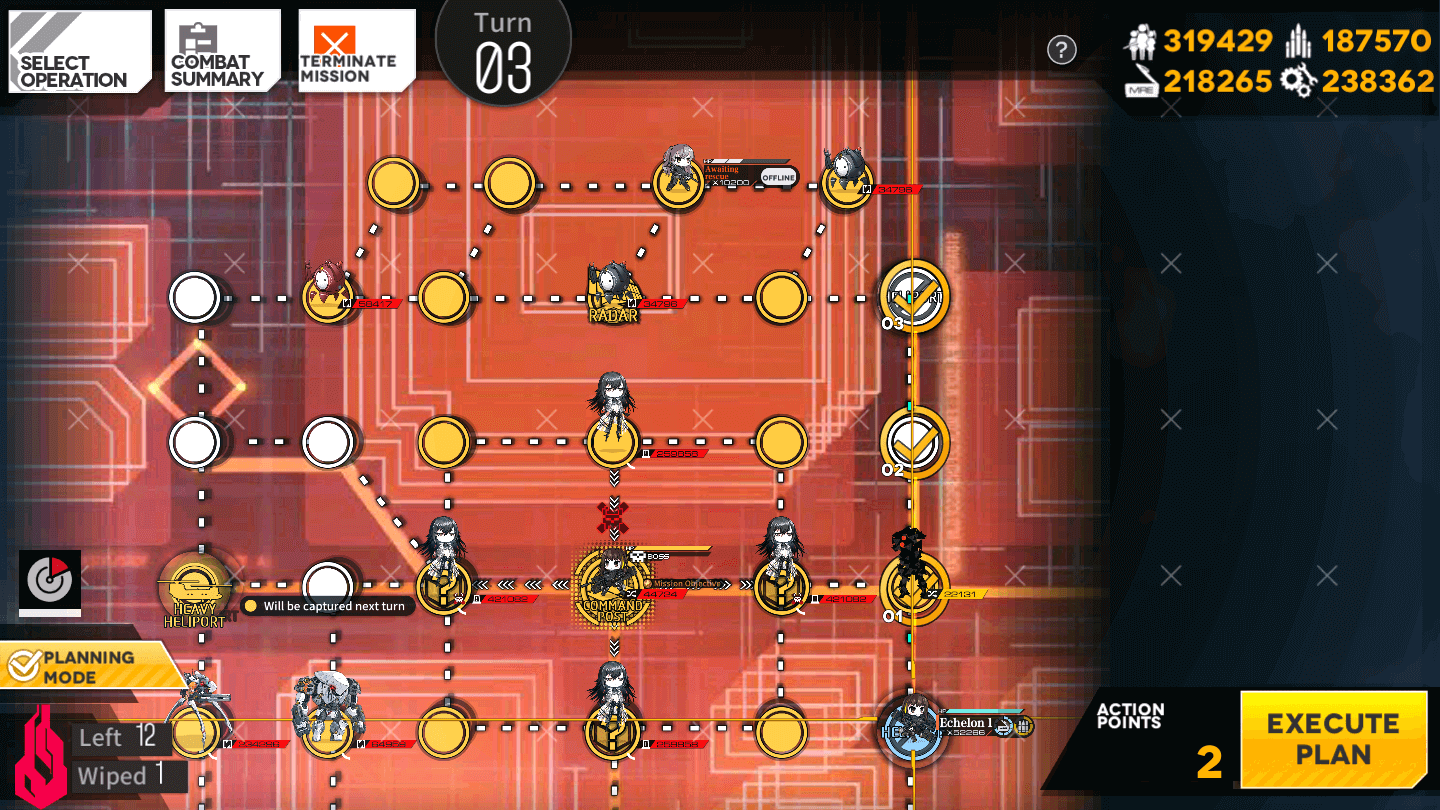
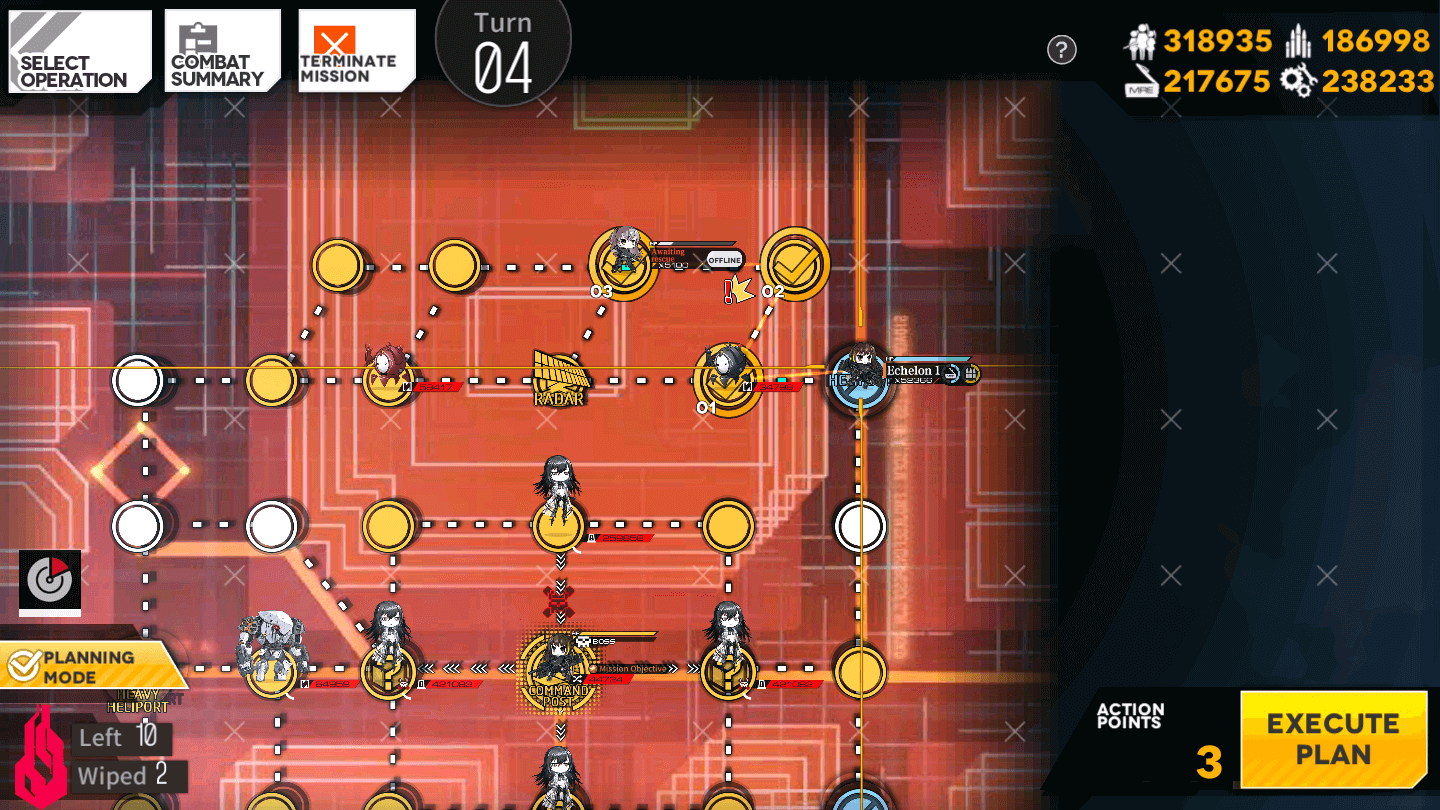
Move the Combat Echelon up three nodes. You will have extra AP, but end your turn now.
Turn 4
-
Special Battle
-
Rescue
4.1
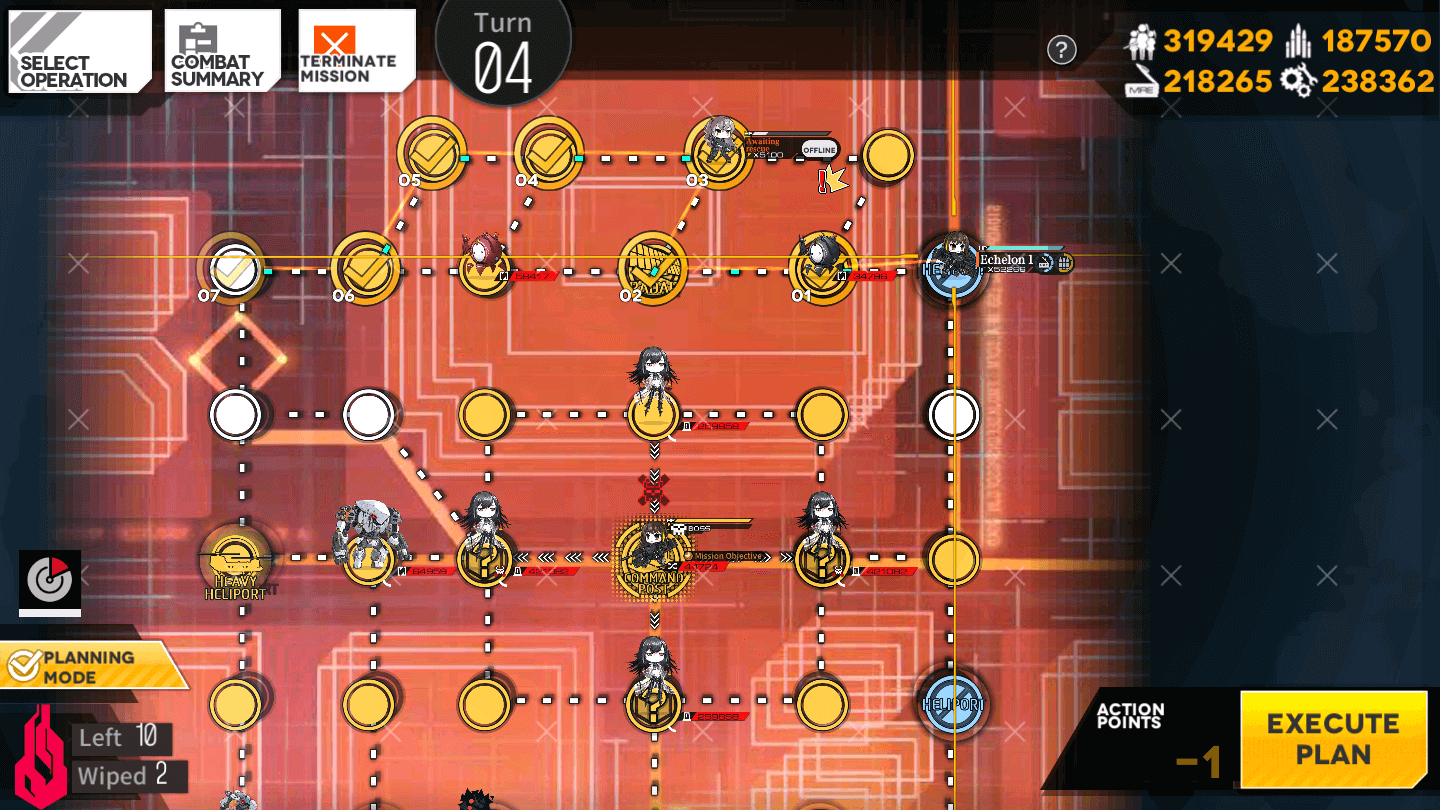
Move the Combat Echelon to the left two nodes and step on the Radar. Move up, SWAP with UMP 45, then move to the left two nodes, down one node, and left one more node.
4.1
Move the Combat Echelon to the left one node, up one node, and then swap with UMP 45.
4.2
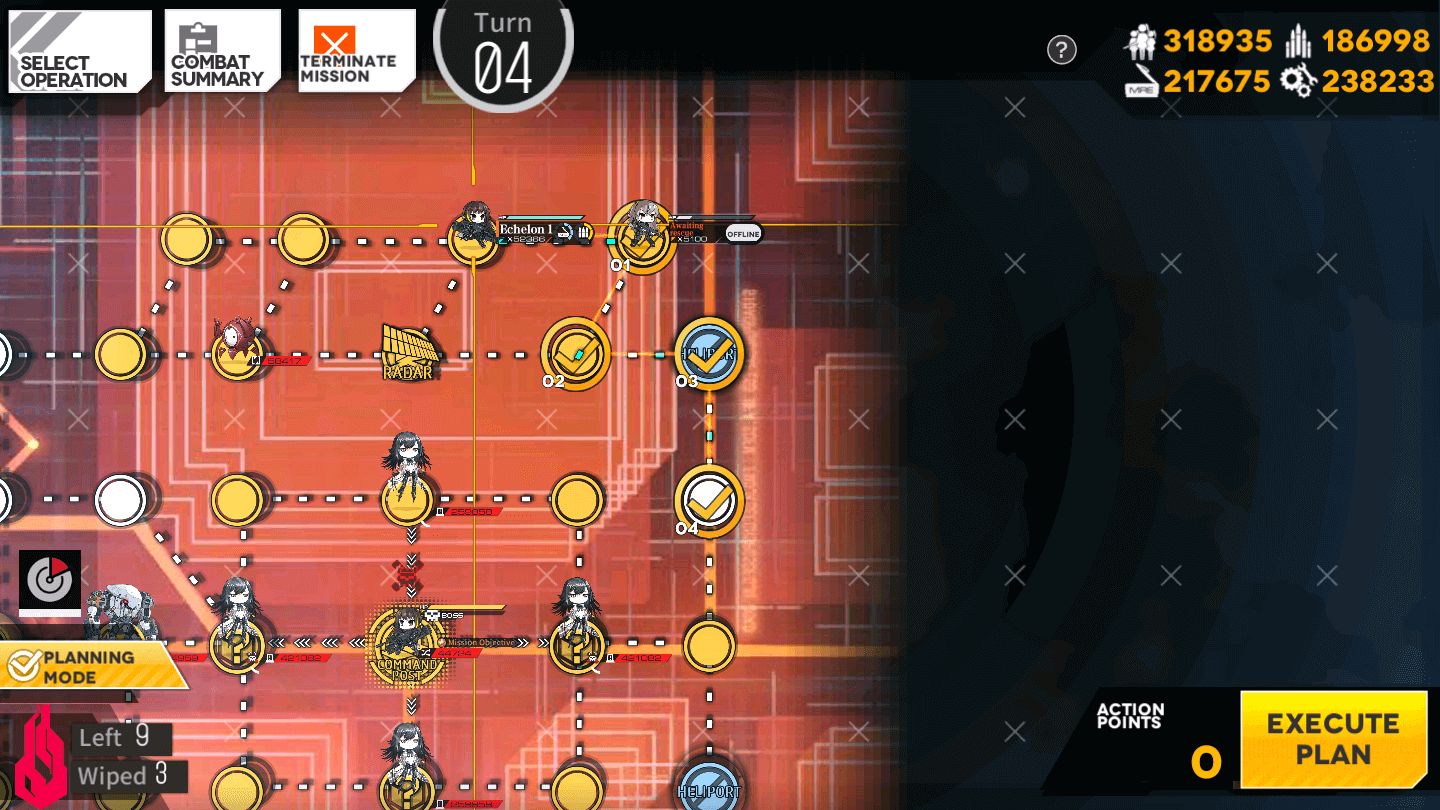
Move the Combat Echelon to the right one node picking up 45. Then, move down, left and down one node each.
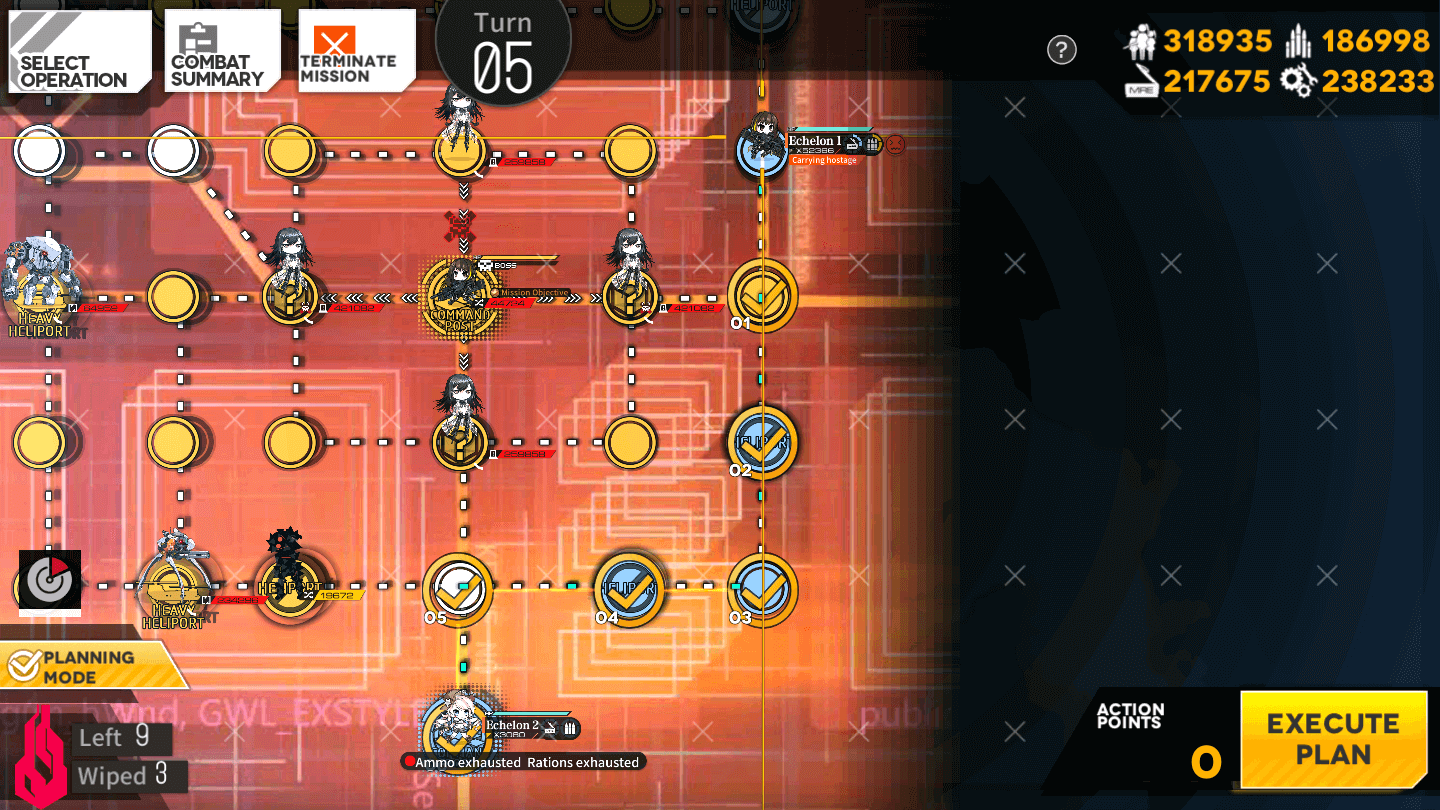
Turn 5
-
Special Battle
-
Rescue
5.1
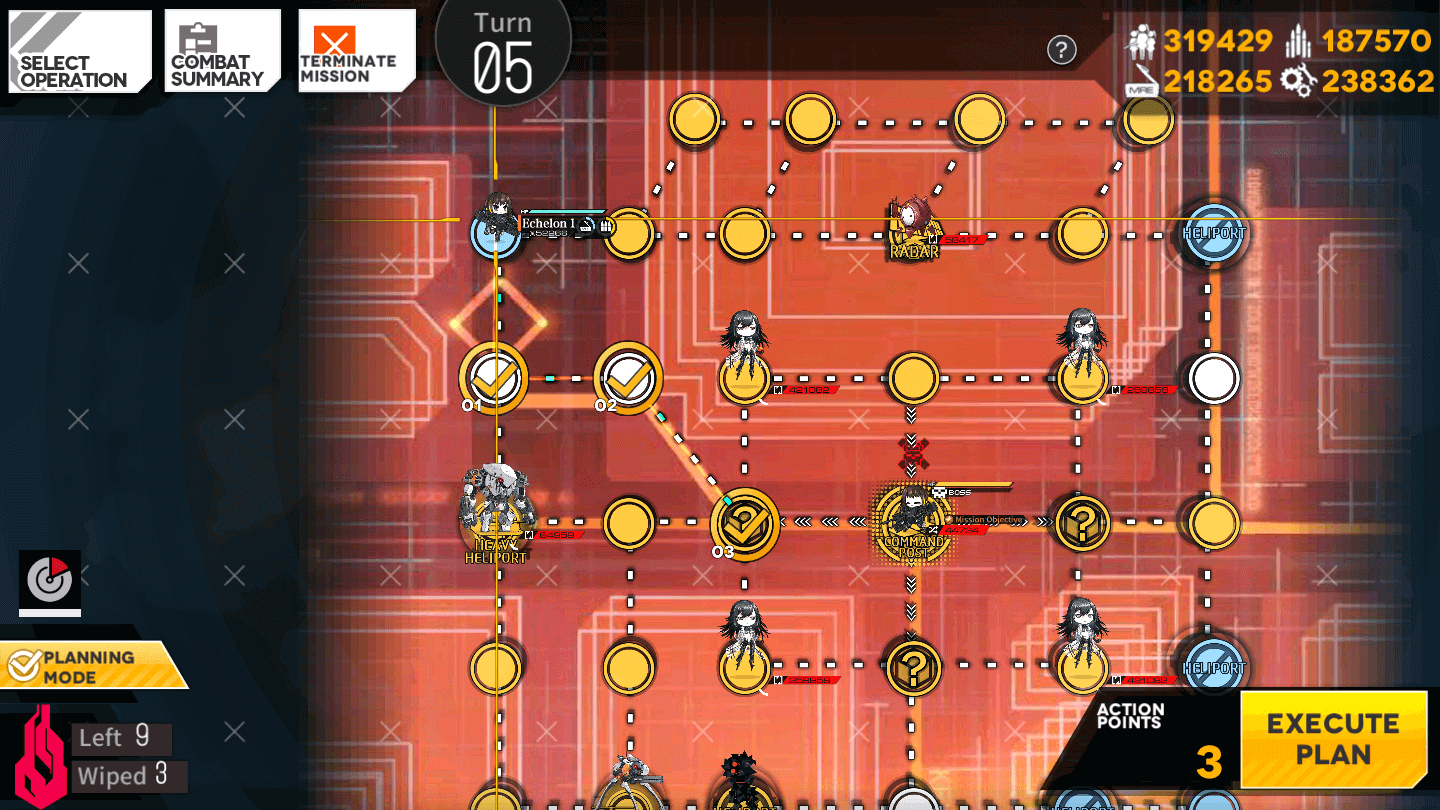
Move the Combat Echelon down one node, to the right two nodes to hit the Random Node.
5.2
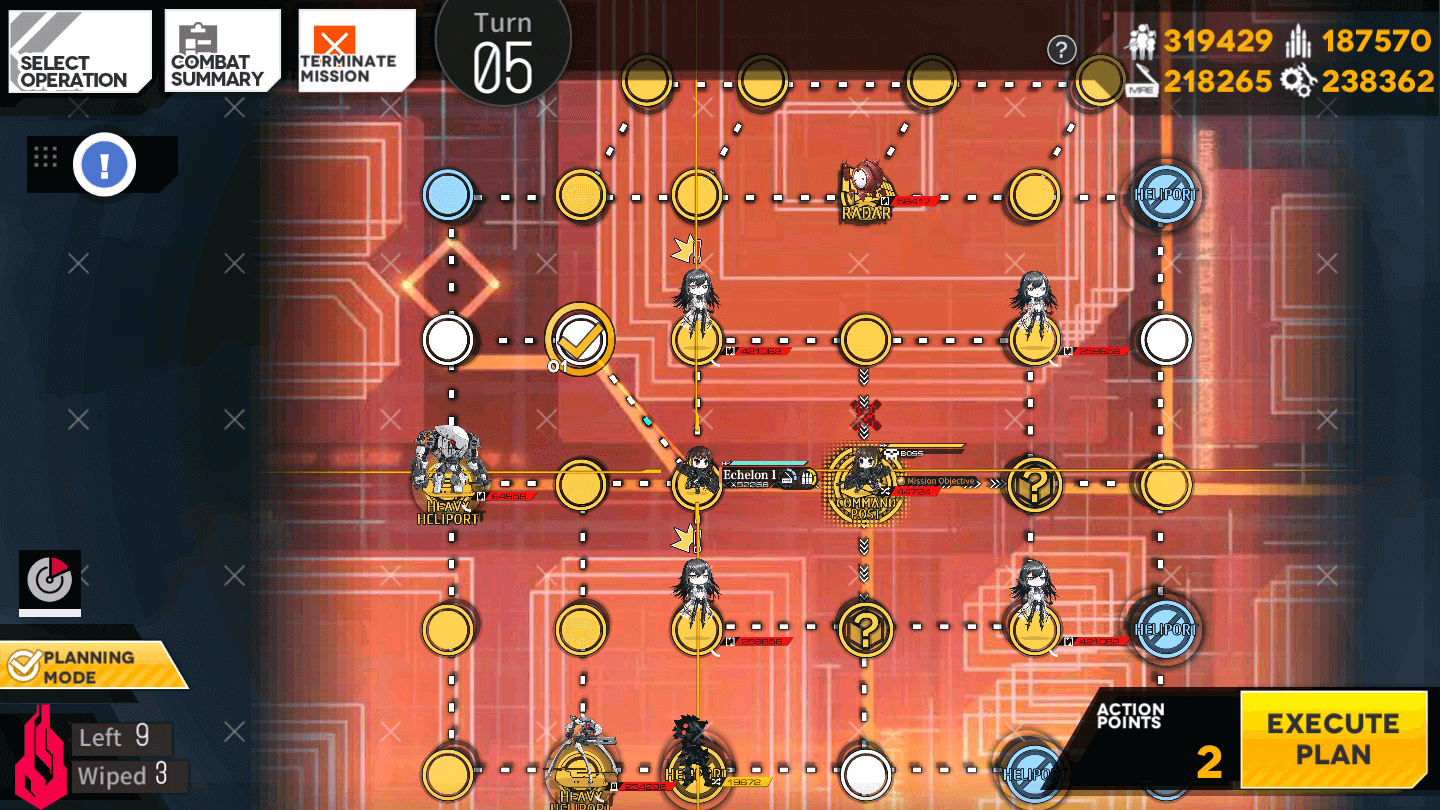
Move the Combat Echelon to the upper-left and to safety. We need to capture the Heavy Heliport and bring in a HOC before we can fight the Failed Isomer.
5.1
Move the Combat Echelon down three nodes, then two nodes to the right. Swap with the Dummy Echelon and manually complete this objective.
Turn 6
6.1

Move the Combat Echelon to the left one node.
Turn 7
7.1
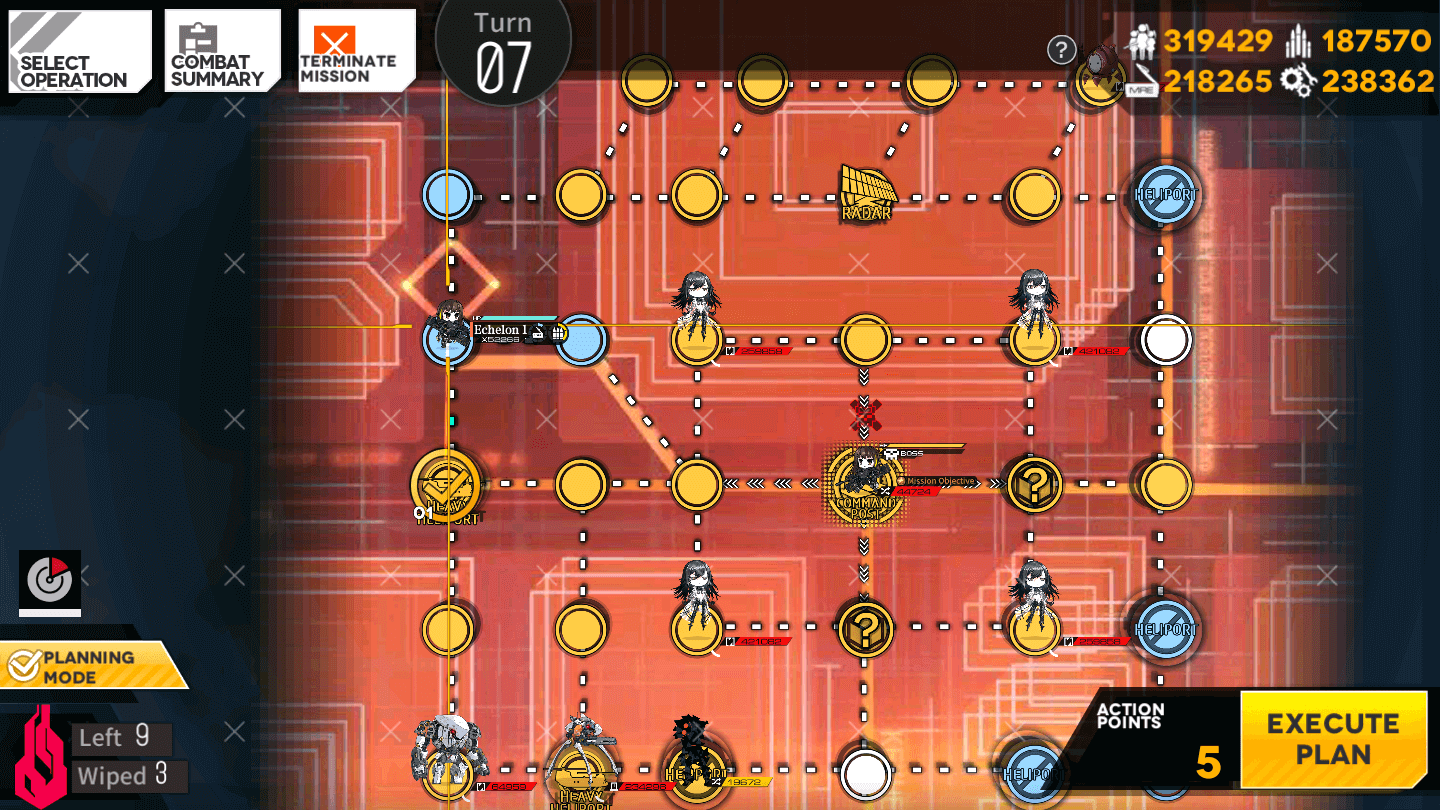
Move the Combat Echelon down node to capture the Heavy Heliport.
Turn 8
8.1
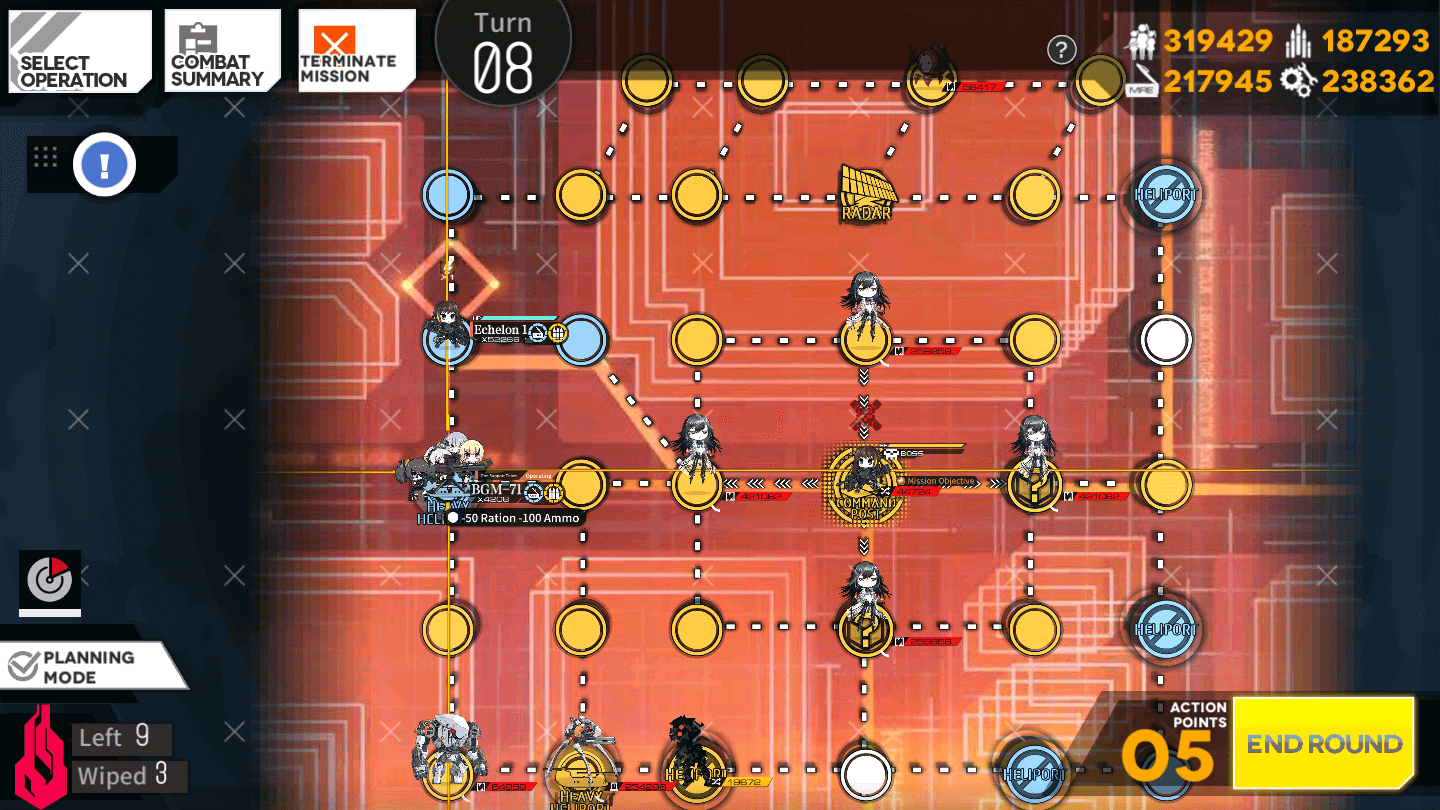
Move the Combat Echelon up one node, and deploy a HOC (BGM recommended) on the Heavy Heliport.

Turn 10
10.1

Move the Combat Echelon to the right two nodes. End your turn after defeating the Failed Isomer.
Turn 11
11.1
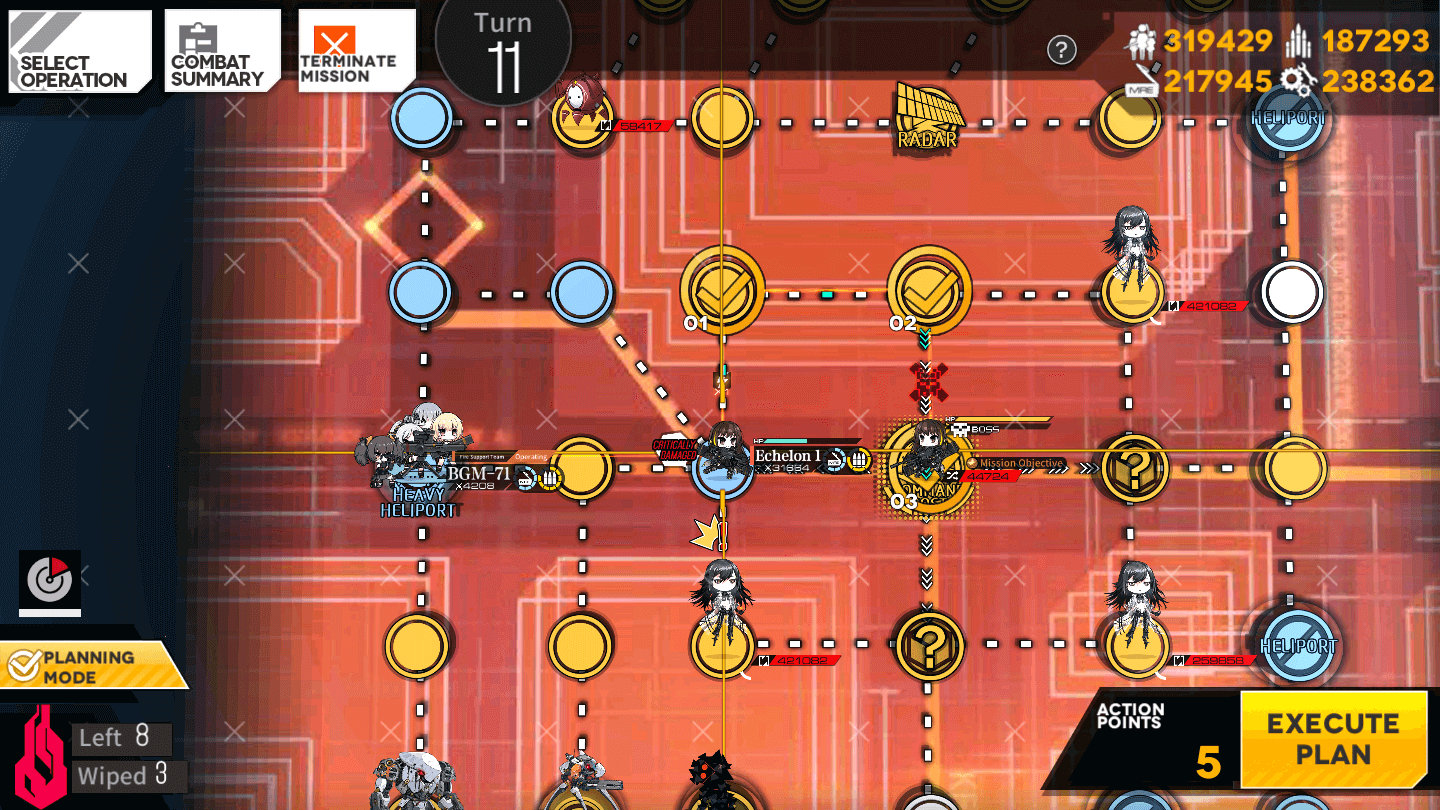
Move the Combat Echelon up one node, to the right one node, and down one node to begin the special battle.

Video Guides:
Next Chapter:
-
EX
-
Normal

-
EX
-
Normal