Mission and Clear Conditions:
Mission:
Hold Supply Line for 4 Turns
Clear Guide:
Team Recommendations:
- 3 Combat Echelons
- 1 Capable of handling enemy swarms
- 1 High initial Damage Echelon, EG: Gunboats
- 1 RF or Anti Armor
- 1 Dummy Echelons
Clear Steps
Now this map got an upgrade. An Echelon will need to always guard the Command Post and it must fight under Gustav fire. A third Echelon must be able to DPS down Dactyl/Ceryntis enemies without getting slaughtered. RFs or MGs work here. There is a friendly Gustav in the North but its range is small and thus it doesn't affect the battle in the least.
Turn 1
1.1
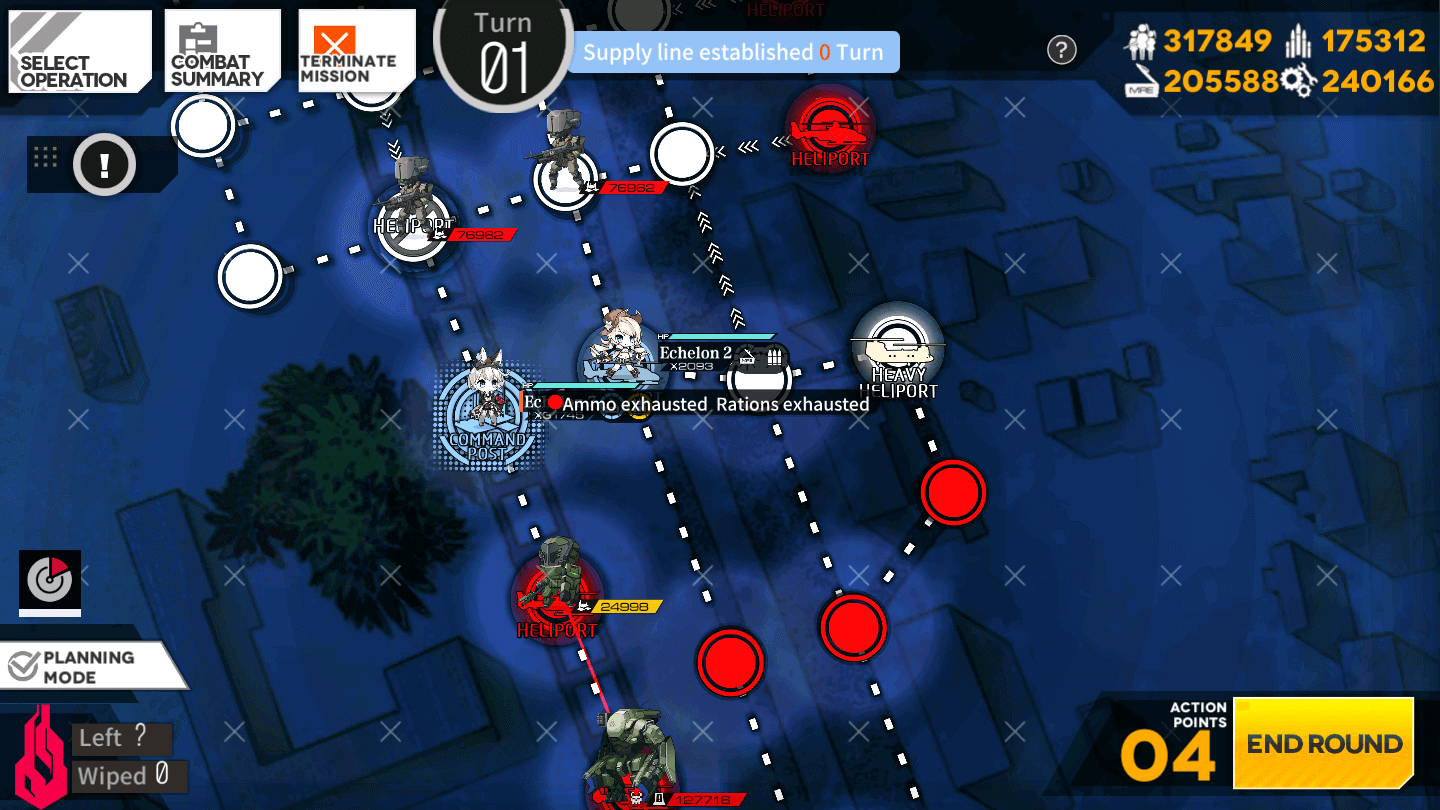
Deploy a Dummy Echelon on the Heliport, and the team able to engage swarms of enemies on the Command Post.
1.2
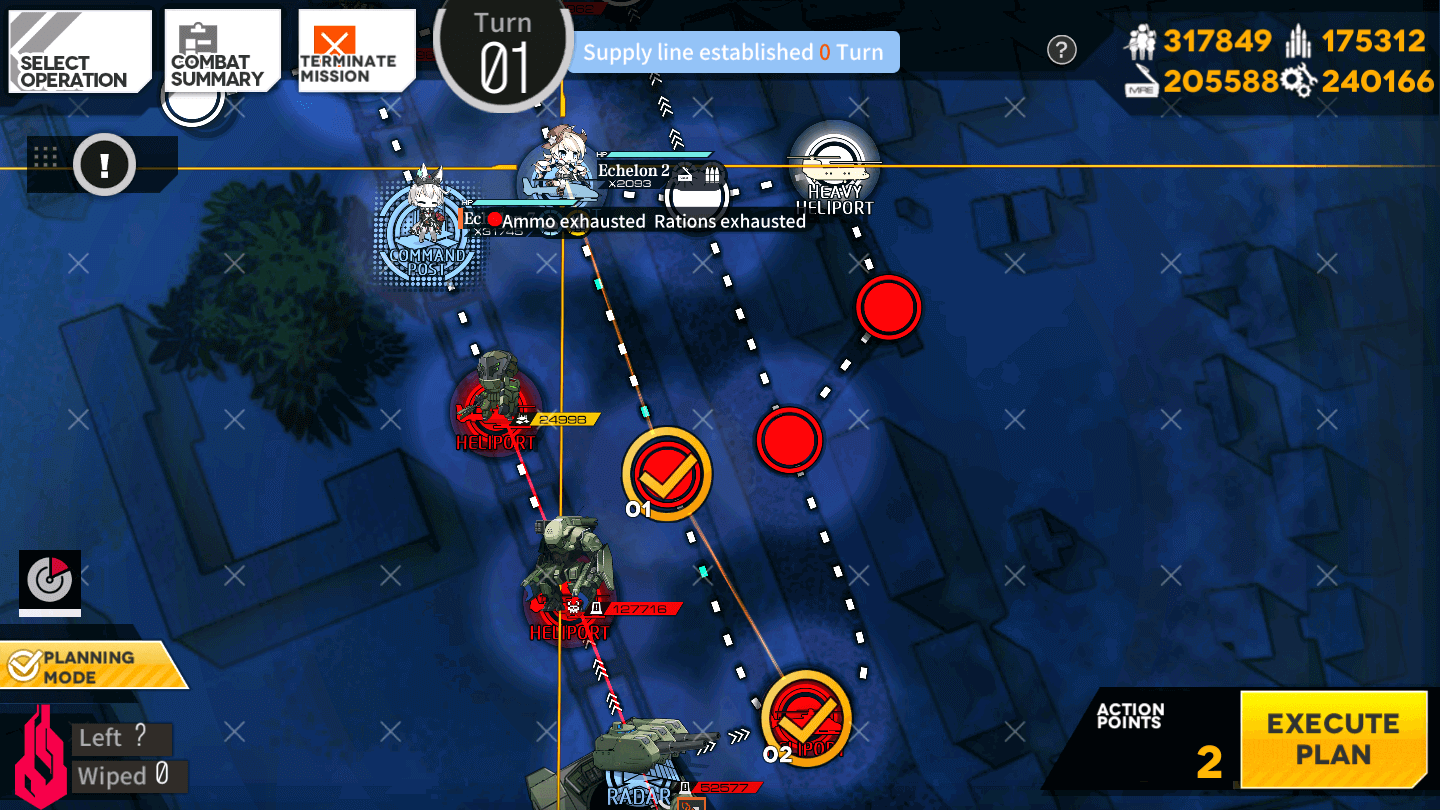
Move the Dummy Echelon down two nodes to Capture the Heliport.
1.3
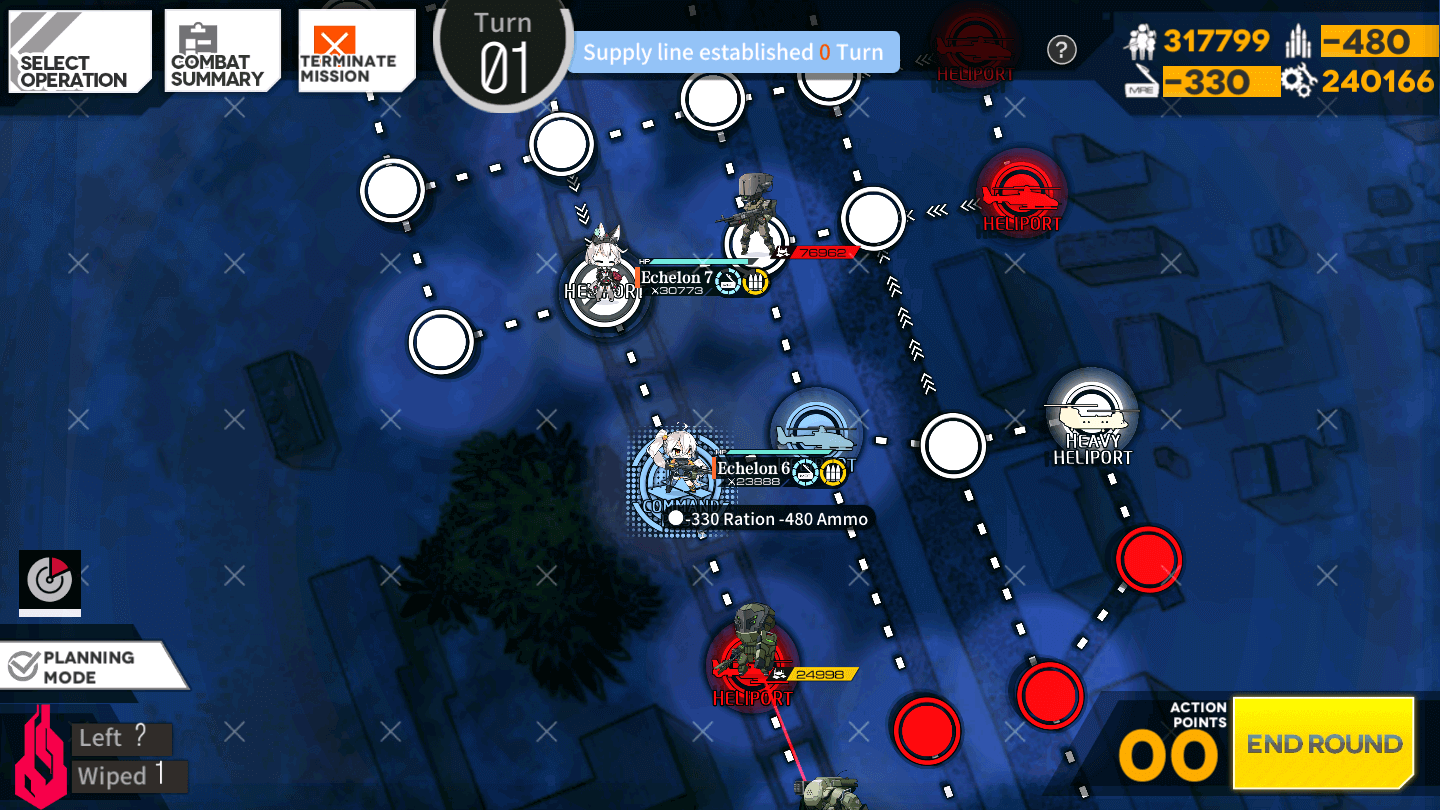
Move the Echelon on the Command Post up one node, then deploy a high Alpha Strike team on the Command Post. Then will fight under Gustav fire, so be ready to retreat if needed.
Turn 2
2.1

Move the Dummy Echelon to the right one node.
2.2
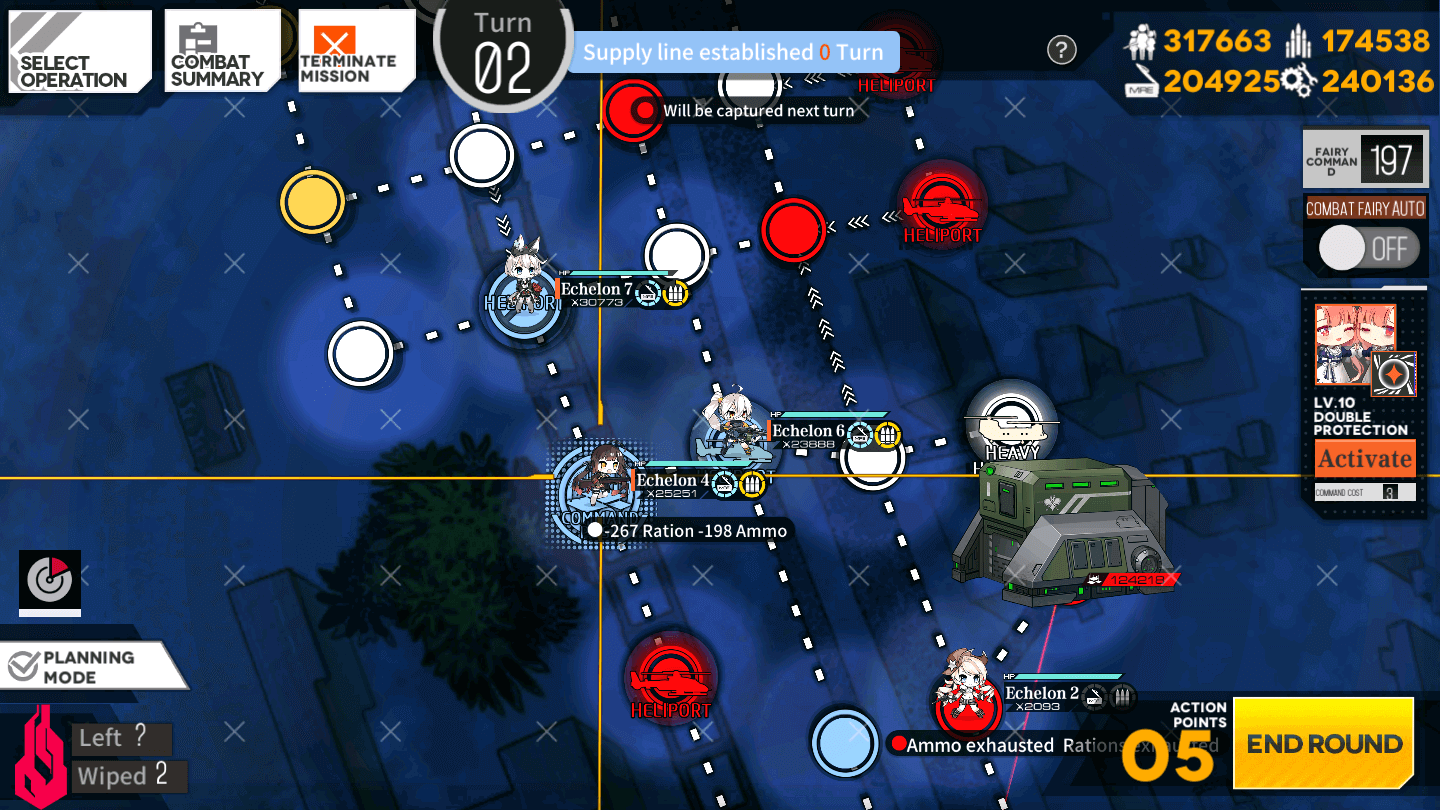
Deploy the Rifle team on either the Command Post or the Heliport. Resupply all Echelons now.
The MG Echelon should be placed on the Command Post. Swap to place them there if need be.
2.3

Send the Trash/AoE Echelon to the left one node, then up two nodes.
End your turn
Turn 3
3.1

Move the uppermost Echelon to the right one node, and down one onde.
3.2
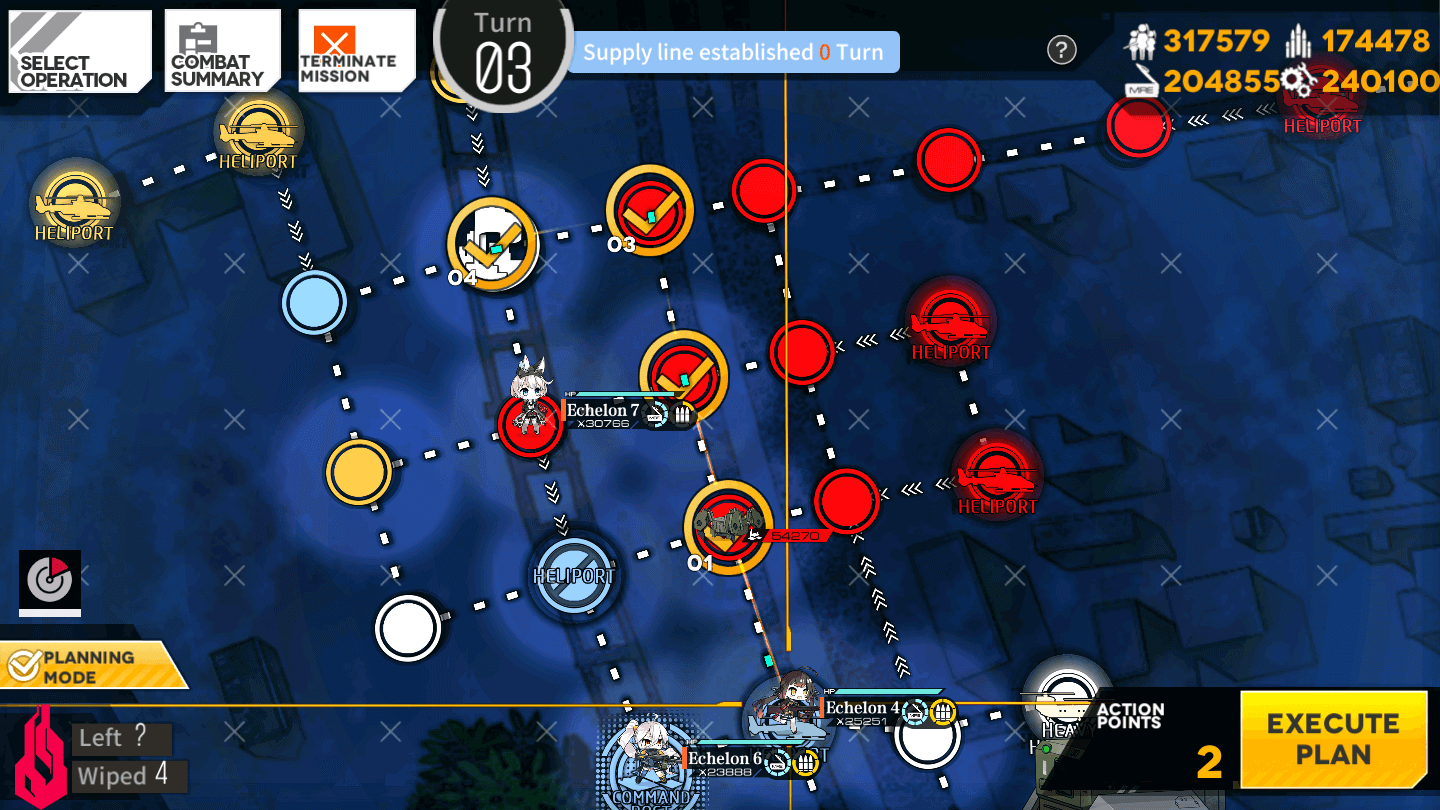
Move the RF/Armor team up three nodes from the Heliport then to the left one node to finish the Supply Line.
3.3

Move the Dummy Echelon up one node, then to the right one node to take the Heavy Heliport.
Turn 4
4.1
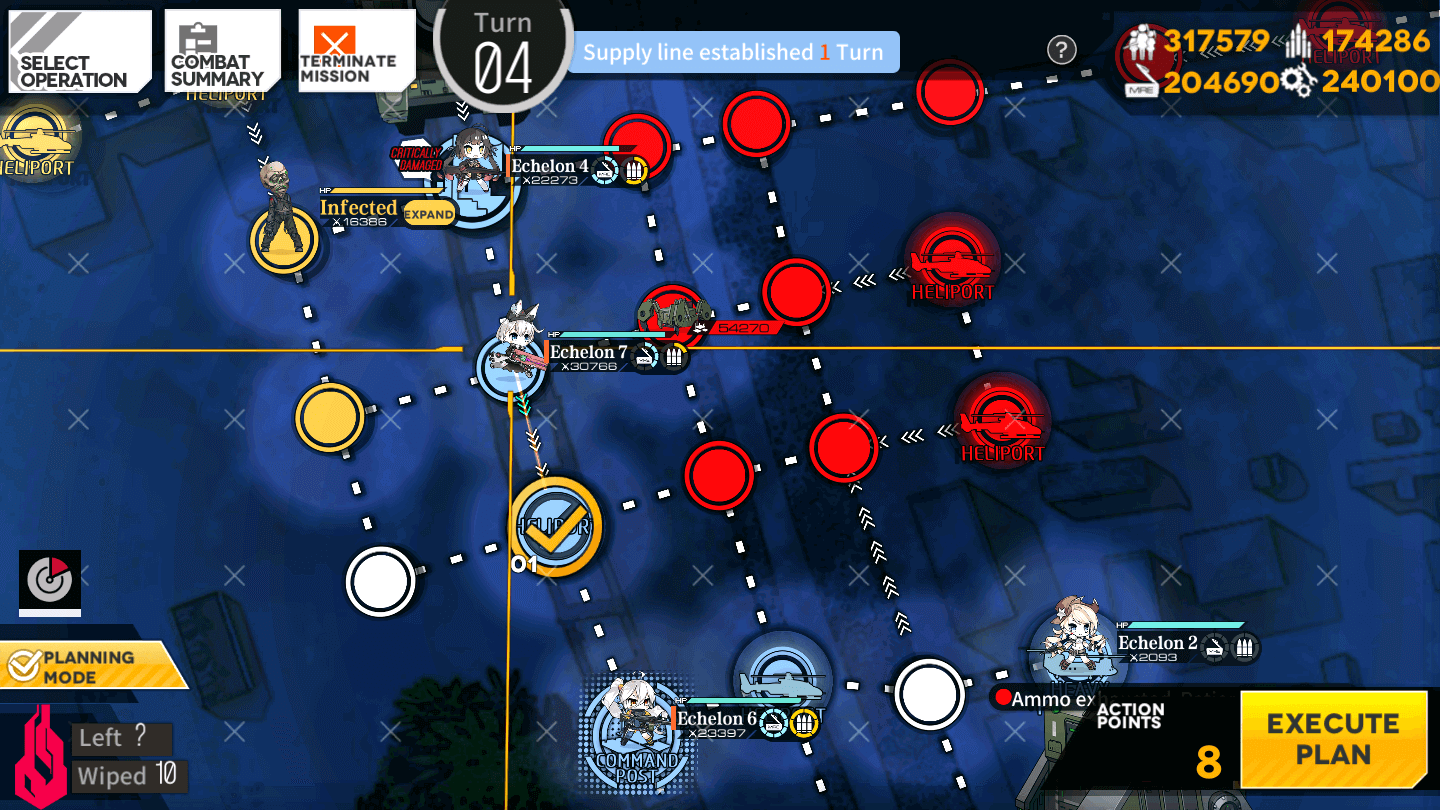
Move the middle Combat Echelon down one node, and swap to resupply them.
4.2
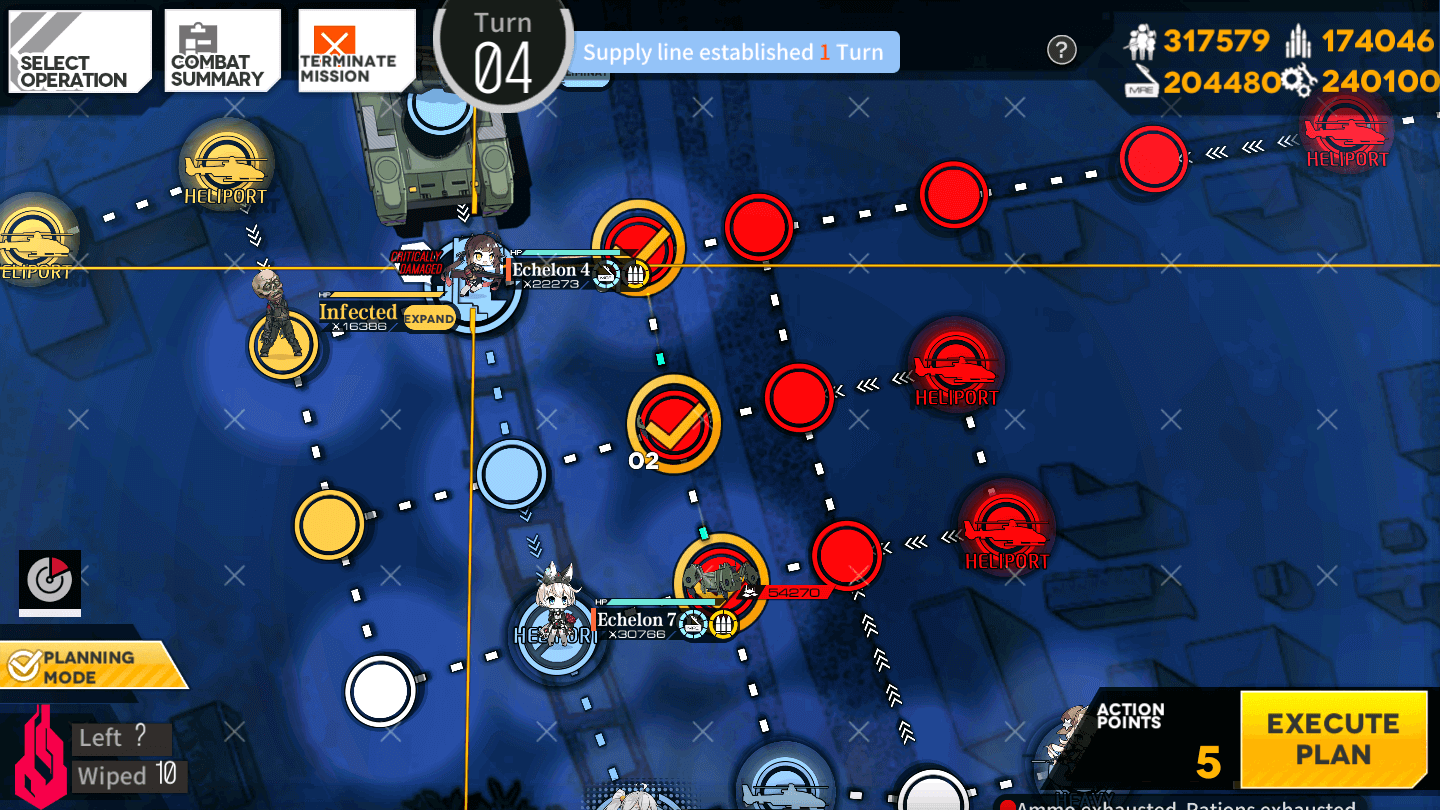
Move the upper Combat Echelon to the right one node, then down two nodes.
4.3
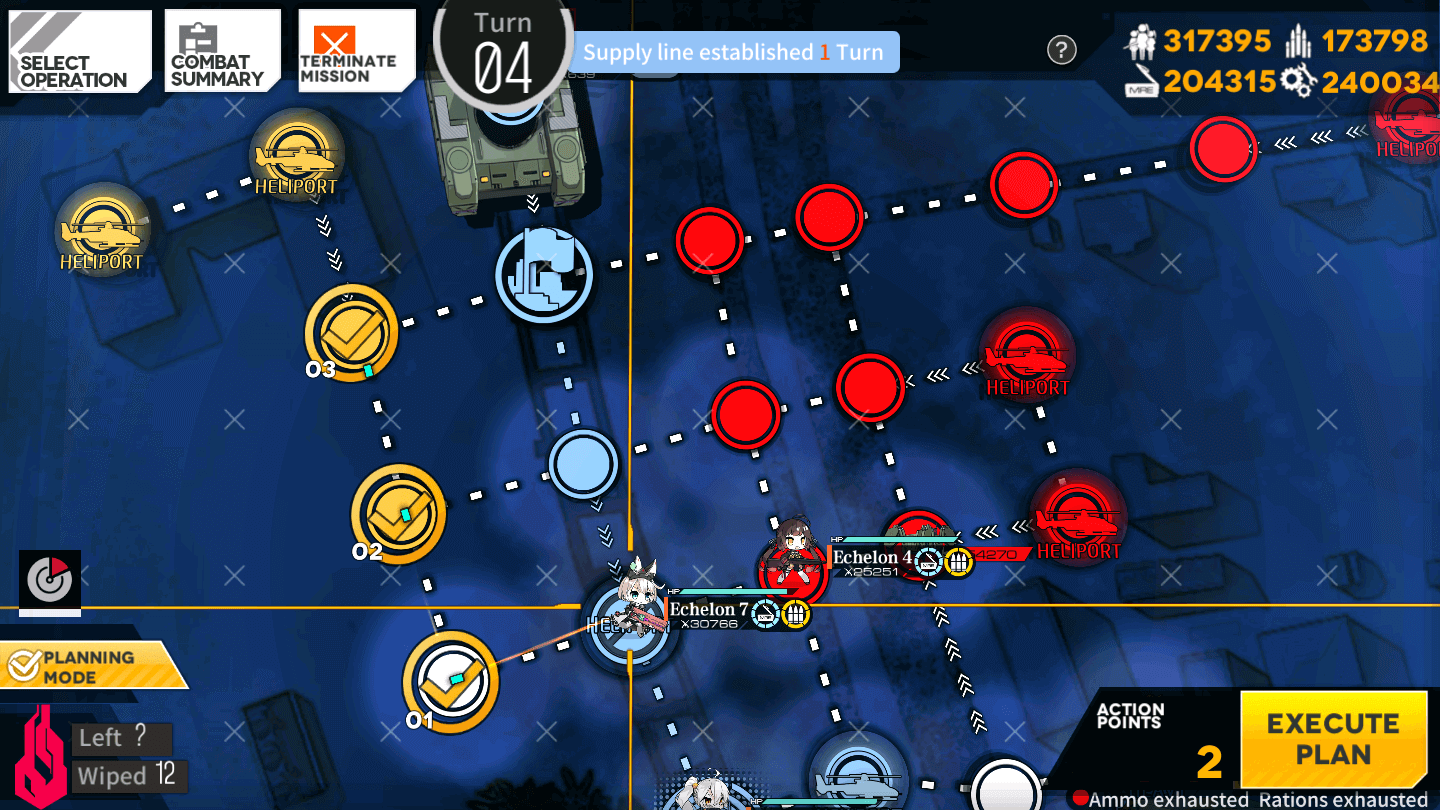
Move the AoE Echelon to the left one node, then up two nodes.
4.4
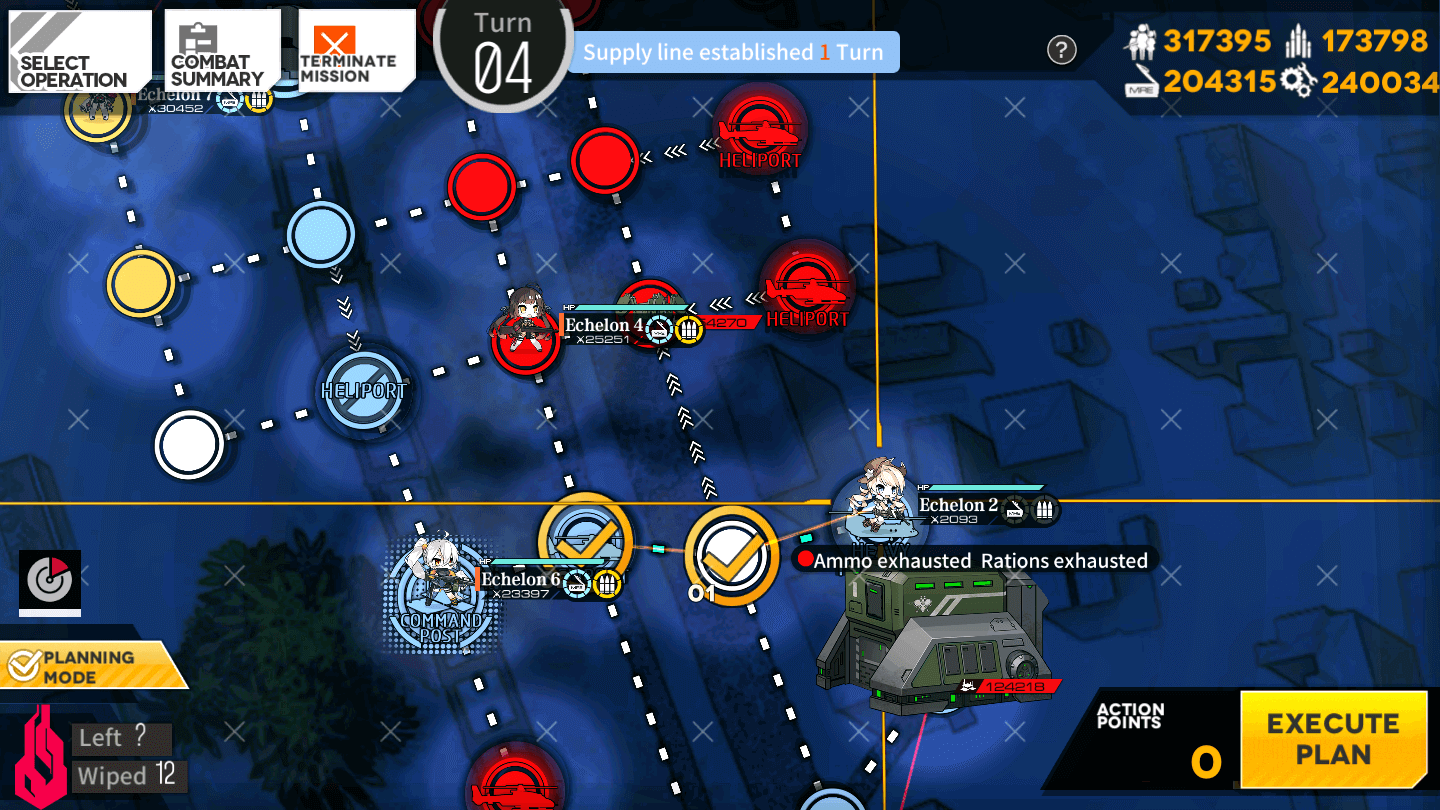
Move the Dummy Echelon to the left two nodes.
End your turn.
Turn 5
5.1
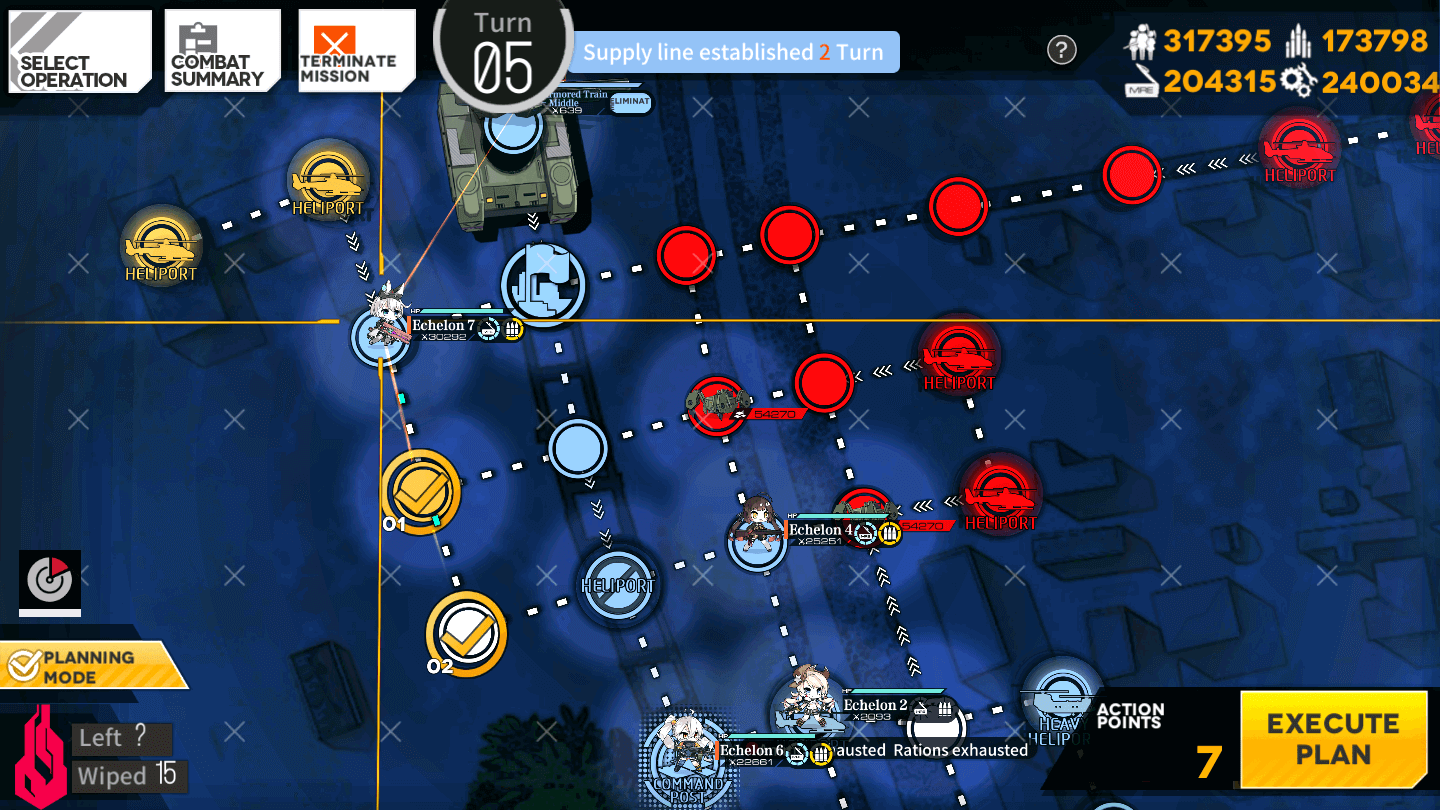
Move the uppermost Combat Echelon (AoE) down two nodes.
5.2

Move the RF/Armor team up, right, and down. If you need repairs, move to the left to swap and repair. Otherwise, end the move there. If not, do this:
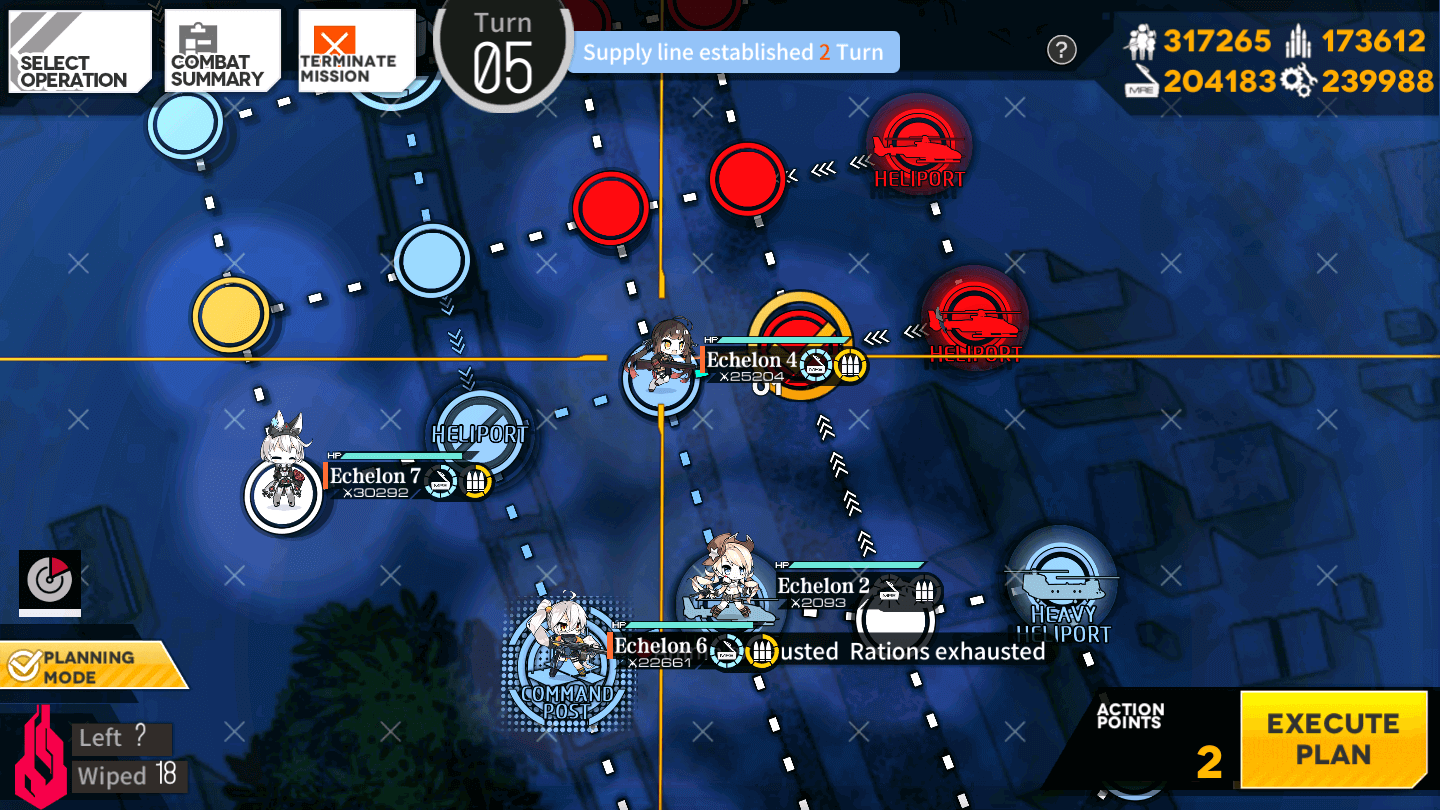 5.3
5.3
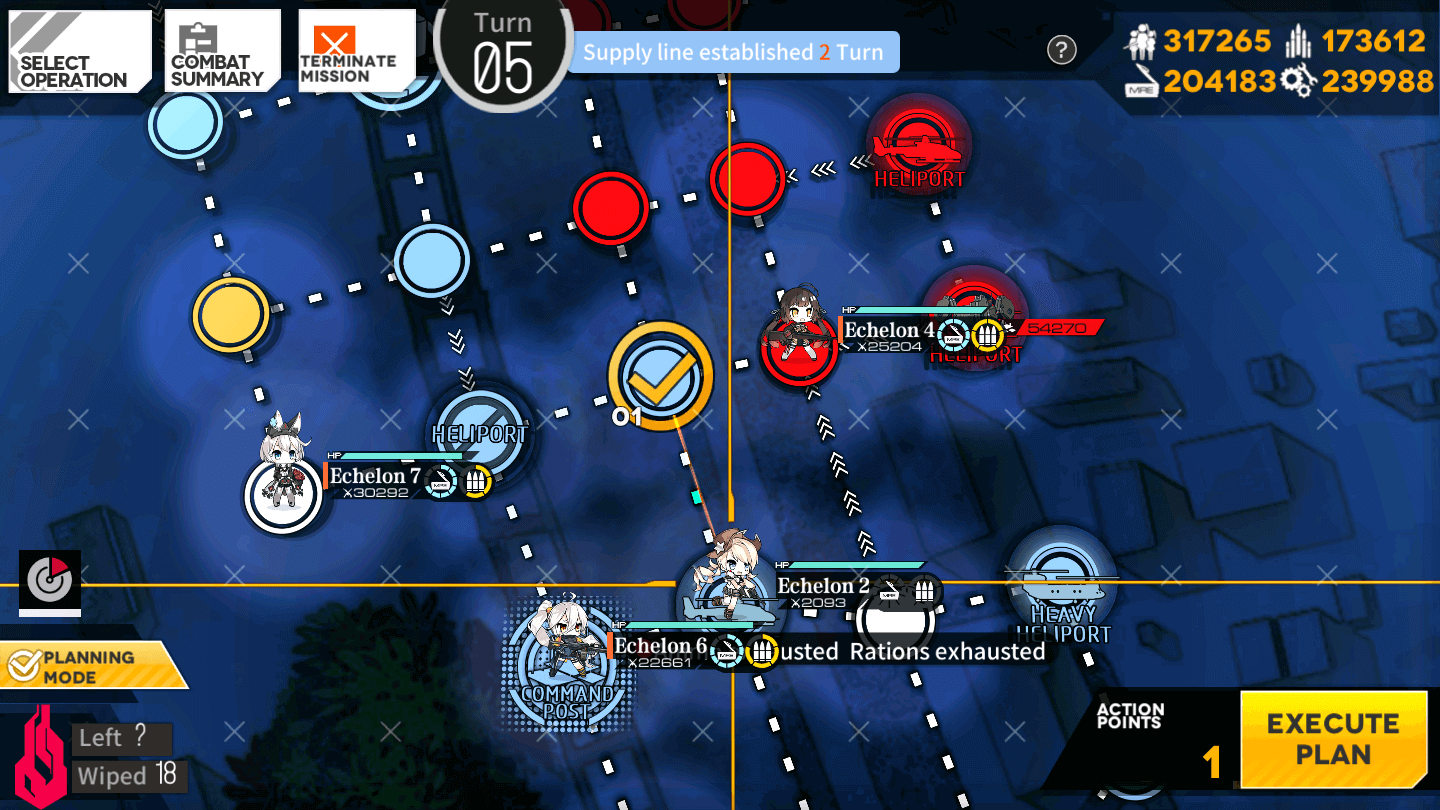
Move the Dummy Echelon up one node.
Turn 6
6.1

Move the AoE Echelon up two nodes.
6.2
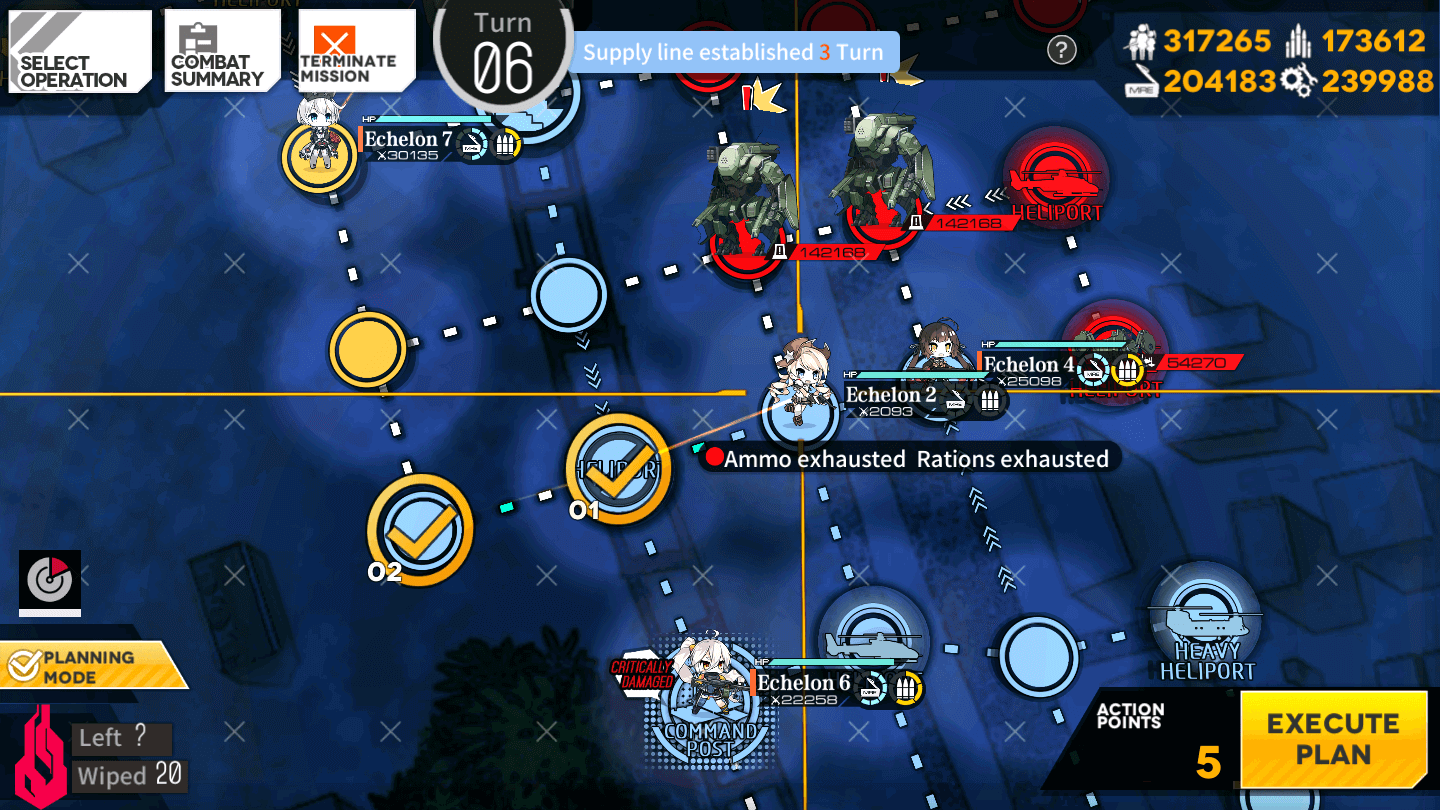
The Dummy Echelon shall valiantly run to the left two nodes.
6.3
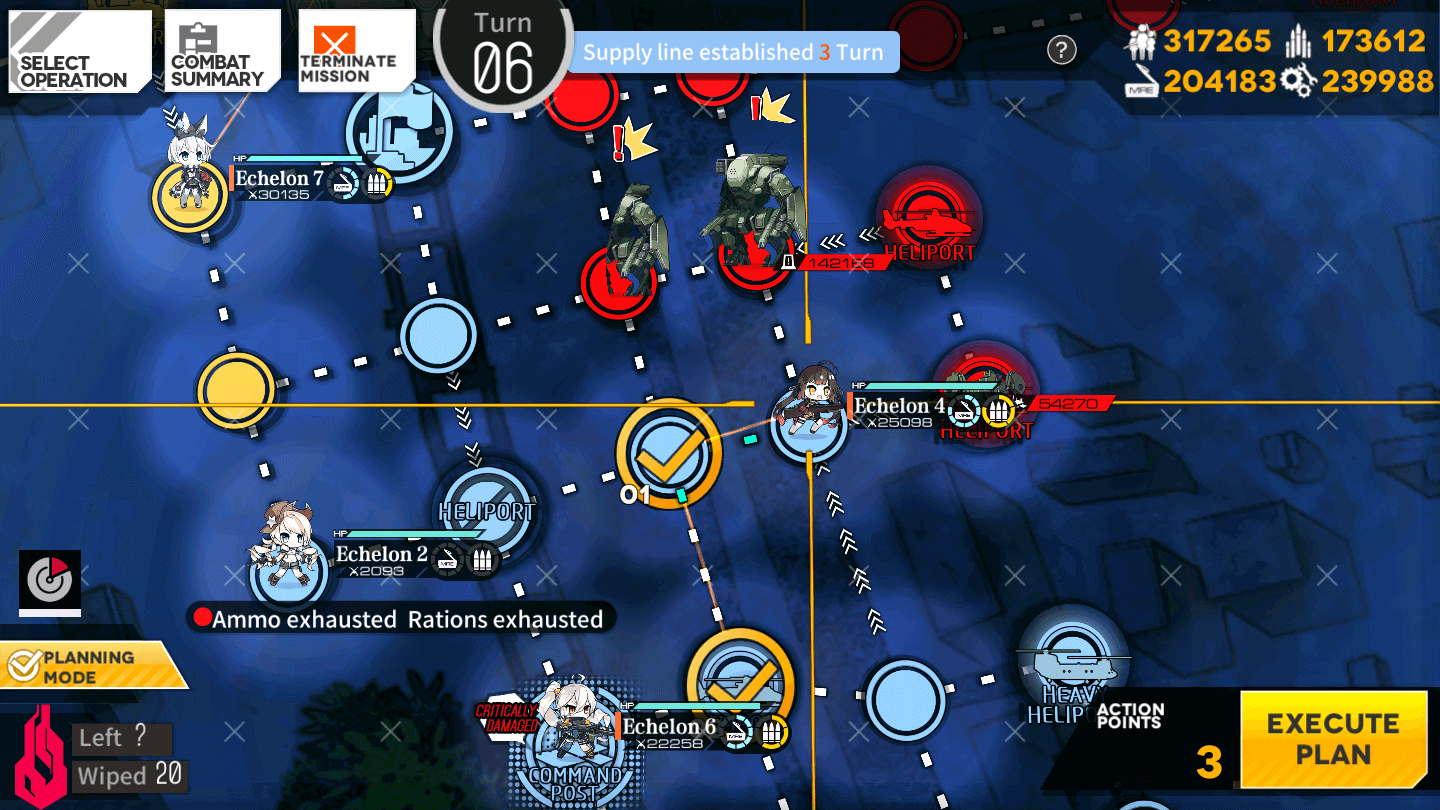
The RF team follows in kind, runing left and down one node each. However, cowardice or not, the mission will complete!
Heads up! Chapter 5-5 is in fact a Minigame, specifically a bullethell style one! There isn't much I can offer as advice, and when external experts are consulted, they have produced sterling advice that, I, and players should 'git gud'. I think I need new experts....
Either way, good luck Commanders! I will see you on 5-6!

Video Guides:
Next Chapter:
-
EX
-
Normal