Possible Drops:
--
Mission and Clear Conditions:
Mission: Hold the Supply Line for 5 turns.
Clear Guide:
Team Recommendations:
- 1 Hydra-hunting Echelon (IWS/Lee, Carcano M91/38, etc)- Can be done with regular RFs if you are sufficiently equipped.
- 1 Anti-Armor Echelon - MGSG is recommended to better handle Dactyls and Cerynitis units, but a normal RF/HG can also be used. Airstrike Fairy recommended if using RFHG.
- 1+ Dummy Echelons
Clear Steps
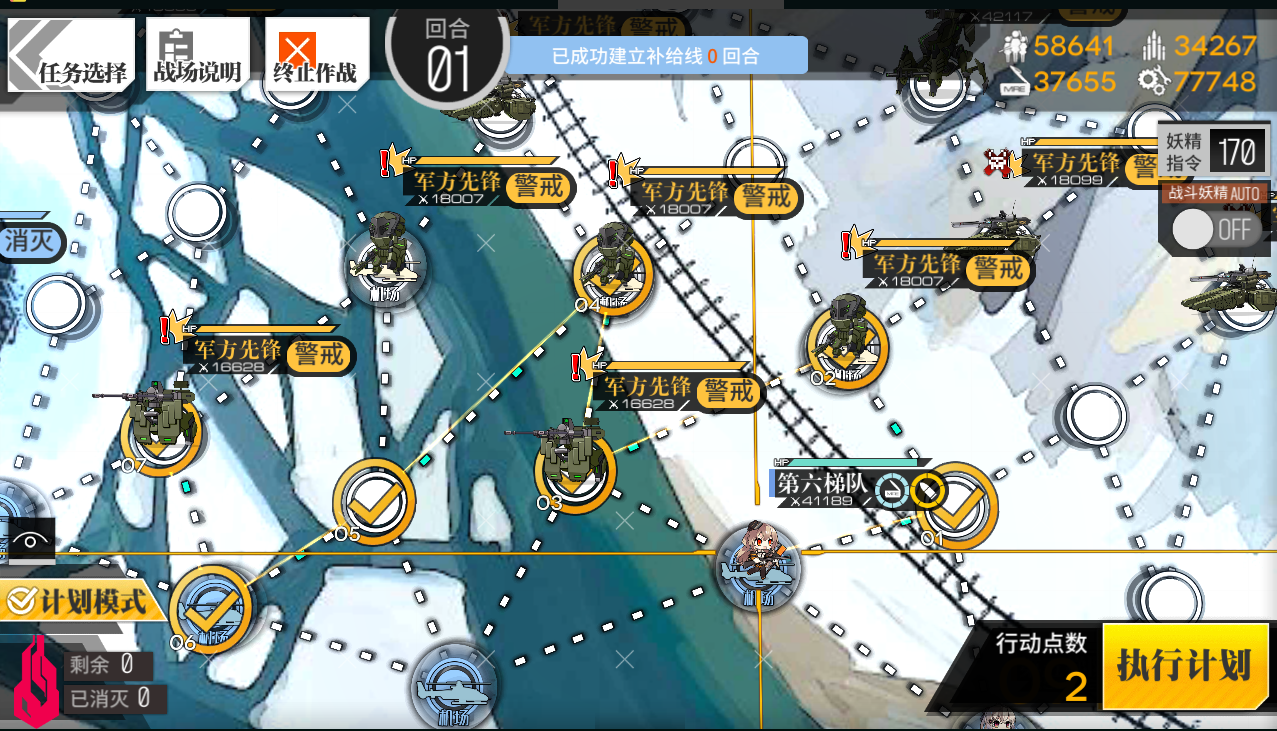
More Supply Lines abound. This time, M4 stuck around to help out, and the KCCO clearly is pulling out all the stops, with Hydras, Tanks, and a collection of other Armored enemies. Thankfully, M4 remembered her Railgun this time, so she can handle one of the tanks, and you can kite the rest of them around without difficulty.
Anyone who has cleared 10-4E will recognize the Hydras at the back of the map, which are a more pressing concern. While a generalized RF/HG Echelon is capable of taking them on, a dedicated Hydra-hunting Echelon is recommended to simplify clearing out the map. IWS or Carcano (Grape) and Lee Enfield are ideal, but other compositions can be used if necessary.
There is a small bit of RNG involved in this route, as it is possible for the Hydras to move in such a way as to prevent a clean clear.
Turn 1
1.1
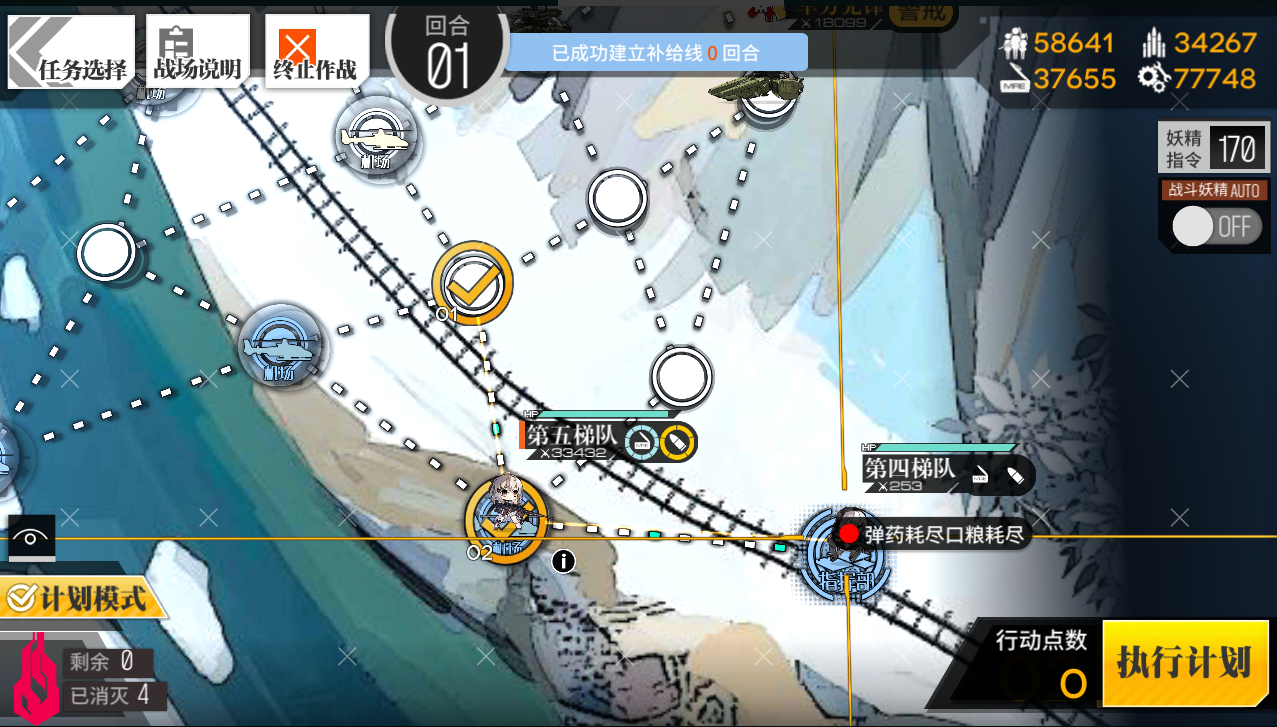
The Supply Line starts off almost already established, but a cascade of powerful enemies threaten it.

Spawn a Dummy Echelon on your Command Post. To the left of them, spawn your Hydra-hunting Echelon. Finally, spawn your Anti-Armor Echelon to the left of them.
1.2
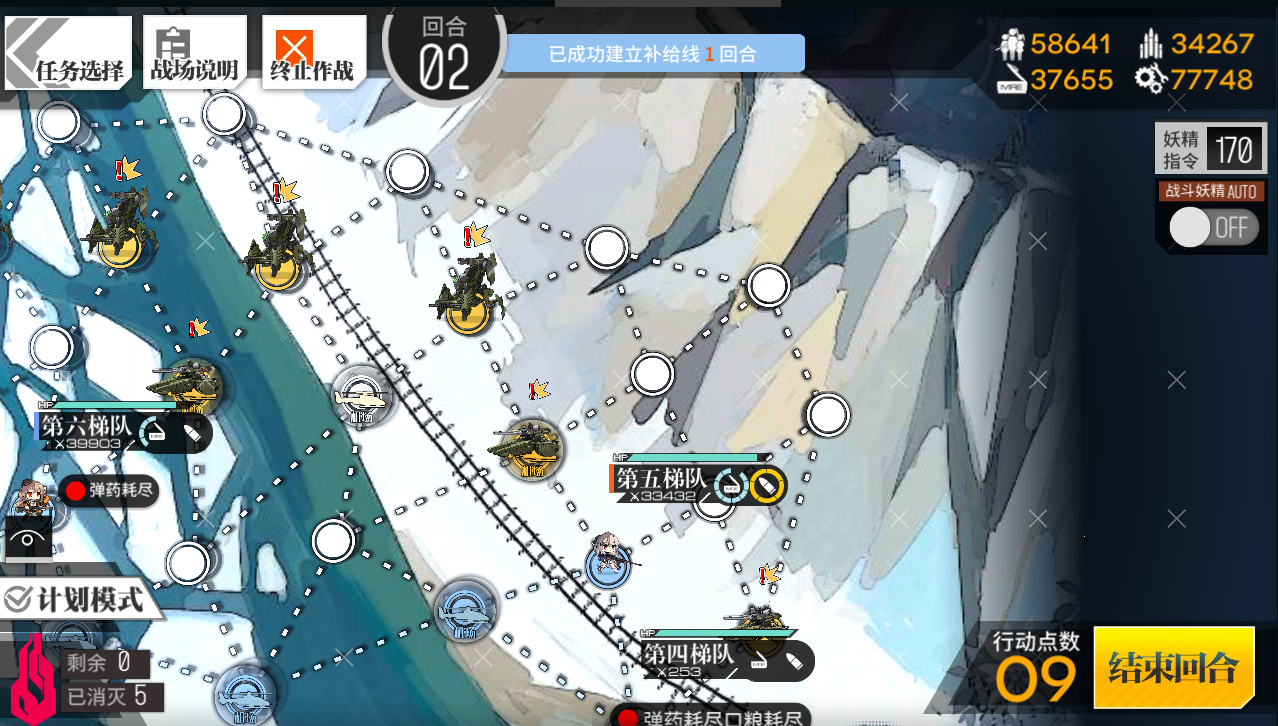
The Anti-Armor Echelon moves along a slightly complicated path to clear out all of the enemies below the line of tanks. This Echelon should move right one node, up, down-left, up, down-left two nodes to return to friendly lines, then up to the left before stopping. The final enemy will attack this Echelon on enemy phase.
1.3
The Hydra-killing Echelon should move up-left one node, and the Dummy should move left into the space they vacated. M4 should be left on Eliminate Enemies, as you will need her to engage a tank next turn.
Turn 2
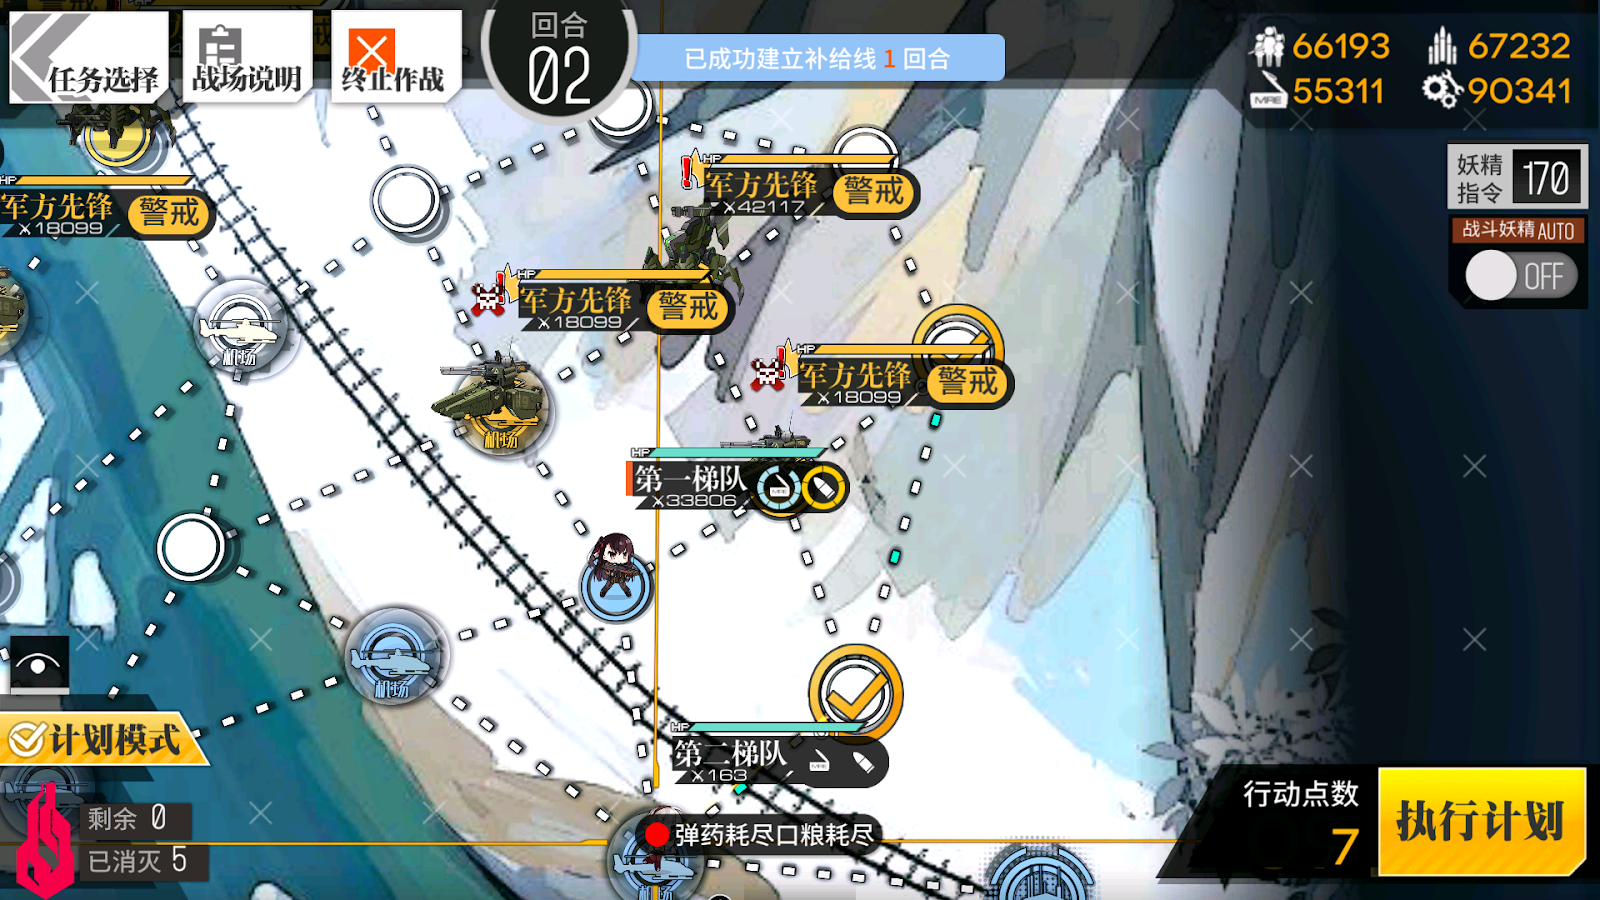
At this point, you will need to assess the configuration of units on the right side of the map. The Dummy Echelon should move behind enemy lines so that enemy KCCO units are aggroed towards it.
If there is a safe node, you can move your Dummy Echelon as shown below:

All possible movement patterns for the tanks will result in this node being safe, and pulling the tanks back away from the Supply Line.
If there’s no safe node due to bad movement RNG, the Dummy Echelon will need to be sacrificed. Move it to bait enemy units away from the supply line.
The Hydra will need to be killed. Depending on the positions of the tanks, the route taken will vary, but the Hydra-killing Echelon needs to end its turn in a position that is not adjacent to an enemy Typhon.
Whatever route you take, ensure that you have one AP left to move the Anti-Armor Echelon down-right one node to safety.
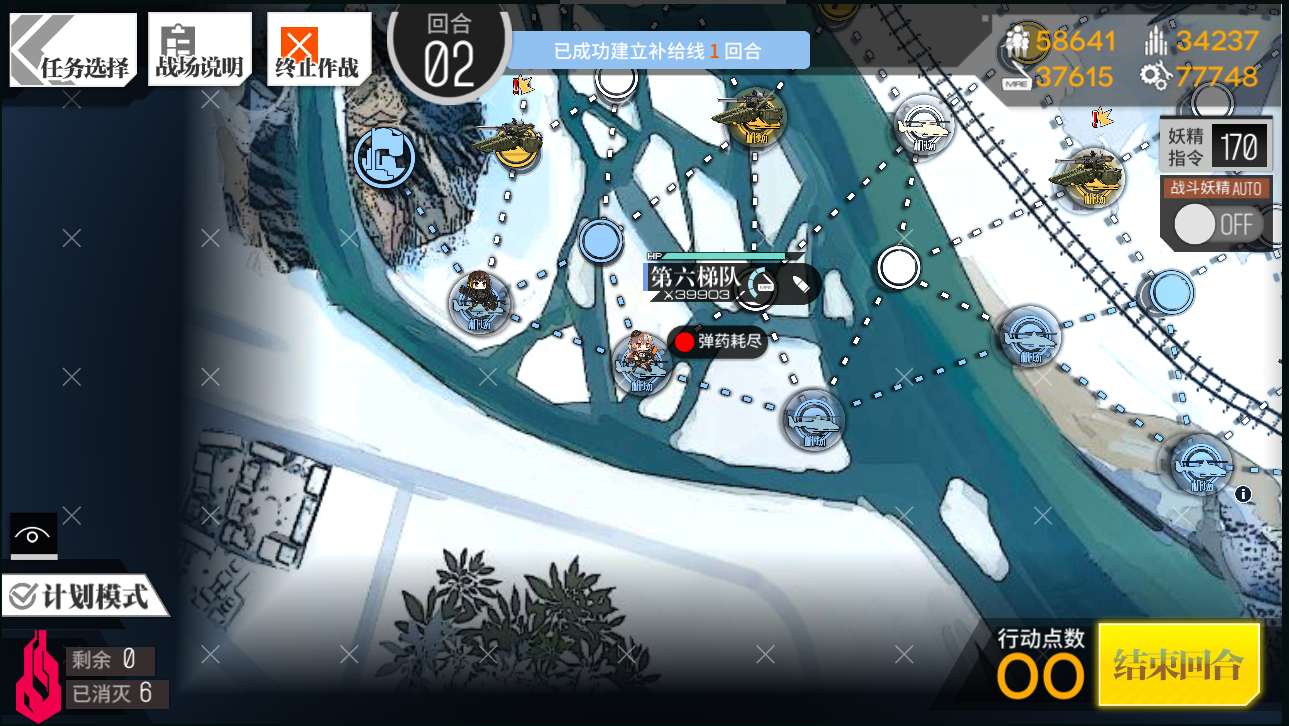
On enemy phase, M4 will engage the Tank. This is an easily winnable fight for her, but it will require manual control on the part of the Commander. A short clip is provided to demonstrate this, but the general theory is to move M4 out of the row of the tank when it starts to charge its laser (blue glow).
Your first move should always be upwards, to prevent the enemies from running past and ending the fight early.
Feel free to see how much you can do to the Hydras that attack on enemy phase, but unless you get lucky with evasion rolls and M4A1 won with 4 or 5 Dummy Links remaining, she will not be able to kill the Hydras.
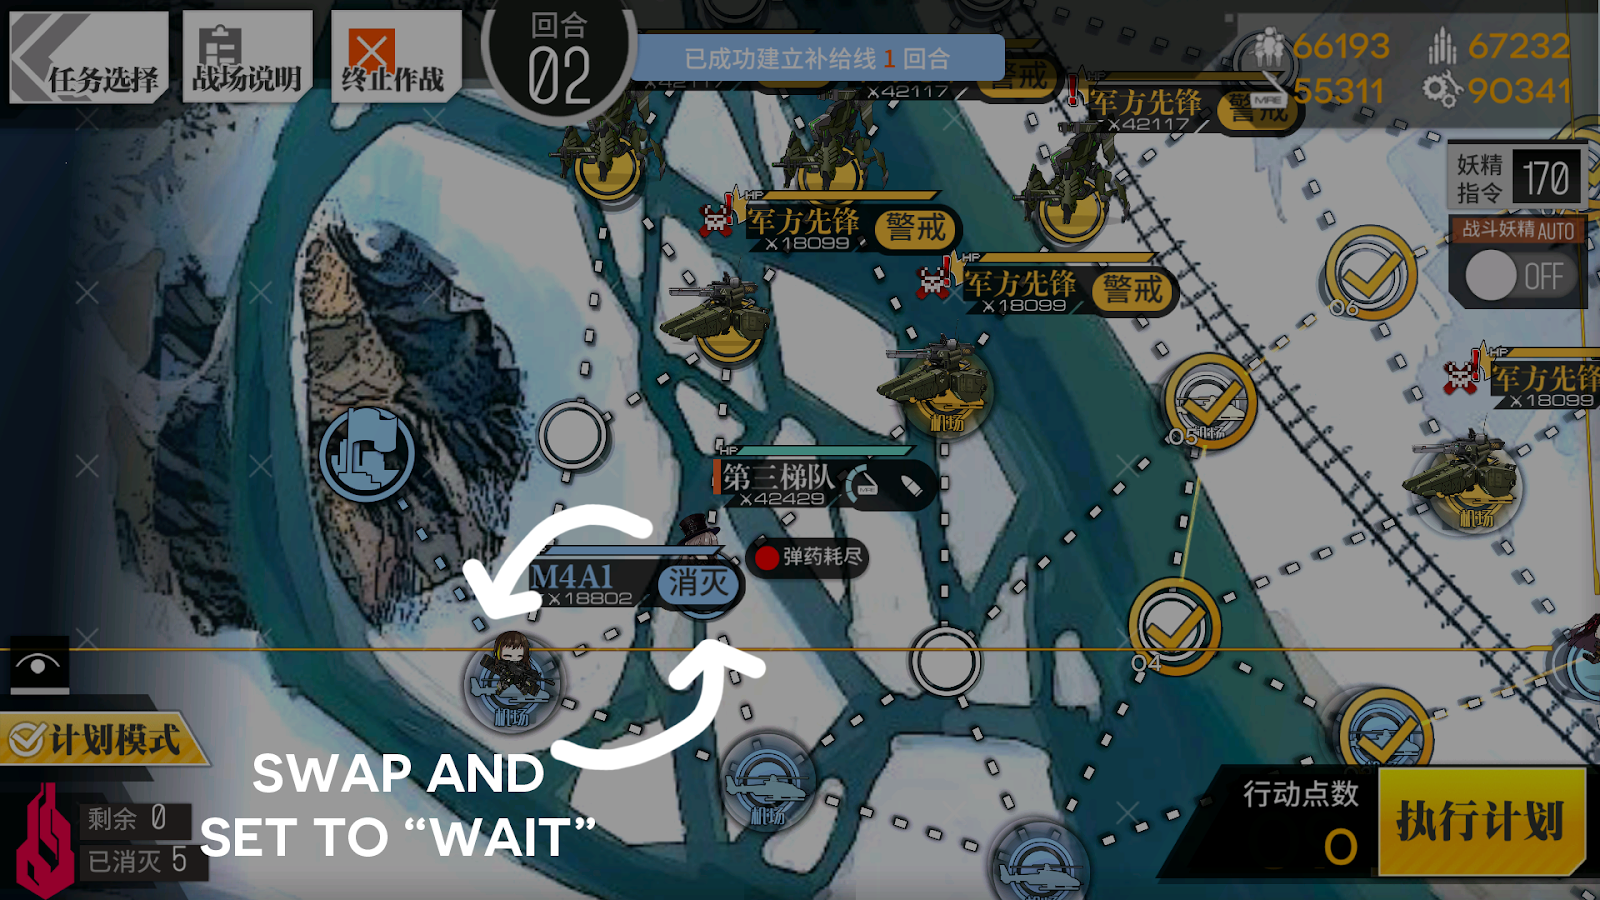
Note: It’s possible for enemy Typhons to move in a way such that they’re not next to M4A1. In which case, swap her next to the tanks and set her AI to “Wait”.
Turn 3
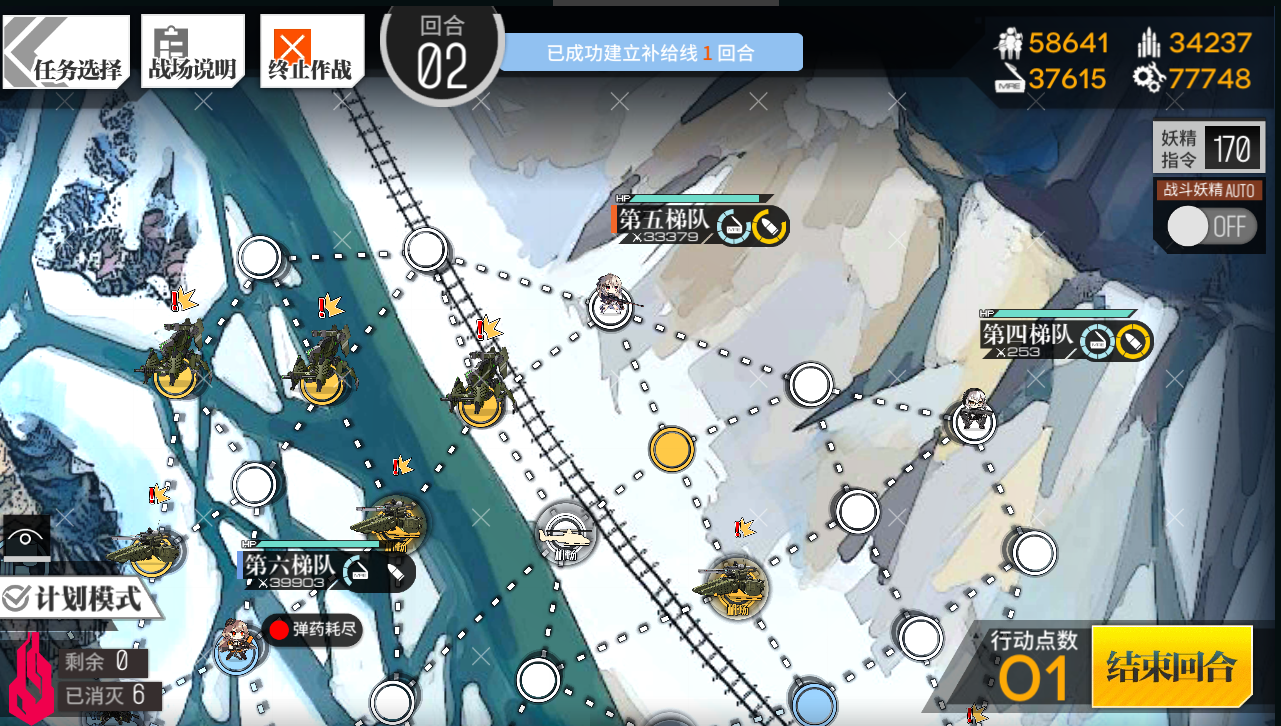
At this point, you can retreat all of your Echelons except the Hydra-hunting Echelon, and play clean-up at the back of the map.

This is an example path. Your own run will vary.
If M4A1 is still alive, she should be set to Eliminate Enemies and retreated when she walks into an enemy unit, so that she doesn’t mess up enemy aggro.
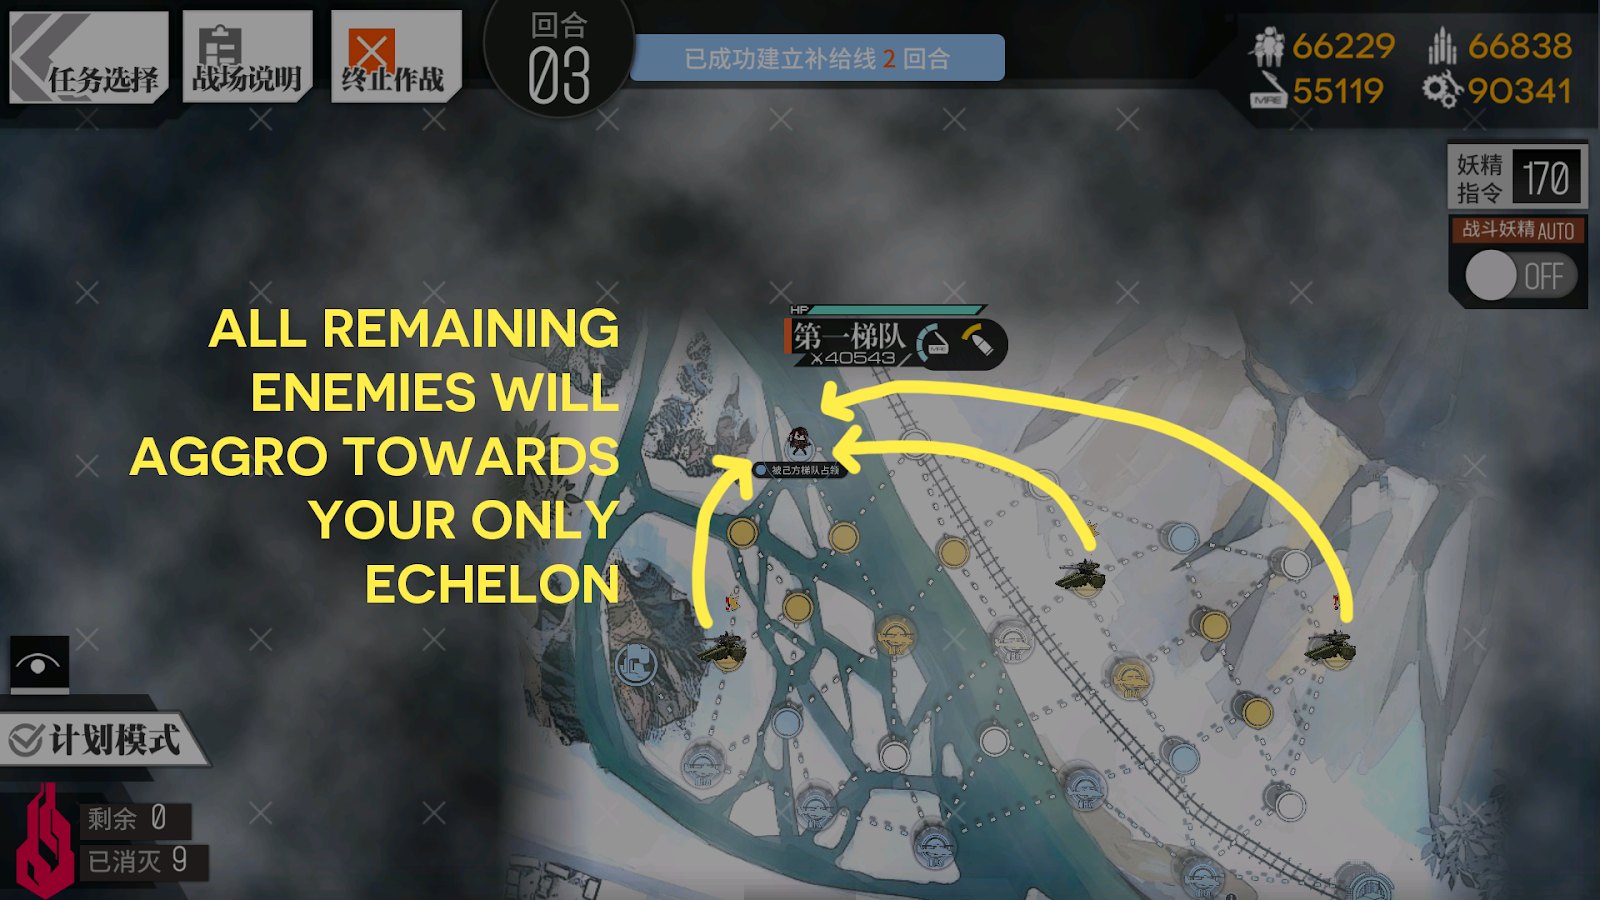
Now your Hydra Hunting Echelon should be the only echelon left (you can leave your Dummy to die if it’s still at the back).
As long as you never end your turn directly adjacent to a tank, and the enemy units aggroed towards your Echelon are not moving in a way that intersects with the Supply Line, the rest of this map should be easy.
Turn 4
More of the same. Pull tanks toward your Echelon and don’t end your turn next to a tank.
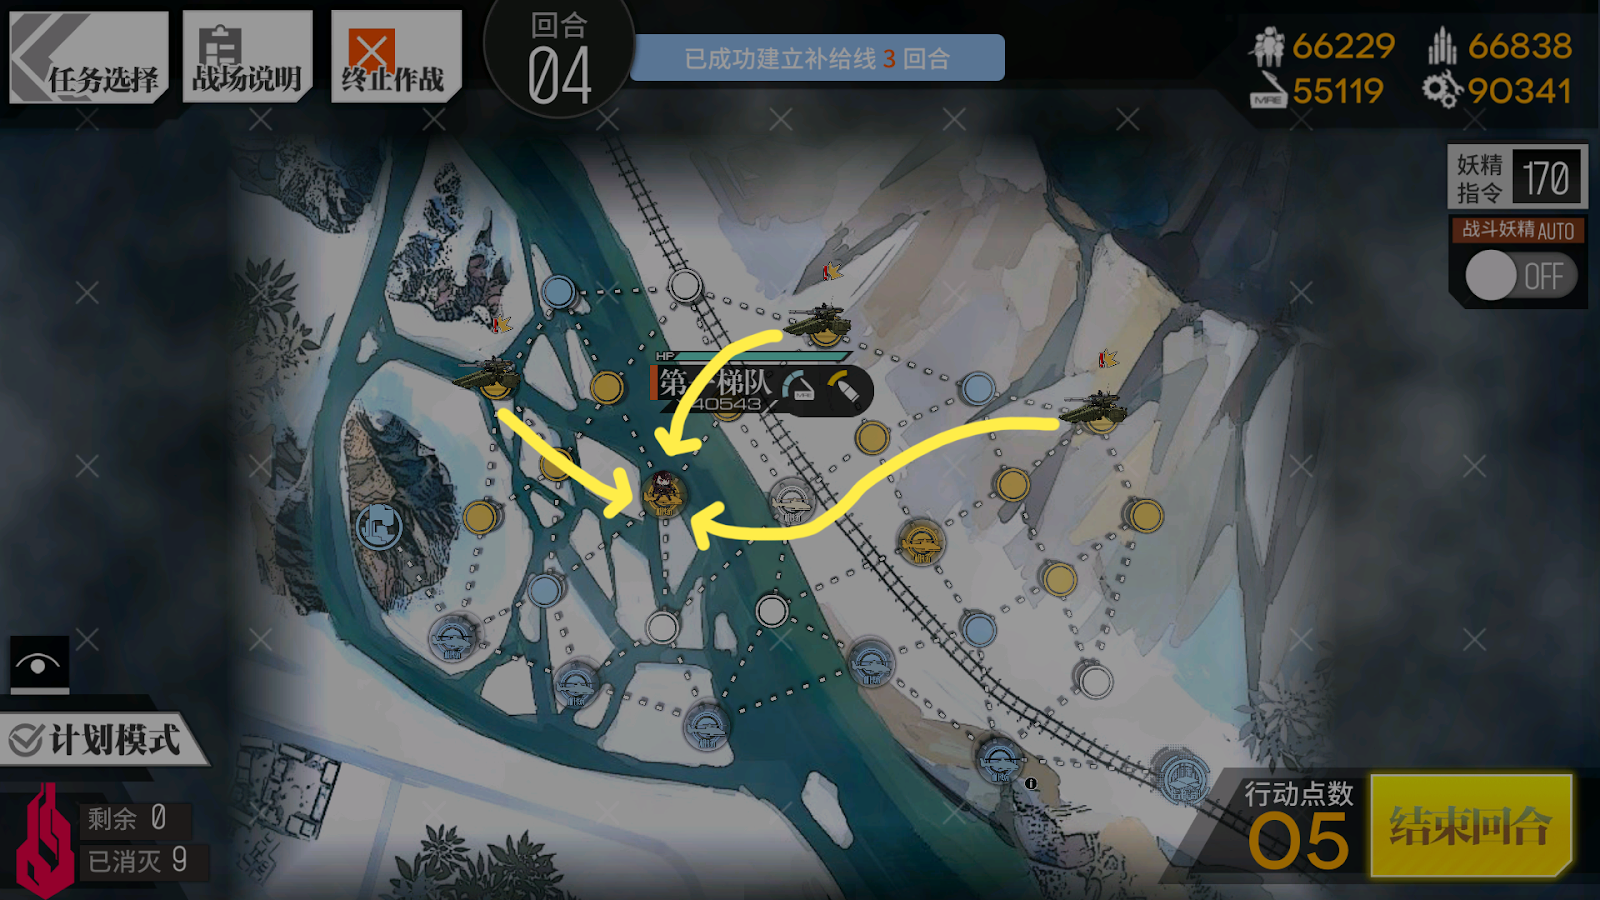
If somehow you ended up in a position where you can’t safely get out of the tanks’ way, summon a Dummy Echelon at HQ and retreat your Combat Echelon when it is attacked.
Turn 5
The five turns will be up by the end of this turn, so you can just move your Echelon anywhere that’s not threatened, and end your turn.
Mission complete.