Introduction
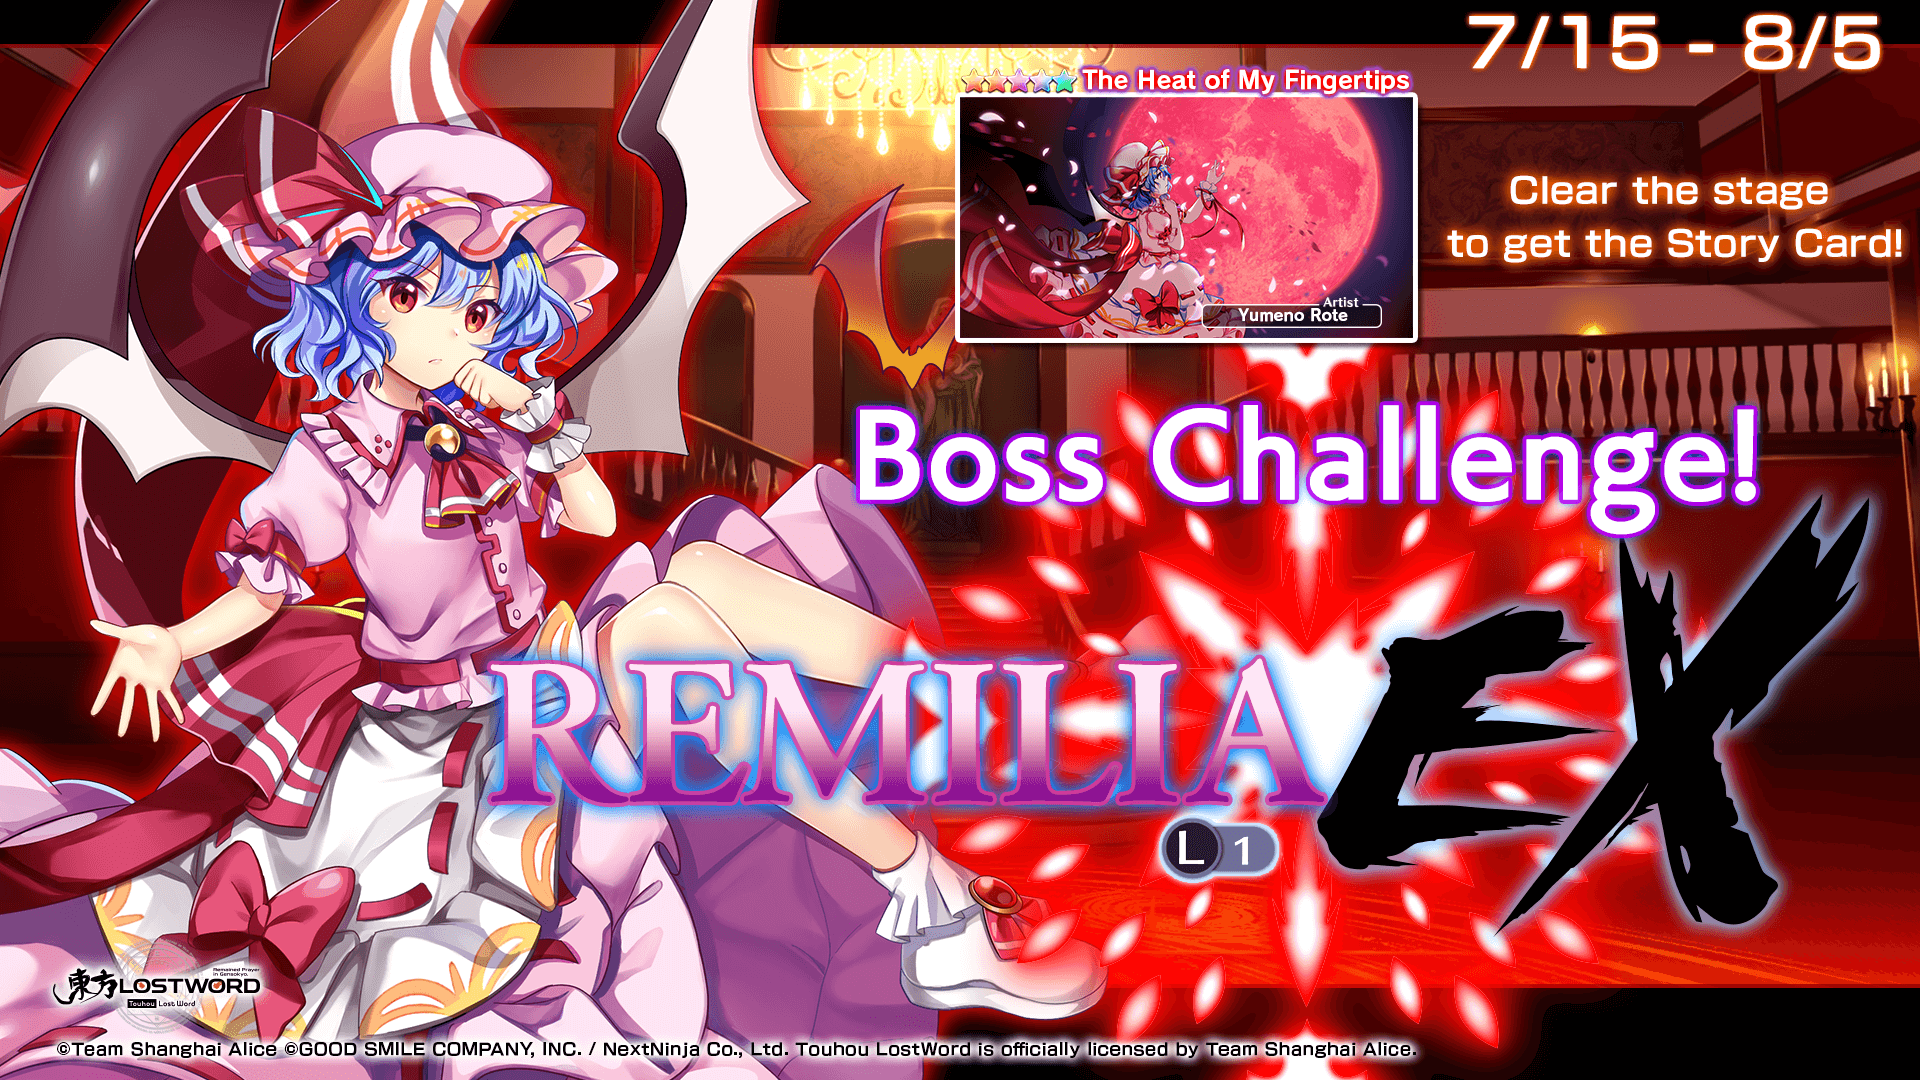
Welcome to the Remilia (L1) EX Boss Challenge! The main theme of this battle revolves around the Scarlet Devil Mansion, with L1 Sakuya, L1 Remilia, and L1 Meiling as opponents that you will challenge.
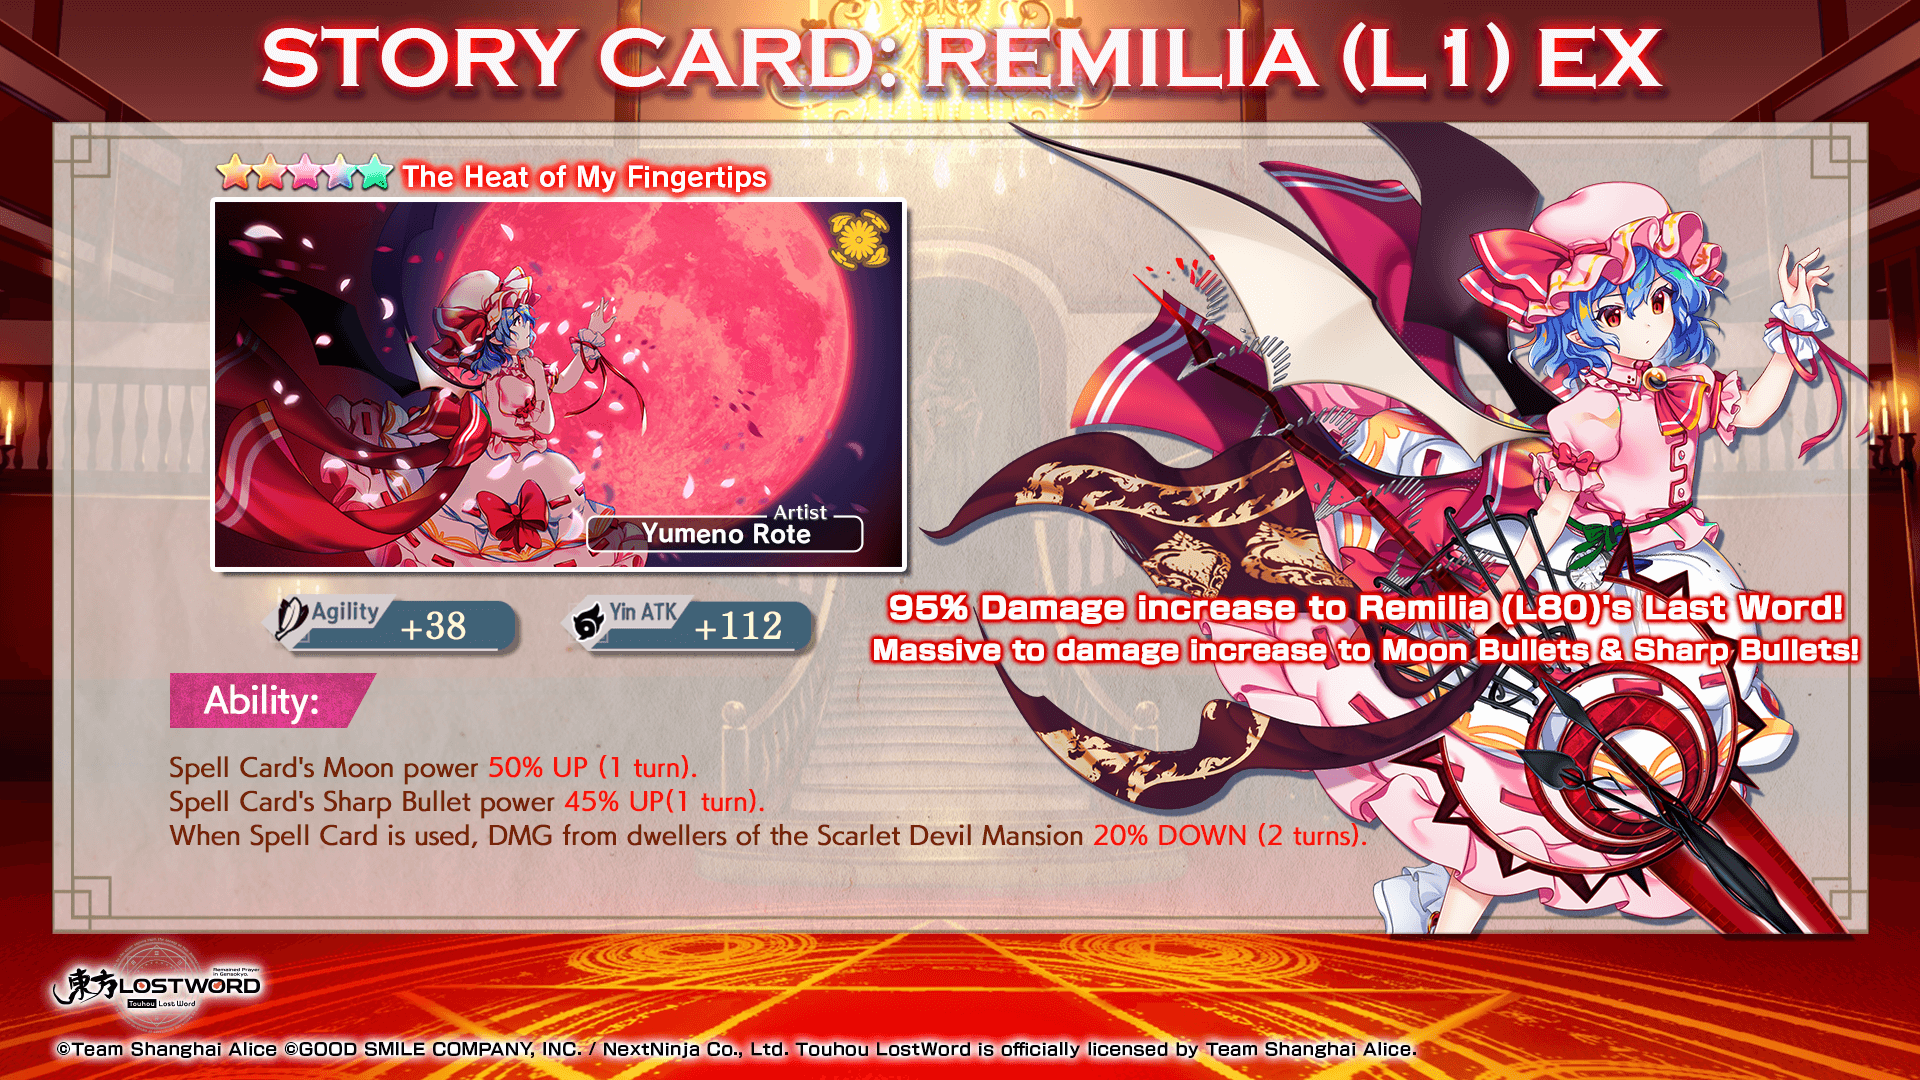
The featured story card, The Heat of My Fingertips, is a card tailored for L80 Remilia's usage and can be farmed easily as this stage also gives Event Points. These event points can be used in the Event Exchange Shop where you can exchange the ★5 Story Card, The Heat of My Fingertips worth 50,000 points to a maximum of 5 times and 30 Spirit Points worth 100 points to a maximum of 1000 times. This limited event will start on July 15th after maintenance and ends at August 5 2:59 UTC.
Fight Overview
Wave 1
Stats

|

80,000


1,650

2,400

6,500


7

1

Moon

Sun

Water

Wood

Metal

Earth

Fire

Star
|

|
60,000

1,650
2,400
6,500
7
1

Star
Sun
Water
Wood
Metal
Earth

Moon
Fire
Remilia's Last Gauge
40,000
1,650
2,400
6,500
0
1
Star
Sun
Water
Wood
Metal
Earth
Moon
Fire
|

|
80,000
1,650
2,400
6,500
7
1

Fire
Sun
Water
Wood
Metal
Earth
Moon
Star
|
Enemy Details
| Name | Wave Start Skill | Gauge 1 Break | Gauge 2 Break | Skills |
|---|---|---|---|---|
| L1 Sakuya Izayoi | Seals Focus Shot usage of all targets (5T). |
Seals Switch usage of all targets (2T). |
None |
Party's Normal and Body Bullet RES UP by 90% (1T). Inflicts 3 Burn barriers to all targets (1T). |
| L1 Remilia Scarlet | None |
Seals Boost usage of all targets (5T). Party's Missile and Normal Bullet RES UP by 90% (10T). |
Seals Spell Card usage of all targets (1T). Party's Missile and Normal Bullet RES UP by 90% (10T). Turns HP into 40,000 and Barriers into 0. |
Party's Liquid and Laser Bullet DMG RES UP by 90% (1T). Party's No-Element DMG RES UP by 90% (1T). |
| L1 Hong Meiling | Seals Skill usage of all targets (3T). |
Seals Graze usage of all targets (5T). |
None |
Party's Heavy and Ofuda Bullet RES UP by 90% (1T). All targets' ACC DOWN by 1 level (1T). |
L1 Sakuya Izayoi's Special Effects:
Shots, Spell Cards, and Last Word bullets only consist of the Star element.
-
Ability:
- Nullifies the effects of Paralyze anomaly.
- Own Agility UP by 1 level for every boost used (1T).
-
Spell Cards and Last Word:
- YIN ATK and YANG ATK UP by 2 levels (10T).
L1 Remilia Scarlet's Special Effects:
Shots, Spell Cards, and Last Word bullets only consist of the Star element.
-
Ability:
- Immune to Poison anomaly.
- DMG from resisted elements 20% DOWN..
-
Spell Cards and Last Word:
- YIN ATK and YANG ATK UP by 2 levels (10T).
L1 Hong Meiling's Special Effects:
Shots, Spell Cards, and Last Word bullets only consist of the Star element.
-
Ability:
- Immune to Burn & Poison anomalies.
- Party's YANG DEF UP by 1 level for every boost used (1T).
-
Spell Cards and Last Word:
- All targets' YIN DEF DOWN by 7 levels (2T).
Event Rewards
After you clear the battle stage, you will be rewarded with 100 Event Points plus a chance to drop The Heat of My Fingertips, All Gold Materials, and All Silver Materials. Additionally, there will be two tasks and one of them will give you one copy of the ★5 Story Card, The Heat of My Fingertips.
Tasks:
- Clear Stage: Remilia (L1) EX
- Get all the ★s in Remilia (L1) EX
Total Rewards:
- ★5 Story Card, The Heat of My Fingertips
- 10x Heaven Scrolls (3)
- 10x Wind Scrolls (3)
- 10x Dragon Scrolls (3)
- 1x Superior Incense
Recommendations
Friends:
Coming soon!
Story Cards:
As for Story Card recommendations, multiple MLB copies of the Witch of Scarlet Dreams story card will be immediately recommended as having access to multiple bullet lines will be essential if you want to give your units more fighting power and barrier breaking potential. An alternative would be MLB Youkai Mountain Anniversary which gives the same effect. If you are lacking in both of these story cards, other options include MLB Midnight Tea, MLB It's Spring for 1.5 P UP. Now, to bring out your Friend's damage potential, it is recommended to use the best card for each Friend's Last Word which is augmented with buffs and/or debuffs you are looking to take advantage of.


Team Comp Guides
Having trouble with the Battle Stage? Then you've come to the right place! This section contains some guides that may help you out on your journey in defeating this stage.
Community Guides
Below are some of the community made clear and farm comps for the stage that can serve as further reference for your endeavors. These are split into two categories, namely Clear Comps and Farm Comps. Clear Comps do not take account battle consistency in mind because its purpose is to give an idea on how to approach the stage in an uncouth manner, whereas Farm comps take account consistency and/or SP efficiency so that players can grind the stage more.
Note that these videos are not affiliated with Gamepress and are made solely by their respective creators. The author has also asked for permission from the creators about their content being featured in this article.
Clear Comps
20 SP E1 Flandre + B3 Yorihime Clear by i.suk#1092
6 Turn Setup
Requirements
Story Card Setup and Character Minimum Requirements
 |
 |
|
|
Secret Sealing Club Girls | |
|
|
|
|
|
|
|
|
|||||
 |
|
|
|
19th Hakurei Shrine Reitaisai |
|
|
|
|
|
|
|
|
|
|||||


Farm Comps
25 SP L1 Rin + L1 Hecatia + F1 Reimu by starsama
6 Turn Setup
Requirements
Story Card Setup and Character Minimum Requirements
 |
N/A | Myouren Temple Anniversary | N/A | N/A | N/A |
|
|||||
|
|
|||||
 |
YIN ATK + YANG DEF stat stick |  |
 |
|
 |
|
|
|
|
|
|
|
|
|||||
| YIN ATK + YIN DEF stat stick | 3 ACC UP (2T) card | 3 YIN ATK UP card | Myouren Temple Anniversary |
|
|
|
|
|
|
|
|
|
|
|||||
29 SP B3 Toyohime + B3 Sagume + B5 Reisen + L1 Hecatia by smol rocc
8 Turn Setup
Requirements
Story Card Setup and Character Minimum Requirements
 |
 |
|
N/A | N/A | N/A |
|
|
|||||
 |
|
|
|
|
|
|
|
|
|
|
|
|
|
|||||
|
 |
|
|
Secret Sealing Club Girls | |
|
|
||||
|
|
|||||
|
 |
 |
 |
|
|
|
|
|
|
|
|
|
|
|||||


32 SP E9 Remilia + E1 Flandre + B3 Sagume by Axe45#1238
6 Turn Setup
Requirements
Story Card Setup and Character Minimum Requirements
 |
 |
|
YIN ATK stat stick | |
|
|
|
|
|
|
|
|
|
|||||
| ACC UP card | |
YIN ATK stat stick | YIN ATK stat stick | Secret Sealing Club Girls | |
|
|
||||
|
|
|||||
|
|
HP + YANG ATK stat stick |
|
HP + YANG ATK stat stick |
|
|
|
|
|
|
|
|
|
|||||

37 SP L1 Koakuma + E1 Flandre + Power Link Friend + L1 Hecatia by Yukikaze#2828
6 Turn Setup
42 SP B3 Toyohime + L1 Minoriko + F1 Reimu + E1 Flandre + L1 Hecatia by haos_terry#2353
6 Turn Setup
54 SP 2 Defense Link Friends + B3 Toyohime + B3 Sagume + E1 Flandre + E9 Remilia by haos_terry#2353
4 Turn Setup
Requirements
Story Card Setup and Character Minimum Requirements
 |
N/A | N/A | N/A | N/A | N/A |
|
|
|||||
 |
N/A | N/A | N/A | N/A | N/A |
|
|
|||||
|
YIN ATK + AGI stat stick | YIN ATK + AGI stat stick | YIN ATK + AGI stat stick | |
|
|
|
|
|
|
|
|
|
|||||
|
YANG ATK + YANG DEF stat stick | YANG ATK + YANG DEF stat stick |  |
YANG ATK + YANG DEF stat stick |  |
|
|
|
|
|
|
|
|
|||||
|
YANG ATK + YANG DEF/AGI stat stick | YANG ATK + YANG DEF/AGI stat stick | YANG ATK + YANG DEF/AGI stat stick | YANG ATK + YANG DEF/AGI stat stick | |
|
|
|
|
|
|
|
|
|||||
| YIN ATK + YIN DEF stat stick | YIN ATK + YIN DEF stat stick | YIN ATK + YIN DEF stat stick | YIN ATK + YIN DEF stat stick | |
|
|
|
|
|
|
|
|
|
|||||