Introduction
For the first iteration of the Scarlet Devil Tower (7/17), the effect icons for Solo and All Resist were accidentally reversed on the 5th, 10-20th, and 30th floors. If you aren’t sure of which resist it is, each floor guide mentions the resist type.
Congratulations on making it past the first ten floors of the Scarlet Devil Tower! Now that you’ve cut your teeth, the Tower’s holding nothing back. On top of the health pools being much higher than the first ten floors, this section of the tower’s gimmick is twofold: Firstly, all floors only have two enemies, with higher health as a result. Secondly, for every non-boss floor: One enemy will buff both enemies with either Solo resist when they’re above 50% HP or with All resist while below 50% hp, both for 1 Turn. The other will either recover 1 Barrier and 1 Barrier Status from all enemies, or buff all enemies with 4 Levels of Yang and Yin ATK Up for 1 Turn.
They’re also all underlings and their bosses! It’s very cute.
This is a guide to floors 11-20 of the Scarlet Devil Tower. If you’re looking for an overview of how the Tower works, click here. To return to the floor index, click here.
11F
| Enemy | HP | Weak To | Resists | Barriers | Spell Gauge | Skills |
|---|---|---|---|---|---|---|
| Wood Kappa | 197700 | Metal | Water | 5 | N/A | Skill 1 (Used when HP is higher than or equal to 50%): Increases the Solo resistance of all allies by 4 Levels for 1 Turn. Skill 2 (Used when HP is less than 50%): Increases the All resistance of all allies by 4 Levels for 1 Turn. |
| Nitori Kawashiro | 225300 | Earth, Star | Sun, Metal | 5 | 3 | Skill 1: Recovers 1 Barrier and removes 1 Barrier Status from all allies Skill 2: Increases the Yin and Yang ATK of all allies by 4 Levels for 1 Turn |
Floor 11 is an introduction to what most of the floors are going to be like. Due to the somewhat awkward split in resistances, you have two general options to approach these floors: either overwhelm them in a single burst turn with either DEF Down + ATK Up support or a Full Break as your setup plus powerful All-targeting Last Words to avoid the Wood Kappa spending a turn below 50% HP and thus applying All resist to her and Nitori, or bring the Wood Kappa below 50% HP so she switches to All resist and then blast them both with Solo attacks.
Keep in mind that like many floors in this section of the tower, Nitori is going to remove 1 Barrier Status and recover a Barrier each turn for both of them, after you can apply them with skills and before you get a chance to Break them, so keep in mind that Anomaly Breaking is going to be much weaker.
Make sure to watch out for the Spell Gauge on this and the other non-boss floors!
12F
| Enemy | HP | Weak To | Resists | Barriers | Spell Gauge | Skills |
|---|---|---|---|---|---|---|
| Star Tengu | 210800 | Sun | Moon | 5 | N/A | Skill 1 (Used when HP is higher than or equal to 50%): Increases the Solo resistance of all allies by 4 Levels for 1 Turn. Skill 2 (Used when HP is less than 50%): Increases the All resistance of all allies by 4 Levels for 1 Turn. |
| Aya Shameimaru | 239400 | Metal, Star | Sun, Water | 5 | 3 | Skill 1: Recovers 1 Barrier and removes 1 Barrier Status from all allies Skill 2: Increases the Yin and Yang ATK of all allies by 4 Levels for 1 Turn |
Same deal as Floor 11. Either burst the two of them down in a single turn via Last Words DEF Down+ATK Up or Full Breaks, or knock the Star Tengu below 50% HP so you can blast them both with Solo Spell Cards.
13F
| Enemy | HP | Weak To | Resists | Barriers | Spell Gauge | Skills |
|---|---|---|---|---|---|---|
| Fire Devil | 219500 | Water | Wood | 5 | N/A | Skill 1 (Used when HP is higher than or equal to 50%): Increases the Solo resistance of all allies by 4 Levels for 1 Turn. Skill 2 (Used when HP is less than 50%): Increases the All resistance of all allies by 4 Levels for 1 Turn. |
| Koakuma | 257500 | Sun, Fire | Moon, Star | 5 | 3 | Skill 1: Recovers 1 Barrier and removes 1 Barrier Status from all allies Skill 2: Increases the Yin and Yang ATK of all allies by 4 Levels for 1 Turn |
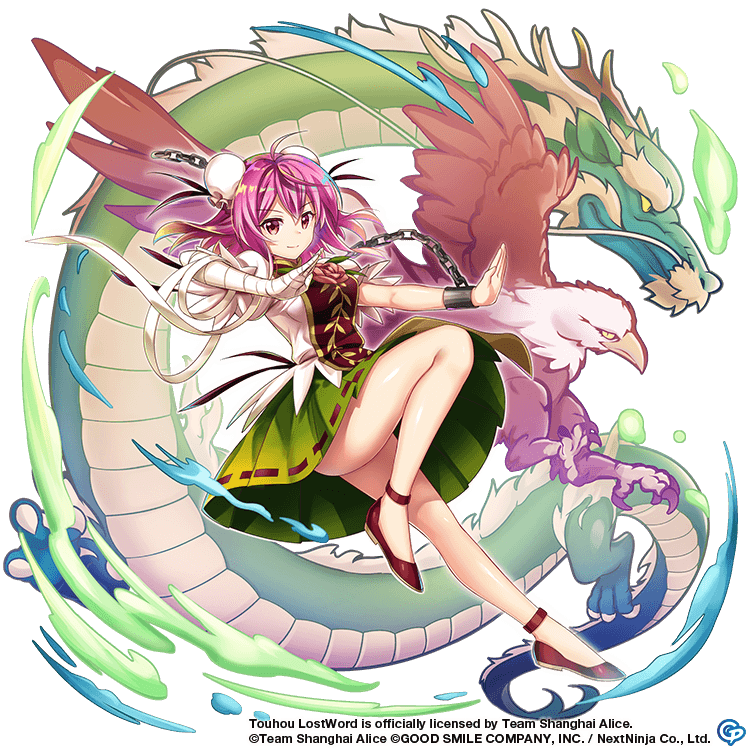
Same deal as Floor 11. Of particular note on this floor is that Marisa Kirisame (Witch of Scarlet Dreams), Suika Ibuki, Kasen Ibaraki, and Patchouli Knowledge can all break both enemies. It’d be particularly cruel to Koakuma to sic her boss on her, but hey. It’s hardly like the Scarlet Devil Mansion has a HR department for her to complain to.


14F
| Enemy | HP | Weak To | Resists | Barriers | Spell Gauge | Skills |
|---|---|---|---|---|---|---|
| Lunar Rabbit | 230100 | None | None | 5 | N/A | Skill 1 (Used when HP is higher than or equal to 50%): Increases the Solo resistance of all allies by 4 Levels for 1 Turn. Skill 2 (Used when HP is less than 50%): Increases the All resistance of all allies by 4 Levels for 1 Turn |
| Reisen | 272500 | Metal, Star | Sun, Water | 5 | 3 | Skill 1: Recovers 1 Barrier and removes 1 Barrier Status from all allies Skill 2: Increases the Yin and Yang ATK of all allies by 4 Levels for 1 Turn |
Same as floor 11, only more complicated since you can’t Full Break the Lunar Rabbit without using Barrier Status, which itself is difficult due to Reisen removing Barrier Status from both of them. Keep in mind that Reisen’s Last Word will heal both her and the typeless Lunar Rabbit by a large chunk, and bolster their evasion to the high heavens, so it may be worth it to simply try and take her out first. It's fairly unlikely you'll ever see her actually use it, but if she does, you can immediately dust her because it shreds her defenses to absolutely nothing.
Thank you for your sacrifice, Reisen.
15F
| Enemy | HP | Weak To | Resists | Barriers | Spell Gauge | Skills |
|---|---|---|---|---|---|---|
| Lily White | 266700 | Moon, Metal | Water, Star | 6 | 2 | Restores 2 Barriers to all allies |
| Daiyousei | 267700 | Metal, Star | Sun, Water | 6 | 1 | Skill 1 (Used when HP is greater than or equal to 50%): Increases the All resistance of all allies by 4 Levels for 1 Turn. Skill 2 (Used when HP is less than 50%): Increases the Solo resistance of all allies by 4 Levels for 1 Turn. |
Stall tactics. Not so funny when they’re used against you, huh? This floor is particularly problematic due to a combination of Lily White constantly restoring Barriers, combined with Daiyousei having a Spell Gauge of 1 and a very annoying Last Word that heals both of them up.
7/20 Update: Daiyousei doesn't seem to want to use her Last Word very often, so even if you go in with slower strategies in mind, it probably shouldn't be a problem unless you attempt to solo the stage with Byakuren or something.
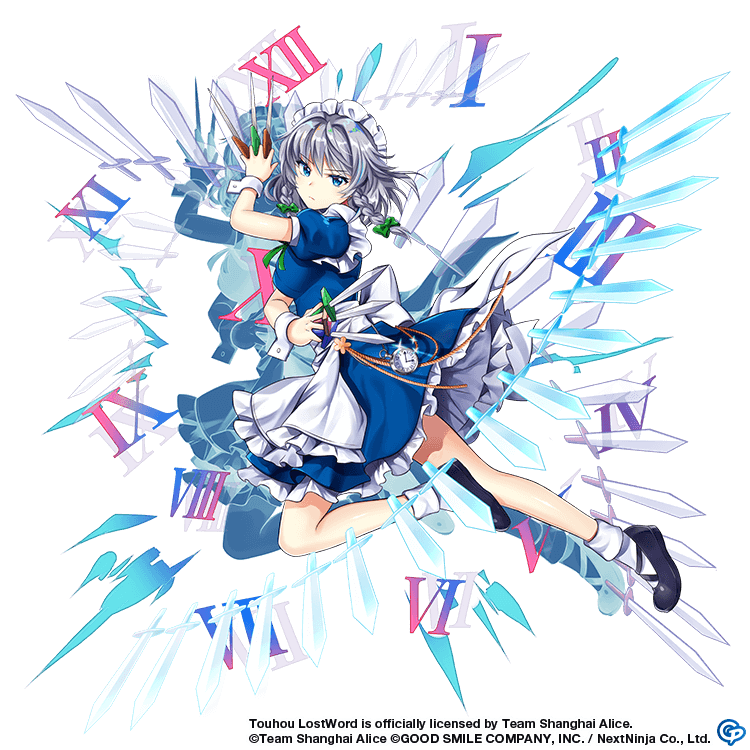
Since Daiyousei raises the All resistance of her and Lily White whilst above 50% HP, it’s best to bring a powerful Solo Last Word to take out Daiyousei immediately. Of particular note is that if you bring your own Daiyousei, her 6 Metal Breaks in 1 turn can immediately Full Break the enemy Daiyousei without Lily getting a chance to restore her Barriers, and then promptly Full Break the Lily White afterwards. Otherwise, Youmu Konpaku and Sakuya Izayoi are also of note in this fight, due to packing All targeting Metal Breaks, thus doubling how many Breaks they get.


16F
| Enemy | HP | Weak To | Resists | Barriers | Spell Gauge | Skills |
|---|---|---|---|---|---|---|
| Sun Spirit | 249100 | Moon | Star | 5 | N/A | Skill 1 (Used when HP is higher than or equal to 50%): Increases the Solo resistance of all allies by 4 Levels for 1 Turn. Skill 2 (Used when HP is less than 50%): Increases the All resistance of all allies by 4 Levels for 1 Turn |
| Chen | 314100 | Sun, Water | Moon, Wood | 5 | 2 | Skill 1: Recovers 1 Barrier and removes 1 Barrier Status from all allies. Skill 2: Increases the Yin and Yang ATK of all allies by 4 Levels for 1 Turn |
Back to the filler floors, same deal as floor 11. Do keep in mind that the Spell Gauge has gone down from 3 to 2 unlike previous floors. Patchouli is a particular stand-out for this floor, having abundant access to both Moon and Sun. You have to wonder what Chen’s doing, hanging out with a spirit…?
17F
| Enemy | HP | Weak To | Resists | Barriers | Spell Gauge | Skills |
|---|---|---|---|---|---|---|
| Water Maid Fairy | 258300 | Earth | Metal | 5 | N/A | Skill 1 (Used when HP is higher than or equal to 50%): Increases the Solo resistance of all allies by 4 Levels for 1 Turn. Skill 2 (Used when HP is less than 50%): Increases the All resistance of all allies by 4 Levels for 1 Turn |
| Sakuya Izayoi | 330600 | Fire, Star | Sun, Earth | 5 | 2 | Skill 1: Recovers 1 Barrier and removes 1 Barrier Status from all allies. Skill 2: Increases the Yin and Yang ATK of all allies by 4 Levels for 1 Turn |
Same deal as floor 11. As a side note, Sakuya’s shown up twice so far, I wonder if she gets paid overtime by NextNinja for making so many appearances so soon..?
18F
| Enemy | HP | Weak To | Resists | Barriers | Spell Gauge | Skills |
|---|---|---|---|---|---|---|
| Moon Fairy | 272300 | Star | Sun | 5 | N/A | Skill 1 (Used when HP is higher than or equal to 50%): Increases the Solo resistance of all allies by 4 Levels for 1 Turn. Skill 2 (Used when HP is less than 50%): Increases the All resistance of all allies by 4 Levels for 1 Turn |
| Sunny Milk | 347400 | Moon, Water | Wood, Star | 5 | 2 | Skill 1: Recovers 1 Barrier and removes 1 Barrier Status from all allies. Skill 2: Increases the Yin and Yang ATK of all allies by 4 Levels for 1 Turn |
Same deal as floor 11. Perhaps the developer making this floor was really excited about Pokemon Sun and Moon…?
19F
| Enemy | HP | Weak To | Resists | Barriers | Spell Gauge | Skills |
|---|---|---|---|---|---|---|
| Metal Ghost | 277000 | Fire | Earth | 5 | N/A | Skill 1 (Used when HP is higher than or equal to 50%): Increases the Solo resistance of all allies by 4 Levels for 1 Turn. Skill 2 (Used when HP is less than 50%): Increases the All resistance of all allies by 4 Levels for 1 Turn. |
| Suika Ibuki | 364900 | Fire, Star | Sun, Earth | 6 | 2 | Skill 1: Recovers 1 Barrier and removes 1 Barrier Status from all allies. Skill 2: Increases the Yin and Yang ATK of all allies by 4 Levels for 1 Turn |
Mostly the same deal as floor 11, with two new things to note. Firstly, Suika has six Barriers instead of the usual five in this section of the tower. Secondly, both units are weak to Fire: so bring a pyromaniac along (or just lots of Fire Breaks).


20F
| Enemy | HP | Weak To | Resists | Barriers | Spell Gauge | Skills |
|---|---|---|---|---|---|---|
| Marisa Kirisame | 338300 | Sun, Earth | Moon, Metal | 6 | 2 | Increases own All resistance by 5 Levels for 1 Turn & Increases own Yang ATK by 5 Levels for 1 Turn & Increases own Evasion by 4 Levels for 1 Turn |
| Alice Margatroid | 337600 | Metal, Star | Sun, Water | 6 | 1 | Increases own Solo resistance by 5 Levels for 1 Turn & Increases own Yin & Yang DEF by 8 Levels for 1 Turn |
| Extra Attack: Skills are banned for all opponents for 5 turns. (Occurs once) | ||||||
Welcome to the second boss floor, and it’s a doozy. On top of both magicians having extremely high HP counts, Marisa has massive All resist and raises her Evasion by a ton, and Alice has massive Solo resist and jacks both of her Defenses up to the heavens. If that wasn’t bad enough, the Extra Attack for this floor is also nasty: as most units are reliant on Skills for a huge part of their damage output or utility, preventing them from using any will leave your roster crippled.
It’s not impossible, however. For starters, remember that you can bypass Extra Attack by switching out your units: whilst this locks off your back row until the switch cooldown ends, it can let you circumvent the issues that no skills brings. Additionally, neither of them can recover Barriers, so you can wear them down to 1 Barrier each, retreat (make sure not to quit) and then come back with your A team to Full Break them. Fully Broken enemies are stunned, and thus cannot reapply their 1 turn buffs, on top of having all of their buffs removed: so if you Full Break both targets, you won’t have to deal with any of their daunting defensive buffs and can promptly blast them with powerful bullets.
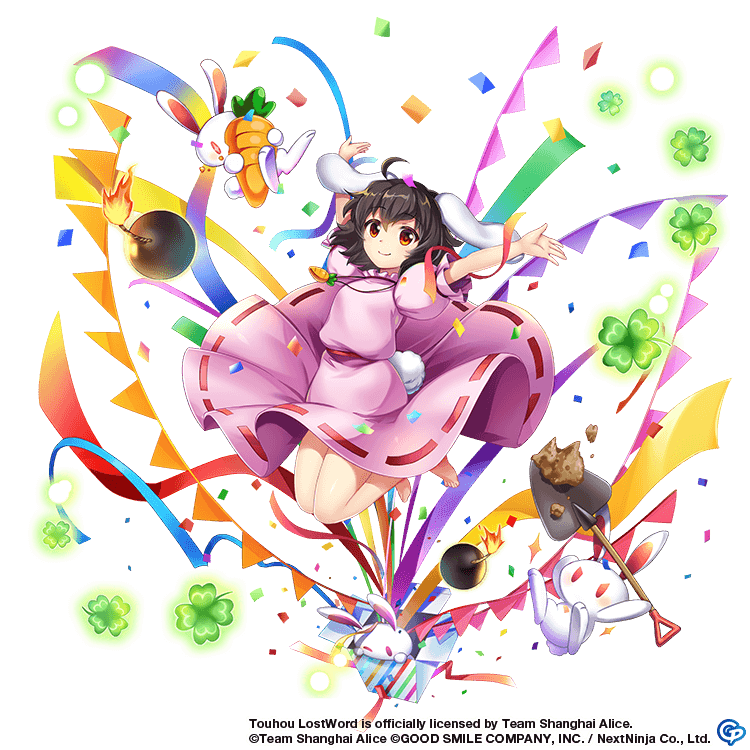
Notable units for this floor are Tewi Inaba, who can Break both enemies, as well as Medicine, whose Anomaly Breaks can Full Break both magicians at once.