

Stats
Races
Element Type Chart
Character Shots

 | Solo | Enforce  | x6 | Yin |  |
 | Solo | Body Enhancement | x2 | Yang | 1 |
 | Solo | Auto Chanting | x2 | Yin | 2 |
 | Solo | Demonic Arts | x3 | Yang | 3 |
 | Solo | Auto Chanting | x3 | Yin | 3 |
 | Solo | Demonic Arts | x3 | Yang | 3 |

 | Solo | Vortex Light  | x3 | Yang |  |
 | Solo | Mandala Light | x1 | Yin | 1 |
 | Solo | Star Light | x1 | Yang | 2 |
 | Solo | Mandala Light | x2 | Yin | 3 |
 | Solo | Star Light | x2 | Yang | 3 |
 | Solo | Mandala Light | x2 | Yin | 3 |
Character Spell Cards





|
Solo |
Sun Goddess Syncretism Laser

|
x12 | Yang |

|

|
Solo |
Light of Wisdom

|
x2 | Yang | 1 |

|
Solo |
Sun Goddess Syncretism Laser

|
x2 | Yang | 2 |

|
Solo |
Light of Wisdom

|
x2 | Yang | 2 |

|
Solo |
Sun Goddess Syncretism Laser

|
x1 | Yang | 3 |

|
Solo |
Light of Wisdom

|
x1 | Yang | 3 |


|
Solo |
Shigisan Engi Charm
|
x7 | Yin |

|

|
Solo |
Begging Monk

|
x2 | Yin | 1 |

|
Solo |
Begging Monk

|
x2 | Yin | 2 |

|
Solo |
Shigisan Engi Charm
|
x2 | Yin | 3 |

|
Solo |
Shigisan Engi Charm
|
x2 | Yin | 3 |

|
Solo |
Shigisan Engi Charm
|
x2 | Yin | 3 |


|
All |
Protection Laser

|
x17 | Yang |

|

|
All |
Exorcism Defense

|
x3 | Yang | 1 |

|
All |
Full Burst Incantation


|
x3 | Yang | 2 |

|
All |
Exorcism Defense

|
x2 | Yang | 2 |

|
All |
Full Burst Incantation


|
x2 | Yang | 3 |

|
All |
Exorcism Defense

|
x2 | Yang | 3 |
Character Ability
Character Skills
Character Characteristics
 Character Change Effect
When switching places with a front-guard unit, inherits part of other unit's Yang DEF, Yin DEF, CRIT DEF, & CRIT Evasion buffs (3 turns).
Upgrade Costs
| Rank | Coins | Materials |
|---|---|---|
| 0 -> 1 | 1000 | |
| 1 -> 2 | 2,000 | |
| 2 -> 3 | 5,000 | |
| 3 -> 4 | 10,000 | |
| 4 -> 5 | 15,000 |
Character Analysis
Byakuren Hijiri was released on June 25th, 2021 in "Festival Prayer: Magician of the Youkai Temple." She was initially a Festival on release and later added to the general pool. For more up-to-date analysis, be sure to visit the ![]() Official Discord Server.
Official Discord Server.
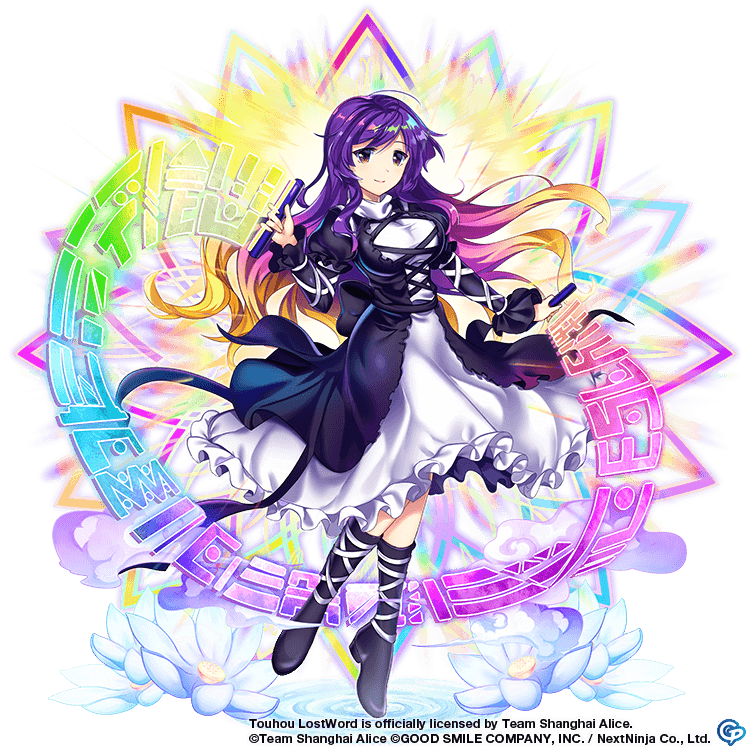
Byakuren Hijiri, the chief priest of the Myouren Temple, is a kind woman. With gentle words for human and youkai alike, she preaches the value of co-existence and harmony, as well as the tenants of Buddhism. She packs her gentle words with a clenched fist - unlike the other magicians of Gensokyo, Byakuren prefers self-enhancement magic, which she uses to deliver a physical beatdown to her foes.
For farming, Byakuren's Last Word, whilst All targeting, is heavily backloaded on a character who lacks both ATK UP and Spirit Power UP and as such, the monk is unsuitable for solo farming Lunatic. If you still want to farm with her, you'll likely have to heavily support her with teammates, or simply do it on Hard.
For hard content, Byakuren is somewhat lackluster as well. She simply doesn't have very much going for her - her ability to raise her team's defenses is limited, and her damage is overall very low. However, it's not all bad - she has a average amount of Sun Breaks on her first Spell Card, her access to Focus is average for a tank, and her Spread Shot can allow you to cheese some earlier Tower fights, assuming you have a large amount of time on your hand.
Here are the chances for Byakuren's secondary effects, alongside her Slicing scaling (per bullet):
Sorcerer's Sutra Scroll: Recovers HP 15%/0%/0%/0%/0%/0%
Star Vortex: Chance for Focus UP 100%/0%/0%/0%/0%/0%
Heaven Sign: Brilliance of Mahavairocana: Slicing 30%/30%/30%/30%/30%/30%
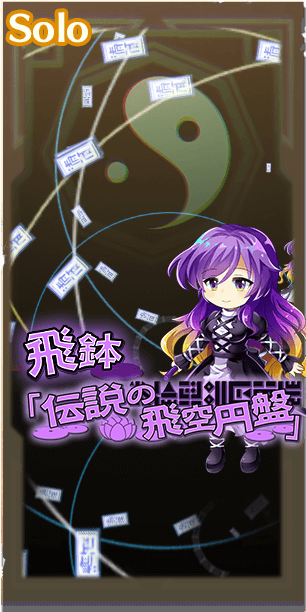
Flying Bowl: Legendary Flying Saucer: Recovers HP 0%/25%/25%/0%/0%/0%
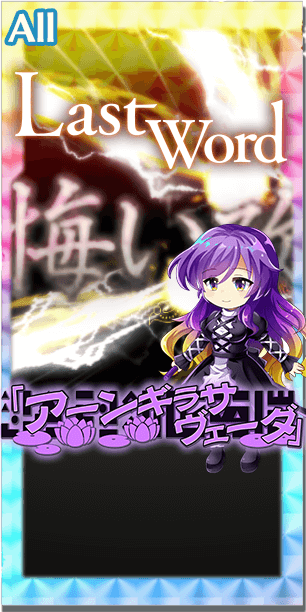
Angirasa Veda: Slicing 50%/0%/50%/0%/50%/0%
Recovers HP 0%/0%/25%/0%/25%/0%
Story Card Recommendations
Spell Card
Byakuren's first Spell Card should be equipped with Accuracy, to ensure that the Sun breaks land. For her second Spell Card, you can equip her with either Yang ATK Up to bolster her Last Word as much as possible, or Midnight Tea to give her a source of Spirit P gain.
Last Word
For hard fights, Ordinary Magician is Byakuren's best option, as the Yang ATK Up it provides goes a long way towards patching up her damage issues, alongside the Laser DMG up. Her Accuracy issues should be resolved by a teammate or by equipping one of her Spell Cards with a multiple-turn Accuracy UP Story Card.
Character Skill Level Up Recommendations
Garuda's Wings should be prioritized, as it helps Byakuren keep her team alive. Afterwards, Lost in Prayer gives her a solid amount of Focus up, though it only needs to be brought up to level 9 for the full effect. Lastly, Sword-Armored Protection can safely be left at level 1 until you're out of other characters to raise, as it gains little from levels and is rather situational to begin with.
Character Strengths
Average amount of Sun on first Spell Card at 0/1/2/3 Breaks for 0/1/2/3 Power
Buffs her team's DEF
Character Weaknesses
No form of teamwide Barrier recovery or Healing
Low values on DEF Buffs
Low damage
Byakuren's first Spell Card should be equipped with Accuracy, to ensure that the Sun breaks land. For her second Spell Card, you can equip her with either Yang ATK Up to bolster her Last Word as much as possible, or Midnight Tea to give her a source of Spirit P gain.
For hard fights, Ordinary Magician is Byakuren's best option, as the Yang ATK Up it provides goes a long way towards patching up her damage issues, alongside the Laser DMG up. Her Accuracy issues should be resolved by a teammate or by equipping one of her Spell Cards with a multiple-turn Accuracy UP Story Card.
Garuda's Wings should be prioritized, as it helps Byakuren keep her team alive. Afterwards, Lost in Prayer gives her a solid amount of Focus up, though it only needs to be brought up to level 9 for the full effect. Lastly, Sword-Armored Protection can safely be left at level 1 until you're out of other characters to raise, as it gains little from levels and is rather situational to begin with.


