


Stats


Races
Element Type Chart


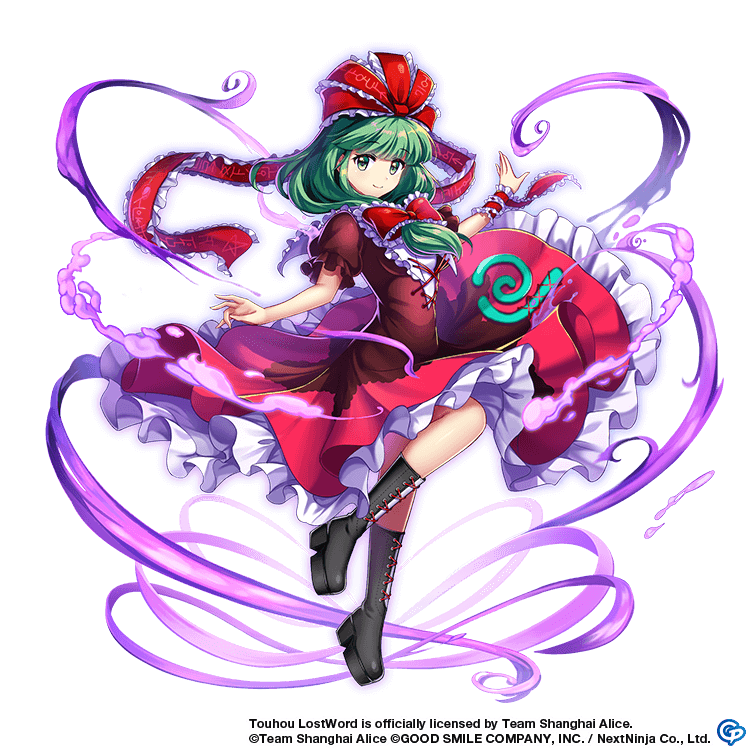
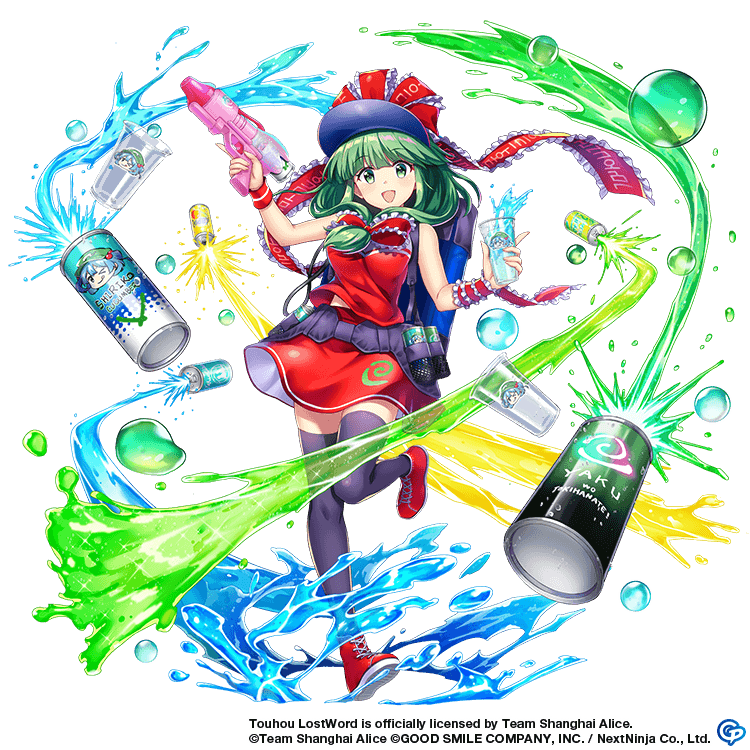
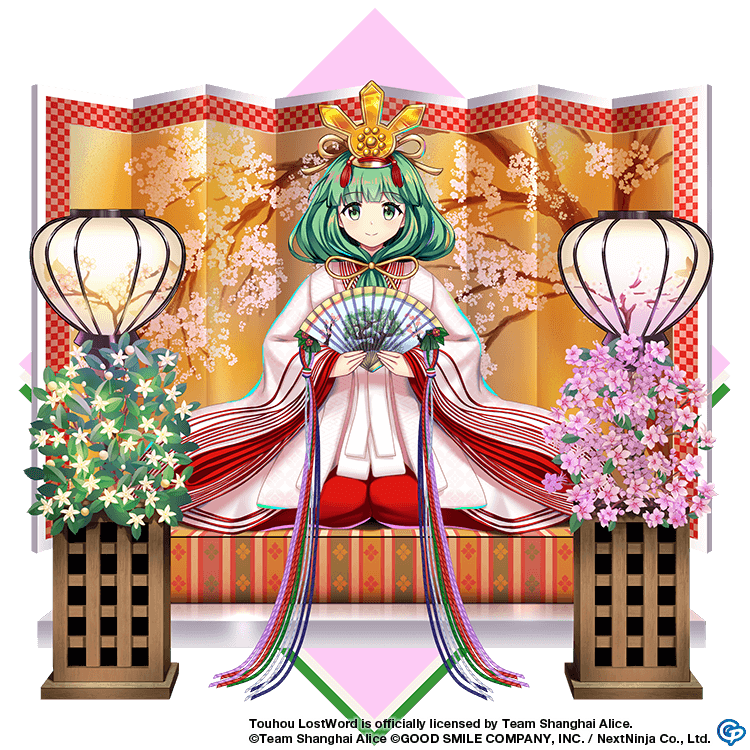
Character Shots

 | Solo | Blame Bearing Goat | x9 | Yin |  |
| Solo | Goat of Atonement  | x3 | Yang | 1 |
| Solo | Substitute Goat | x3 | Yin | 1 |
| Solo | Sin Bearing Goat  | x3 | Yang | 2 |
| Solo | Sacrificial Goat | x3 | Yin | 3 |
| Solo | Victimized Goat  | x3 | Yang | 3 |

 | All | Mysterious Laser Beams From a Hand | x4 | Yin | |
| All | Laser Beam of Curse Protection  | x2 | Yin | 1 |
| All | Laser Beam of Misfortune Warding  | x2 | Yang | 2 |
| All | Laser Beam of Divine Protection | x2 | Yang | 2 |
| All | Laser Beam of Disaster Prevention  | x2 | Yin | 3 |
| All | Laser Beam of Protection | x2 | Yin | 3 |
Character Spell Cards


|
Solo |
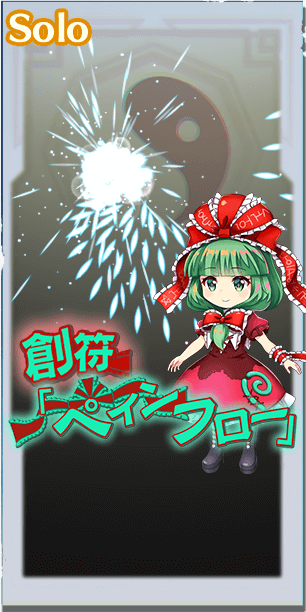
Thorns of Pain
|
x15 | Yang |
|
|
|
Solo |
Spines of Pain
|
x2 | Yin | 1 |
|
|
Solo |
Needles of Pain

|
x2 | Yin | 1 |

|
Solo |
Flow of Pain
|
x2 | Yang | 1 |
|
|
Solo |
Water Flow of Pain
|
x3 | Yang | 2 |
|
|
Solo |
Torrent of Pain
|
x3 | Yin | 3 |

|
Solo |
Broken Charm of Protection

|
x6 | Yin |
|
|
|
Solo |
Shattered Charm
|
x2 | Yang | 1 |
|
|
Solo |
Built Up Curse

|
x2 | Yang | 1 |
|
|
Solo |
Accumulated Grudge

|
x2 | Yang | 1 |
|
|
Solo |
Destroyed Talisman

|
x3 | Yin | 2 |
|
|
Solo |
Broken Doll

|
x3 | Yin | 3 |

|
|
Solo |
Misfortune Gathering Core

|
x17 | Yin |
|
|
|
Solo |
First Misfortune Absorbing Band

|
x2 | Yin | 1 |
|
|
Solo |
Misfortune Energy
|
x2 | Yin | 1 |
|
|
Solo |
Second Misfortune Absorbing Band
|
x3 | Yin | 2 |
|
|
Solo |
Dense Misfortune Energy
|
x3 | Yin | 2 |
|
|
Solo |
Third Misfortune Absorbing Band
|
x4 | Yin | 3 |
Character Ability
Character Skills
Character Characteristics
 Character Change Effect
When switching places with a front-guard unit, heals front-guard unit's Barrier Status.
Upgrade Costs
| Rank | Coins | Materials |
|---|---|---|
| 0 -> 1 | 1000 | |
| 1 -> 2 | 2,000 | |
| 2 -> 3 | 5,000 | |
| 3 -> 4 | 10,000 | |
| 4 -> 5 | 15,000 |


Character Analysis
Hina Kagiyama was released on December 17th, 2021 in "Prayer: Cheering Squad." For more up-to-date analysis, be sure to visit the ![]() Official Discord Server.
Official Discord Server.
Although she shares the title of “God” with other inhabitants of Gensokyo, Hina Kagiyama avoids collecting faith or having shrines dedicated to her, resulting in her title as a “hidden god.” This does not mean her powers do not compare to the other gods of Gensokyo, as she is capable of collecting the misfortune of humans and youkai alike. Her collection of misfortune causes fog to surround her attacks, likely a result of the stockpiled misfortune being unleashed during battle. Fortunately, Hina keeps the misfortune so it does not harm any other humans. In Touhou LostWord, the Pestilence God will work hard to keep misfortune from her party at bay.
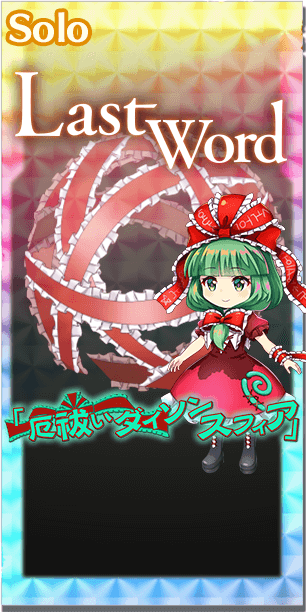
Hina’s farming potential is pretty good, but also not amazing. Her Last Word, Misfortune Purifying Dyson Sphere, is a Solo-targeting Yin attack that lowers the target’s Yin DEF by 2 levels while raising her Yin ATK by 3 levels. Accuracy is not an issue either, thanks to her third skill, Bad Luck Spiral, lowering every opponent’s Evasion by 3 levels for 1 turn. While both of these factors sound appealing, Hina’s damage usually will not compare to the Solo-target Last Word nukes of better characters. Being a Solo-target Last Word already puts it on a disadvantage compared to All-targeting ones as well.
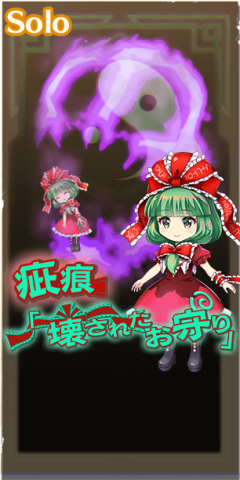
For more challenging content, Hina can manipulate the misfortune stored within her to support herself and her allies. As mentioned before, Bad Luck Spiral lowers every enemy’s Evasion, which assists in having any Friend’s attacks connect more consistently. Her other skills can lower a single target’s Yin or Yang ATK by 3 or 2 levels respectively, with Skill 1, Misfortune Ward, in particular increasing the party’s Yang DEF by 2 levels. Similar to her skills, her spell cards primarily debuff singular targets, most notably the decrease of CRIT DEF by 3 levels from her second spell card, Scar: Broken Charm of Protection. While somewhat lacking in elemental breaks, her second spell card can break Poison and Paralyze barriers at 1 Spirit Power as well as Burn barriers at 2 Spirit Power. This means she can synergize well with other Friends that inflict these anomalies, such as Medicine Melancholy or Iku Nagae.
While her anomaly breaks are quite useful, Hina herself lacks the abilities to apply them by herself, only weakening her barrier breaking game further. Her first spell card, Wound Sign: Pain Flow, requires 3 Spirit Power to achieve the maximum 2 Wood and Water breaks, and her second spell card only has 2 Moon breaks at 1 Spirit Power. Her Solo-target spread shot having a Fire break at 1 Spirit Power is decent, but not spammable when compared to 0 Spirit Power elemental shots. Having most of these useful effects limited to Solo-targeting skills or attacks also hurts how effective Hina can be in fights with multiple enemies.
Story Card Recommendations
(Card recommendations last updated on April 30, 2023)
Spell Card
Hina can get somewhat Spirit Power-hungry by needing 3 Spirit Power for all of her first spell card breaks, as well as getting the most of her second spell card’s anomaly breaks. Outside of that, Bad Luck Spiral makes Accuracy UP less of a necessity for her, meaning more focus can be put into YIn ATK stat sticks or other Yin ATK buffs to optimize her Last Word’s damage.
Last Word
Thanks to Bad Luck Spiral, accuracy is not a major concern for Hina’s nuking capabilities. Instead, Overwhelming Firepower is the best story card due to increasing Yin ATK by 3 levels while serving as a stat stick as well. Any other Yin ATK buffs are helpful if Overwhelming Firepower is unavailable.
Character Skill Level Up Recommendations
Bad Luck Spiral should definitely be prioritized first, as decreasing all target’s Evasion will prove to be beneficial to Hina alone as well as the rest of her team. As for choosing between Misfortune Ward or Pain Drain, it mainly depends on preference on supporting the party with 2 levels of Yang DEF UP instead of 1 or gaining more Spirit Power to get more elemental or anomaly breaks.
Character Strengths
+Decent Solo-target Last Word Yin nuke
+Poison, Paralyze, and Burn anomaly breaks on second spell card
+Lowers the evasion of all enemies
Character Weaknesses
-Lacking in elemental breaks
-Primarily a Solo-attacker


Hina can get somewhat Spirit Power-hungry by needing 3 Spirit Power for all of her first spell card breaks, as well as getting the most of her second spell card’s anomaly breaks. Outside of that, Bad Luck Spiral makes Accuracy UP less of a necessity for her, meaning more focus can be put into YIn ATK stat sticks or other Yin ATK buffs to optimize her Last Word’s damage.

Thanks to Bad Luck Spiral, accuracy is not a major concern for Hina’s nuking capabilities. Instead, Overwhelming Firepower is the best story card due to increasing Yin ATK by 3 levels while serving as a stat stick as well. Any other Yin ATK buffs are helpful if Overwhelming Firepower is unavailable.
Bad Luck Spiral should definitely be prioritized first, as decreasing all target’s Evasion will prove to be beneficial to Hina alone as well as the rest of her team. As for choosing between Misfortune Ward or Pain Drain, it mainly depends on preference on supporting the party with 2 levels of Yang DEF UP instead of 1 or gaining more Spirit Power to get more elemental or anomaly breaks.
+Decent Solo-target Last Word Yin nuke
+Poison, Paralyze, and Burn anomaly breaks on second spell card
+Lowers the evasion of all enemies
-Lacking in elemental breaks
-Primarily a Solo-attacker