


Stats


Races
Element Type Chart


Character Shots

 | All | Yin-Yang Candy    | x7 | Yang |  |
| All | Amber Yin-Yang Candy  | x2 | Yang | 1 |
| All | Black Yin-Yang Candy | x2 | Yin | 1 |
| All | Yin-Yang Lozenge | x2 | Yin | 1 |
| All | White Yin-Yang Candy | x2 | Yang | 2 |
| All | Salmiak Yin-Yang Liquorice | x2 | Yang | 3 |

 | Solo | Quantum Purging Beam  | x6 | Yang | |
| Solo | Charged Purging Beam  | x2 | Yang | 1 |
| Solo | Neutral Purging Beam | x2 | Yin | 1 |
| Solo | Electromagnetic Purging Beam | x2 | Yin | 1 |
| Solo | Anti-Matter Purging Beam  | x1 | Yin | 2 |
| Solo | Magic Purging Beam | x1 | Yang | 3 |
Character Spell Cards


|
|
All |
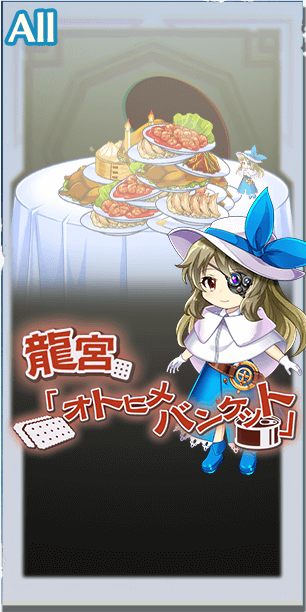
Dragon Palace Banquet
|
x14 | Yang |
|
|
|
All |
Plum Hors-d'oeuvre

|
x4 | Yang | 1 |
|
|
All |
Apricot Soup
|
x3 | Yin | 1 |
|
|
All |
Jujube Poisson
|
x3 | Yin | 2 |
|
|
All |
Peach Sorbet
|
x3 | Yang | 2 |
|
|
All |
Chestnut Entree
|
x3 | Yang | 3 |

|
Solo |
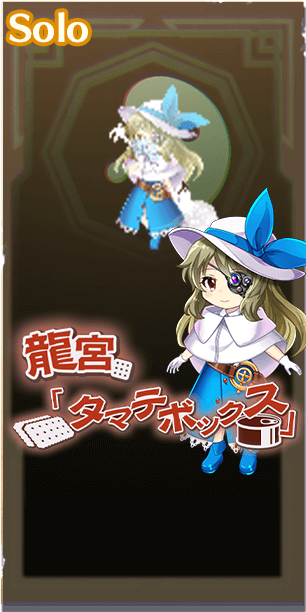
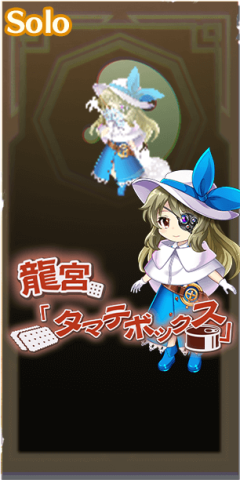
Forbidden Tamatebako
|
x16 | Yang |
|
|
|
Solo |
Taboo Tamatebako

|
x4 | Yang | 1 |
|
|
Solo |
Cursed Tamatebako
|
x4 | Yang | 1 |
|
|
Solo |
Smoke of Betrayal
|
x4 | Yin | 2 |
|
|
Solo |
Smoke of Aging
|
x3 | Yin | 2 |
|
|
Solo |
Smoke of a Promise
|
x3 | Yin | 3 |
Incidentally, this solution (a kind of syrup made with the same ingredients as her ball-shaped candy) does not just contain all the nutrients a body needs. It is the ultimate food that also contains various antibodies and microscopic self-learning machines.

|
All |
Comprehensive Nutrition Solution
|
x20 | Yang |
|
|
|
All |
Multi-Vitamin Solution

|
x4 | Yang | 1 |
|
|
All |
Multi-Mineral Solution
|
x4 | Yang | 2 |
|
|
All |
Protein Solution
|
x4 | Yang | 2 |
|
|
All |
Energy Solution
|
x3 | Yang | 2 |
|
|
All |
Microscopic Machines
|
x3 | Yang | 3 |
Character Ability
Character Skills
Character Characteristics
 Character Change Effect
When switching places with a front-guard unit, heals front-guard unit's Barrier Status.
Upgrade Costs
| Rank | Coins | Materials |
|---|---|---|
| 0 -> 1 | 1000 | |
| 1 -> 2 | 2,000 | |
| 2 -> 3 | 5,000 | |
| 3 -> 4 | 10,000 | |
| 4 -> 5 | 15,000 |


Character Analysis
B3 Watatsuki no Toyohime was released on March 15th, 2022 in "Ultra Festival Prayer: Lollipop Princess of Plenty." For more up-to-date analysis, be sure to visit the ![]() Official Discord Server.
Official Discord Server.
Much like her sister, Watatsuki no Toyohime's pure power is truly unmatched by the likes of most Touhou characters. Aside from her naturally long life as a Lunarian, Toyohime's ability, "To link the mountains and the sea", allows her practically instant transmission between the Earth and the Moon, among many other applications. Her usual weapon, her fan, can whip up winds that reduce anything to an atomic level of dust. But in this world, Toyohime prefers to brandish her candy staff, which could have just as overwhelming of powers... Or maybe it just dispenses candy. Yet regardless, Toyohime and her sister exercise their power as the Heads of the Lunar Defense Corps in this world too, to defeat kaijus and protect the Lunar Capital.
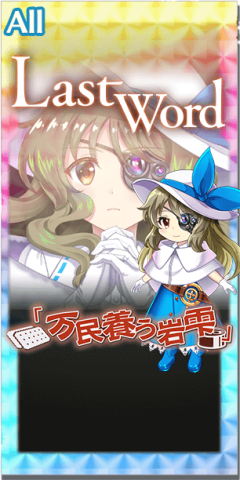
Toyohime does not mess around when it comes to farming. Boasting both strong self buffs and an extremely powerful Last Word, Stone Tears that Nourish a Nation, she can clear stages with ease. However, this just scratches the surface of her power when farming Story Cards. Toyohime can farm 2-7-1 (Witch of Scarlet Dreams), 3-3-3 (Mysterious Sword Master), and 3-6-3 (Secret God of the Sky), and at only 1 star no less, therefore only using 8 SP per run. Not to mention, she can also 3-11-1 (Puppeteer and Necromancer) solo with awakens. The 2-7-1 and 3-6-3 farms do take more time than the others, however. She also will even be able to farm another story card stage (which is currently available only in the JP version) in the future.
Solo Stage Farms: 2-7-1 (slow), 3-3-3, 3-6-3 (slow), 3-11-1, Future Story Card Stage
Challenging content lets Toyohime bring her full force to shine. With her skills alone, she can improve team survivability dramatically. Her 1st skill, Classic Peach, provides a whopping 70% of Toyohime’s very generous HP value as a heal to the party, restores 2 barriers, and gives the party .25 P. Her 2nd skill, Popular Pomegranate, heals another 70% and also grants her some tanking ability with 4 levels of self Focus for 3 turns, and makes the whole team overall more tanky with 3 levels of team Yang DEF up for 3 turns. She is also surprisingly tanky due to her 1st passive giving her a guaranteed 35% damage reduction against Youkai and a 60% chance to have 50% damage reduction against all enemies. Finally, her 3rd Skill, New Fruit Punch, provides 3 levels of team Yang ATK up for 3 turns and 1.5 P to herself. At the same time, this skill has the unique ability of removing 1 bind or debuff that the enemy or in some cases, your team would inflict on you. If that wasn’t enough, her ability grants the team additional layers of Yang ATK for each graze and additional Accuracy for each boost she uses. With Toyohime’s unique skill set, she can provide the team with a solid amount of tankiness, Accuracy, and Yang ATK and thus give the team amazing offensive and defensive ability.
Toyohime’s ability to cleanse 1 bind or debuff with her skills as well as guaranteeing a bind or debuff cleanse on herself every turn can help make first clears for challenging content a breeze. Her passive allows her to bypass skill binds and thus support the team with her powerful skills. Meanwhile, her 3rd skill can allow you to possibly swap when the stage locks you from doing so, graze when the enemy binds that, and the like. However, due to the RNG nature of the cleanses, it may not be reliable when it comes to farming content such as Elemental EX especially if your comp relies on the RNG of a clear. There is also a priority system to note here where bind clears are prioritized before debuff clears.
Most friends specialize in either providing damage or a nice secondary effect for utility. Toyohime doesn’t have to choose one or the other with her spell cards, which have great utility as well as good damage. Her 1st spell card, Dragon Palace: Otohime Banquet, showcases this by giving the team 3 stages of Yang DEF and Agility for 2 turns. With its spread of killers, it can also be used to smash through a wave of enemies. Not only will Toyohime’s Last Word do insane amounts of damage, it also provides the team with even more barrier restoration, and heals the frontline to their max HP.
Barrier breaks wise, Toyohime isn’t an exceptional breaker unless facing a single enemy who isn’t immune to Poison. Isolated enemies have to contend with her 2nd spell card, Dragon Palace: Tamate Box. This spell is an anomaly inflictor and anomaly breaker, as the pre-spell effect inflicts 2 poison anomalies and the 2nd bullet line breaks poisoned barriers with its Overdose attribute. Her focus shot, Quantum Purging Fan, provides P0 wood. Against multiple enemies, her barrier breaks are on the mediocre side. Toyohime’s first spell card has a rainbow spread, so it can be highly impractical to use this to efficiently break enemies. Her Last Word is more of a last resort for breaks, but it does provide a good amount of Moon and Water elements with three breaks of each.
Overall, Toyohime does not mess around. With powerful utility that most characters would only dream of having and insane damage output, Toyohime can do it all.
Here are the relevant scalings and secondary effects for Toyohime:
Spread Shot:
Hard: 50%/50%/0%/0%/0%/50%
Enemy CRIT DEF down (3T): 0%/50%/0%/0%/0%/0%
Focus Shot:
Hard: 40%/0%/0%/0%/0%/0%
Enemy YANG DEF down (3T): 0%/50%/0%/0%/0%/0%
Self YANG DEF up (3T): 50%/0%/0%/0%/0%/0%
Inflict Freeze on enemy (3T): 0%/0%/0%/0%/100%/0%
SC1:
Hard: 50%/0%/0%/0%/0%/70%
Absorb: 0%/25%/0%/0%/40%/0%
SC2:
Hard: 80%/0%/0%/0%/90%/100%
Enemy CRIT DEF down (3T): 0%/0%/50%/100%/0%/0%
LW:
Hard: 120%/0%/100%/120%/140%/170%
Enemy CRIT DEF down (3T): 35%/0%/75%/0%/75%/0%
Self CRIT ACC up (2T): 0%/100%/0%/0%/0%/0%
Story Card Recommendations
(Card recommendations last updated on September 13, 2023)
Spell Card
With Spirit Power being always a priority, Witch of Scarlet Dreams gives Toyohime the most amount of value here when trying to fire off as many bullet lines as possible in longer battles. On the other hand, using The Secret God of the Sky makes her 1st spell a powerful wave clearing spell card to use as a nuking option while preserving her Last Word. There will also be a future story card that can help Toyohime support the team even more. Finally, for shorter fights, look for Yang ATK and Yang DEF stat sticks, preferring Yang ATK.
Last Word
Resort Stars is hands down Toyohime's best card to date, providing her 2 levels of Yang UP and a whopping 50% damage increase to her attack. Frozen-Over Gensokyo or Where the Wind Priestess Is would perform identically to each other when it comes to damage as these two both provide 35% Liquid bullet boost. Frozen-Over Gensokyo, however, is farmable in 3-11-1H. On the other hand, if you can rely on Toyohime’s killer range, you can opt to use Standing Behind You for its 2 stages of CRIT ATK and 30% Moon bullet boost.
Character Skill Level Up Recommendations
Toyohime’s 3rd skill should be raised to level 6 first as it will provide her with 2P on the first turn as well as reduce the cooldown. Afterwards, focusing on maxing out her 2nd skill is recommended as it gives a substantial heal and helps bump up Toyohime’s damage even more. After which, you can opt to focus on maxing out her 3rd skill or 1st skill depending on what you need and finishing the skill you didn’t choose to prioritize afterwards. The 1st skill will help in survivability while the 3rd skill will help with damage output more.
Character Strengths
+ Extremely high and versatile utility
+ High T1 damage and potential damage
+ Tanky due to characteristics and her skills
+ Bind cleanse for the team helps bypass mechanics which the stage has.
Character Weaknesses
-Breaks are mediocre against multiple enemies


With Spirit Power being always a priority, Witch of Scarlet Dreams gives Toyohime the most amount of value here when trying to fire off as many bullet lines as possible in longer battles. On the other hand, using The Secret God of the Sky makes her 1st spell a powerful wave clearing spell card to use as a nuking option while preserving her Last Word. There will also be a future story card that can help Toyohime support the team even more. Finally, for shorter fights, look for Yang ATK and Yang DEF stat sticks, preferring Yang ATK.


Resort Stars is hands down Toyohime's best card to date, providing her 2 levels of Yang UP and a whopping 50% damage increase to her attack. Frozen-Over Gensokyo or Where the Wind Priestess Is would perform identically to each other when it comes to damage as these two both provide 35% Liquid bullet boost. Frozen-Over Gensokyo, however, is farmable in 3-11-1H. On the other hand, if you can rely on Toyohime’s killer range, you can opt to use Standing Behind You for its 2 stages of CRIT ATK and 30% Moon bullet boost.
Toyohime’s 3rd skill should be raised to level 6 first as it will provide her with 2P on the first turn as well as reduce the cooldown. Afterwards, focusing on maxing out her 2nd skill is recommended as it gives a substantial heal and helps bump up Toyohime’s damage even more. After which, you can opt to focus on maxing out her 3rd skill or 1st skill depending on what you need and finishing the skill you didn’t choose to prioritize afterwards. The 1st skill will help in survivability while the 3rd skill will help with damage output more.
+ Extremely high and versatile utility
+ High T1 damage and potential damage
+ Tanky due to characteristics and her skills
+ Bind cleanse for the team helps bypass mechanics which the stage has.
-Breaks are mediocre against multiple enemies