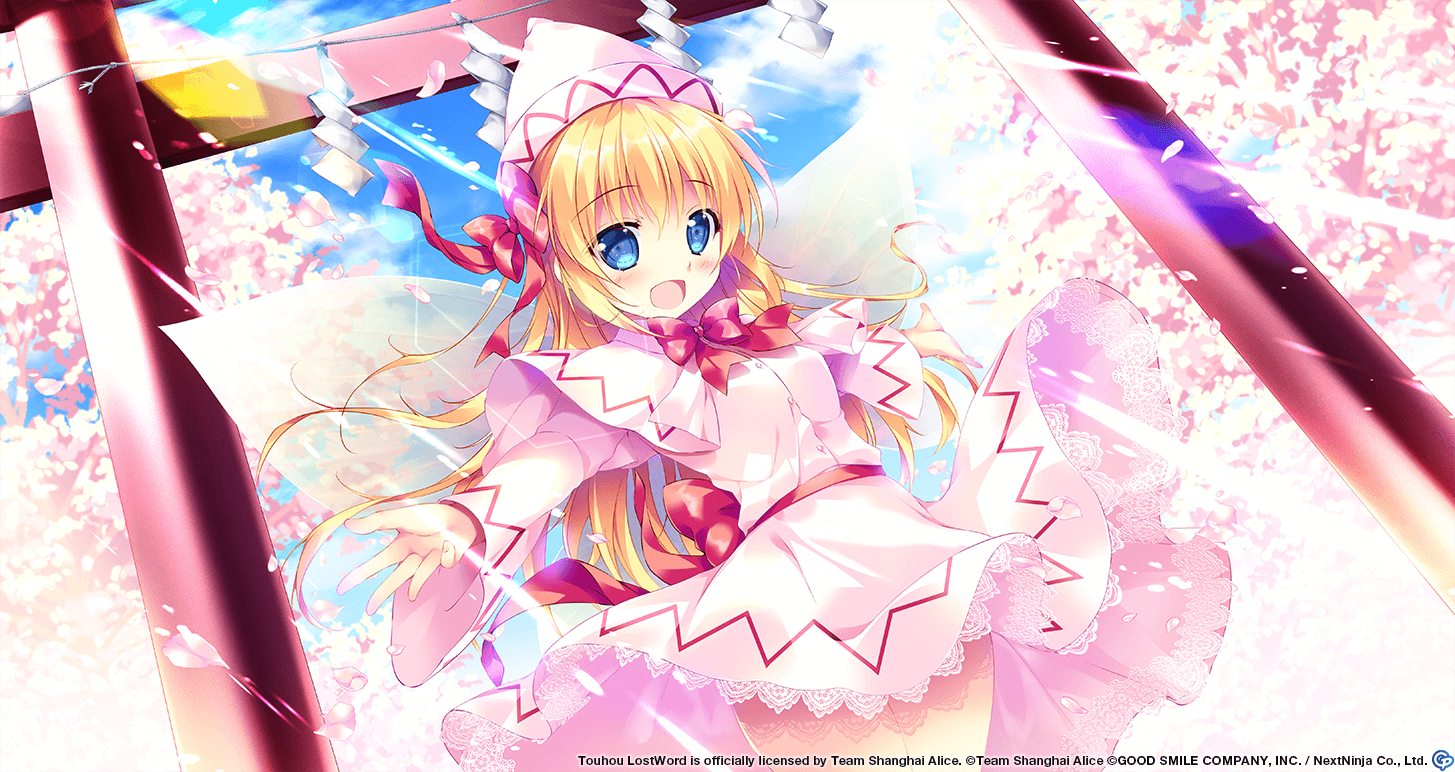
Introduction
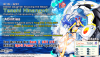
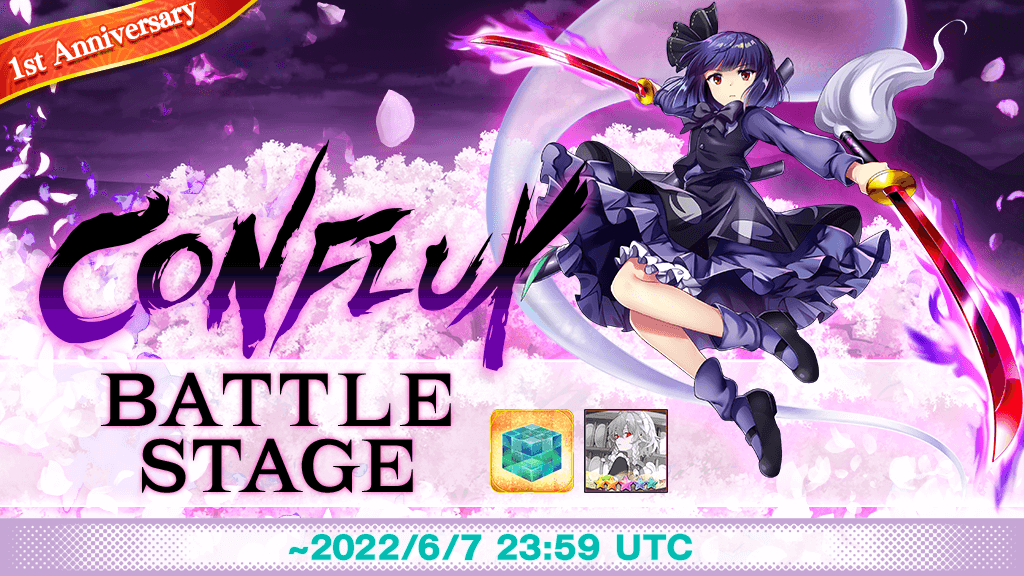
Welcome to the Conflux Battle Stage, where you will challenge the three Youmu variants L1 Youmu, R8 Youmu, and B3 Youmu. This content features a 1 wave stage with three difficulties: Normal, Hard, and Lunatic. Do note that you must complete the Prologue of the Main Story in order to play the event. The event's duration lasts for 4 days from June 3 to June 7 23:59 UTC.

Fight Overview
Stats
Normal

|

3,000


150

250

180


4

2

Sun

Water

Fire

Metal

Moon

Wood

Earth

Star
|

|
4,250
175
230
250
4
1

Moon

Star

Wood

Earth

Sun

Fire

Water

Metal
|

|
3,000
150
180
250
4
1
Water

Sun

Moon
Fire
Wood
Metal
Earth

Star
|
Hard
|
|
9,000
150
275
500
5
2
Sun
Water
Fire
Metal
Moon
Wood
Earth
Star
|
|
|
17,500
200
330
550
5
1
Moon
Star
Wood
Earth
Sun
Fire
Water
Metal
|
|
|
9,000
175
275
500
5
1
Water
Sun
Moon
Fire
Wood
Metal
Earth
Star
|
Lunatic
|
|
150,000
1,500
1,500
6,500
7
2
Sun
Water
Fire
Metal
Moon
Wood
Earth
Star
|
|
|
200,000
3,000
2,000
6,500
7
1
Moon
Star
Wood
Earth
Sun
Fire
Water
Metal
|
|
|
150,000
2,000
1,500
6,500
7
1
Water
Sun
Moon
Fire
Wood
Metal
Earth
Star
|
Enemy Details
| Name | Wave Start Skill | Gauge 1 Break | Gauge 2 Break | Skill 1 | Skill 2 |
|---|---|---|---|---|---|
| L1 Youmu Konpaku |
[Focus Seal] |
[Seal Spells] |
[Spirit Aura] Own DMG from Wood DOWN by 100% (5T). |
[Over Sword] |
[Take a Break] |
| R8 Youmu Konpaku |
[Inner Eye Seal] |
[Seal Fighting Spirit] Own DMG from Wood DOWN by 70% (4T). All enemies YANG DEF DOWN by 2 levels (1T). |
[Ogre Aura] Own DMG from Star DOWN by 100% (5T). |
[Sword Dance of Skies] Party's CRIT ACC UP by 8 levels (1T). Own CRIT EVA UP by 2 levels (2T). |
None |
| B3 Youmu Konpaku |
[Sealed Focus of Frost] Own Focus UP by 10 levels (10T). Inflicts 3 Freeze anomalies to self (10T). |
[Sealed Focus of Force] Own Focus UP by 10 levels (10T). All enemies YANG DEF DOWN by 2 levels (3T). |
[Sealed Focus of Powered Frost] Own YANG ATK UP by 3 levels (10T). Inflicts 3 Freeze anomalies to party (10T). |
[When HP is 25-100%] Own YANG ATK UP by 1 level (3T). Inflicts 2 Freeze anomalies to self (1T). |
[When HP is 0-25%] Recovers 7 of own barriers. All enemies YANG DEF DOWN by 6 levels (2T). |
L1 Youmu's Notable Effects
Boost: Own Yin ATK UP by 1 level (1T).
-
Spread Shot:
- May inflict ACC DOWN to target.
- Inflicts 3 Paralyze anomalies to target.
-
Focus Shot:
- Inflicts 3 Paralyze anomalies to target.
- Breaks all target's Paralyze barriers.
R8 Youmu's Notable Effects
Boost: Party's Agility UP by 1 level (1T).
Spread and Focus Shot: Breaks Paralyze barriers.
Spell Card 1: Restores 3 barriers to self.
Spell Card 2: Restores 3 barriers to self.
Last Word: Restores 3 barriers to self.
B3 Youmu's Notable Effects
Boost: Party's Yang DEF UP by 1 level for every boost used (1T).
Spread Shot: Inflicts 3 Paralyze anomalies to target (2T).
-
Spell Card 1:
- Party's ACC UP by 2 levels (1T).
- All enemies CRIT DEF DOWN by 1 level (2T).
-
Last Word:
- Recovers 5% of party's HP.
- Inflicts 2 layers of Freeze anomalies to self (2T).
- Party's CRIT ATK UP by 1 level (10T).
Stage Analysis
Conflux Battle Stage consists of a 1 wave battle with L1 Youmu Konpaku, B3 Youmu Konpaku, and R8 Youmu Konpaku. This stage is meant to be a clear based content rather than a farmable one so there are a lot of possibilities than open up for dealing with the stage. The analysis for this stage will lean more towards the Lunatic difficulty of this stage.
(First of all, credits to accelat#0727 and i.suk#1092 for the template on dealing with the stage)
For this stage, it is recommended to have front line and back line Friends as you will be hit with 3 different locks which literally impedes you from doing progress. Lucky for us, the Youmu triad allows us to use the Switch mechanic of the game. Switching all front line Friends with back line Friends is a core strategy for tackling this stage. You should wrap your strategy and team theorycrafting based from this idea as it will lessen your early battle worries since you won't have to deal with locks early on.
From here on, you will have 6 turns worth of time to deal with the main threat of the early phase of this stage, B3 Youmu. For this reason, you should focus on building your switchable backline team for defeating B3 Youmu. As you may or may have not known, this particular enemy has the same kit as Water EX's B3 Youmu. As a recap, 10 Focus UP is not something to ignore as the Focus mechanic for All targeting attacks allows her to soak up majority of the damage. Hence, it is important to deal with her first and foremost during the first four turns of the battle. If it is within your capability, try to break some of the barriers from L1 Youmu using All targeting attacks as she shares the Water element weakness with B3 Youmu.
During the 5th turn, it is recommended to deal with 1 HP gauge from both L1 Youmu and R8 Youmu. You may also be able to defeat B3 Youmu during this turn but if you can't, you can do so in the future turns. If you manage to do this, both of them should be doing Gauge Burst which introduces two new locks for your front line Friends by the next turn. Good thing for us, switching becomes available again on the 6th turn and so, just like in the first turn, you will need to swap back your previous frontline Friends to deal with the remaining threats of the stage.
From turn 6 onwards, if B3 Youmu is still alive, you may try to bring her down first while simultaneously dealing with the other two enemies. It will most likely take until the 7th to 8th turn to do this depending on how you plan to approach it but it will just be using the usual method of full breaking then nuking the enemies from this point onward.
Event Rewards
As per the information disseminated through the Live with Phantasma #18 live stage, there are tasks for clearing and getting 3 stars for this stage: The information below consist of the tasks and rewards you will get based from the news.
Clear each Stage
- Normal: 5 Seal Crystals
- Hard: 5 Seal Crystals
- Lunatic: 10 Seal Crystals & 1 ★5 Story Card, Redder Than Blood
Get all the ★s in each Stage
- Normal:
- 1 ★5 Story Card, Redder Than Blood
- 15,000 Coins
- Hard:
- 1 ★5 Story Card, Redder Than Blood
- 1 Paper Doll
- Lunatic:
- 2 ★5 Story Card, Redder Than Blood
- 6 Superior Incense Burner
Recommendations
Friends:
Conflux Battle Stage is a one of its kind, in a sense where it will forcefully make you bring frontline and backline Friends due to the obnoxious amounts of locks they give at the start of battle. As this is a clear only content, this is not at all restrictive and in fact, opens up a lot of possibilities for establishing your team. With all that said, this should provide you more leeway than say, Elemental EX, when it comes to theorycrafting team compositions as you do not need to worry about consistency plus you can make use of your Friends' chance based passives.
So, let's talk about the fundamental factor of the stage. Elemental weakness has always been the first factor to observe when it is applicable. It will be a great bonus if at least 2 of them even share the same weakness. For this matter, Water, Moon, Star, and Sun are the elements to consider and if you observe properly, both L1 Youmu and B3 Youmu share the same Water weakness so it may be efficient to bring Friends with this element in mind.
As for R8 Youmu, while Moon and Star breaks are needed, it should not limit your perspective to only bringing a Friend with those elements. Some Friends have access to both Water and Star and/or Water and Moon, which allows for multiple elemental breaks, allowing you to formulate a workaround more efficiently in order to deal with all three of them.
While this stage can be split for both early phase and late phase of battle, the core idea for dealing with it remains the same all throughout. However, it is most likely more crucial to deal with B3 Youmu immediately on the early phases and therefore, consider bringing Friends with Freeze anomaly breaks as she is able to inflict herself with it. This allows you to have more ways to bring her down immediately to Full Break status which can then allow you to nuke her by the next turn.
Right below, we have a list of Friends that are categorized based on their roles for this specific stage. Core Friends are Friends who have tremendous overall impact over the course of the battle. Nukers are described as Friends whose primary purpose is to dish out high amounts of damage to quickly deal with the enemies at hand. Barrier Breakers as the name implies, are Friends who excel at barrier breaking. A new category, Nuker + Breaker, is added and as its name implies, it is used to categorize Friends that can both do nuking and barrier breaking depending on the situation they are faced with. Lastly, we have the Utility and Breaks category, where the Friends listed mostly supports the party through party buffs and enemy debuffs, with the added benefit of doing barrier breaks.
NOTES:
- As this is the first time that we will get this kind of content, Friend recommendations will take some time to theorize.
- The list below is ordered properly from left (highest) to right (lowest) based on their effectiveness for the category.
| Core Friends | |
|---|---|
|
|

Character Page: Marisa Kirisame (Scarlet)
|
|
|

Character Page: Youmu Konpaku (Cherry Blossom)
Character Page: Flandre Scarlet (Vampire Pursuing the Hunter) Nothing in here yet.
Character Page: Yukari Yakumo (Cherry Blossom) Nothing in here yet. |
| Nuker + Breaker | |
|---|---|
|
|
|
|
|
|
| Utility + Breaks | |
|---|---|
|
|
|
|
|
|
| Nukers | |
|---|---|
|
|
|
|
|
|
| Barrier Breaks |
|---|
Story Cards:
As for Story Card recommendations, multiple MLB copies of the Witch of Scarlet Dreams story card will be immediately recommended as having access to multiple bullet lines will be essential if you want to give your units more fighting power and barrier breaking potential. An alternative would be MLB Youkai Mountain Anniversary which gives the same effect. If you are lacking in both of these story cards, other options include MLB Midnight Tea, MLB It's Spring for 1.5 P UP. Now, to bring out your Friend's damage potential, it is recommended to use the best card for each Friend's Last Word which is augmented with buffs and/or debuffs you are looking to take advantage of.

Team Comp Guides
Having trouble with the Battle Stage? Then you've come to the right place! This section will contain some guides that may help you out on your journey in defeating the triple Youmu variants. Right below i am sharing my team comp for tackling the Lunatic difficulty of the stage, which you may use as a reference for strategizing your own setup.
Community Guides
Below are some of the community made team comps for the stage that can serve as further reference for your endeavors. Note that these videos are not affiliated with Gamepress and are made solely by their respective creators. The author has also asked for permission from the creators about their content being featured in this article.