Introduction
Friends, you may have resolved the incident of the missing sweets with Remilia, but that's not all, is it? No, like any good Halloween party, there's something that comes after - EXTRA spooks and chills! The stages here are a step above the normal event stages in difficulty, so get ready to bring your best Friends. There's something especially frightening at the end of all of this...
Please note that all of these fights will have their stats listed as the fights are on Lunatic difficulty. Normal and Hard fights have approximately 1/3rd and 1/2th the health listed here, and come with fewer enemies. Also, as always, names of those who appear in these fights will be spoiled, so come check this out after doing the Extra on normal if you don’t want to be spoiled.
Stage 1
| Enemy | HP | Weak To | Resists | Barriers | Spell Gauge | Skills |
|---|---|---|---|---|---|---|
| Small Devil | 37500 | None | None | 6 | N/A | Increase own resistance to Solo targeting attacks & lower own resistance to All targeting attacks. |
| Fairy Maid | 37500 | None | None | 6 | N/A | Increase own resistance to All targeting attacks & lower own resistance to All targeting attacks. |
| Enemy | HP | Weak To | Resists | Barriers | Spell Gauge | Skills |
|---|---|---|---|---|---|---|
| Luna Child | 32000 | Earth, Star | Sun, Metal | 6 | 2 | Increase own resistance to Solo targeting attacks & lower own resistance to All targeting attacks |
| Sunny Milk | 33000 | Wood, Star | Wood, Star | 6 | 2 | Increase own resistance to All targeting attacks & lower own resistance to Solo targeting attacks. |
| Star Sapphire | 32000 | Sun, Metal | Moon, Water | 6 | 2 | Increase own resistance to Solo targeting attacks & lower own resistance to All targeting attacks |
| Enemy | HP | Weak To | Resists | Barriers | Spell Gauge | Skills |
|---|---|---|---|---|---|---|
| Shion Yorigami | 105000 | Metal, Star | Sun, Water | 6 | 1 | Increase own resistance to All targeting attacks & lower own resistance to Solo targeting attacks. |
Breaking this fight down: for Wave 1, whilst the dispersant resistances to Solo and All are annoying on paper, the enemies barely have any HP so you can just blow them up pretty easily. Wave 2 has that as well as the three fairies having completely different weaknesses and resistances, to the point where each one resists what another is weak to. However, they still have barely any HP, so it’s easy enough to just brute force them (or failing that, bring multiple weakness, or just Fire type attacks since none of them resist or are weak to them). Finally, Shion’s got a considerable chunk of HP alongside her All targeting resistance, so make sure to bring some Solo targeting attacks to deal with her.
Stage 2
| Enemy | HP | Weak To | Resists | Barriers | Spell Gauge | Skills |
|---|---|---|---|---|---|---|
| Flandre Scarlet | 92500 | Sun, Water, Wood | Moon, Metal, Star | 6 | 2 | Skill 1: Increase own resistance to All targeting attacks & lower own resistance to Solo targeting attacks. Skill 2: Increase own Accuracy & CRIT Accuracy |
| Enemy | HP | Weak To | Resists | Barriers | Spell Gauge | Skills |
|---|---|---|---|---|---|---|
| Marisa Kirisame | 95500 | Sun, Earth | Moon, Metal | 6 | 2 | Skill 1: Increase own resistance to Solo targeting attacks & lower own resistance to All targeting attacks. Skill 2: Raise own Yang ATK & DEF. |
| Enemy | HP | Weak To | Resists | Barriers | Spell Gauge | Skills |
|---|---|---|---|---|---|---|
| Tewi Inaba | 111500 | Sun, Metal | Moon, Water | 6 | 0 | Skill 1: Increase own resistance to Solo targeting attacks. Skill 2: Inflict 2 Layers of Freeze, Burn, & Poison Barriers to all foes (2T) |
For this second fight, the big standout is that all three waves are weak to Sun. Otherwise, you only want to bring a small amount of Solo targeting attacks to handle Flandre as, in spite of the fact all three waves have only one enemy, waves 2 and 3 are weak to All targeting attacks and not Solo targeting attacks.
You know how in horror movies, they’ll give you a moment of peace and calm before knocking your socks off? Yeah, this is that moment.
If you’re looking to farm Lunatic mode daily for extra materials, it’s recommended you do this stage, as it’s much less of a pain to farm than Stage 3.
Stage 3
| Enemy | HP | Weak To | Resists | Barriers | Spell Gauge | Skills |
|---|---|---|---|---|---|---|
| Kosuzu Motoori | 139500 | Sun, Metal | Moon, Water | 6 | 2 | Skill 1: Increase own resistance to Solo targeting attacks & lower own resistance to All targeting attacks. Skill 2: Increase own CRIT & YIN ATK |
| Enemy | HP | Weak To | Resists | Barriers | Spell Gauge | Skills |
|---|---|---|---|---|---|---|
| Hieda no Akyuu | 135500 | Metal, Star | Sun, Water | 6 | 2 | Skill 1: Increase own resistance to All targeting attacks & lower own resistance to Solo targeting attacks. Skill 2: Raise own Evasion & Accuracy |
| Enemy | HP | Weak To | Resists | Barriers | Spell Gauge | Skills |
|---|---|---|---|---|---|---|
| Keine Kamishirasawa | 175000 | Moon, Wood | Fire, Star | 6 | 1 | Passive: Basic Shots break Blind barriers. Skill 1: Increase own resistance to All targeting attacks & lower own resistance to Solo targeting attacks. Skill 2: Inflict 3 layers of Blind Barriers to all foes. |
The first two waves aren’t anything too terrible: make sure to have All targeting attacks in wave 1 for Kosuzu, but not too many as the following two waves resist All targeting attacks. For wave 2, watch out for Akyuu’s self Evasion UP - it may be worth it to bring some extra Accuracy support (be it teammate skills or Story Cards) if you’re having trouble with her. Both waves are weak to Metal, which makes those attacks particularly good to bring.
As for the final wave...Behold, something truly frightening: a teacher. Beyond that, Keine’s also by far the beefiest enemy in any EXTRA stage to date, sporting a massive 175000 points of health, resistance to All attacks, and a nasty gimmick: not only can she inflict 3 layers of Blind Barriers to all your frontline units, she also breaks Blind Barriers on her basic shots (that is, her non Spell Gauge attacks).
As a result, it is highly advised you bring powerful Solo targeting attacks to handle her, and refrain from attempting to stall her out. Due to the way Barriers work, you cannot graze with the fifth Barrier your units start with, but Keine can inflict Blind to it, and thusly Break it and Full Break that unit. If you’re struggling, remember that she’s weak to Moon and Wood, and that a Full Break will leave her extremely vulnerable. You DID do your homework on Full Breaks, right? There's no faster way to make a teacher mad then to not do your homework.
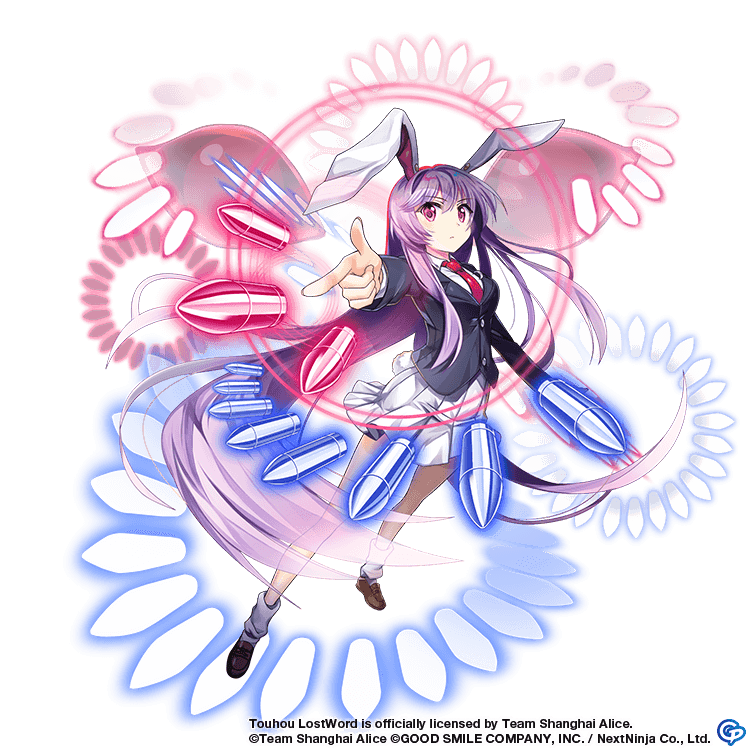
Patchouli Knowledge is a standout unit to bring to this fight if you’re struggling with Keine, as she can inflict a whopping four Moon Element Breaks, with Solo targeting to boot to benefit from Keine’s vulnerability to Solo targeting attacks. Additionally, Reisen Udongein Inaba has Moon Breaks with Solo targeting in spades, and lastly Medicine Melancholy's Poison Barrier Breaking shenanigans work just as well here as anywhere else - and you can get both of them from the Special tasks if you don't already have a copy.