Introduction
Welcome back to the Scarlet Devil Tower, I hope you're ready once again to venture into the unknown of this scarlet skyscraper. I know you want to beat the ten next floors for those sweet rewards, including a Divine Paper Doll at Floor 125 and a Paper Doll at F130. If you think you're not ready, it's okay! we will walk through every floor until we reach the very top.
This is a guide for the floors 121 through 130 of the Scarlet Devil Tower. If you need to refresh your memory about how the Tower works, click here. To return to the floor index, click here. To visit the guide about the previous 10 floors, click here. and for the next 10 floors, it is here.
Friendly reminder that the recommended units aren't mandatory to beat a floor, but they serve to give you a basic understanding of how a floor should be approached.
121F
| Enemy | HP | Weak To | Resists | Barriers | Spell Gauge | Skills |
|---|---|---|---|---|---|---|
| Zombie Fairy (None) |
562087 | Moon & Water |
Fire & Wood |
6 | N/A | Reduce damage received from Ofuda Bullets for all allies by 50% (1T) |
| Yoshika Miyako | 562496 | Fire & Metal |
Water & Earth |
6 (Immune to Freeze and Poison) |
3 | None |
| Zombie Fairy (None) |
565978 | Moon & Wood |
Sun & Metal |
6 | N/A | Reduce damage received from Slashing Bullets for all allies by 50% (1T) |
Oh, I've never seen a fairy like that. What is Yoshika doing with them? Did Seiga send her here?
The first floor is fairly simple, although with only two challenges; Yoshika heals her HP whenever she lands an attack, alongside Slashing and Ofuda Bullets dealing half damage. It is recommended to not nuke with units that rely on Ofuda and Slashing Bullets heavily when the opponent's buff is active and to defeat Yoshika first. But pay attention to Yoshika's anomaly immunity, because Poison and Freeze are useless against her. Lastly, try using All targeting Moon attacks because both fairies are weak to them.
Below is a list of recommended units that'll do an amazing job here.
122F
| Enemy | HP | Weak To | Resists | Barriers | Spell Gauge | Skills |
|---|---|---|---|---|---|---|
| Shion | 557558 | Star & Earth |
Moon & Water |
6 | 2 | Inflict 1 Burn to all opponents (2T) |
| Tenshi Hinanawi |
572347 | Sun & Metal |
Star & Water |
6 | 3 | None |
| Yukari Yakumo | 554054 | Fire & Water |
Sun & Earth |
6 | 2 | Inflict 1 Burn to all opponents (2T) |
Aw, Shion and Tenshi are working together. I don't know why Yukari is with them but they're cute.
At first glance, the Burn anomalies may seem harmless, but note that Tenshi's Shots break barriers that have Burn applied to them. But aside from the usual survival of the onslaught of Spell Cards, that is the only hurdle to overcome here. Sadly there are no shared weaknesses, but any Spell Card or Shot that can Full Break an opponent in one go is great, and Burn immune units allow you to practically ignore this floor's entire gimmick.
Here's a list of some good breakers and some Burn immune units, also remember that anomaly breaking can prove very useful on this floor.
123F
| Enemy | HP | Weak To | Resists | Barriers | Spell Gauge | Skills |
|---|---|---|---|---|---|---|
| Koakuma | 541704 | Sun & Metal |
Moon & Fire |
6 | 3 | Yin DEF UP 5 levels for all allies (1T) |
| Tiny Devil | 582220 | Earth & Wood |
Star & Metal |
6 | N/A | None |
| Patchouli Knowledge |
562372 | Star & Metal |
Sun & Water |
6 | 3 | CRIT Accuracy UP 6 levels for all allies (1T) |
It is certainly odd to see a tiny devil leading a party containing Patchouli and Koakuma, but let's not underestimate her.
The Tiny Devil hits very hard because of her Hard Bullets which scale with DEF. This is where Patchouli and Koakuma's skills come in, buffing both DEF and CRIT Accuracy. They make a great team.
Which is why it is recommended to take on Patchouli or Koakuma first, and to leave the tiny devil last because without any support, she's weak.
Below is a list of some Friends that excel on this floor.
124F
| Enemy | HP | Weak To | Resists | Barriers | Spell Gauge | Skills |
|---|---|---|---|---|---|---|
| Kogasa Tatara |
557602 | Moon & Star |
Fire & Wood |
6 | 2 | Recover 1 Barrier for all Allies |
| Seikibanki | 586459 | Sun & Earth |
Star & Fire |
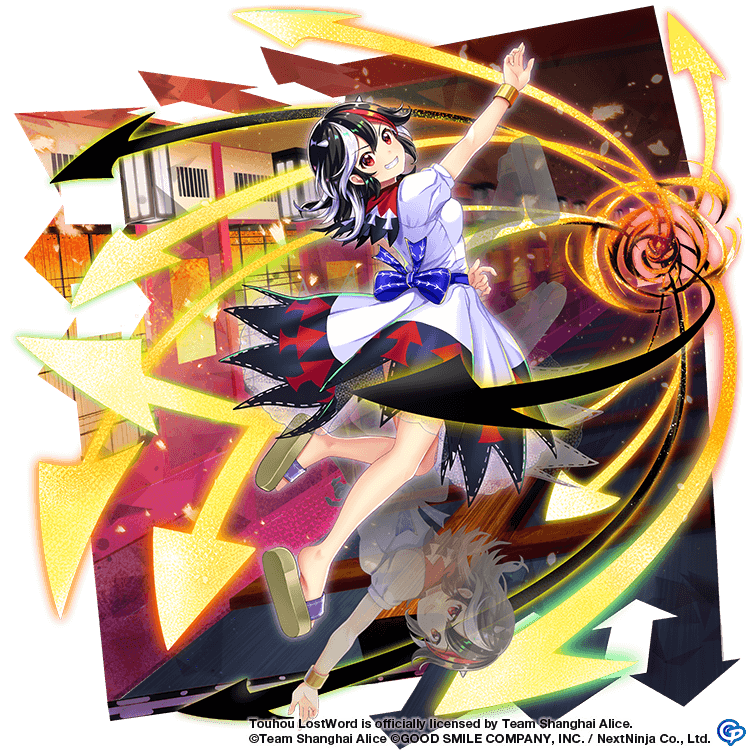
6 | 3 | Reduce damage received from Laser and Body bullets for all allies by 50% (1T) |
| Kagerou Imaizumi |
557954 | Fire & Water |
Moon & Earth |
6 | 2 | Cleanse 3 Barrier anomalies for all allies |
It is recommended to defeat Kogasa first because of her barrier regeneration, and to watch out for Seikibanki's skill by not relying on units that use Body and/or Laser bullets to deal tons of damage.
Here's a list of recommendations for units for this floor:
125F
| Enemy | HP | Weak To | Resists | Barriers | Spell Gauge | Skills |
|---|---|---|---|---|---|---|
| Clownpiece | 352178 |
Earth & Wood |
Sun & Metal |
6 | 2 | Gauge Burst: Lock all skills for all opponents (5T) |
| Hecatia Lapislazuli |
600949 | Moon & Water |
Earth & Wood |
6 (Immune to Freeze) |
2 | Skill: Add 2 Barriers to the Party EX ATTACK: Lock the use of Spread Shots for all opponents (5T) |
| Shiki Eiki, Yamazanadu |
353666 |
Sun & Fire |
Moon & Star |
6 | 2 | Skill: Apply 3 Burn anomalies to all opponents (3T) Gauge Burst: Lock unit Switch for all opponents (5T) |
Welcome to Shiki's court, where she is accompanied by her supervisor, Hecatia, and her favorite hell fairy!
I know we're all excited to beat this floor and get our well deserved divine paper doll, but we got a few things to keep track of.
- Clownpiece's Lunatic Torch shot and both of Hecatia's break Burn anomalies, which is dangerous coupled with Shiki's skill.
- Hecatia's shots also lower our CRIT Evasion, while Shiki's lower our CRIT Def, these two combo up for crazy damage.
- Hecatia's Barrier regeneration which gets annoying when you're trying to Full Break
- Hecatia's Extra Attack alongside Clownpiece's and Shiki's Gauge Burst, which are annoying but can be easily played around as long as you're mindful of their existence.
- This is only for anomaly breakers but it is still important; Hecatia's immune to freeze
So it is recommended to bring Burn Immune Friends, and to take down Hecatia first, then choose the next opponent to defeat however you like.
To make things easier, feel free to use the list below alongside what we just discussed to get ideas for who you'll bring.
126F
| Enemy | HP | Weak To | Resists | Barriers | Spell Gauge | Skills |
|---|---|---|---|---|---|---|
| Moon Rabbit | 598223 | Star & Wood |
Fire & Metal |
6 | N/A | Reduce Damage received from Wood Bullets for all allies by 50%(1T) |
| Rei'sen | 599051 | Earth & Water |
Sun & Wood |
6 | 2 | None |
| Moon Rabbit | 593773 | Metal & Wood |
Earth& Star |
6 | N/A | Reduce Damage received from Sun Bullets for all allies by 50%(1T) |
This looks like a full rabbit floor. There's nothing out of the ordinary when it comes to how we'll handle it though.
The easiest thing to do is to not bring any Sun or Wood element damage dealer. Let's not forget, anomaly breaking these opponents is always an option.
As usual, recommendations below:
127F
| Enemy | HP | Weak To | Resists | Barriers | Spell Gauge | Skills |
|---|---|---|---|---|---|---|
| Merlin Prismriver |
598225 | Moon & Fire |
Earth & Wood |
6 (Immune to Paralyze) |
2 | None |
| Raiko Horikawa |
619757 | Sun & Star |
Metal & Water |
6 (Immune to Paralyze) |
3 |
|
| Lunasa Prismriver |
579830 | Wood & Metal |
Moon & Earth |
6 (Immune to Blind) |
2 | None |
I wonder if the Prismrivers are training with Raiko. They'd make such an electric atmosphere. And it seems that's exactly what they've done!
Every turn your entire party gets 2 layers of Paralyze, and both of Lunasa and Merlin's shots break Paralyze barriers. Coupling this with how Raiko can give her team Quick, your team's barriers can be very easily gone.
Which is why it is recommended to defeat Raiko first, and to make that even faster, use a Sun & Star attacker. Sadly there are no shared weaknesses here and 2 anomalies are resisted.
Down below are some great units for this floor:
128F
| Enemy | HP | Weak To | Resists | Barriers | Spell Gauge | Skills |
|---|---|---|---|---|---|---|
| Hatate Himekaidou |
565419 | Fire & Water |
Sun & Star |
6 (Immune to Blind) |
2 | Opponents' Yin ATK 5 levels DOWN (1T) |
| Raven Tengu (None) |
659340 | Earth & Star |
Wood & Metal |
6 | N/A | Opponents' Agility 5 levels DOWN (1T) |
| Aya Shameimaru |
566498 | Sun & Fire |
Moon & Water |
6 (Immune to Burn & Poison) |
2 | Opponents' Yang DEF 5 levels DOWN (1T) |
The Tengu duo is here, and they've got company. This floor is very straightforward and basic. Just don't get overwhelmed by all the debuffs. Luckily Hatate and Aya share a Fire weakness, so you can defeat the 2 biggest threats easily and fast! Try to bring AoE Fire Attacks.
You can find some great aoe fire breaking units here:
129F
| Enemy | HP | Weak To | Resists | Barriers | Spell Gauge | Skills |
|---|---|---|---|---|---|---|
| Chen | 623103 | Moon & Wood |
Metal & Fire |
6 | 2 | Party's CRIT Accuracy UP by 6 levels (1T) |
| Yukari Yakumo | 593437 | Metal & Water |
Sun & Star |
6 | 3 | Party's damage received from Sharp and Light Bullets reduced by 50% (1T) |
| Ran Yakumo | 576031 | Earth & Star |
Metal & Water |
6 | 2 | Party's CRIT ATK UP by 5 levels (1T) |
The Yakumo Family is here! And they're...surprisingly not that hard to deal with, just a tad bit annoying because of the lack of shared weaknesses.
Here, Yukari's Shikigami and her own Shikigami play the role of basic CRIT support, and the Gap Youkai is on the defensive, only against Light and Sharp Bullets though. Yukari's Skill becomes meaningless if you don't bring Sharp/Light bullet attackers. And the rest can be dealt with exceptionally well by some of the Friends below, but don't forget great anomaly breakers as they all work here!
130F
| Enemy | HP | Weak To | Resists | Barriers | Spell Gauge | Skills |
|---|---|---|---|---|---|---|
| Lunar War Shaman Reimu Hakurei |
353213  |
Sun & Moon |
Star & Water |
7 | 1 | Skill: Party's Yang DEF 5 levels UP Gauge Breaks:
|
| Lunar War Oracle Sanae Kochiya |
854532 | Fire & Water |
Moon & Wood |
7 | 2 | EX ATTACK: Lock Graze for all opponents (5T) |
| Lunar War Enchanter Marisa Kirisame |
356932  |
Star & Metal |
Earth & Fire |
7 | 1 | Gauge Breaks:
|
The big 3 of the Lunar War are here climbing the tower, and they are fierce opponents! Out the gate, Sanae locks graze usage for 5 turns, so you might want to switch your units or use a unit that cleanses locks like B3 Toyohime. Later on in the fight you will notice that B3 Reimu's skill makes Yang Attackers deal much less damage, alongside ramping up her damage because of her Hard Bullets. When it comes to B3 Sanae, she lowers her target's Yang ATK with her Focus Shot and her Spread Shot lowers Yin ATK. In addition to that, B3 Marisa Applies a layer of Burn with her Shots and Gauge Break effects make certain elements (Wood, Earth, Fire, Water) completely useless for 5 turns.
There is a lot to keep track of, and there are no shared weaknesses, but do not fret. It is recommended to not bring units that are weak to Star and/or Wood because those are the shots' elements. As to who to prioritize, it depends on how you will defeat them. But defeating Sanae first is a good idea because she's easier to get rid of, a consequence of her lack of Gauges, and that means you have 1 less opponent to worry about and no direct ATK debuffs.
Down below there are some units that'll be exceptional for this floor, but if you don't have them or if it takes you many attempts to beat this stage, it's all good, you will make it eventually!
