Introduction
Welcome back to the Scarlet Devil Tower, the upcoming floors will hopefully be simple to clear, the last boss floor here has a ghastly surprise though. You might notice that most floors have Friends of the same type, which is a fun detail. For example, the first floor has all Attack Type friends!
As usual, the recommended units aren't necessary to clear the floors and are only used to give a basic understanding of what is useful. Remember to use the filter we have to find the Friend that uses the element you want!
This is a guide for the floors 141 through 150 of the Scarlet Devil Tower. If you need to refresh your memory about how the Tower works, click here. To return to the floor index, click here.
To visit the guide about the previous 10 floors, click here.
141F
| Enemy | HP | Weak To | Resists | Barriers | Spell Gauge | Skills |
|---|---|---|---|---|---|---|
| Marisa Kirisame |
704224 | Sun & Fire |
Wood & Metal |
6 | 3 | Damage Received by the Party from Liquid Bullets 50% DOWN (1T) |
| Hong Meiling |
703404 | Moon & Wood |
Earth & Star |
6 (Immune to Burn & Poison) |
3 | Damage Received by the Party from Laser & Missile Bullets 50% DOWN (1T) |
| Yuyuko Saigyouj |
706826 | Sun & Metal |
Fire & Water |
6 (Immune to Poison) |
3 | Damage Received by the Party from Sharp Bullets 50% DOWN (1T) |
| Reward: |  x10 |
|---|
This floor's mechanic isn't new. Classic resistances are all what we have to deal with. Keep in mind the anomaly resistances if you want to use anomaly breaks though. Aside from that we have a shared Sun weakness that we can use to our advantage.
Notable units to to do this with are
142F
| Enemy | HP | Weak To | Resists | Barriers | Spell Gauge | Skills |
|---|---|---|---|---|---|---|
| Koakuma | 690133 | Moon & Wood |
Sun & Water |
6 | 2 | Apply 1 Burn Barrier anomaly to All Targets (2T) |
| Reisen Udongein Inaba | 729973 | Water & Metal |
Star & Earth |
6 | 3 | Apply 1 Paralyze Barrier anomaly to All Targets (2T) |
| Tewi Inaba | 695346 | Fire & Earth |
Wood & Water |
6 | 2 | Apply 1 Poison Barrier anomaly to All Targets (2T) |
| Reward: |  x10 |
|---|
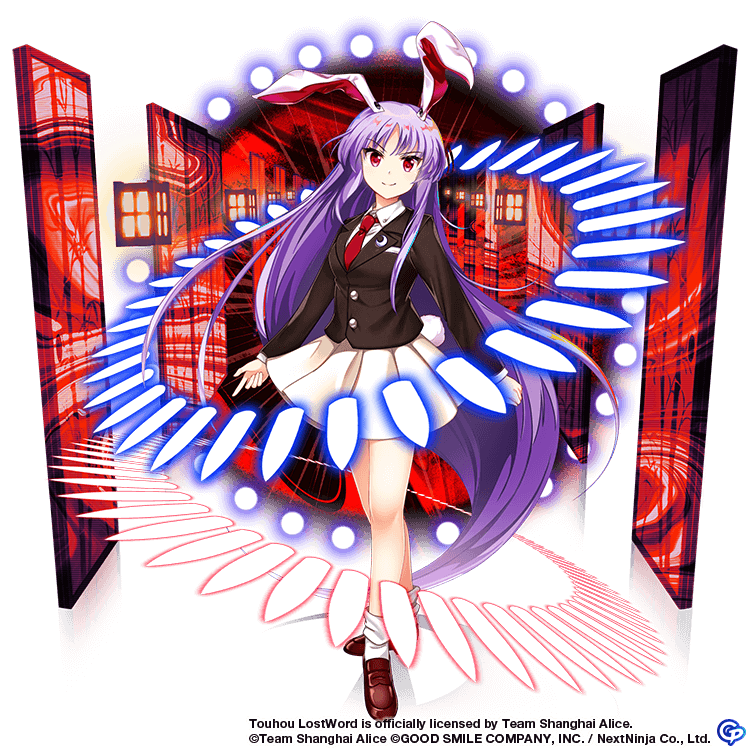
Ah yes the underling gang is here. And they're actually merciful; Even though they apply many anomalies, none of their shots break them. But that comes with the price of having 0 shared weaknesses here. Always remember we can freely use anomalies here which should make full breaking these units much easier.
Reisen should be prioritized due to her annoying Paralyze anomaly that can skip our turns, but if you can't survive the onslaught of Spell Cards, adapt the strategy to get rid of what most bothers you.
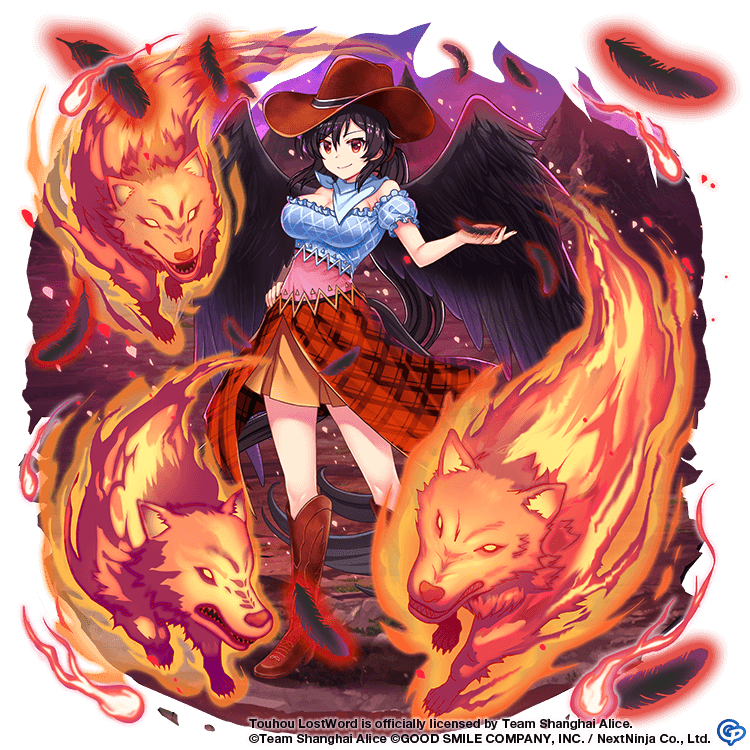
A good unit here is Junko (Nameless Space Terror due to being able to ignore all the anomalies.

143F
| Enemy | HP | Weak To | Resists | Barriers | Spell Gauge | Skills |
|---|---|---|---|---|---|---|
| Lily White |
703929 | Wood & Metal |
Sun & Moon |
6 | 3 | Damage received from Moon Bullets by the Party 50% DOWN (1T) |
| Minoriko Aki |
715588 | Water & Earth |
Wood & Star |
6 (Immune to Paralyze & Poison) |
2 |
|
| Hata no Kokoro |
696882 | Fire & Wood |
Water & Earth |
6 | 3 | Damage received from Sun Bullets by the Party 50% DOWN (1T) |
| Reward: |  x10 |
|---|
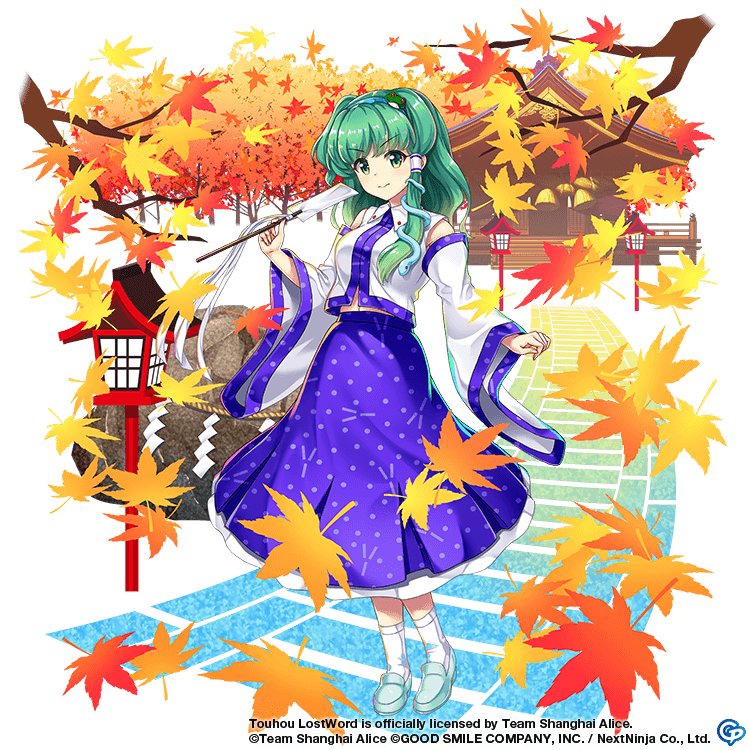
We've seen just bullet type resistances 2 floors ago, this time it is bullet elements that are resisted and we add team buffs to the mix. Luckily, there is a shared weakness here which is wood, and no enemy skills lower damage taken from Wood bullets (as opposed to Moon and Sun).
Which makes powerful wood attackers really potent here.

144F
| Enemy | HP | Weak To | Resists | Barriers | Spell Gauge | Skills |
|---|---|---|---|---|---|---|
| Ringo | 718609 | Water & Earth |
Moon & Wood |
6 | 2 | Cleanse 1 Barrier Anomaly for All Allies. |
| Hieda no Akyuu |
687711 | Sun & Star |
Metal & Fire |
6 | 3 | Recover 1 Barrier for All Allies. |
| Daiyousei | 712432 | Fire & Metal |
Moon & Sun |
6 | 2 | Cleanse 1 Barrier Anomaly for All Allies. |
| Reward: |  x10 |
|---|
All of our enemies are Support type Friends, and support each other they do. Barrier recovers should be prioritized to make full breaking the other characters much easier. which means we really want Sun & Star element bullets. Some notable Sun & Star Bullet units are:


145F
| Enemy | HP | Weak To | Resists | Barriers | Spell Gauge | Skills |
|---|---|---|---|---|---|---|
| Satono Nishida | 1256534 | Sun & Water |
Earth & Star |
6 | 2 | All Targets Yang DEF 5 Levels DOWN (1T) EX ATTACK: Disable Spread Shots for All Targets (5T) |
| Mai Teireida | 1254761 | Earth & Star |
Sun & Moon |
6 | 2 | Apply 2 Paralyze Barrier anomalies to a single Target (2T) EX ATTACK: Disable Switch for All Targets (5T) |
| Reward: |  x20 000 |
|---|
Mai lowers the target's Accuracy with one of her shots, and Satono lowers our Evasion through the same method.
We also have the EX Attack effects, the Yang DEF debuff, and the fact that there are no shared weaknesses here. Which means prioritizing one opponent and taking her down as soon as possible is best. You can bring a unit that is immune to Paralyze anomalies to fully focus on dealing with Satono.
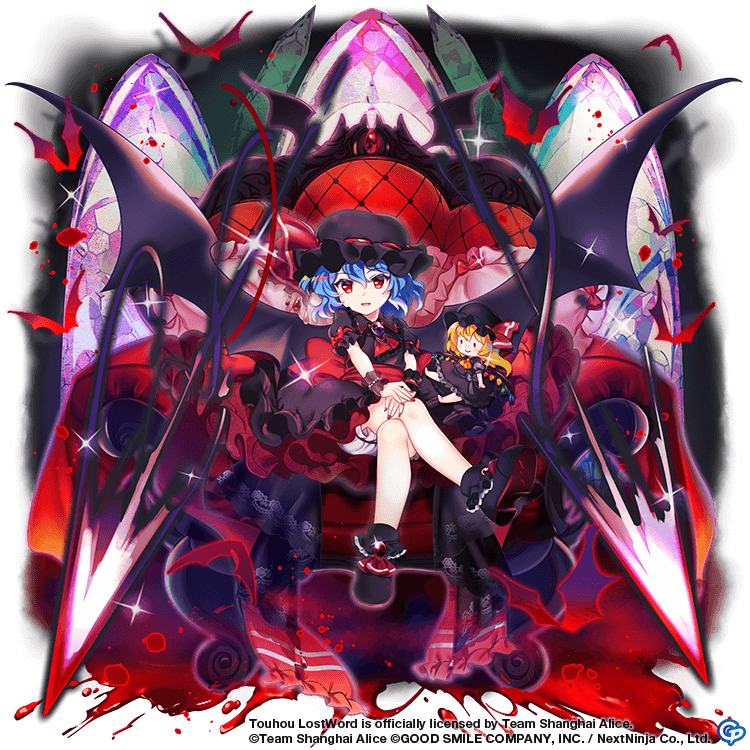
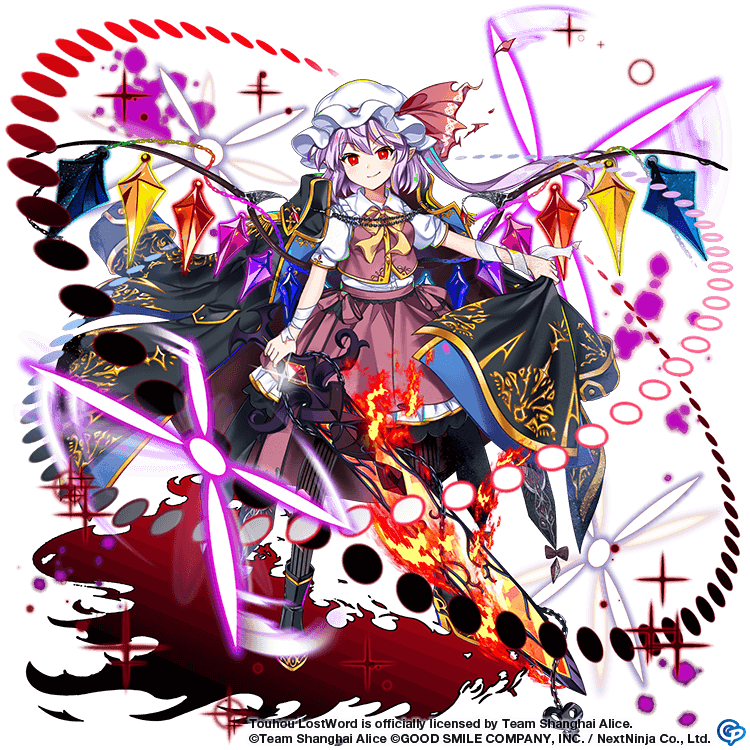
No enemy having a gauge makes buffing your units and going for a big nuke very worth it too. A unit that is great for that is E1 Flandre
146F
| Enemy | HP | Weak To | Resists | Barriers | Spell Gauge | Skills |
|---|---|---|---|---|---|---|
| Yukari Yakumo |
749178 | Star & Water |
Fire & Wood |
6 | 3 | Damage received from Fire Bullets by the Party 70% DOWN (1T) |
| Byakuren Hijiri |
733456 | Earth & Fire |
Sun & Metal |
6 | 2 | Damage received from Water Bullets by the Party 70% DOWN (1T) |
| Mamizou Futatsuiwa |
742231 | Metal & Star |
Earth & Moon |
6 | 3 | Damage received from Metal Bullets by the Party 70% DOWN (1T) |
| Reward: |  x10 |
|---|
The only challenge in this floor is the elemental bullet resistances, which aren't very hard to deal with because of how they only cover half of our opponent's weaknesses.
Some perfect units for this are:

147F
| Enemy | HP | Weak To | Resists | Barriers | Spell Gauge | Skills |
|---|---|---|---|---|---|---|
| Hina Kagiyama |
737736 | Moon & Wood |
Metal & Star |
6 | 2 | None |
| Rumia | 724468 | Sun & Fire |
Water & Earth |
6 | N/A | None |
| Sagume Kishin |
763222 | Water & Star |
Fire & Metal |
6 | 2 | None |
| Reward: |  x10 |
|---|
All enemies here are of the debuff type, neat. "But they all don't have skills, looks like an easy floor," you might think. Wrong. There's a mechanic here; anomaly applying.
Hina and Sagume break Poison with their shots, while Rumia applies it using her own shots.
To counteract the entire floor you can use a Friend that is immune to Poison. Otherwise prioritizing Rumia works fine.
For that, units similar to the following are great:


148F
| Enemy | HP | Weak To | Resists | Barriers | Spell Gauge | Skills |
|---|---|---|---|---|---|---|
| Flandre Scarlet |
726643 | Moon & Wood |
Sun & Fire |
6 | 2 | Own Solo Resist 5 Levels UP (1T) |
| Reisen | 721869 | Earth & Metal |
Water & Wood |
6 | 1 | Own Solo Resist 5 Levels UP (1T) |
| Kosuzu Motoori |
733376 | Sun & Moon |
Metal & Star |
6 | 2 | Own Solo Resist 5 Levels UP (1T) |
| Reward: |  x10 |
|---|
It is interesting how all our opponents here are Destruction type Friends. They all have the same skill, to take less damage from Solo targetting attacks. The best thing to do here is to utilize the shared weakness of the Moon element to take out Flandre and Kosuzu as soon as possible.
Some great Moon using units are:
149F
| Enemy | HP | Weak To | Resists | Barriers | Spell Gauge | Skills |
|---|---|---|---|---|---|---|
| Minamitsu Murasa |
753673 | Moon & Star |
Fire & Wood |
6 (Immune to Burn) |
1 | Recover 1 Barrier for All Allies |
| Sakuya Izayoi |
735505 | Sun & Metal |
Moon & Water |
6 | 2 | Heal 7% of Party’s HP |
| Chen | 743344 | Water & Earth |
Fire & Star |
6 | 1 | Recover 1 Barrier for All Allies |
| Reward: |  x10 |
|---|
Keep in mind Murasa's Evasion is buffed for every Freeze Layer she has applied to her, which can mess up your accuracy. Even though all our enemies are Speed type, they're very defensive and attack frequently. That means we need to take them down very fast, either one by one or all at once if possible. But the latter is unlikely due to the floor having no shared weaknesses. Even so, anomalies are your friend.
Prioritizing one of the units that recover barriers is best, so Chen or Murasa which are weak to Moon & Star, and Water & Earth.
Here are some great units to beat them with:

150F
| Enemy | HP | Weak To | Resists | Barriers | Spell Gauge | Skills |
|---|---|---|---|---|---|---|
| Yuyuko Saigyouji |
779643  |
Moon & Fire |
Sun & Metal |
7 (Immune to Poison) |
2 | Cleanse 3 Barrier Anomalies for All Allies 2nd Gauge Burst: Damage received from Moon Bullets by Self 100% DOWN (1T) |
| Yuyuko Saigyouji (Tiny Ghost Mistress) |
775052 |
Wood & Star |
Moon & Earth |
7 (Evasion UP for every barrier with Freeze) |
1 | All Targets’ Evasion 3 Levels DOWN (1T) 2nd Gauge Burst: Damage received from Wood Bullets by Self 100% DOWN (1T) |
| Reward: |  x1 |
|---|
2 Yuyukos stand between us and our divine paper doll. We need to beat them. Important things to keep track of in this floor are:
- L1 Yuyuko Applies Freeze and Paralyze with her shots, while R2 Yuyuko Breaks these anomalies with her shots
- Keep in mind using Freeze against the tiny ghost mistress will cause her Evasion, Agility, and Accuracy to get buffed. Usually only the first one of these can annoying as your units will miss more.
- L1 Yuyuko Heals anomalies, making anomalies really annoying to use on this floor.
- Good news! the first gauge bursts have no effect, the 2nd ones completely nullify damage from Moon and Wood Bullets for L1 Yuyuko and R2 Yuyuko respectively.
To not worry about the anomalies inflicted to your team you can use a Friend that is immune to Paralyze and/or Freeze. And you can always prioritize dealing with 1 gauge burst effect at a time.
Below are a few friends that are good at that alongside dealing damage: