Introduction
Welcome back to the Scarlet Devil Tower, the upcoming floors will officially be our jump to having normal floor enemies have more than 1 million HP, more specifically it'll be floor 166 that'll mark this milestone. I hope everyone's ready to take these beefier enemies down!
As usual, the recommended units aren't necessary to clear the floors and are only used to give a basic understanding of what is useful. Remember to use the filter we have to find the Friend that uses the element you want!
This is a guide for the floors 161 through 170 of the Scarlet Devil Tower. If you need to refresh your memory about how the Tower works, click here. To return to the floor index, click here.
To visit the guide about the previous 10 floors, click here.
161F
| Enemy | HP | Weak To | Resists | Barriers | Spell Gauge | Skills |
|---|---|---|---|---|---|---|
| Byakuren Hijiri |
898331 | Sun & Metal |
Moon & Water |
6 | 3 | None. |
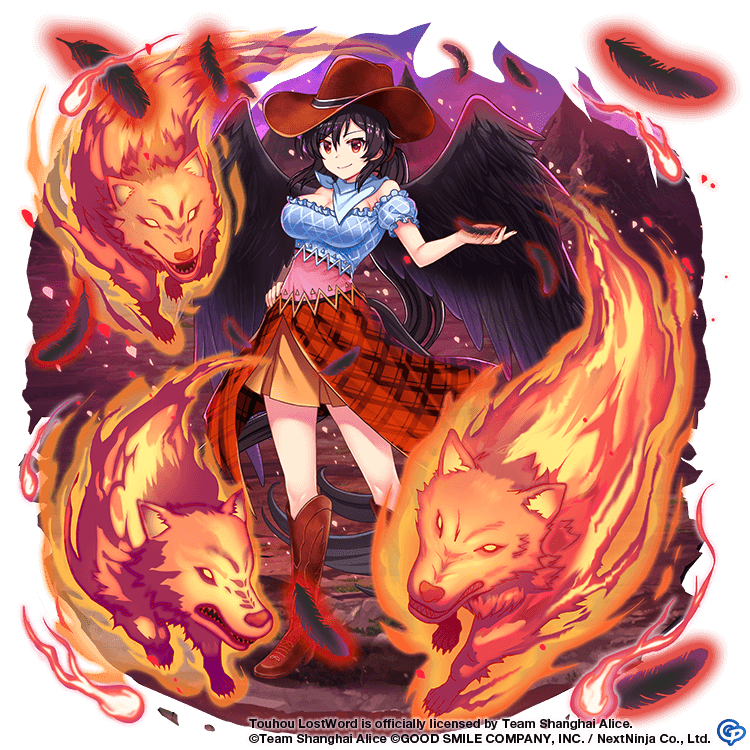
| Aya Shameimaru |
899870 | Water & Star |
Fire & Wood |
6 (Immune to Burn & Poison) |
3 | None. |
| Eiki Shiki, Yamaxanadu |
896441 | Sun & Moon |
Star & Earth |
6 | 3 | None. |
| Reward: |  x10 |
|---|
This floor looks like it has no mechanics, but watch out! All 3 opponents have Hard scaling on their shots. Although this realistically makes a small difference.
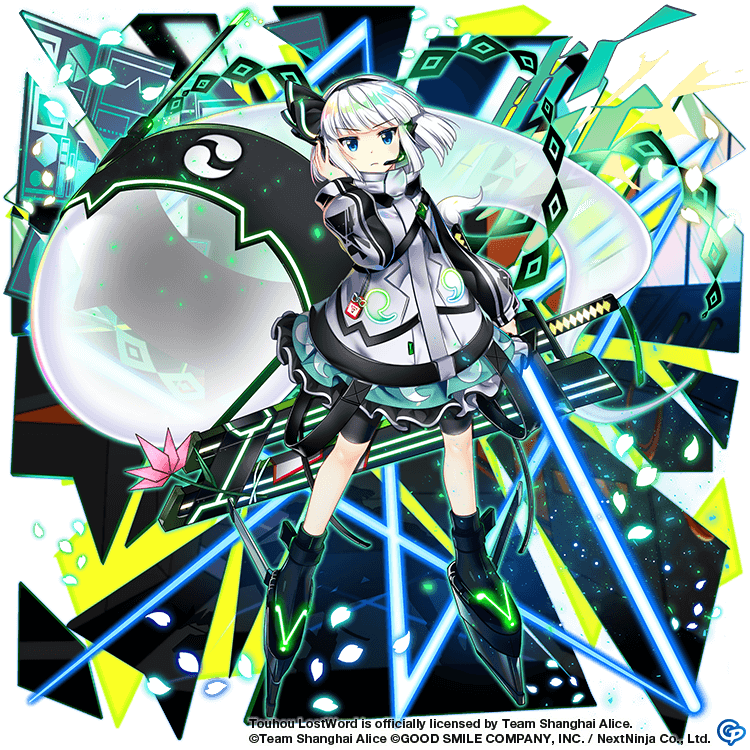
To take down the floor we better exploit the shared weakness here that is Sun, as both Eiki and Byakuren are weak to the element. So our best elemental break options are Sun + Water breakers, like B3 Youmu Konpaku, and anomaly breakers as long as we are aware of Aya's immunity to Poison and Burn.
Here's a short list of great nukers for this floor:


162F
| Enemy | HP | Weak To | Resists | Barriers | Spell Gauge | Skills |
|---|---|---|---|---|---|---|
| Seiran | 876178 | Water & Star |
Metal & Fire |
6 | 2 | None. |
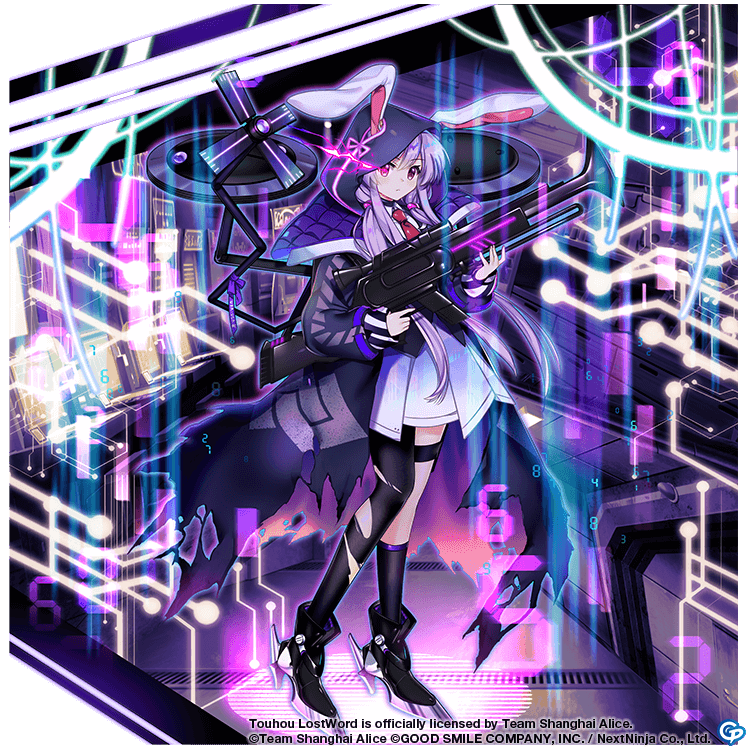
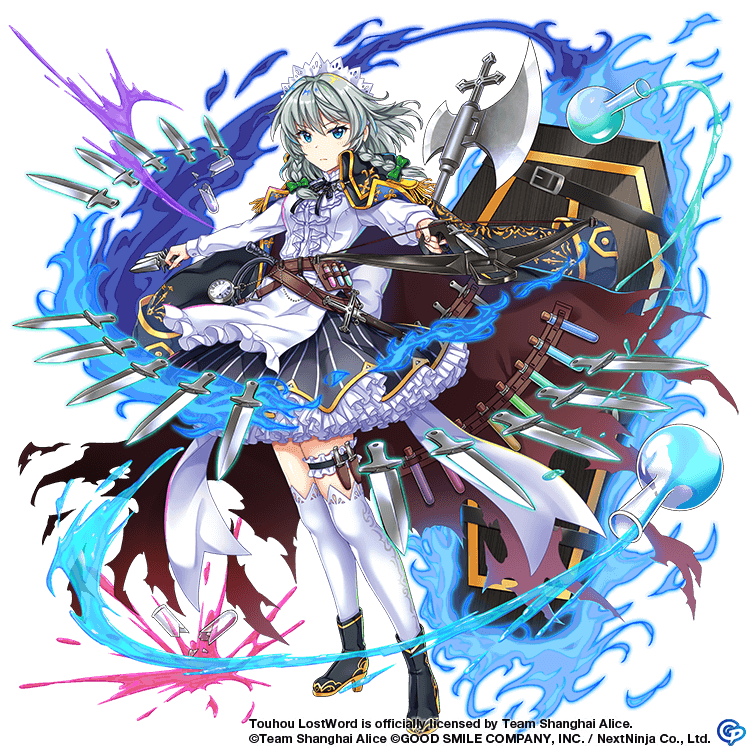
| Sumireko Usami |
915298 | Moon & Metal |
Water & Wood |
6 | 3 | Own Focus 4 levels DOWN (1T) |
| Clownpiece | 893762 | Sun & Wood |
Metal & Moon |
6 | 2 | None. |
| Reward: |  x10 |
|---|
We notice quickly that there are no shared weaknesses, and that Sumireko is lowering her own Focus by 4 Levels, making her receive less damage from our All-targeting attacks. And her shots can lower our Yang DEF when they land.
We can overcome this gimmick by targeting her with a Solo targeting Attack and defeating her first, but since her Skill makes it easier to deal more damage to her 2 teammates, we can use it to our advantage.
We just have to use All targeting attacks that can break Seiran and Clownpiece at once. In other words, those that contain Water or Star + Sun or Wood. And for the strategy that defeats Sumireko first, we should full break her asap with Moon/Metal attacks.
Here are examples of units able to do that:


163F
| Enemy | HP | Weak To | Resists | Barriers | Spell Gauge | Skills |
|---|---|---|---|---|---|---|
| Lunasa Prismriver |
891610 | Fire & Earth |
Sun & Metal |
6 (Immune to Blind) |
3 | Damage received from Light Bullets by the Party 70% DOWN (1T) |
| Yoshika Miyako |
914761 | Water & Metal |
Moon & Wood |
6 (Immune to Freeze & Poison) |
3 | Damage received from Sharp Bullets by the Party 70% DOWN (1T |
| Sanae Kochiya |
892987 | Moon & Earth |
Fire & Water |
6 | 3 | Damage received from Body Bullets by the Party 70% DOWN (1T) |
| Reward: |  x10 |
|---|
For this floor's skills, we got lots of Bullet Resistances, and they're cranked up to 70% unlike the more forgiving 50%. The bullets in question are Light, Sharp, and Body bullets. We could ignore the opponent's skills by simply not bringing these bullet types. Or we can time our nukes well so they happen when these buffs aren't applied to our opponents (after they're full broken).
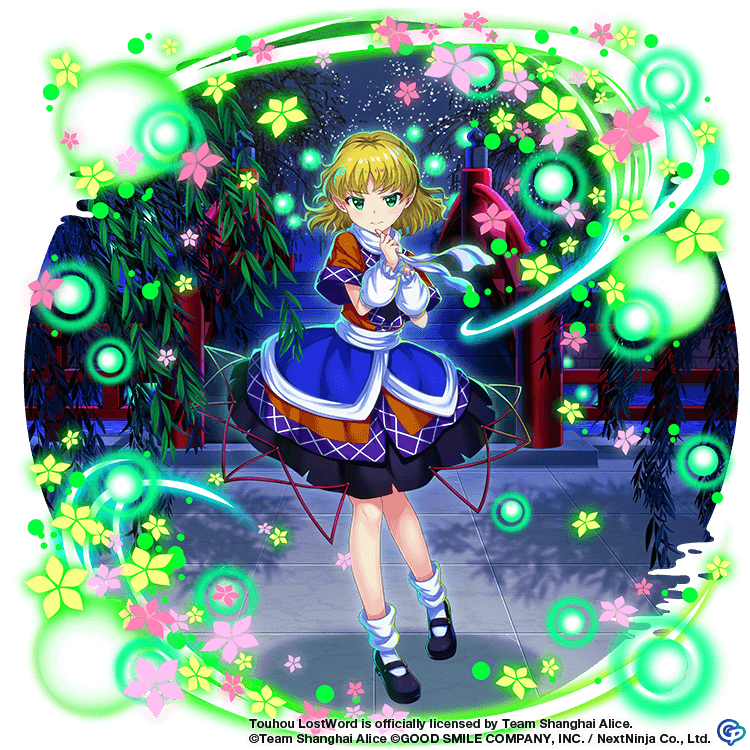
Thankfully, there's a shared weakness here we can utilize, Earth. We can couple this element with Water or Metal for an All targeting attack that can break the entire enemy team. Undoubtedly Mayumi shines here.
164F
| Enemy | HP | Weak To | Resists | Barriers | Spell Gauge | Skills |
|---|---|---|---|---|---|---|
| Satono Nishida |
911495 | Fire & Wood |
Star & Earth |
6 | 3 | Apply 2 Burn Barrier anomalies to All Targets (2T) |
| Kogasa Tatara |
873007 | Earth & Star |
Fire & Water |
6 Evasion UP for every Blind Layer |
2 |
|
| Reisen Udongein Inaba |
902466 | Moon & Water |
Wood & Earth |
6 | 3 | Apply 2 Freeze Barrier anomalies to All Targets (2T) |
| Reward: |  x10 |
|---|
We can see the same Focus DOWN skill showed up again, but this time with many more anomalies. Notably we have Burn, Poison and Freeze. Thankfully our enemies' shots don't break these anomalies, but unfortunately, we have no shared weaknesses here to use. We can anomaly break these opponents but we have to keep in mind that accuracy problems can occur because of Kogasa's ability.
To counteract the anomaly debuffs we can bring Friends that are immune to them or benefit from them, and there are a few units that specialize in breaking the 2 elements a single opponent is weak to. We can use this to full break and defeat them.
Examples of great units here are:

165F
| Enemy | HP | Weak To | Resists | Barriers | Spell Gauge | Skills |
|---|---|---|---|---|---|---|
| Kisume | 1334557 | Sun & Earth |
Moon & Metal |
7 | 2 | EX ATTACK: Disable Boost for All Targets (5T) |
| Yamame Kurodami |
1330617 | Metal & Star |
Sun & Earth |
7 | 2 | Skills:
|
| Parsee Mizuhashi |
1337746 | Water & Wood |
Star & Fire |
7 (Immune to Burn & Freeze) |
2 | EX ATTACK: Disable Switch for All Targets (5T) |
| Reward: |  x30 |
|---|
This boss floor welcomes us by sealing our ability to Boost and Switch units for 5 turns, then we notice Yamame's skills that give great elemental resistance to our opponents, with the resisted elements being half of their weaknesses. We can easily overcome the 2 EX Attacks by using units in the front lines as fodder, or taking the harder route of stalling for 5 turns while trying to take down 1 enemy. In addition to that, timing our attacks well makes Yamame's skills much less impactful. But this floor has more to give, our enemies' shots apply and break anomalies as follows:
- Kisume’s Shots Inflict Freeze.
- Parsee’s Shots Inflict Blind.
- Yamame’s Spread Shot Breaks Freeze Anomalies.
- Yamame’s Focus Shot Breaks Blind Anomalies.
As usual, picking units that are immune to these anomalies renders them immune to having their barriers broken by them so that's a very easy solution. Otherwise, we need to watch out for their shots.
Then again, this is not all! One final detail: Yamame’s Pre-ATK Effect for her Spell cards recovers 2 Barriers for All Allies. This makes her a priority so she doesn't stall the fight.
Below are units that excel on this floor:

166F
| Enemy | HP | Weak To | Resists | Barriers | Spell Gauge | Skills |
|---|---|---|---|---|---|---|
| Chen | 1189526 | Sun & Wood |
Fire & Earth |
6 | 3 | Damage received from Liquid Bullets by the Party 70% DOWN (1T) |
| Kagerou Imaizumi |
1168348 | Earth & Fire |
Water & Wood |
6 | 2 | Damage received from Energy Bullets by the Party 70% DOWN (1T) |
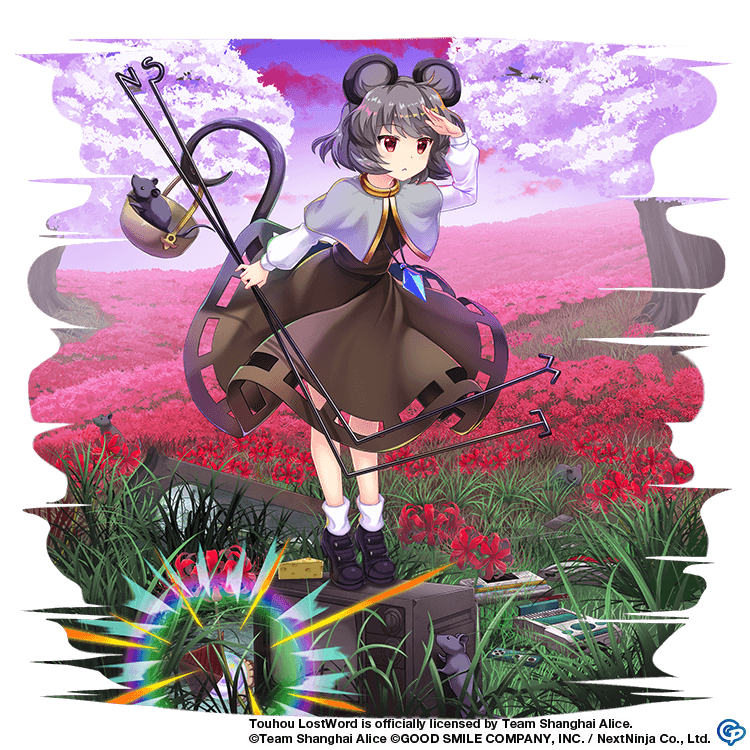
| Komachi Onozuka |
1187809 | Wood & Moon |
Sun & Metal |
6 (Immune to Blind) |
3 | Damage received from Ofuda Bullets by the Party 70% DOWN (1T) |
| Reward: |  x10 |
|---|
At first glance this floor might look like any other defensive floor, but Komachi's Spread Shot lowers our entire party's CRIT DEF. This can make every attack a threat due to the potential damage a crit can deal to our Friends. Thankfully there's a shared weakness here, Wood. But we should still pay attention to the bullet resistances here, which are Liquid, Energy and Ofuda.
Other than that and the small detail that Komachi is immune to Blind, this floor should be easy to clear.
Some units that have a very easy time clearing this floor are:
167F
| Enemy | HP | Weak To | Resists | Barriers | Spell Gauge | Skills |
|---|---|---|---|---|---|---|
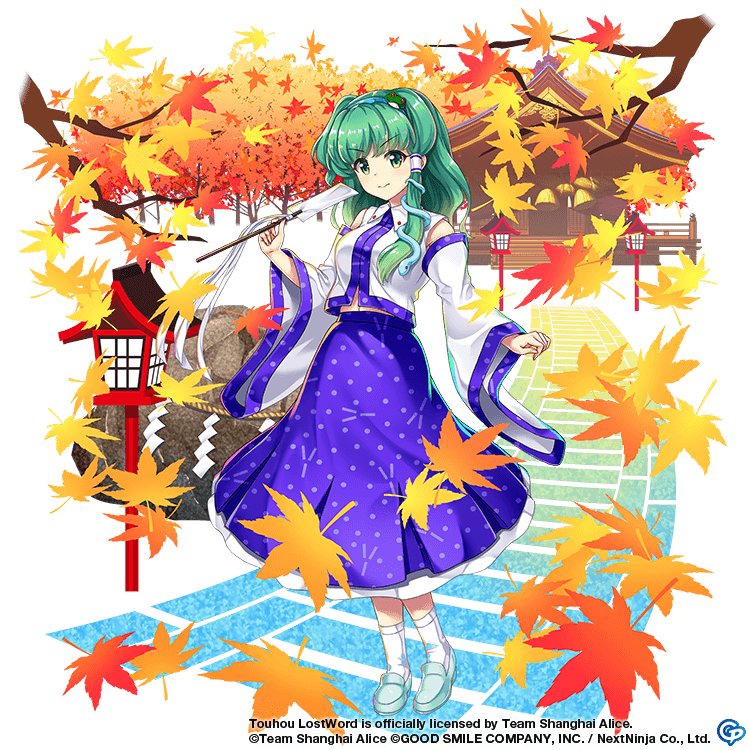
| Satono Nishida |
1173992 | Water & Star |
Sun & Earth |
6 |
2 | Own Focus 4 Levels DOWN (1T) |
| Momiji Inubashiri |
1169308 | Fire & Metal |
Water & Wood |
6 | 3 | Cleanse 3 Barrier Anomalies for All Allies. |
| Lunasa Prismriver |
1190376 | Moon & Earth |
Sun & Wood & Metal |
6 (Immune to Blind) |
2 | Own Focus 4 Levels DOWN (1T) |
| Reward: |  x10 |
|---|
This floor can be annoying to deal with, Satono and Lunasa's 4 level down Focus will make Momiji tank a lot of damage. There are no shared weaknesses, and Momiji cleanses 3 Barriers each turn making anomaly breaking pretty difficult. But this isn't all; Satono and Lunasa recover 2 Barriers as a pre–Spell Card effect.
It would be best to focus on one enemy at a time to full break them and take them out quickly.
Some units that are great for that are:
168F
| Enemy | HP | Weak To | Resists | Barriers | Spell Gauge | Skills |
|---|---|---|---|---|---|---|
| Doremy Sweet |
1167002 | Sun & Wood |
Moon & Fire |
6 | 3 | None. |
| Tewi Inaba |
1174466 | Fire & Metal |
Sun & Star |
6 | 2 |
|
| Yoshika Miyako |
1168732 | Fire & Star |
Wood & Water |
6 (Immune to Poison & Freeze) |
2 | None. |
| Reward: | x10 |
|---|
This is a floor that only focuses on anomalies as a challenge. We have Tewi applying Poison, Freeze or Burn, 2 layers each, every turn with her skill. And breaking these anomalies is done through their shots as follows:
- Doremy breaks Poison Barriers with her Spread Shot.
- Doremy breaks Freeze Barriers with her Focus Shot.
- Tewi breaks Burn Barriers with her Spread Shot
- Tewi breaks Freeze Barriers with her Focus Shot.
- Yoshika breaks Burn Barriers with her Spread Shot
- Yoshika breaks Poison Barriers with her Focus Shot.
Tewi proves that she is a threat that must be dealt with first here. So focus on taking her down asap, alongside that we can deal extra damage thanks to the shared weakness between her and Yoshika, Fire.
Some great units here are:

169F
| Enemy | HP | Weak To | Resists | Barriers | Spell Gauge | Skills |
|---|---|---|---|---|---|---|
| Satori Komeiji |
1185040 | Moon & Water |
Sun & Earth & Star |
6 | 2 |
|
| Star Sapphire |
1188945 | Metal & Earth |
Moon & Wood |
6 | 2 |
|
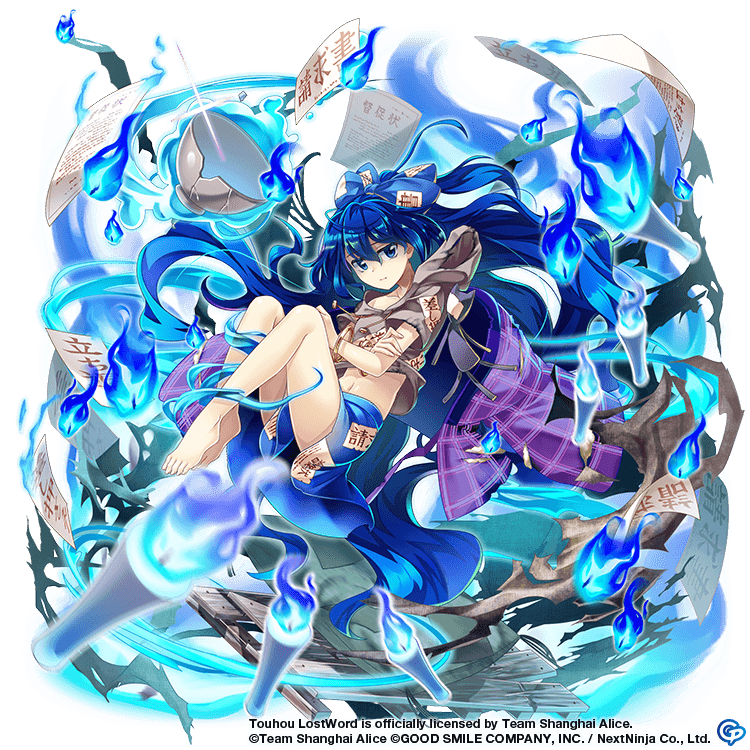
| Joon Yorigami |
1184033 | Fire & Wood |
Metal & Star |
6 | 2 |
|
| Reward: | x10 |
|---|
This floor's nice. It has a fun mechanic; All opponents cycle through applying All or Solo resistance, but Star Sapphire is off sync. When Satori and Joon resist Solo damage, Star would resist All-targeting damage. And so on.
There are no shared weaknesses here and no anomaly resistances so you can go ham! Defeat the opponent you can defeat most easily first, depending on your Friends.
Some units that excel at taking on these opponents are:
170F
| Enemy | HP | Weak To | Resists | Barriers | Spell Gauge | Skills |
|---|---|---|---|---|---|---|
| Shinmyoumaru Sukuna |
895487  |
Sun & Star |
Moon & Water |
7 | 1 | EX Attack: Disable Spell Cards for All Targets (5T) Skill: Own Focus 8 Levels DOWN (1T) Gauge Burst:
|
| Seija Kijin |
893501 |
Moon & Fire |
Star & Earth |
7 | 2 | EX Attack: Disable Focus Shots for All Targets (5T) Skill: Own Focus 5 Levels UP (1T) Gauge Burst:
|
| Reward: |  x1 |
|---|
Right off the gate, we get our ability to use Spell Cards and Focus Shots sealed away for 5 turns, but this is no problem because we can always switch units.
Problems may occur when we clear gauges of our opponents as they all lock one of our abilities to graze, switch, use skills and boost. We're not going to have an easy time stalling this fight because of the small spell gauge amount, and Shinmyoumaru will keep debuffing us with her shots. As her Spread Shot reduces the entire team's Yin ATK, and a unit's CRIT Evasion is reduced by her Focus Shot. As for Seija's Shots, she's content with recovering HP every time they land.
When it comes to skills, Shinmy lowers her Focus by 8 levels while Seija increases hers by 5. This synergizes perfectly with their Shots and how they let Shinmy debuff us more while Seija plays the tank's role and heals herself. We also notice an absence of common weaknesses.
What is recommended to be done here is to only choose one opponent to defeat first and beat them quick. Depending on your Friends, one will be easier to handle than the other. If you're going after Seija first, Moon and Fire breakers like Saki, Hecatia, L80 Remilia, will be great. If you're going for Shinmyoumaru instead, heavy Star and Sun breakers like F1 Reimu, E1 Flandre, B2 Junko, will be appreciated.
And as final advice, remember you can always retreat.