Should You Pull?
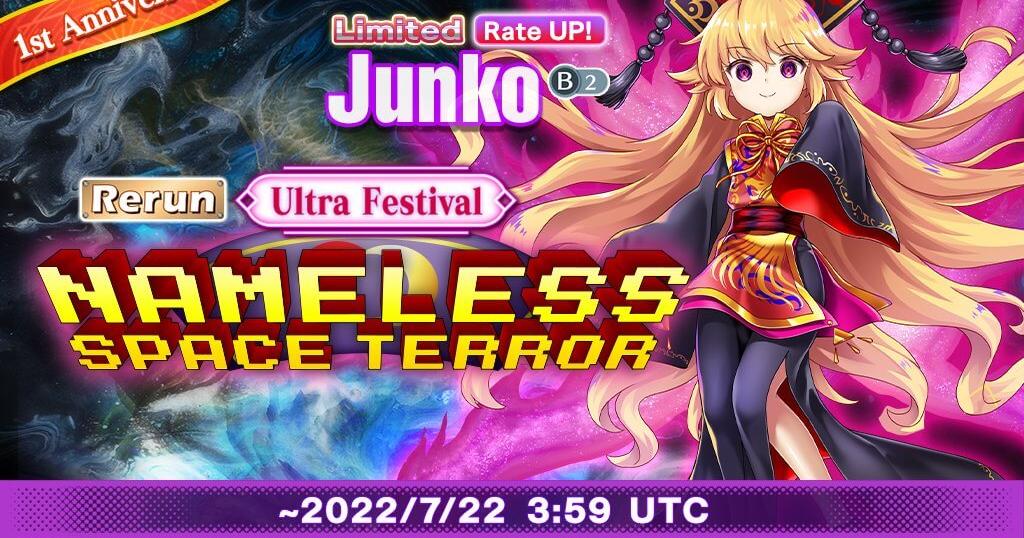
Yes, the Nameless Space Terror Junko (B2) remains one of the best Friends and her kit is still very unique. Junko’s attacks consist of pure non elemental Spell Cards, which no enemy can resist, and shots that excel at breaking units weak to the Star element. But the most special thing is that she cannot be fully broken; she is immune to all anomalies and doesn’t have an elemental weakness. This is something that only she can pull off. We shouldn’t forget that alongside this she also does good team support.
As usual when rolling, keep in mind the concurrent banners: F1 Reimu’s epic Banner, B3 Sagume Kishin’s UFES Banner, Mystia & Eirin’s FES Banner, The event themed FES Banner (Containing: Yamame, Hecatia, Joon, Yachie), Takane & Misumaru’s FES Banner. If we’re going by Tier list rankings, F1 Reimu takes the cake and B3 Sagume comes second. Even so, B2 Junko’s characteristics that we already mentioned are something none of these units have in full.
Friendly reminder that B2 Junko is an Ultra Festival Unit which means you can get her with 250 exchange points on her banner. She also can only be limit broken with Divine Paper Dolls and/or copies of herself. Keep that in mind whenever you decide to roll for a UFES Friend.
Quick Overview
+ High turn 1 and potential damage
+ Amazing anomaly breaks
+ Decent team utility with her skills
+ Will never be full broken
- Hungry for Spirit Power
- Needs team support to bring out full potential
- No elemental breaks on spells; requires anomaly breaks
- Low HP, she's a glass canon
Junko (Nameless Space Terror)
The space terror remains special because of many of her attributes, but the most iconic thing is arguably how she is immune to all anomalies (Burn, Poison, Blind, Paralyze, Freeze), and she is neutral to all elements. Too pure to be weak to an element or to resist one, this makes her barriers unable to be broken which makes her very consistent in stage replays. Plus, she also has the much valued power switch link. She isn’t worth getting just for her Switch Link effect of course, but it’s part of the entire package when you get her for more significant things.
Speaking of more significant stuff, let’s talk about skills. Junko’s first Passive Skill Applies 1 Blind anomaly Layer to a target whenever a wave starts. Her other 2 Passive Skills have good effects (Yin ATK 1 level UP and 0.5 Spirit power up) are rng dependent (70% and 50% respectively). Her active skills are really good though; Most notably Grudge Purification, her third skill, which brings big team support in the form of Spirit Power generation, Accuracy and, Yin ATK buffs. Also note, the only unit in Universe B2’s Junko's league that beats her in terms of team Spirit Power support is B3 Sagume, (Nazrin & Shizuha have more team SP regen on a Skill at 0.7 and 0.8 respectively, but they literally do not hold up to B2 Junko in anything else). Her 1st skill, Fear Purification, also helps her team by making all enemies weaker; lowering their CRIT Evasion and Yin DEF in addition to inflicting the Freeze anomaly on them. Lastly is her 2nd skill, Impurity Purification, that gives her 1.25 SP, charge, and 3 Layers of Poison on a target. The SP is something she really needs as we’ll figure out later.
The most eye-catching thing here is the Spread shot that is full star with guaranteed poison infliction at 0p and a self Yin ATK at 1p. It’s a solo targeting shot with a more or less backloaded layout (1-3-1). Junko’s Focus shot shares the same layout, but it’s All targeting and has a 50% own Yin ATK buff alongside a CRIT DEF debuff on bullets at both 1p and 2p (35% and 50% respectively), and a Burn infliction with a 75% chance. About elements, the shot has none at 0p but one for every boost for a total of 3 Star breaks at 3p.
When it comes to her Spell Cards, all of them are Yin and the first one of them is All targeting with the power to apply 1 burn layer to one target, and 1 more to all enemies. That means 2 layers on one target plus 1 layer on the rest of the enemy team, and the spell card can break Burn at 2p. Next is her Solo targetting SC that applies 3 layers of Paralyze and can break the same anomaly at 2p.
Junko’s Last Word doesn’t have any way to inflict an anomaly but it does have selfish offensive buffs and a defensive buff, alongside being able to break every anomaly at triple Boost. Keep in mind it can be easily supported with the Story Card "Mysterious Sword Master" because it’s fully Slash Bullets. This is perfect to nuke enemies.
To analyze her anomaly inflicting and breaking potential depending on Boost and which attack contains it, we’ve got these handy tables! You may notice that her potential is locked behind needing SP, and that she breaks Burn and Poison cheaply compared to other anomalies.
Anomaly Infliction
| Skills | Shots |
Spell Cards |
||
|---|---|---|---|---|
|
Burn |
X |
Focus Shot (All) 3P: 1 Layer (3T) (75% Accuracy) |
Spell Card 1 Pre-Attack:
1 Layer to all targets
+ 1 Layer to target |
|
|
Blind |
1 Layer on target (3T) when wave starts |
X | X | |
|
Poison |
Skill 2: 3 Layers to target (3T) |
Spread Shot (Solo) 0P: 1 Layer (3T) |
X | |
|
Freeze |
Skill 1: 3 Layers to target (3T) | X | X | |
|
Paralyze |
X | X | Spell Card 2 Pre-Attack: 2 (3) Layers to target (3T) | |
| Fully awakened Spell Card values are between parentheses | ||||
Anomaly Breaks
| Spell Cards 1 (All) | Spell Card 2 (Solo) | Last Word | |
|---|---|---|---|
|
Burn |
2 Boost | X | 2 Boost |
|
Blind |
X | 3 Boost | 3 Boost |
|
Poison |
1 Boost | X | 1 Boost |
|
Freeze |
X | 1 Boost | 3 Boost |
|
Paralyze |
X | 2 Boost | 3 Boost |
Extra Effects and Percentages for B3 Junko:
Spread shot (Little Moon Eater):
Self Yin ATK up (3 turns): 0%/100%/0%/0%/0%/0%
Hard: 0%/0%/0%/40%/0%/0%
Poison Spray (1 poison anomaly for 3 turns): 100%/0%/0%/0%/0%/0%
Focus Shot (Chipper Dragon):
Hard: 40%/0%/40%/0%/0%/0%
Self Yin DEF up (3 turns): 50%/0%/0%/0%/0%/0%
Enemy CRIT DEF down (3 turns): 0%/35%/0%/50%/0%/0%
Fire Bomb (1 burn anomaly for 3 turns): 0%/0%/0%/0%/0%/100%
1st Spell Card:
Self Yin DEF up (3 turns): 0%/100%/0%/100% (2 stages)/0%/0%
2nd Spell Card:
Self Yin DEF up (3 turns): 0%/100%/100% (2 stages)/0%/0%/0%
Last Word:
Hard: 160%/0%/0%/0%/0%/0%/
Enemy Yin DEF down (3 turns): 0%/100%/0%/0%/0%/0%
Self Yin DEF up (3 turns): 0%/0%/100%/0%/0%/0%
Self Yin ATK up (3 turns): 0%/0%/100%/0%/0%/0%


