Introduction
Hihi! It's been a while, but now I'm back with a remastered Guide for the Neural Cloud - Exception Protocol Mode.
So let me Introduce our two Guests, who'll Guide you through this!

Hi, I'm the Greater Sanctifier Eucharist and here to help you through this Guide, but I'm also here to eat all of Chocos delicious sweets!!

Lizzy told me to come here for a good time, but I didn't know I'd have to work!

We'll surely have a lot of fun!

A Guide to Exception Protocol Advanced
Exception Protocol is a Challenge Mode with good rewards that resets bi-weekly.
High Risk, High Reward!

Modes

Missions

These are the missions you need to clear to get your rewards.
Doll Selection
Every 2 Weeks the Dolls you get to use get shuffled, so there is always something new to try out, but keep in mind that the Dolls you have raised have a Higher Priority.

Also some Dolls are even viable at lower Rarity.
Example: Nora, Hatsuchiri, Lind, Betty and Nascita.

Depending on what kind of team you're going for, remember there is also the Support Doll Area, which gives you the chance to replace a Doll with another that might not be in the initial roster!
Synchronisation
This mode Synchronises all available Dolls with your own and changes their Rarity, Stats, Level & Skill Level.

In this example we have Helix upgraded as much as possible, which means her stats will get downgraded, meanwhile Taisch's stats will get a boost since she isn't upgraded at all.

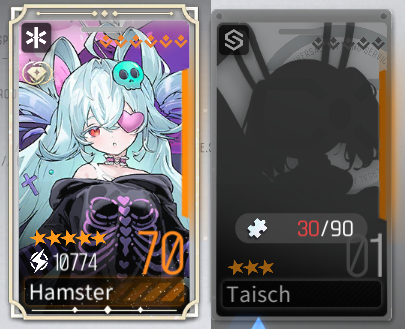
Changes the Rarity of your Dolls who are lower than 3 Stars to 3 and Dolls that are Higher than 4 Stars to 4.
Dolls who are 3-4 Stars won't be affected by this.
Any Doll lower than Level 35 gets boosted to 35 and any Doll 46 or higher gets lowered to Level 45.
Dolls who are Level 35-45 won't be affected by this.
Your Dolls' existing Skill Level is retained, up to a maximum of Lv. 5 (Higher levels are synced down to Lv. 5).
Only the Ultimate Skill is not affected and will stay the same for all your Dolls.
Dolls that you haven't raised and are lower than 3 Stars will as explained be Synchronised to 3 Stars which means they will have their Ultimate Skill added at Skill Level 1.
Algos? NONE! There is literally nothing to worry about here.

Arma Inscripta's of your dolls will be applied here as well, which means they keep their upgrade!

Protocols (Pick your Poison)
You select how high the Difficulty will be and you will also be able to select a lot more Protocols during the run, so select what you think you can beat, discard what you think you can't.

Score
Your Score is affected by pretty much everything you do during your run.
You will get more Points for taking more Negative Protocols, beating High-risk Zones and having a lot of Function Cards in your Inventory, but make sure the run isn't so hard that you can't beat the Final Boss!
Make sure to not buy anything until you gained 250+ Coins, always stay above 250 Coins for maximum interest.

An easy way to get Coins quickly is to sell any Support Functions you get early on.

Function Cards also give Score depending on Rarity (Higher Rarity = more Points).
So try to get as many Gold Functions as you can get, but keep prioritising useful sets.

Keep in mind that you should have at least 3 Support Functions in your hand by the end of the last Layer since they also give Points.


To maximise your Score it is recommended to use all the Lifts you can get.
Lifts let you go to any node that is in the same column as the one you're on.
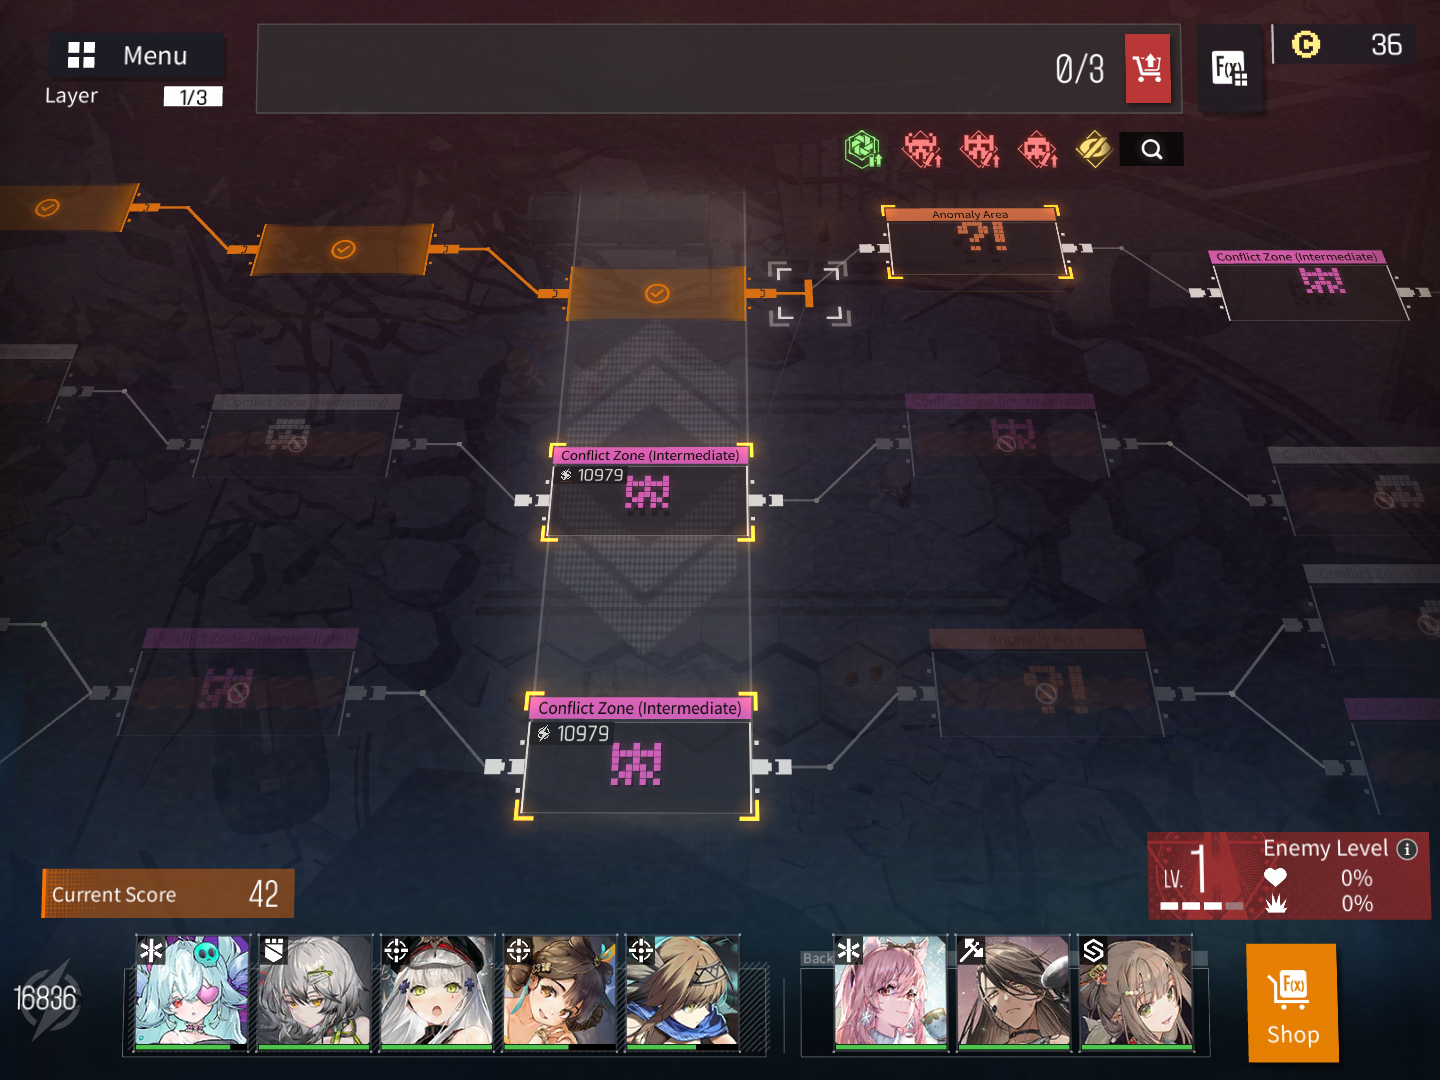
So keep in mind to check the whole Map at the start of your run and plan how many extra nodes you can visit thanks to Lifts.

Anomaly Areas in this game mode give you Coins, more Function Slots and in some cases random Function Cards.

It is recommended to go for as many Function Slots as you can during the first 2 Layers which means to prioritise Anomaly Areas over Elementary Conflict Zones (White) since you don't want to miss out on Points from Harder Conflict Zones.
When it comes to Intermediate Conflict Zones (Pink) vs Anomaly Areas, it is up to you to decide which you want to take, since not every Anomaly Area will give you what you want, so keep that in mind.
For Conflict Zones, try to visit as many Intermediate and Advanced Zones (Purple) as you can.


Obviously if you happen to get a Lift on an Elementary Zone it's not a bad idea to take it!
Here you can swap out one doll for another.


In Recovery Areas you can upgrade your functions or heal your dolls.
It is recommended to upgrade Functions whenever possible, but make sure your dolls are fine!

Goal
If your team is strong enough, aim for 3.5k+ to get 100 points in one run.
If you can't go for 3.5k, you'll have to do a few more runs to get to 100 Points from your Exception Protocol Missions.


Rewards
For reaching 100 Points by doing Challenge Missions you can get a total of 1200 Quartz Sand and 3000 Ether Tokens which can be used in the Exception Protocol Shop.

Exception Protocol Shop
You're asking what to buy?
All the Neural Fragments you need!

It'll take a while to clean out all the fragments, you can also restock multiple times to get more fragments, but when you're done, go for anything that's useful to you.

Credits and Last words
Now that we're done... All I care about are Chocos sweets!!!
CHOCO

Thank you for letting me help!
I can't even be upset that Lizzy pushed me in here... it was really fun!

Choco give me all your Sweets!!!
Give me a moment.
Here you go!

Examples
I have prepared a few Example Videos of my own runs.
Hope this Guide helped, have a good time!