It's almost time for Go Tour: Sinnoh! This is one of the game's two big events, and this one is already shaping up to be exciting. We've got Dialga and Palkia's Origin Formes as the two big rewards of the event, and they're both already shaping up to be pretty big deals. However, as we get closer and closer to the event, it's time to ask the big question: Do I pick Diamond, or Pearl?
Version Differences
The Pokemon series is known for a lot of things, and among them is version differences. Main series games always come in two to three different flavors (sometimes 4 thanks to Black 2 and White 2), and Go Tours are the same deal. While completing the Road to Sinnoh Special Research line, players will be able to pick the Diamond or Pearl branches in order to customize their experience. To that end, these are all of the version differences that have currently been confirmed by Niantic:

The Diamond Badge
Choosing the Diamond Badge will grant players with an encounter with a Dialga - Origin Forme that knows Roar of Time, and more Dialga Candy will be available via the Special Research line.
Dialga - Origin Forme's Adventure Effect will also last twice as long as normal for those who choose the Diamond path:
- At the cost of 5 Dialga Candy and 5,000 Stardust, players will be able to pause the timers on virtually all timed items that they currently have active for 6 minutes.
- This means that Diamond players will have this effect active for 12 minutes.
- This can be increased by spending more Candy and Stardust, and can be extended to last for up to 24 hours.
The Pearl Badge
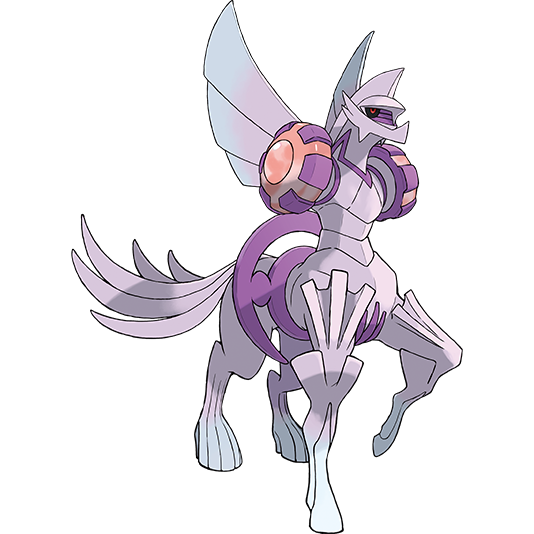
Choosing the Pearl Badge will grant players with an encounter with a Palkia - Origin Forme that knows Spacial Rend, and more Palkia Candy will be available via the Special Research line.
Palkia - Origin Forme's Adventure Effect will also last twice as long as normal for those who choose the Pearl path:
- At the cost of 5 Palkia Candy and 5,000 Stardust, players will be able to expand the range at which they can encounter Pokemon on the map for 6 minutes.
- This means that Pearl players will have this effect active for 12 minutes.
- This can be increased by spending more Candy and Stardust, and can be extended to last for up to 24 hours.
Which Version Is Best?
While we normally have a number of different Pokemon that spawn exclusive to each ticket, this is literally all that we have confirmed at this point in terms of version differences. And while the added candy for each of the two mascot Legends that are featured for this event is definitely very nice, the ability to encounter one of either legend depending on their choice is pretty insignificant for anyone currently planning on actively taking part in the event's raids.
Honestly, the big focus here should be on the Adventure effects that Dialga and Palkia's Origin Formes bring to the table. And while it may seem like one very much out-classes the other at first glance, they both have the potential to very much support different play-styles for the event:
- If you're going to be actively playing throughout the event, then it's probably best to follow Dialga down the Diamond path. Double-efficiency on Roar of Time's Adventure Effect means that it will be pretty easy to extend Lucky Eggs, Starpieces, Incense, and other timer-based items and effects.
- NOTE: If you're just considering using this effect on a Star Piece, then you'll need to catch 34 Pokemon within 6 minutes to break even on the stardust expenditure, or in this case within 12 minutes given the boost. For this reason, it's probably best to drop a Star Piece when using this effect, but be sure to use it in conjunction with other items in order to get the most out of it!
- If you're stuck at work or otherwise unable to actively play during much of the event, then consider following Palkia down the Pearl path. The added spawns can potentially be very valuable for those who can't actively go out and hunt for themselves. This is especially true for those who use a Go Plus or other auto-catching device, as its range will also be greatly increased, thus giving AFK play more chances at success.
- This will require 50 catches within 6 minutes, or 12 minutes given the boost, to break-even in terms of Stardust, so it's mainly best for more chances at favorable IVs, Shiny Pokemon, and more species catches.