Introduction
There are currently 9 HOC in the game, 3 Anti-Tank Weapons (ATW), 3 Mortars (MTR) and 3 Grenade Launchers (AGL).
ATWs are meant primarily as Force Shield piercing support, coming with high Pierce stats and usually much lower damage output.
MTRs are primarily damage dealers, being very good at dealing heavy blows to large groups of enemies in exchange for a low Pierce stat.
AGLs are sort of a middle ground, being some kind of multi-hit half-Pierce half-Lethality HOC.
Within each type they are still quite different and the purpose of this page is to show which ones are most useful to raise first.
New Player
BGM-71 (BGM) to level 60 3☆
As a new player you will need an HOC with sufficient Pierce to clear the few fights with Force Shields in ch12 as soon as possible. BGM has the single highest Pierce of all the ATWs so she stands as a very good option for new players to get going.
Level 60 is required to slot 5☆ Chips so this is a decent stopping point for now, allowing you to slot in some 5☆ Chips with Pierce to make clearing easier.
Do note that you get a bunch of her Central Data from an achievement for using Original Samples (Grey ones) for the first time, so make sure you slot in some Original Samples while you wait for facilities to upgrade.
Facilities
As a new player you are very limited by batteries, and your HOC are an extreme battery sink for a very long while. As such it is important to get the important facilities up first while leaving less important ones for later.
Step 1:
These should all be leveled up simultaneously if possible.
Training Range in the Garage to level 6.
- The Training Range is required to be able to train your HOC in the first place, and is very inefficient at lower levels.
Intel Questboard in the Intelligence Center to level 6.
- The Questboard gives you daily tasks to complete for samples. Higher levels unlock additional quests and increase the rewards for completing said quests.
Data Hub in the Intelligence Center to level 6.
- The Data Hub generates samples passively. Higher levels increase the amount of samples generated per cycle.
Analyzer in the Intelligence Center to level 4.
- This is needed to use your samples to get Central Data and Chips. Level 4 is fine to start with as you don’t generate many samples yet, higher levels lower the time for analysis and increase slots.
Step 2:
Training Range to level 10.
- This needs to be maxed to ensure you don’t waste resources while training your HOC.
Intel Questboard and Data Hub to level 10.
- These both need to be maxed to maximize sample generation.
Step 3:
Sample Storage in the Intelligence Center as needed.
- Increasing this allows you to store more samples. Only get enough for your needs. If you are keeping samples low this can be left at a low level.
Chip Storage in the Garage as needed.
- As you generate more chips you will need to increase the storage. While lower rarity and size chips should be used to enhance chips you are using, you will not know exactly which chips you will be using for your HOC until they are 5☆ and you use ChipCalc. As such you should increase the storage capacity as needed.
Analyzer to level 7.
- As you gain more sample generation, you need to consume them faster as well. Level 7 is a decent stopping point for now as it should keep your samples low provided you analyze more than once a day.
Step 4:
As you now have your facilities set up to both train and generate Chips and Central Data, there’s only one thing left to do; getting enough SCRs (Special Combat Reports) to actually level all your HOC up.

The Data Room should thus be leveled up and set to spending your Surplus Exp to generate SCRs until you no longer need more SCRs. This will be your battery sink for the foreseeable future.
Priority Steps
While certain HOC are certainly stronger than others, it is expected that you raise at least most of them to such a degree that you can use them where needed, as such it is expected that you go through this in 3 steps, rather than rushing one single HOC all the way and neglecting the rest.
Step 1: Level 60 and 5☆
All HOC in order of priority to level 60 and to 5☆. Level 60 is a good temporary stopping point as you raise more HOC as it allows you to equip them with 5☆ chips.
While data for HOC is pretty random in the distribution, you will also get General Data as you analyze samples. These can be used on any HOC and should be spent to help raise the stronger HOC to 5☆ first before being spent on the less useful ones.
Step 2: Level 100
All HOC in order of priority to level 100. Level 100 is the end of SCRs and allows you to enhance the HOC’s stats to their base max. AGLs are generally not that useful and you could take your time when you get to that part of the priority if you so desire.
Step 3:
Iteration is a progression of increasing HOC beyond 5☆, increasing their stat caps.This is known as 10☆ or Iteration 10. For example Iteration 2 would be 6☆, having 1 red star past the regular 5☆ rating.
The order of priority remains the same as before, simply start with the strongest unit and work your way to the next ones as you max them out. Note that Iteration gets more expensive the higher the Iteration level is, and getting the next in priority a few Iteration levels is not a terrible idea if you know you will need them soon.
Priority List
This section is listed in order of Priority.
BGM is expected to be level 60 3☆ before starting on the rest of the HOC. Do take extra note that these are general recommendations and some of these HOC are not useful for all situations. For example ATWs are only really useful against Force Shielded enemies, if none such are present then you obviously won’t get much use out of them.
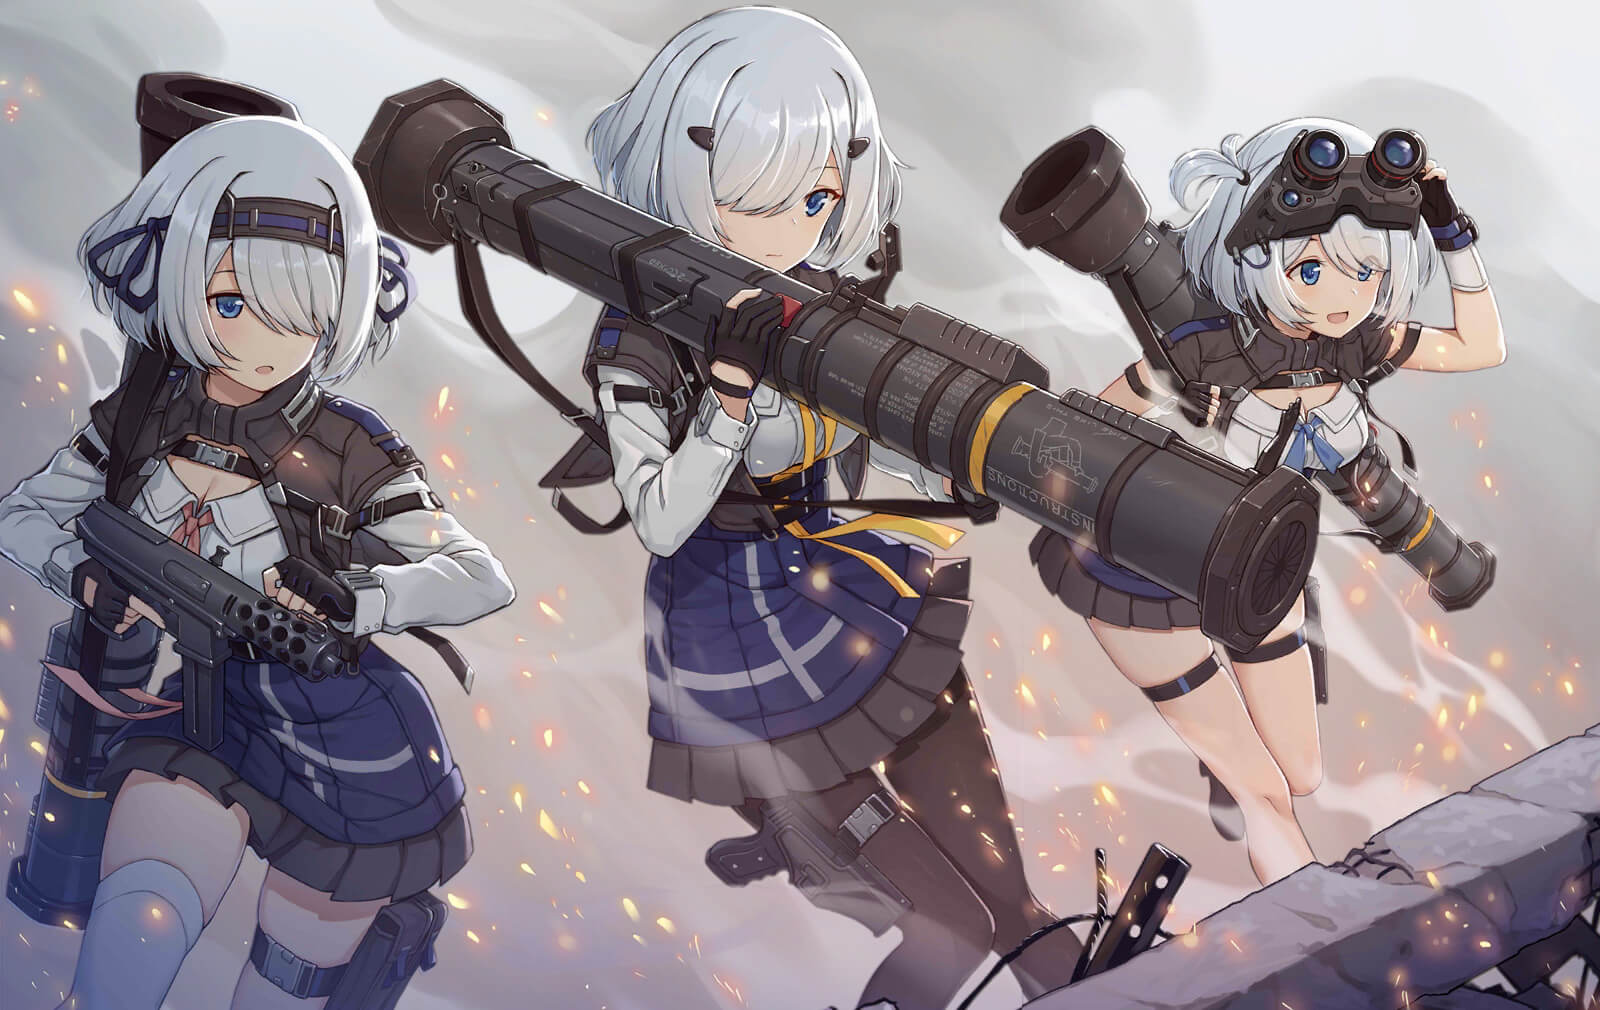
1. Mk 153 (SMAW)
As the only 3 range ATW, as well as some very useful stuns whenever an enemy loses all their Force Shields from a hit, Mk 153 stands out as the most useful out of the ATWs. As such she should be your goal to max out first.
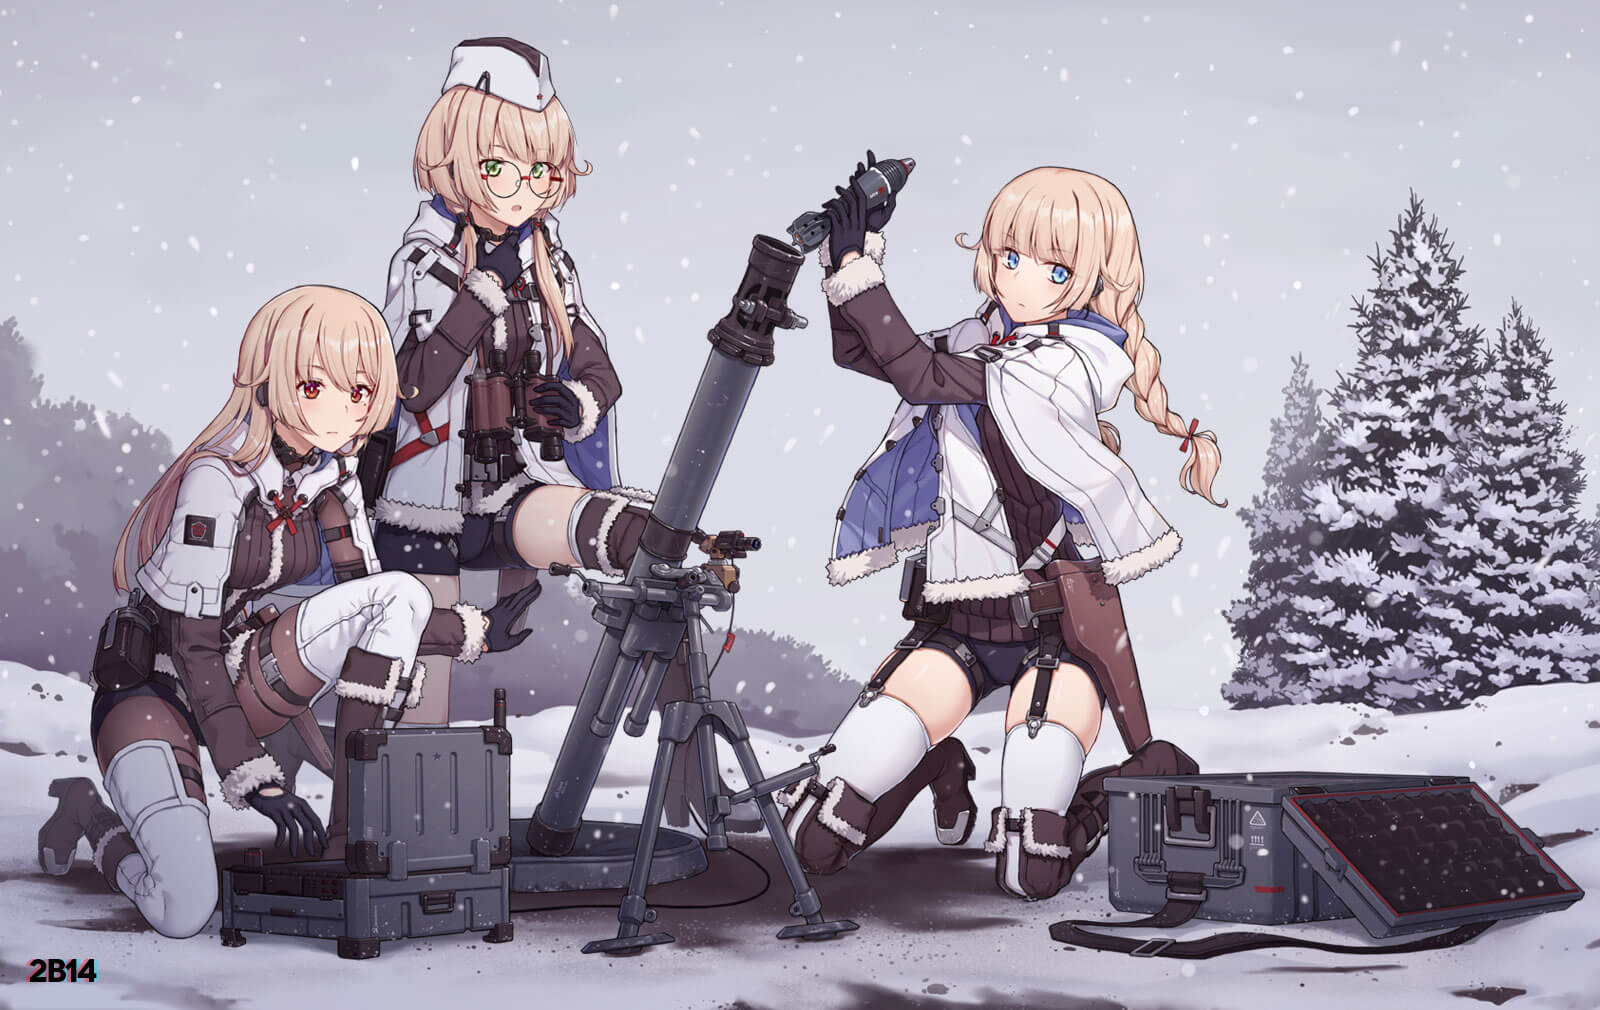
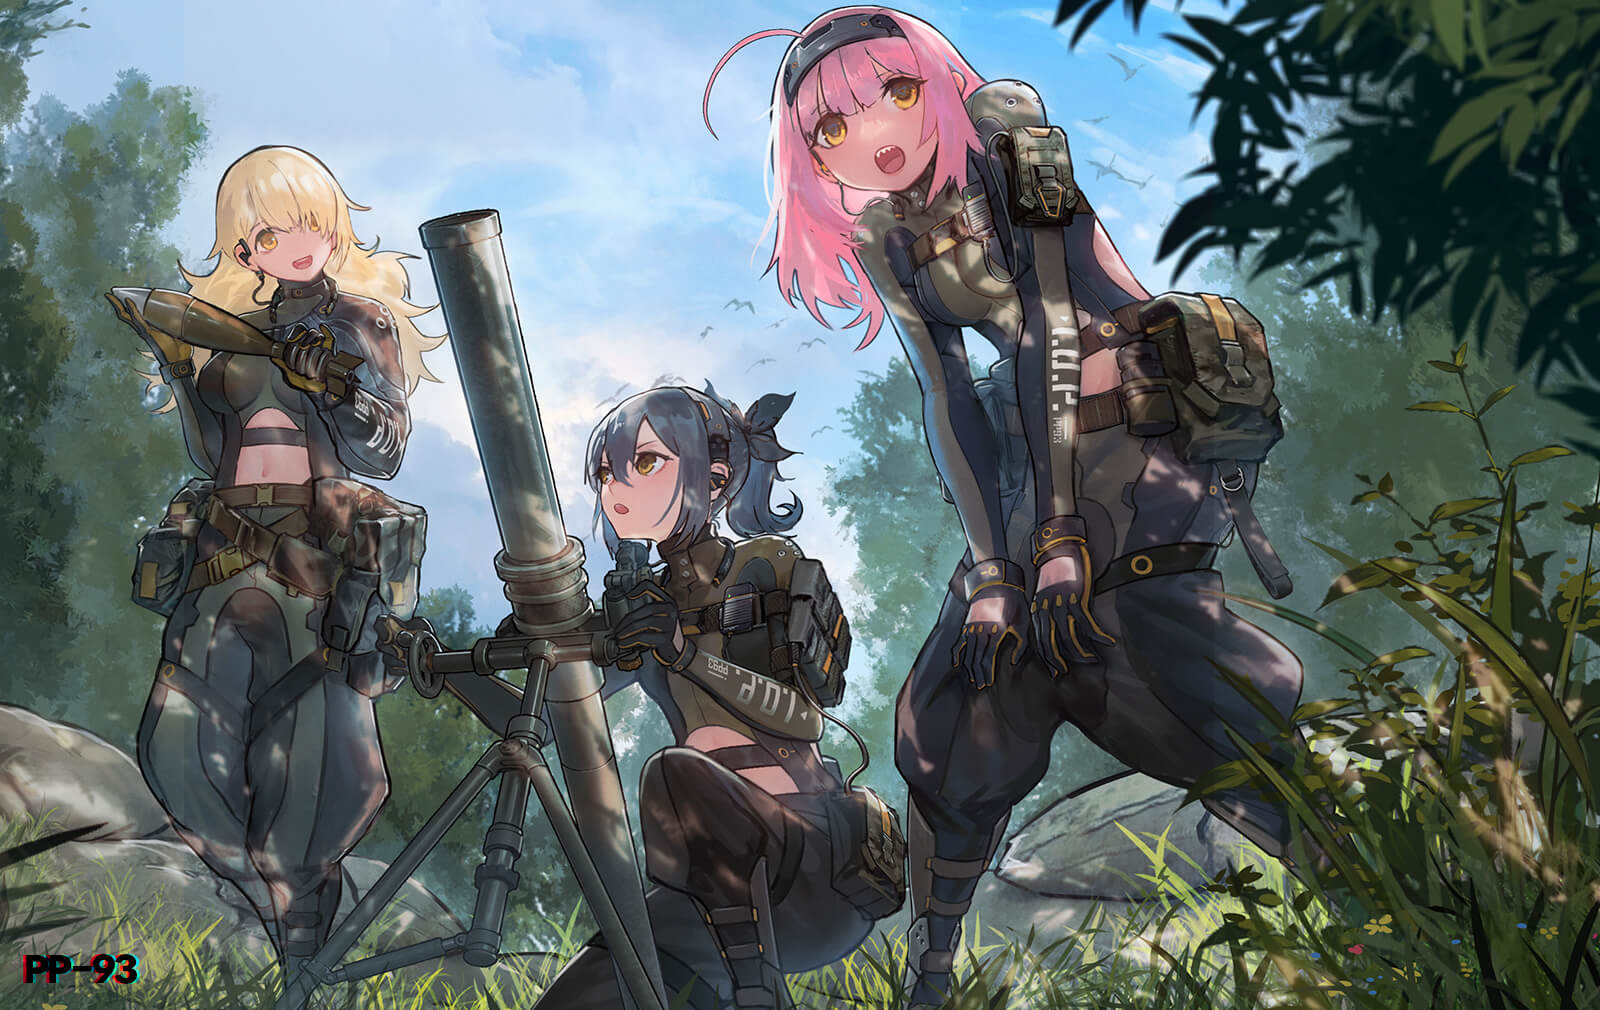
2. 2B14 and PP-93

Both these MTRs are very good at killing enemies, with PP-93 hitting slightly harder against enemies further away while getting increased Precision against closer targets (which isn’t bad), 2B14 is the overall hardest hitting MTR against enemies without Force Shields though PP-93 may still end up ahead if Precision ends up mattering. As huge blobs of enemies can be some of the biggest issues, especially for newer players with a smaller armory getting these two up early can help a lot.
3. AT4

AT4 is an AoE damage focused ATW, being only 2 Range but is focused heavily on extra damage, and has less Pierce than BGM. Her Skill 1 actually has a larger radius than PP-93 and 2B’s Skill 1s, though with the clause that enemies must be force shielded. Add in ATW targeting and she is quite good and has more utility than BGM in content without massivey bloated Force Shields for sure, though sadly being only 2 Range is a major issue, leaving Mk 153 as the preferred ATW simply due to her range.
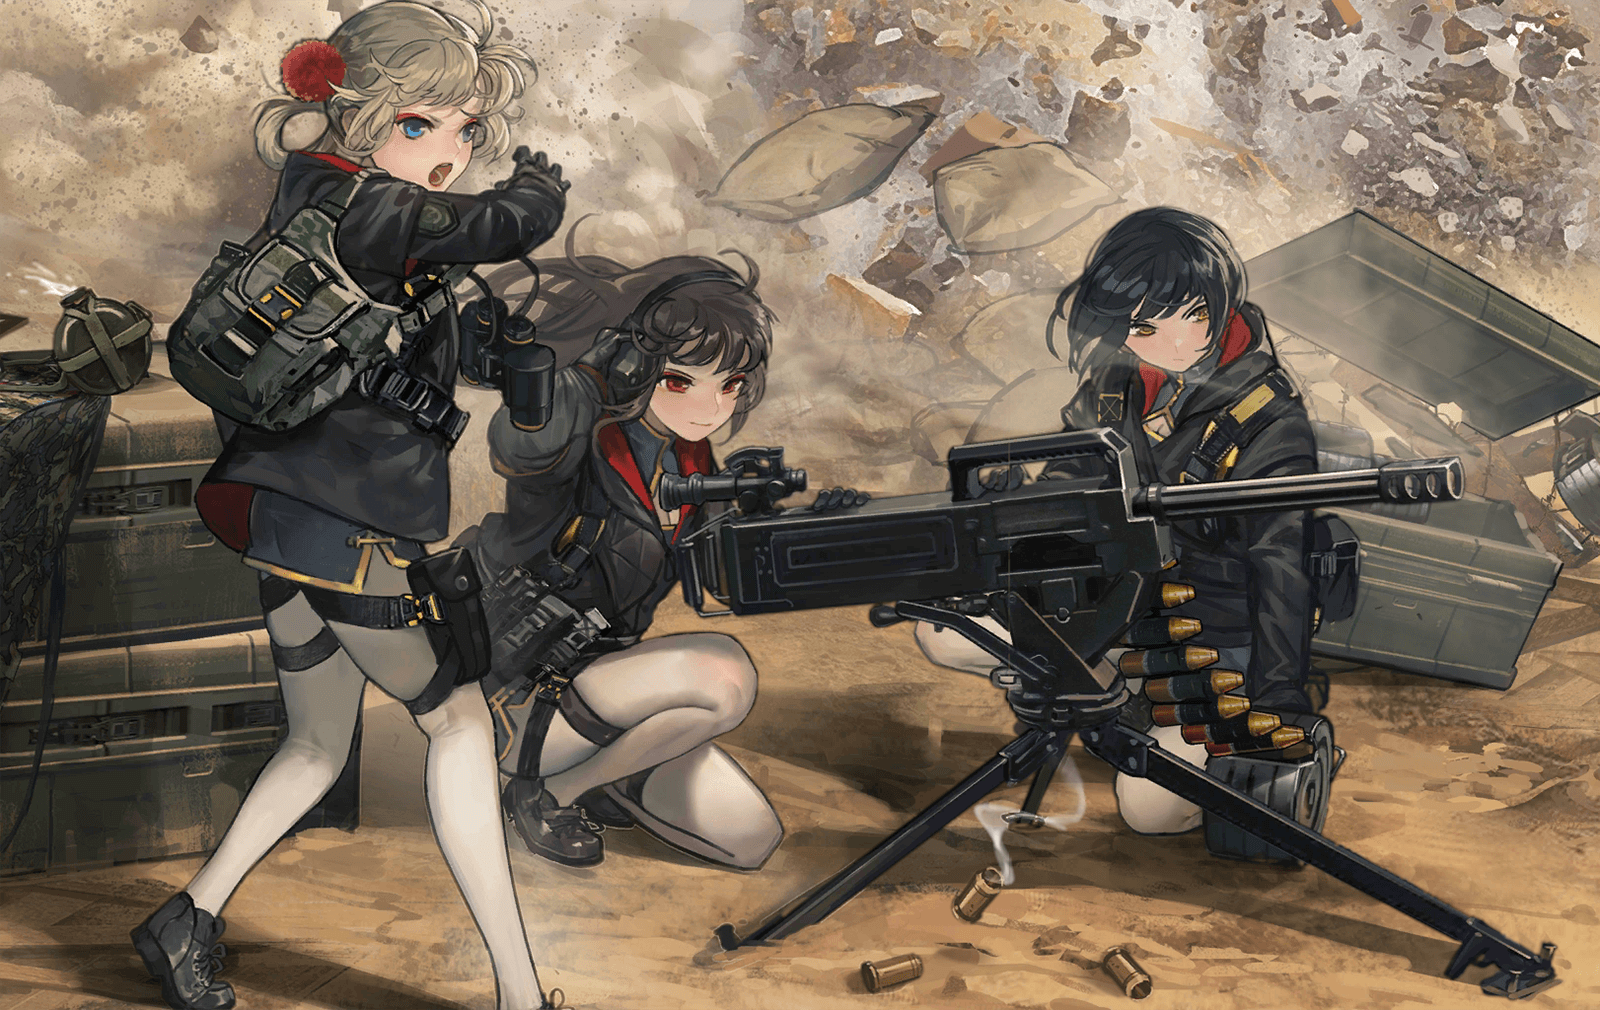
4. M2

As a MTR that focuses on debuffs and buffs M2 stands out as the least useful MTR. This still leaves her plenty better than many of the other options because as a MTR she still hits really hard. Her skills focus a bit more on debuffing and buffing than the other two MTRs which isn’t quite as useful as just outright killing your enemies.
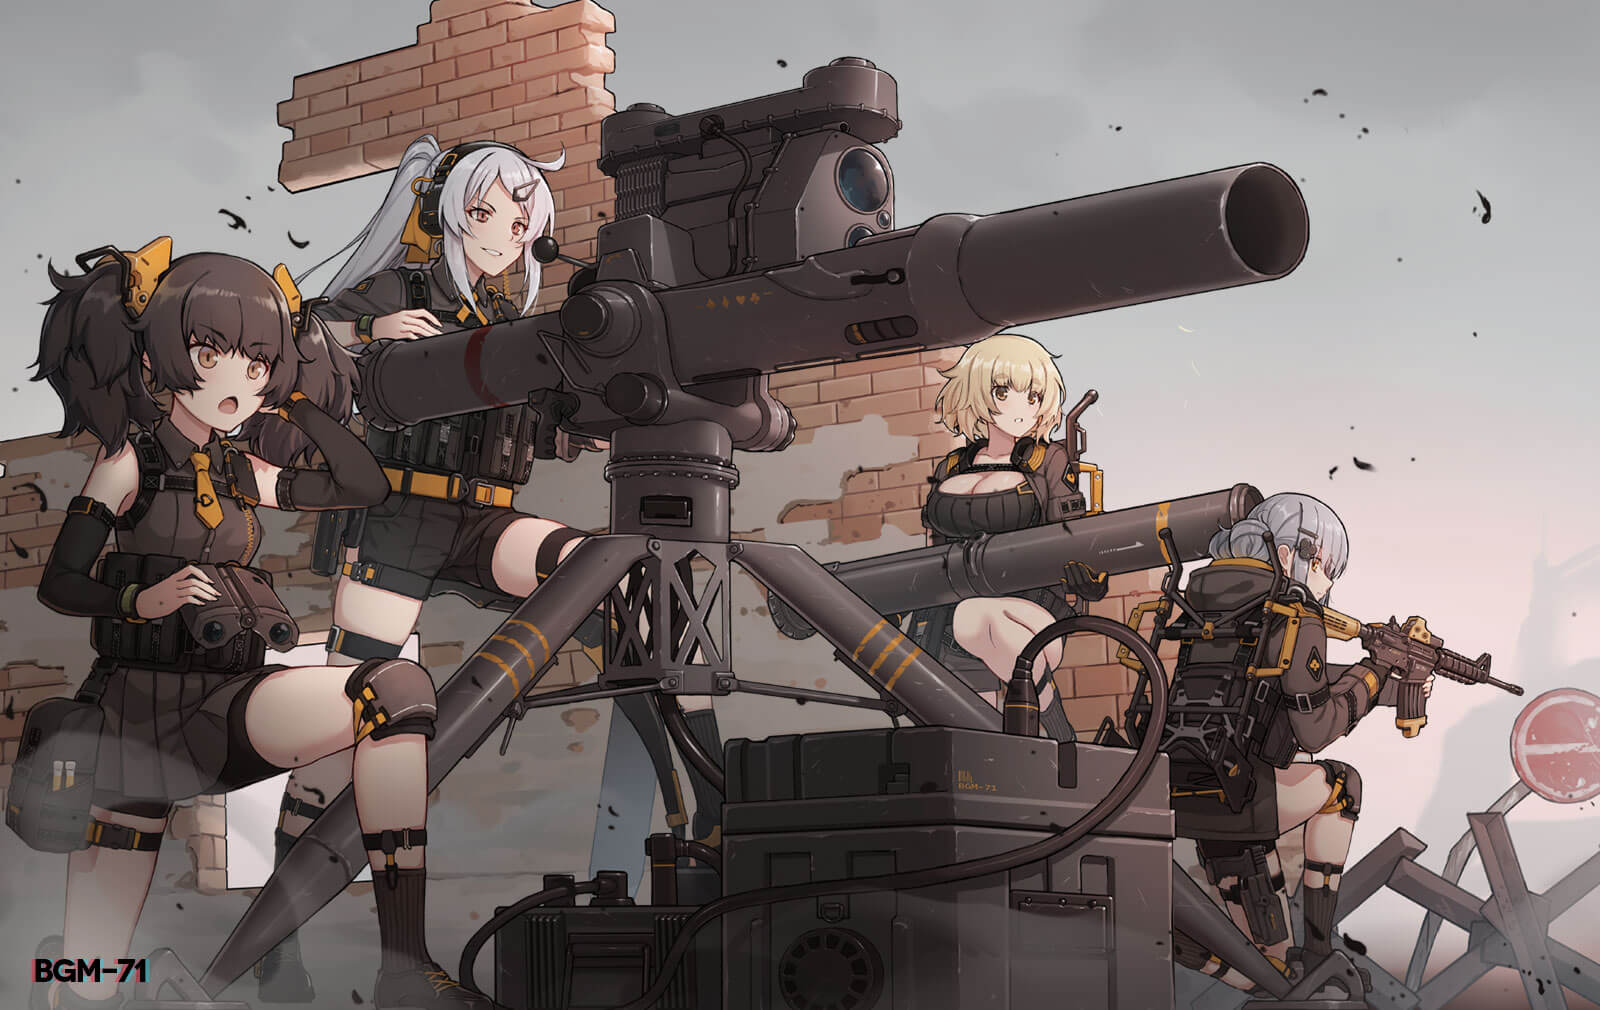
5. BGM-71
Excessive Pierce buff on her first and every third shot (so 1st, 4th etc), with enough reload (which she should get from skill2 after a few shots) this has a 100% uptime and she just chunks Force Shields. Has little utility other than this (technically best single target Damage, but that only works on Bosses and single enemies such as Patrollers) so she is often lower priority than other ATWs outside being a solid starting unit.
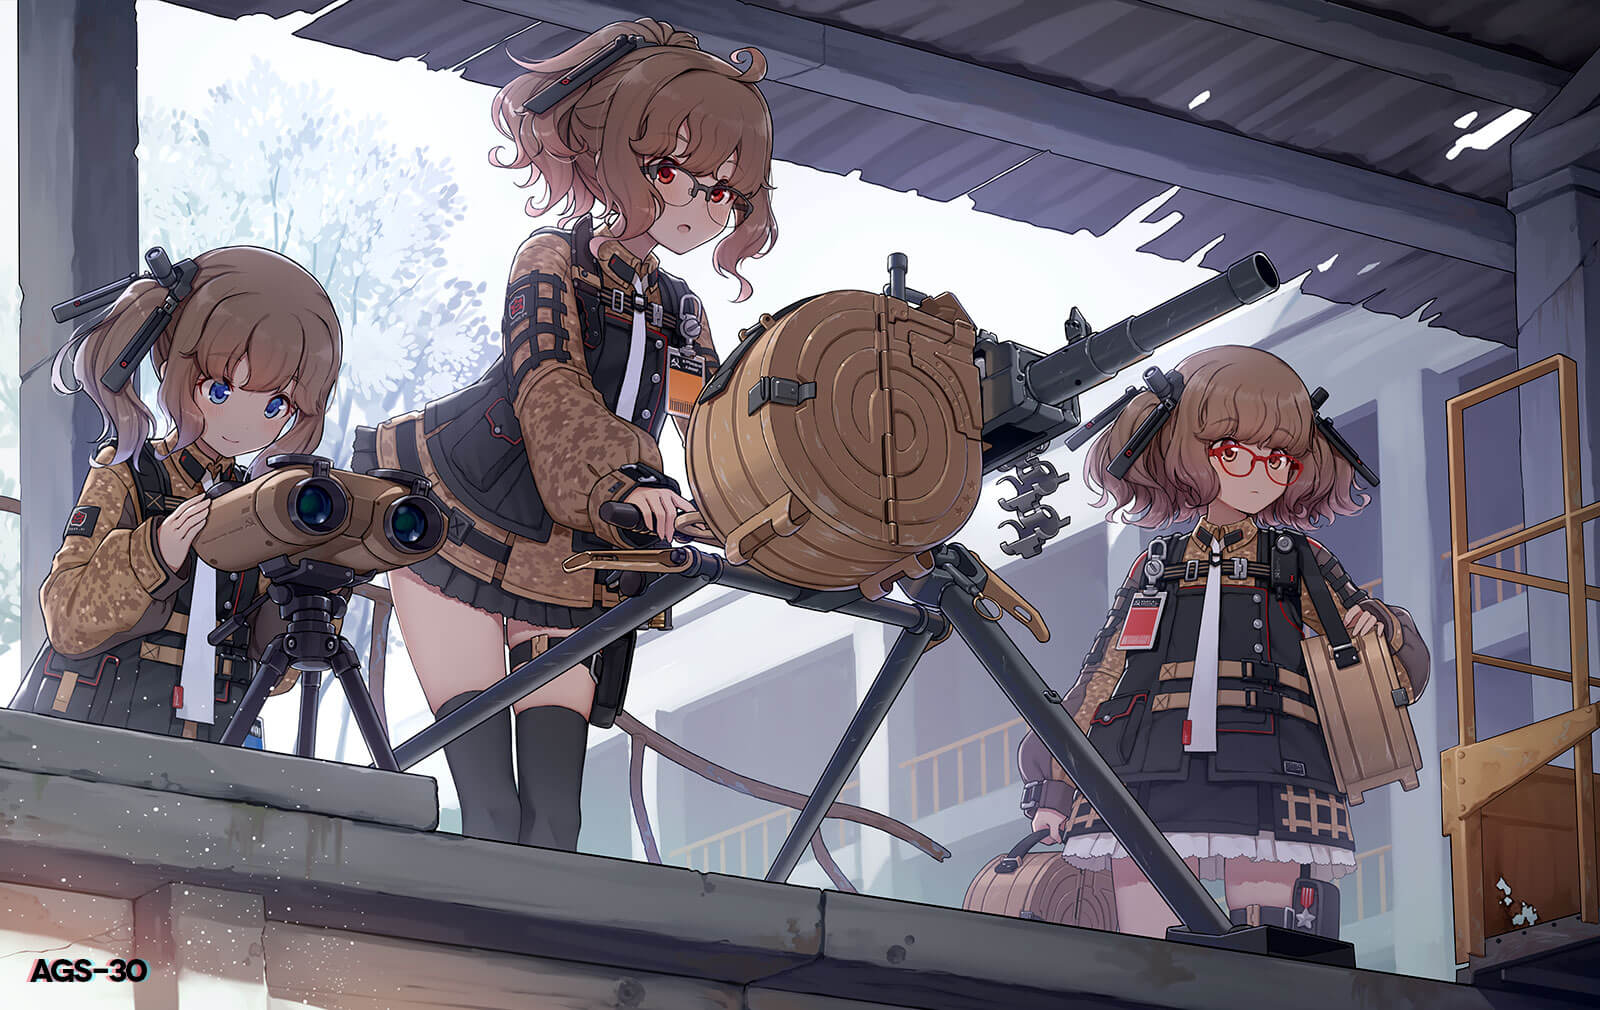
6. AGS-30

As AGLs have default 3 range, AGS used to be the only 3 range Pierce focused HOC giving her a niche. As Mk 153 now exists she is now completely outclassed in this niche, leaving AGS' targeting (Highest FS% rather than ATWs Highest FS Value) the only reason to field her unless you end up needing multiple Force Shield breaking HOCs. As AGS is not an ATW her ability to swiftly break Force Shields is obviously not as good, but still better than other AGLs or MTRs, as they are not focused on breaking Force Shields at all.
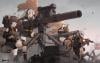
7. Mk 47
Entire kit is based around dealing extra damage to HP shielded enemies. Her extra hits against HP shields makes her slightly more useful against Orthrus. For some reason Mica added a penalty to her main attack, meaning you need to skill up her Skill 2 to reduce said penalty, leaving her somewhat in a weird spot. Only really useful against HP Shields and otherwise not very useful.
8. QLZ-04

QLZ stands out as a slightly odd HOC in that her kit is more about debuffing enemies than actually dealing damage or breaking Force Shields. Also note that her Skill 2 which would’ve made her actually good against Orthrus shields and similar has a “doesn’t work” clause on it. This mostly leaves her as one of the least desirable HOC for most things, but she can occasionally be useful if you just need yet another HOC that isn’t Force Shield focused.
Skills
Maxing out the skills for each HOC is excessively expensive and is not expected in most cases. Instead the suggested is to level one skill to level 7, and the other two to 4 for the most part. While maxing out an HOC will give you slightly more out of them, make sure to actually spend your data on your relevant Fairy and T-Doll skills first as this will benefit you far more.
BGM
- Skill1 to 7 first because the excessive Pierce is BGM’s entire niche.
- Skill2 to 4 second because reload allows her to get 100% skill1 uptime faster.
- Skill3 to 4 last because it rarely matters, this requires her to hit the same target repeatedly which she won’t do unless there’s only one target with force shields.
Mk 153
- Skill1 to 7 first because these additional projectiles make the first hit against each target significantly better at breaking Force Shields and allowing your echelons to deal significant damage much earlier.
- Skill2 and skill3 to 4 together because they are both impactful. Skill3 applies vuln on the target, increasing the damage they take and also stunning them if their Force Shields run out (note that this is amazing against Gladiators, as they can be repeatedly stunned). Skill2 lowers enemy evasion (which can stack to 3) and gives each attack an additional attack and accuracy roll for dealing damage.
AT4
- Skill1 to 7 first because dealing extra damage to Force Shielded targets is nice.
- Skill3 to 4 second because purging the world in fire is how we deal extra damage.
- Skill2 to 4 last because it isn’t too impactful, only decreasing accuracy of enemies slightly (that cannot stack).
2B14
- Skill1 to 7 first because this additional attack is a large part of why 2B is so good, increasing the potency and lowering the cooldown from 24s towards 10s at sl10 it is a highly impactful upgrade.
- Skill2 to 4 second because increased damage to enemies without Force Shields is still nice.
- Skill3 to 4 last because RNG minor debuffs aren’t that impactful.
PP-93
- Skill1 to 7 first because as with 2B, PP-93 also fires additional shots, though this instead scales with enemy dummy links and sets everything on fire. Fire is good, we like fire.
- Skill3 to 4 second because increased damage and precision are both very good, and hitting the enemy backline even harder is very very good.
- Skill2 to 4 last because the conditional Ramming (running into) enemies vs getting Rammed is hard to make full use out of, and the uptime isn’t great.
M2
- Skill1 to 7 first because extra attacks are always nice to remove enemies swiftly.
- Skill2 to 4 second because the minor buffs can be helpful.
- Skill3 to 4 last because the minor precision increase is not that impactful.
AGS
- Skill3 to 7 first because breaking force shields is their niche.
- Skill1 to 4 second because dealing extra damage with every 4th attack is still useful.
- Skill2 to 4 last because precision increases aren’t that impactful.
Mk 47
- Skill3 to 7 first because breaking HP shields is their entire niche.
- Skill1 to 4 second because extra damage is nice.
- Skill2 to 4 last because the reduction of the penalty for further hits isn’t that impactful.
QLZ
Note that QLZ is almost never fielded and even skilling her up is not recommended unless you actually need her. Combine this with the new Battlepass system allowing a constant source of Quick Training Tickets, and you could entirely ignore this HOC until you need her, however unlikely that is.
- Skill3 to 7 and skill 2 to 4 together as these are the most impactful parts of her kit. Skill3 ramps up her damage and accuracy as she continues firing. Skill2 makes enemies take increased flat damage from your dolls shooting at them. Note that Skill2 has a “doesn’t work on Orthrus shields” clause leaving it completely irrelevant in the only case it would’ve been massively useful.
- Skill1 to 4 last as the evasion and accuracy debuff isn’t that impactful and the increase from skill levels isn’t great.