Introduction
With your Job of choice selected and equipment at the ready, it’s time to prepare your grid. Knowing how to build a working grid is the key to being successful in the world of SINoALICE. This guide intends to give you all the information you need to get started setting up your very first grid, as well as some tips for taking it to the next level.
Understanding the Grid Screen
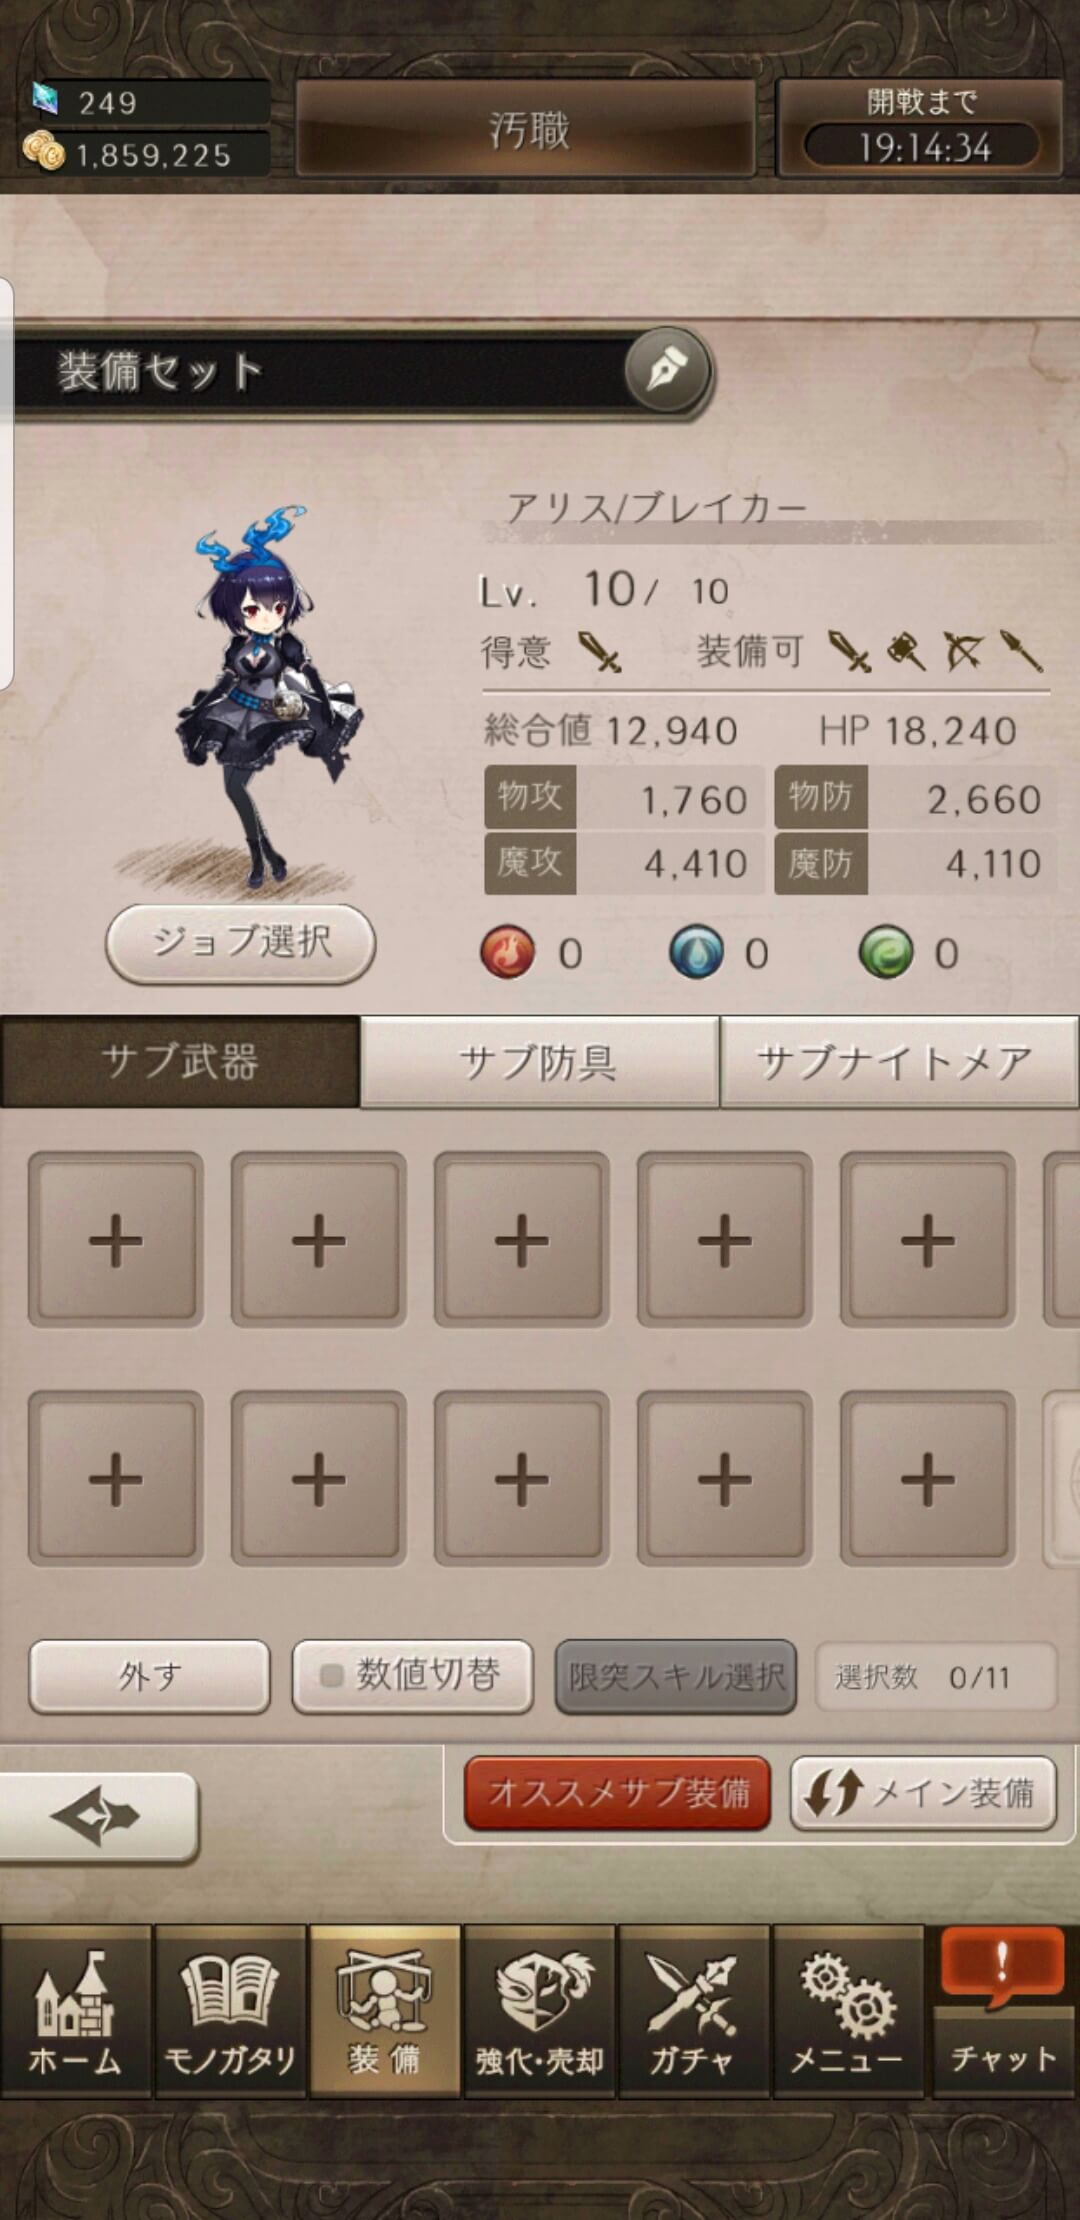
Before getting started, let’s go over the grid screen:
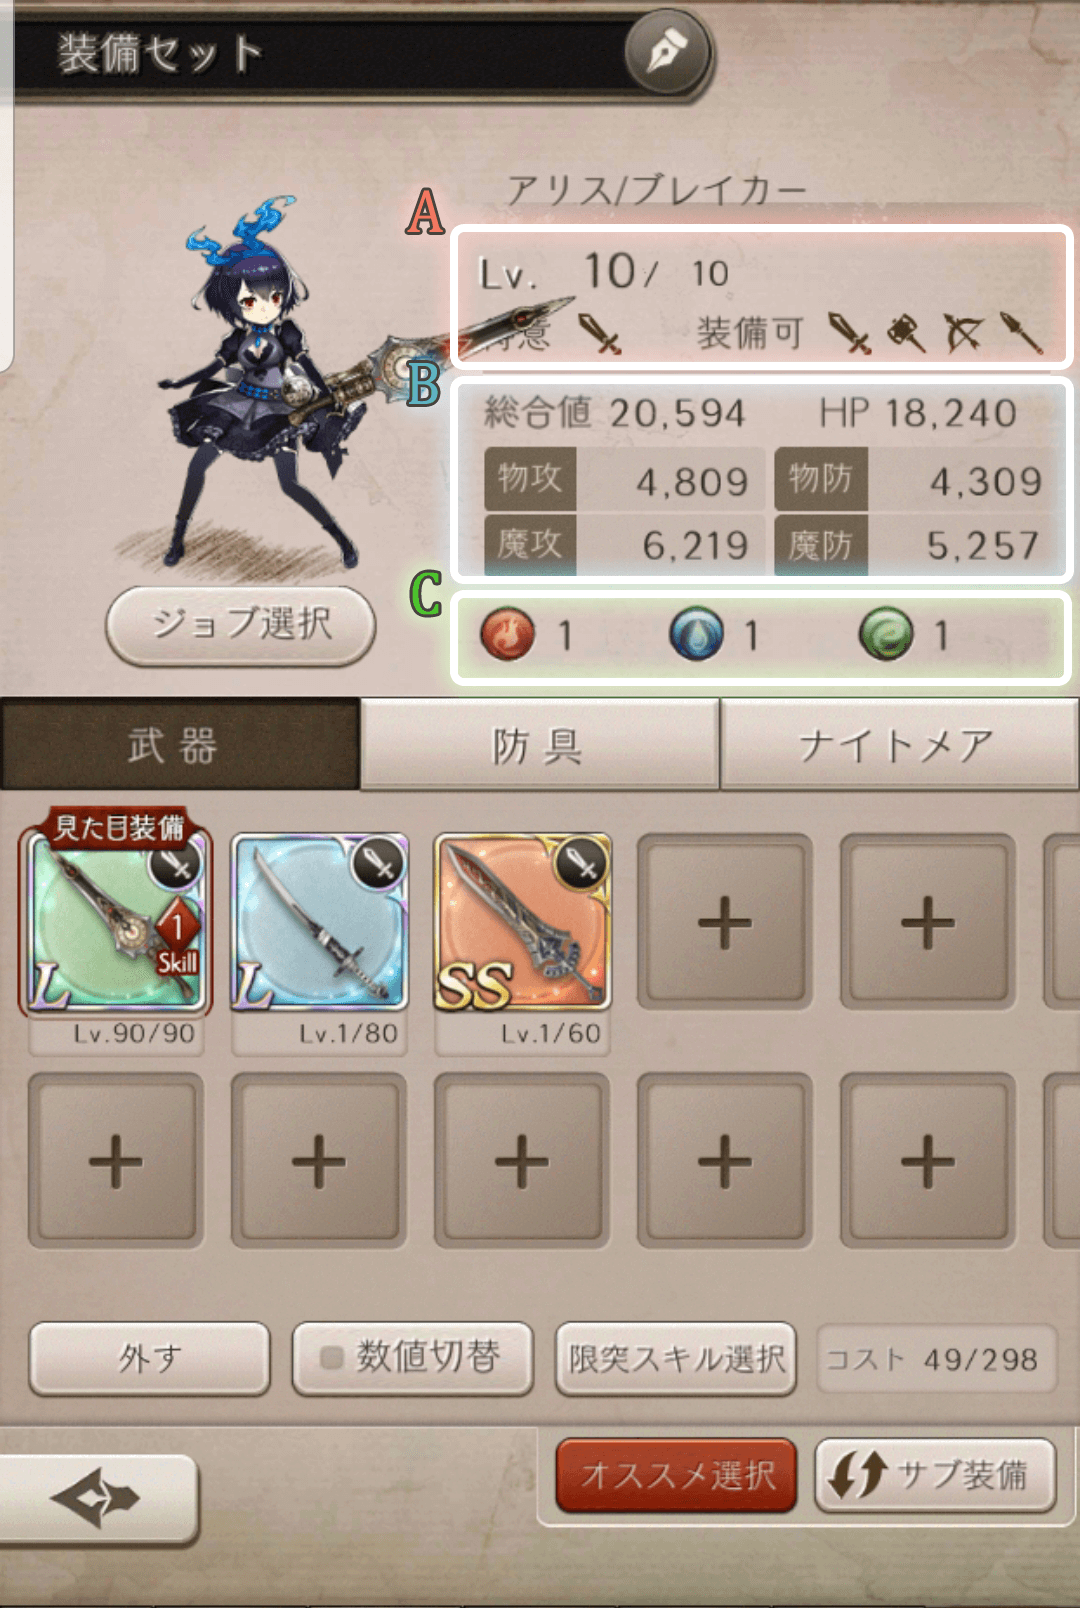
Your grid can be broken into three main sections: overall grid information, main grid, and subgrid. Within the overall grid information, you can check on a variety of information regarding your selected job and grid statistics. It’s been broken into three subsections.
- Subsection A shows the selected Job’s level, its primary weapon, and highlights all weapons that can be equipped to this job. For example, Alice’s Job Level is maxed at 10/10 prior to limit breaking. It is Breaker Alice, so her primary weapon will be a sword. Being an attack class, she is able to equip swords, hammers, bows, and polearms.
- Subsection B features everything you need to know about the overall stats of your entire grid. The top row shows the overall grid strength, followed by the character’s health. The table below it highlights your physical attack, physical defense, magic attack, and magic defense. A grid’s strength is made up of the sum of these four values.
- Subsection C is a quick readout of the elemental distribution of weapons in the grid. Currently, Alice’s grid features one fire, one water, and one wind weapon. As your grid expands over time, the elemental readout will be useful in getting a quick overview of what attributes you have equipped. Make sure to plan accordingly for future battles.
Filling Out the Main Grid
Both the main grid and subgrid have three tabs with a tab available for weapons, armor, and nightmares respectively. Your main grid will be the central source of damage and feature the weapon skills and nightmares able to be activated in battle.
When selecting weapons to place in a grid, generally aim to fill the grid with the primary weapon of your selected job. While it’s fine to have a variety of weapons while battling through the story, future fights within the Colosseum could prove difficult if your grid isn’t specialized. However, this doesn’t mean to ignore other potentially equippable weapons. Get in the habit of striving to specialize grids and tailor them for each Job, but don’t be afraid to experiment with potential combinations.
Be mindful of the elemental distribution of the selected weapons. Going headfirst into a battle with a grid full of attributes the enemies are strong against will do nothing but make the fight more difficult. Additionally, some stories require you to use a specific attribute to clear all the missions. Check the attributes of upcoming enemies and don’t be afraid to constantly be tweaking your guild if elemental changes are necessary.
While filling up the grid with the array of weapons at your disposal, know that there are a few limitations to what can be equipped. Be mindful of the cost limit in the bottom right corner of the grid screen.
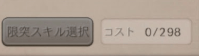
Each weapon has a cost and the grid weapons cannot go over the cost limit. Similarly, new accounts will find that some grid slots will be locked. Cost limit and grid slots rise with player rank. The cost limit can also increase through leveling up certain characters. For example, 2B Breaker gives +2 cost at Job Lv14. Keep fighting and more weapons will be at your disposal in no time.
Attack Jobs cannot equip the weapons of Support Jobs and vice versa. Lastly, grids do not allow duplicate weapons. This applies to both main and subgrids. Duplicate weapons obtained can be used for limit breaking instead.
In the beginning, you won’t have a wide selection of armor to choose from. Fear not! Armor can be earned in a variety of ways, most sets dropping in events. Focus on four main armor pieces, ideally from the same set. Always strive to get your armor to SS rank whenever possible and work on filling the subgrid with supplementary SS armor pieces.
Some armor sets released early in the game will be the Blackstone set, via the Thoughts of Sandstorms event, and the Golden set, via The Song that Echoes the Demise event. *Note that these event titles may not reflect the Global server titles. (Commonly named Phoenix and Guardian Golem events)
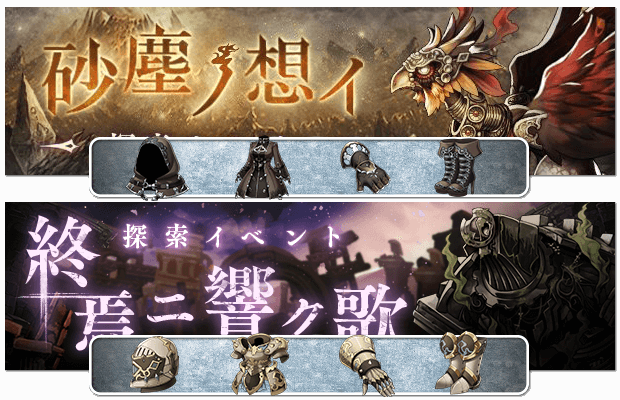
Be sure to collect these sets when they are available and raise them to Skill Level 15 if you can, as they will stay relevant for a while. Focus on completing the full armor set via acquiring all armor pieces relevant to the desired job specialty to increase weapon effectiveness on specific jobs. For example, Breaker will receive increased skill effectiveness on armor pieces with the Blade icon for Hat, Dress, Gloves and Shoes.
Wearing a full armor set will also provide a bonus to skills against specific enemy types. Recommended sets to work on are:
| Set | Available Weapons | Element Boost |
Enemy Bonus |
|---|---|---|---|
| Blackstone |     |
 |
Orcs |
| Abyss |     |
 |
Dragons |
| Golden | |
 |
Beasts |
| Musician | |
|
Satans |
| Loss | |
|
Spiders |
The five nightmares selected for the main grid will be available to summon in battle. Each Nightmare has a special ability that will trigger when summoned and can help secure victory. Just keep in mind each player can only summon once per battle. Nightmares can be obtained via the gacha, events, or special campaigns. One Nightmare great for beginners will be the pre-registration reward, Fina/Feena, the Loyal Falsehood. Make good use of this Nightmare to get you started.
There’s a variety of Nightmares to obtain from the gacha that will make great additions to a grid. Here are some gacha Nightmares to look out for. Do note that not all Nightmares listed will be currently available in the game on launch.
| Icon | Name / Effect | Element |
|---|---|---|
 |
Ugallu Greatly increases the effectiveness of Fire skills for all allies. |
|
 |
Freeze Golem Greatly increases the effectiveness of Water skills for all allies. |
|
 |
Lindworm Greatly increases the effectiveness of Wind skills for all allies. |
|
 |
Eris, Avatar of Gluttony Greatly reduce the SP cost of all skills for allies. |
|
 |
Noin, Law of Sandstorms Wind-type enemies take greatly increased Fire Damage. Colosseum only: Greatly decreases the activation rate of Colosseum Aid skills for all enemies. |
|
 |
Barbarian Wind-type enemies take greatly-increased Fire Damage. Colosseum only: Greatly increases the effectiveness of attack skills when at a disadvantage. |
|
 |
Yatagarasu Greatly lowers attack (physical and magical) for all enemies. |
|
If you’d like to avoid RNG when it comes to obtaining these critters, some good free units include the following:
- The Story provides some S rarity Nightmares from time to time. If you’re running low on Nightmares, Nightmare (Violence) and Nightmare (Restriction) are some early drops from the Story you can use to begin fleshing out your nightmare lineup.
- Trick Wisp can be obtained for free after completing the beginner missions. It’s possible to get another copy by exchanging 500 Charm Medals but it is not advised. He’ll probably stick in your lineup for awhile, at the very least on your subgrid. Staying in the subgrid is an ideal spot for this Nightmare. He should not be evolved, as his stats are fairly low for a SS. Once he no longer fits in the subgrid feed Trick Wisp to a better nightmare for the experience points. Please note that while his stats are pretty low for a SS, he needs cheaper evo materials so it’s up to you to evolve him or not. It’s still a good idea to expend your charm medals on other stuff over getting extra copies of him.
- Events and Collaborations can provide Nightmares as well. Clock Rabbit is a good starting Nightmare from the Shards of Memories event, but will eventually phase out for something better overtime. Other event Nightmares to look out for are Phoenix from the Thoughts of Sandstorms event, Absorb Spider from the Records of Revenge event, Black Rabbit from the Avatar of Solitude event (worth evolving), Guardian Golem from The Song that Echoes the Demise event (worth evolving), and Beauvoir / Machine Lifeforms from the NieR: Automata Collaboration, Memories of the Dolls.
Hitting Recommended
While that big red button on your grid screen is filled with promises of a recommended main grid build, the aftermath of deciding to go with the game’s recommendation isn’t going to be the ideal set up you hoped to put together. Even if you do decide to just go for the game’s recommendation, be aware that the recommended button will prioritize the overall power level over weapon specializations or armor sets. Always be sure to do some tweaking yourself to make sure everything is where it should be and that you’re properly prepared for whatever battle you take on next.
Final Steps: Equipping The Subgrid
Last, but certainly not least, let’s go over the subgrid. In order to access the subgrid, tap the button with rotating arrows in the bottom right corner of the grid screen. You should now see a screen like this:
This grid is slightly different from the main grid. The first key difference is that there is no cost limit. Instead, you are able to place a set number of weapons, pieces of armor, and nightmares of your choosing. Increasing rank will unlock more subgrid slots so it’s highly recommended to clean whenever possible. Each piece of equipment placed in the subgrid adds 10% of its total stats to the overall grid strength. The subgrid can also equip both attack and support weapons, so you can still make use of your strongest weapons even when they aren’t able to be placed in the main grid.
Conclusion
Building your grid can take a lot of trial and error, but this guide gives you the foundation to build all your bigger and better grids off of. Have fun experimenting and watching the power of your grids grow!