CB-EX1 Normal And Challenge Mode
This guide will step through a strategy for clearing CB-EX1 that will work for both the normal and Challenge mode.
If you are looking for other Event information or Operation clear guides, see the following:

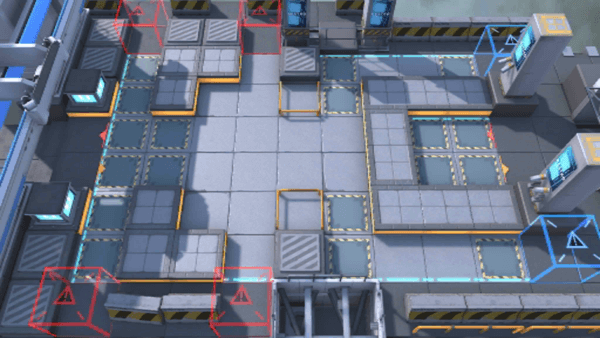
Map Information
| Stage | Sanity | Rec. Lvl & Unlock Cond. | First Time Drops | Additional Drops | Challenge Reward |
|---|---|---|---|---|---|
| CB-EX1 | 10 |
Elite 1 Lv. 40
|

|
|
Challenge Condition: The ATK of enemy Marksmen is greatly increased.
The main mechanic that needs to be addressed to complete this Stage is how to handle the Marksmen that pass behind your lines on the right side of the map. On Challenge mode, these ranged enemy units will quickly destroy any squishy ranged Operators, especially when they come in quick succession. There are no melee tiles in that area for deploy, so the Marksmen cannot be effectively tanked, killed, or soaked by melee tile deployment. There are 3 potential strategies that I can see to handle this issue:
- Use Specialist Pullers and Pushers to soak the damage and kill the Marksmen (the strategy I used)
- Try to take out the Marksmen quickly with focused DPS
- Try to eliminate the Snipers before they pass through the gate and behind your lines.
I will be using strategy 1 in this guide. I experimented a bit with 2 and it seemed like it might be feasible. I didn't try 3 at all, so I can't really speak to the actual feasibility or challenges of that idea.
- The enemies that come at us from the front (the left side) are mostly high DEF low RES, so Arts Damage is better than Physical.
Recommended Team Composition
-
2 Vanguards, V1 and V2, Block-2 Skill-DP-Recovery Vanguards are the safer play, though DP-On-Kill Vanguards could possibly work as well.
-
3 Casters, C1, C2, and C3, AoE Casters are preferred, but but strong ST can work as well, and one ST might be necessary to handle beginning phase depending on Vanguard strength and DP constraints
-
1 Medics, M1, AoE is preferred, though ST can probably work as well (though the positioning will have to be different than what I used. I'll mention it below).
-
2 Defenders, D1 and D2, Any 2 should work here.
-
2 Specialist Puller or Pushers - SP1, SP2, Pullers and Pushers have higher DEF than our squishy ranged and can be placed on ranged tiles. They also have built-in defenses. We will be using them to soak the Marksman shots and to bully them around as much as possible. FEater and Rope both have high Physical Dodge, making them ideal for this task.
-
3 Flex - I'd recommend a back up Pull/Push Specialist and a backup Defender, as these are the most likely Operators to die.
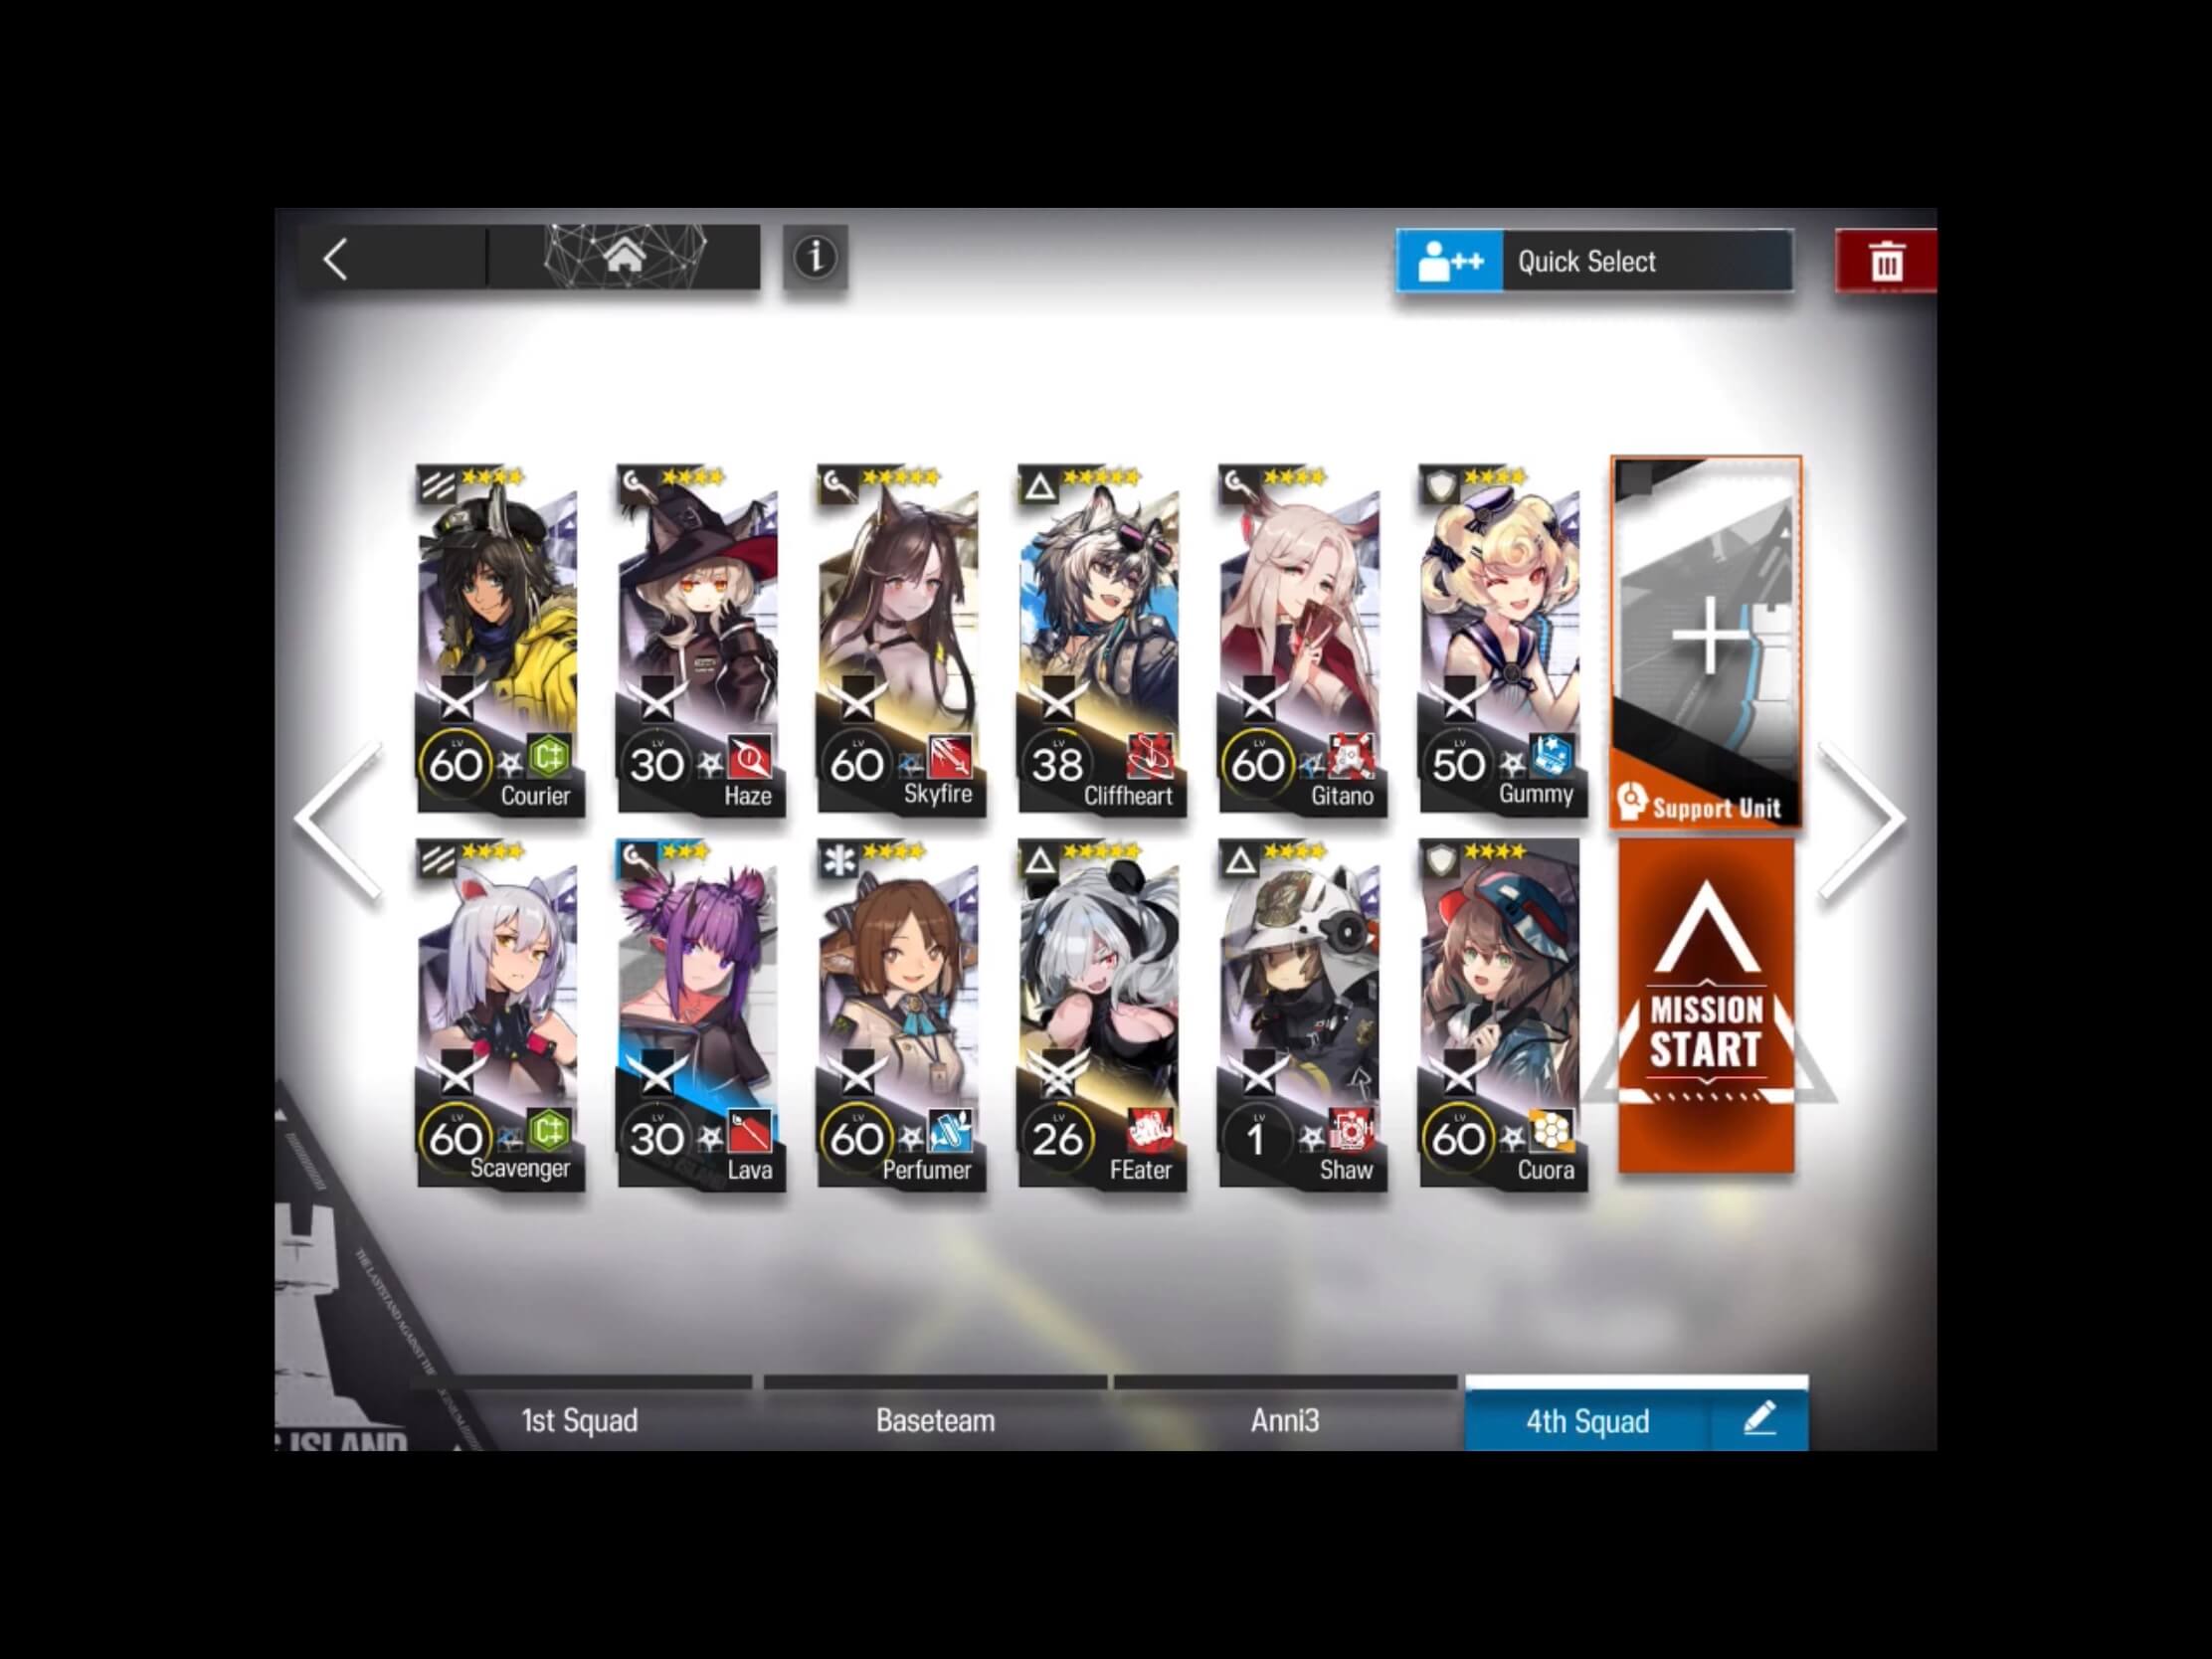
Here is an example of the team I used:
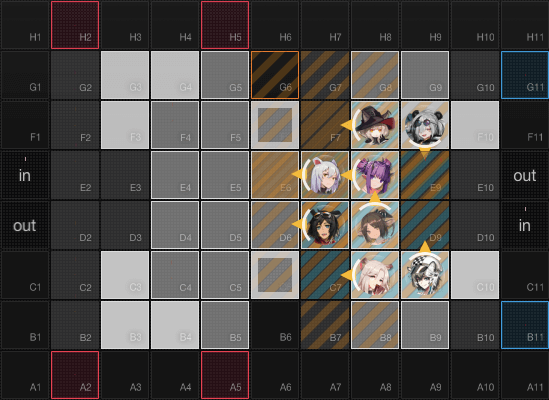
Deployment
Unit placement can be seen in the image below, and deployment order should be done exactly as presented. Each Operator can be placed as soon as there is sufficient DP.
Deployment Order:
- V1: Courier - Skill-DP-Recovery Vanguard
- V2: Scavenger - Skill-DP-Recovery Vanguard
- C1: Haze - Caster - I used an ST, but AoE is preferable if you have the DP and Operators for it
- C2: Lava - AoE Caster
- M1: Perfumer - AoE Medic - If you use an ST Medic, you will need to swap places with either C1 (facing down) or C3 (facing up)
- C3: Gitano - AoE Caster
- SP1: Cliffheart - Puller/Pusher - Order can be swapped with 8
- SP2: FEater - Puller/Pusher - Order can be swapped with 7
- The main thing here is that the Pullers/Pushers are deployed after your ranged Operators and that they are deployed before the Marksmen start showing up behind your lines. The rest of the deploy order can likely be adjusted as per your personal situation/needs. If you need to retreat a Vanguard to deploy a Defender earlier in the deployment order so that a Vanguard doesn't die, that will likely be fine as well.
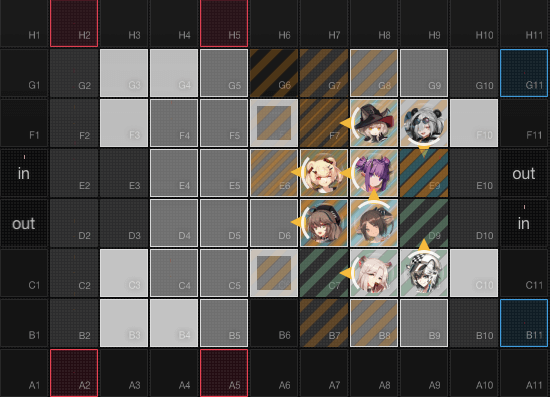
Deployment should look something like this:
When you have enough DP, retreat your Vanguards and deploy your Defenders. If you need to do this swap earlier in the deployment Order to ensure your Vanguards don't die, that will likely be fine.
- Retreat V2, deploy D1 - Defender - Gummy
- Retreat V1, deploy D2 - Defender - Cuora
Final deployment looks like this:
This should take you to the end! If enemies are leaking, then your DPS isn't high enough. Try leveling your Casters or making better use of their Skills.
Enjoy the OP!