

- What is the Castle?
- Getting Started with the Castle
- Smithwyrms
- Building Type: The Halidom
- Building Type: Rupie Mines
- Building Type: Dragontrees
- Building Type: Elemental Altars
- Building Type: Smithy
- Building Type: Dojos
- Building Type: Dracoliths
- Building Type: Decorative
- Upgrade Priority
- Tips and Tricks
Castle Guides


What is the Castle?
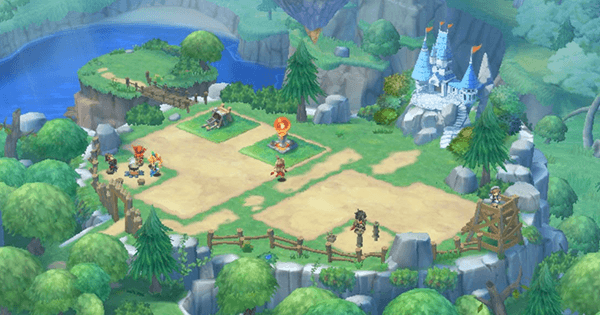
The Castle is a minigame within Dragalia Lost where players can construct and upgrade buildings to help them on their adventures. Building here is critical, as the structures provide support to adventurer’s stats, weapons and dragons.
Although upgrades can be slow, they progress passively while doing main quests or taking a break from the game.
The Castle can be accessed after completing Chapter 1 of the Campaign.
Getting Started with the Castle

Upon first unlocking the castle, a short tutorial will explain building and leveling. Beyond that, it’s also possible to check the status and productivity of a building-- to do so, tap it and select Info. Put Away stores the building in the Storehouse, while Move allows the structure to be dragged and placed elsewhere.
Smithwyrms

Each time you want to upgrade or construct a building, a Smithwyrm must be assigned to the task. This is a bottleneck to simultaneous upgrades-- a player with two Smithwyrms can construct or upgrade a maximum of two buildings at once, and so on. As timers lengthen with subsequent upgrades, Smithwyrms become crucial to efficient progression. Bringing a building out of the Storehouse does not require a Smithwyrm.
Additional Smythwyms can be purchased with increasing amounts of Wyrmite or Diamantium to a maximum of five.
Building Type: The Halidom

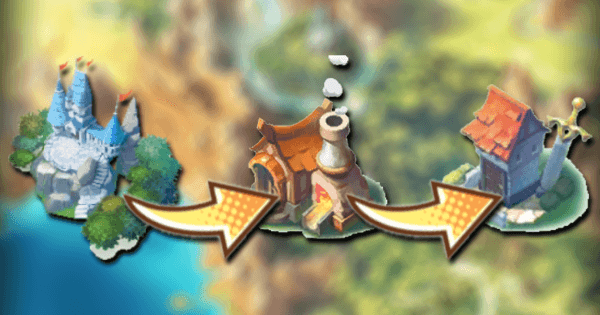
This functions as a headquarters, and is usually the most costly building to upgrade. Leveling up the Halidom increases the level cap of the Smithy and adds valuable building space to the Castle grounds.
However, the Halidom requires certain Facility Levels for upgrades. The Facility Level is a sum of all upgrades and buildings in the Castle Grounds. Halidom upgrades are expensive and slow, but arguably the most important for progression.
Building Type: Rupie Mines

Rupie Mines are a source of passive income. Upgrading them increases both the mining speed and the maximum capacity for storing Rupees for collection. Active players may not want to prioritize these since Rupies can be accumulated through questing, but they are very quick and easy to upgrade for Facility Levels. Eventually, the upgrade costs will include Light Orbs of increasing rarity.
Additional Rupie Mines can be built at higher player levels.
Building Type: Dragontrees

Dragontrees are production buildings that grow Dragonfruit, the source of EXP for Dragons. Like with the mines, Dragontree upgrades increase both the gathering rate and storage capacity. Above level three, valuable Talonstone is needed for upgrades-- be sure to save these for the Halidom first.
Building Type: Elemental Altars
These provide a passive boost to adventurers’ HP and Strength. There are Five Altars total, each corresponding to Adventurers of that element. It’s a small boost, but being calculated as a percent allows the buff to scale up with an Adventurer’s total power. Like the mines, Altars are great for Facility levels, being initially very cheap and fast to upgrade (levels three and above cost Orbs of the relevant element type).
A different Elemental Altar is unlocked every two player levels, beginning with the Flame Altar at level 2, and ending with the Light Altar at level 10. They can only be upgraded to level 10 initially, but this increases based on Player level.
Building Type: Smithy
The Smithy unlocks weapon crafting and unbinding, while upgrades to the Smithy add new weapons and better upgrades. As weapons directly influence combat ability and Might, this is one of the most valuable Castle upgrades. The Smithy’s level is restricted by the Halidom’s level: For instance, in a level three Halidom, the Smithy can only reach level three. Smithy Upgrades typically cost large quantities of Rupies and weapon crafting materials.
The Smithy is unlocked after completing Chapter 2 of the Campaign.
Building Type: Dojos

Dojos are similar to Elemental Altars, but instead buff characters based on their chosen weapon. There is one for each weapon type, and the boosts start at a healthy +3% for both HP and Strength. Clearing Chapter 6 of the Campaign and participating in the Imperial Onslaught event is required for building Dojos. The event rewards various currencies, which are used to buy the construction rights. Due to their substantial buffs, these are a priority investment once obtainable. Upgrading Dojos costs Rupies, Dyrenell Aes, Dyrenell Argenteus and Weapon Tablets. Up to two Dojos of each type can be built.
Building Type: Dracoliths
These buildings boost the damage dealt when transformed as a Dragon, increasing damage by one for each upgrade level. Since the additional damage is flat, it adds very little overall making this building low priority for upgrades. Upgrading Dracoliths costs Rupies and Orbs of the corresponding element. The Wind Dracolith is unlocked after beating Chapter 6 of the Campaign. Higher level upgrades cost Elemental Scales and Talonstones, making this building very expensive to level up.
Building Type: Decorative

There are a few decorative installments that can be built inexpensively with Rupies. They can’t be upgraded and don’t count toward increasing Facility Level, so they are only for fun or filling spaces where another structure won't fit.
Upgrade Prioritization
Players start out with two Smithwyrms, which is plenty for the early game. Save up Rupies and Talonstones for Halidom upgrades while constantly building Mines and Altars. You'll want to hit Facility Level 40 as soon as possible to upgrade your Halidom. This will allow you to upgrade your Smithy to level 3 in turn unlocking elemental Weapons.
At this point you'll want to pick up another Smithwyrm or two and start working on cheap upgrades, since a level four Halidom requires 100 Facility Level. It's a good idea to farm the Elemental Ruins, as upgrading Altars requires Orbs and Weapon crafting materials.
Once your Halidom is level 5 you'll need to focus hard on getting Facility Level 200 for the next upgrade. Building and upgrading Dojos is a great way to boost Facility Level at this stage. Above Player level 40, you'll be able to start building second copies of Altars as well.
To achieve Facility Level 300 for Halidom level 6, you'll need to farm hundreds of Orbs and Dyrenell Aes to upgrade Elemental Altars and Dojos. This is where upgrade timers start to go beyond 10 hours, so you'll want at least four Smithwyrms to accelerate progress. A solid goal is to upgrade all Dojos to at least level 5, and all Elemental Altars to at least level 15.
Upgrade priority is roughly as follows, with the top of the list denoting key upgrades:
- Halidom
- Smithy
- Dojo
- Elemental Altar
- Dracolith
- Dragontree
- Rupie Mine
Tips and Tricks
-
Purchase Smithwyrms as needed. Two is plenty for the first two Halidom levels, but once your Halidom is level 3, you'll need the extra upgrades. Once your buildings are getting to around level 10, you'll want all five. Make sure to save some Wyrmite for the later upgrades!
-
When starting out, it’s a good idea to visit the castle between battles to begin new upgrades. Notifications can also be helpful in keeping up with Smithwyrm activity.
-
The Collect All button can be used to speed up resource gathering.
-
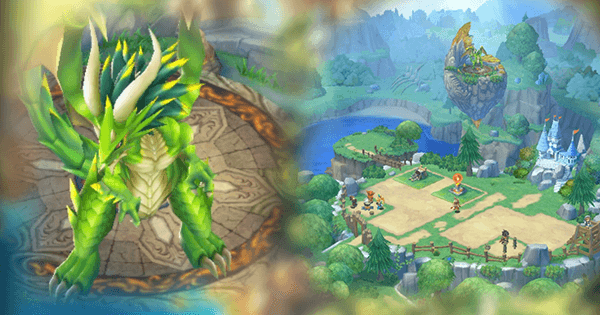
The Dragon’s Roost can be visited directly from the Castle Grounds by tapping the floating rock to the northwest. If you have a large dragon there, you can't miss it!
-
Save Talonstones for Halidom upgrades before you use them on Dragontree upgrades.
-
Exchanging gifts with a Dragon can grant Talonstones, so be sure to do it daily! Getting them to Bond Level 10 will give you a few Talonstones at once!


