Cavalry Guides

Positioning and Formation
With a Cavalry team, positioning your units correctly is imperative in order to ensure they have the necessary buffs at the appropriate times. Remember that given the range of cavaliers, there is often no need to engage an opponent if you do not think you are ready to; feel free to retreat and give that cavalier the appropriate buffs before you choose to fight. This is not always possible, but whenever it is, it is advised.
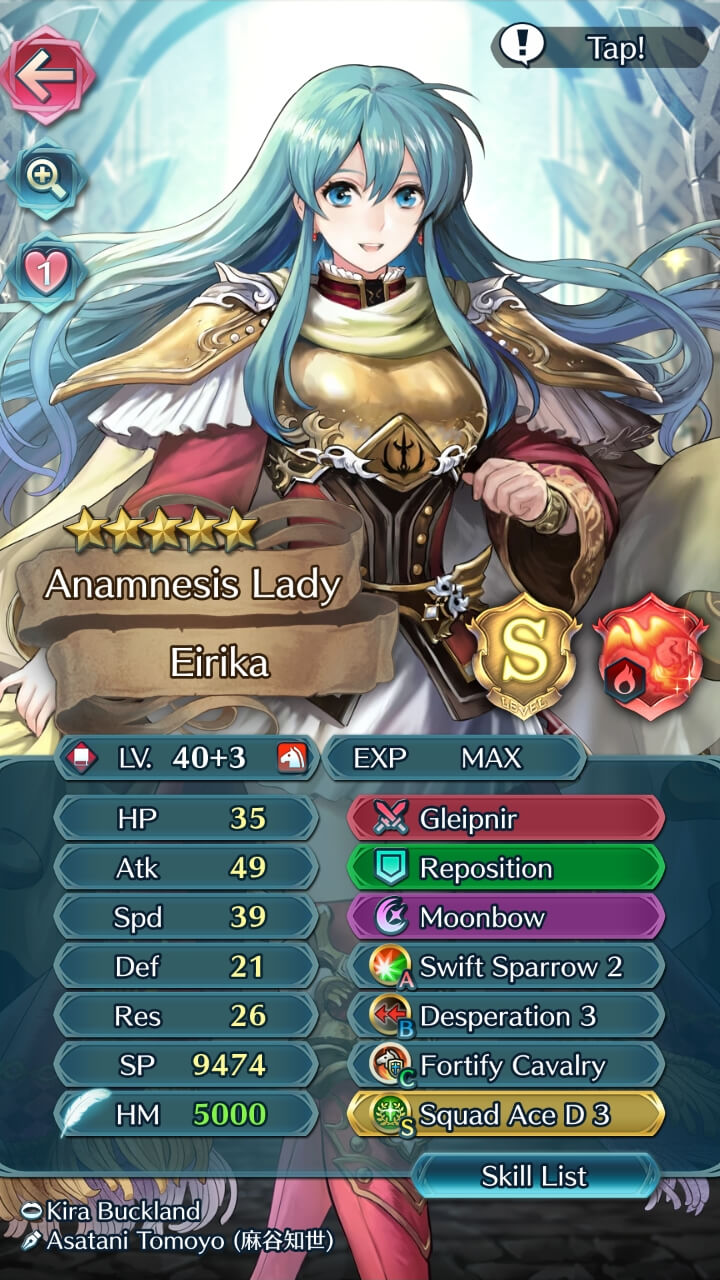
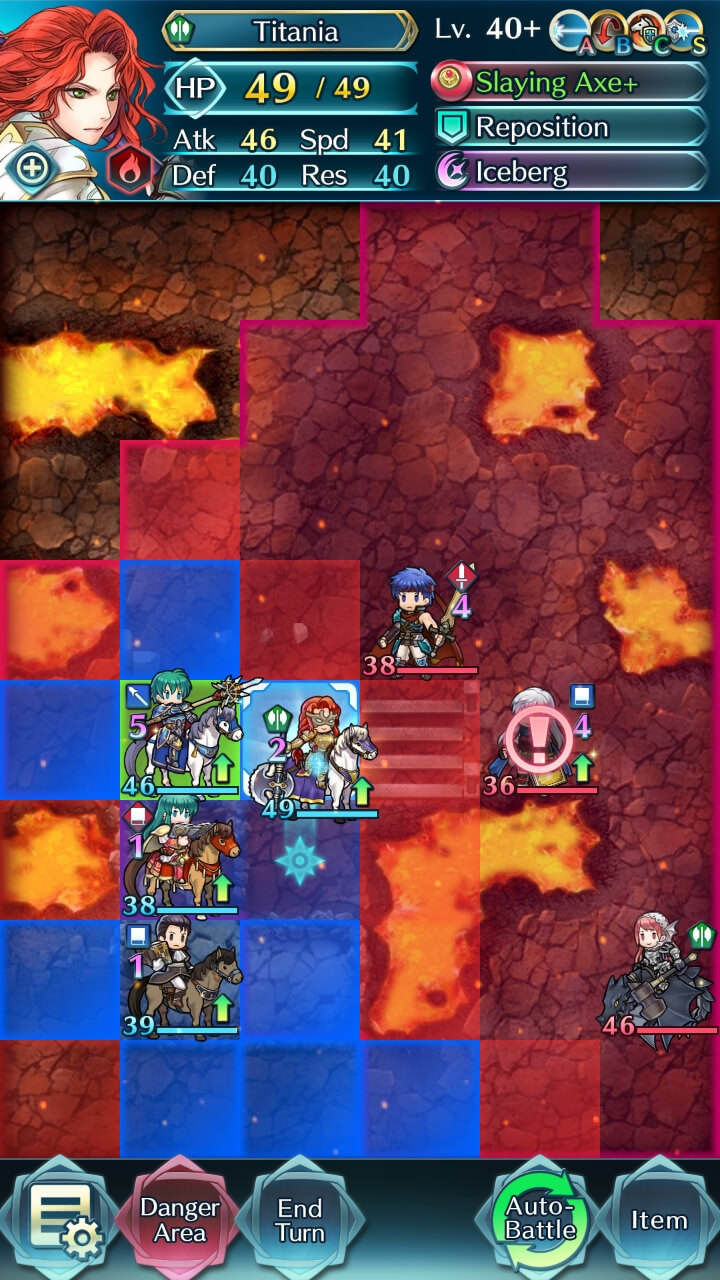
Here is the cavalry team I will be demonstrating with. Please note the cavalry buff that each one has:
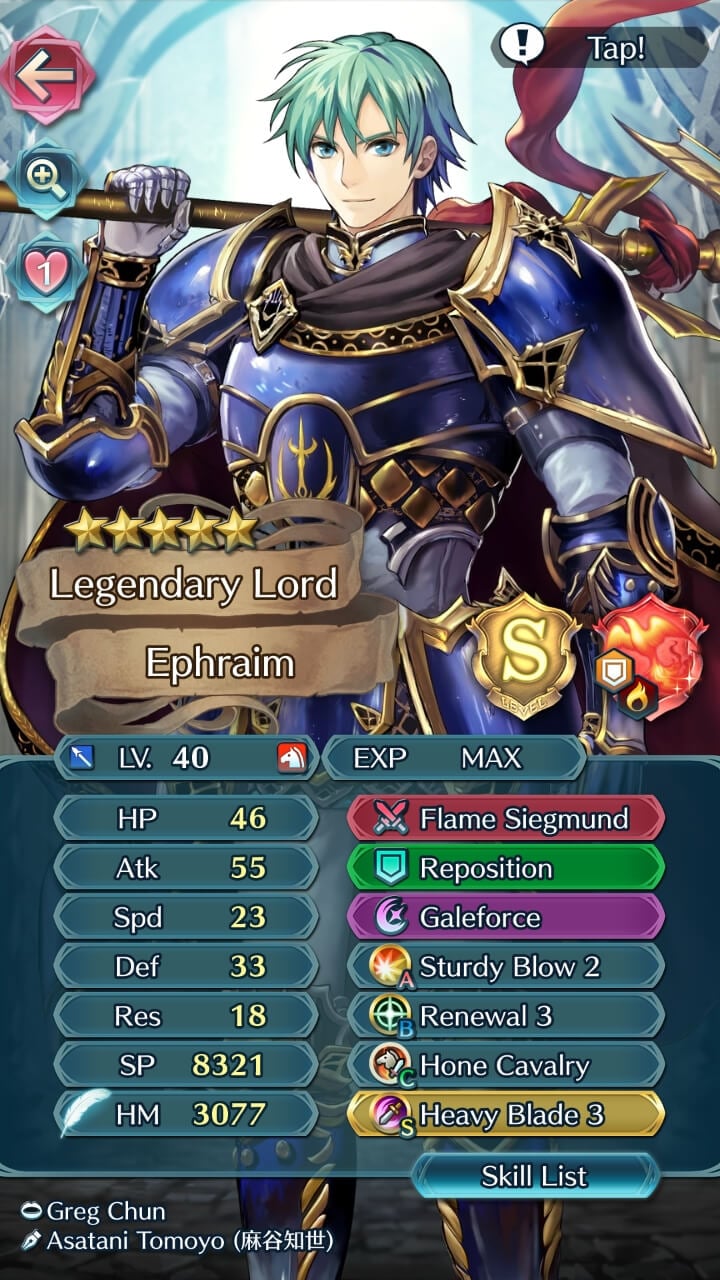
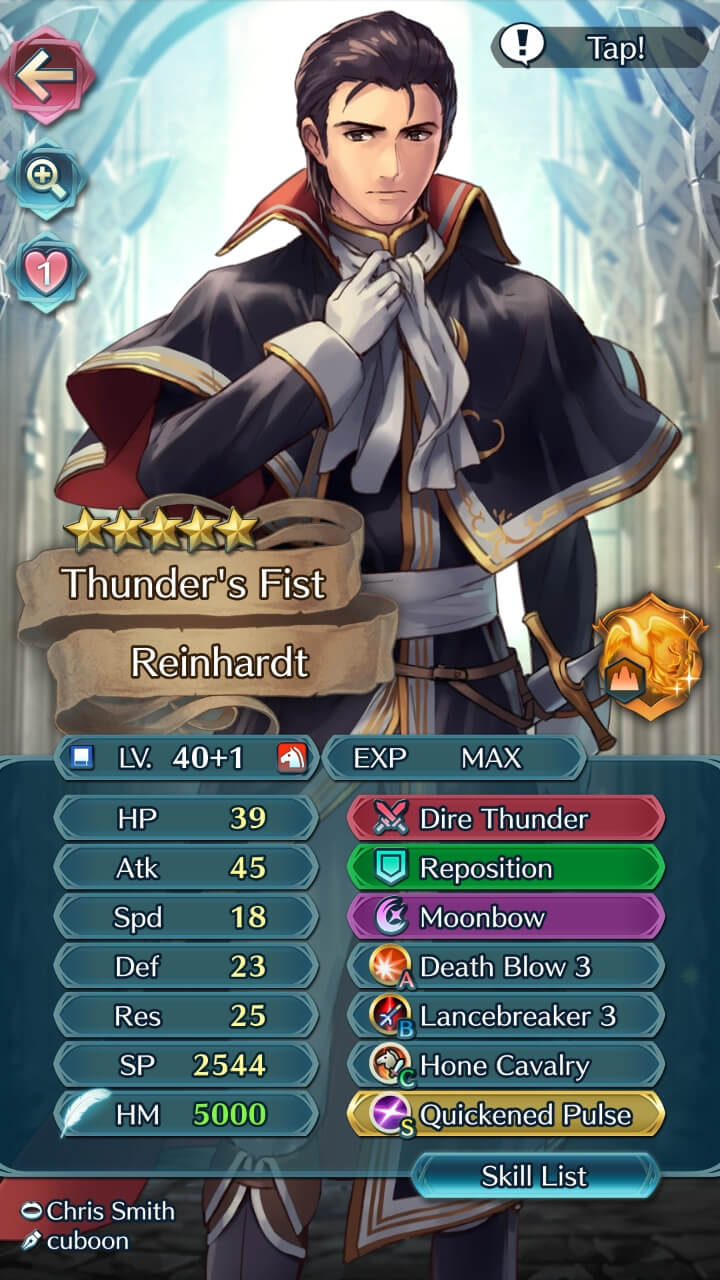

Unfortunately, due to the restrictive nature of terrain, keeping cavaliers in the optimal formation can sometimes be a hassle. As such, understanding the various formations one can take to optimize buffs as much as possible is important. One could consider the various formations akin to pieces in Tetris:


While remembering and employing these formations will help out in battle, it’s also important to remember that cavaliers will often not need all the buffs. When put into practice, it is better to simply ensure that the right cavaliers receive their crucial buffs instead of attempting to position your units for the optimal amount of buffs. In the majority of scenarios, offensive cavaliers such as Eirika and Reinhardt will not benefit much from receiving Fortify Cavalry, so it is often unimportant from them to receive said buff. As long as they receive Hone Cavalry before their attack, all is good.
Playstyle
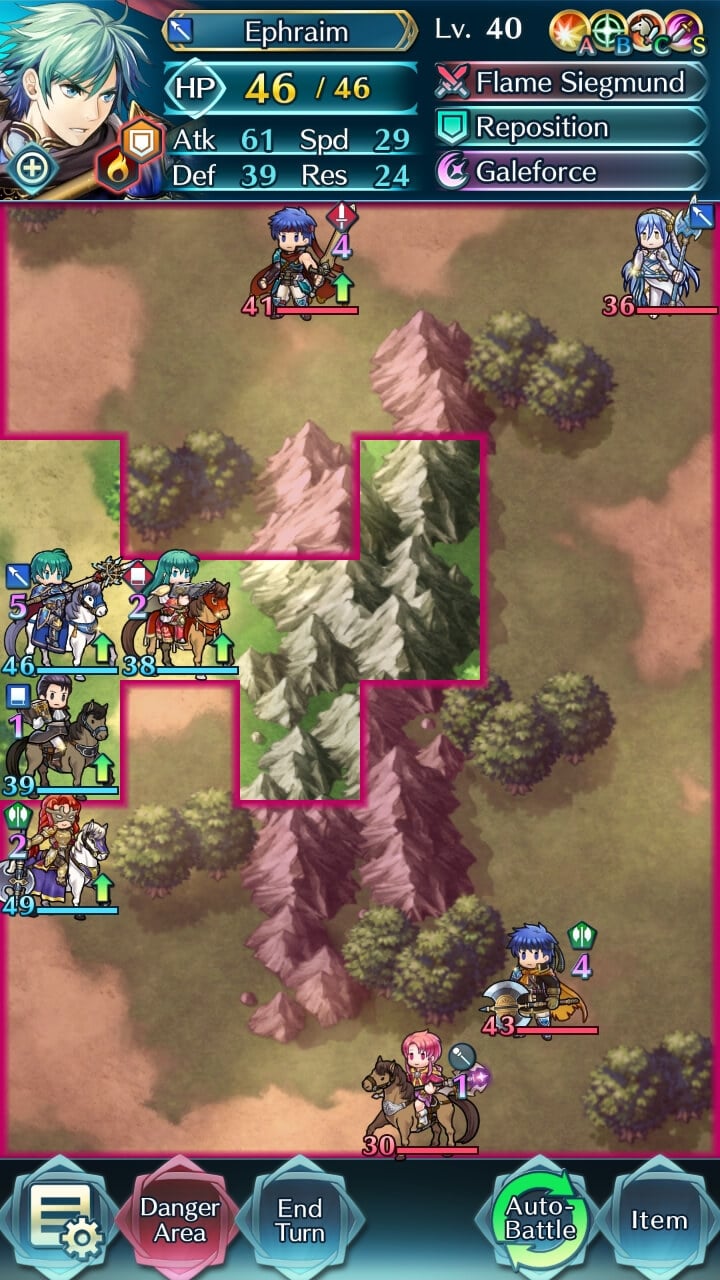
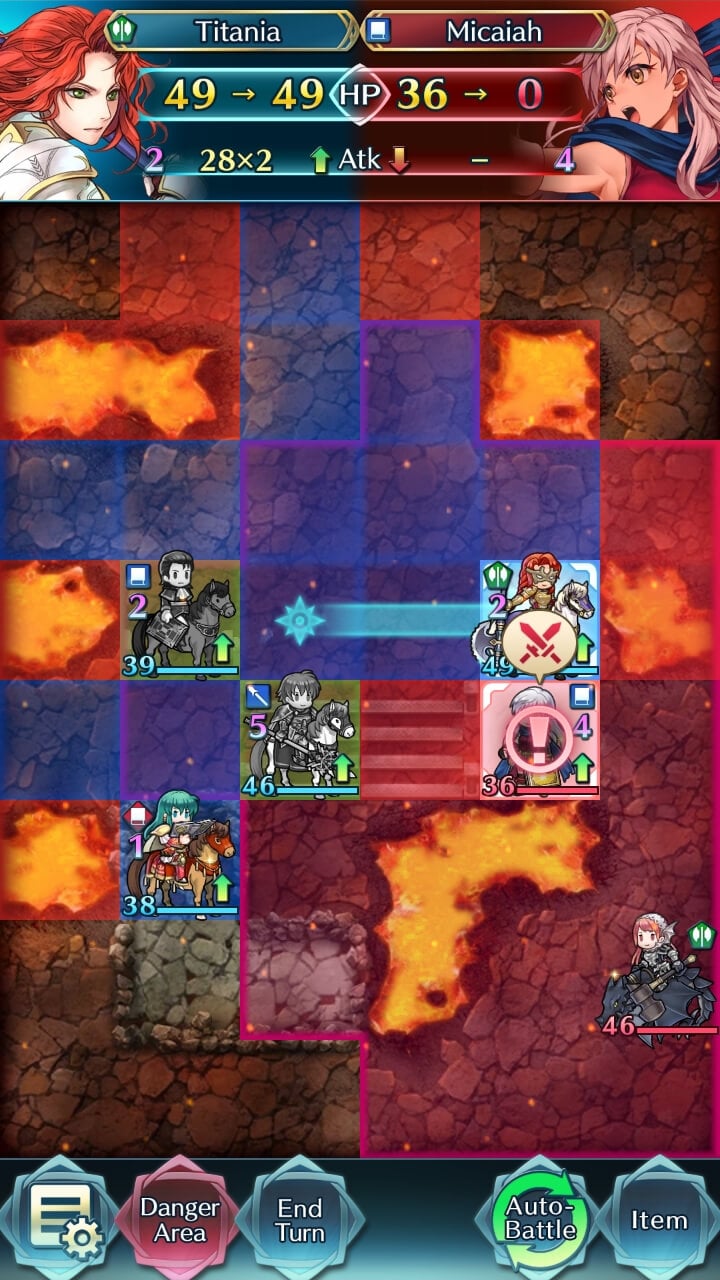
Utilizing cavaliers is as simple as building them, as long as you understand their shortcomings and are able to play around them. The primarily philosophy behind a cavalry team is to put their full movement range to use in order to pick off enemies one by one. While that is the idea, it’s not always as simple in practice. Simply put, many arena maps have obstacles in place that prevent this type of playstyle, mainly in the form of terrain. On more open maps with lots of open space, cavaliers reign supreme thanks to unhindered mobility. On other maps though, they do suffer.
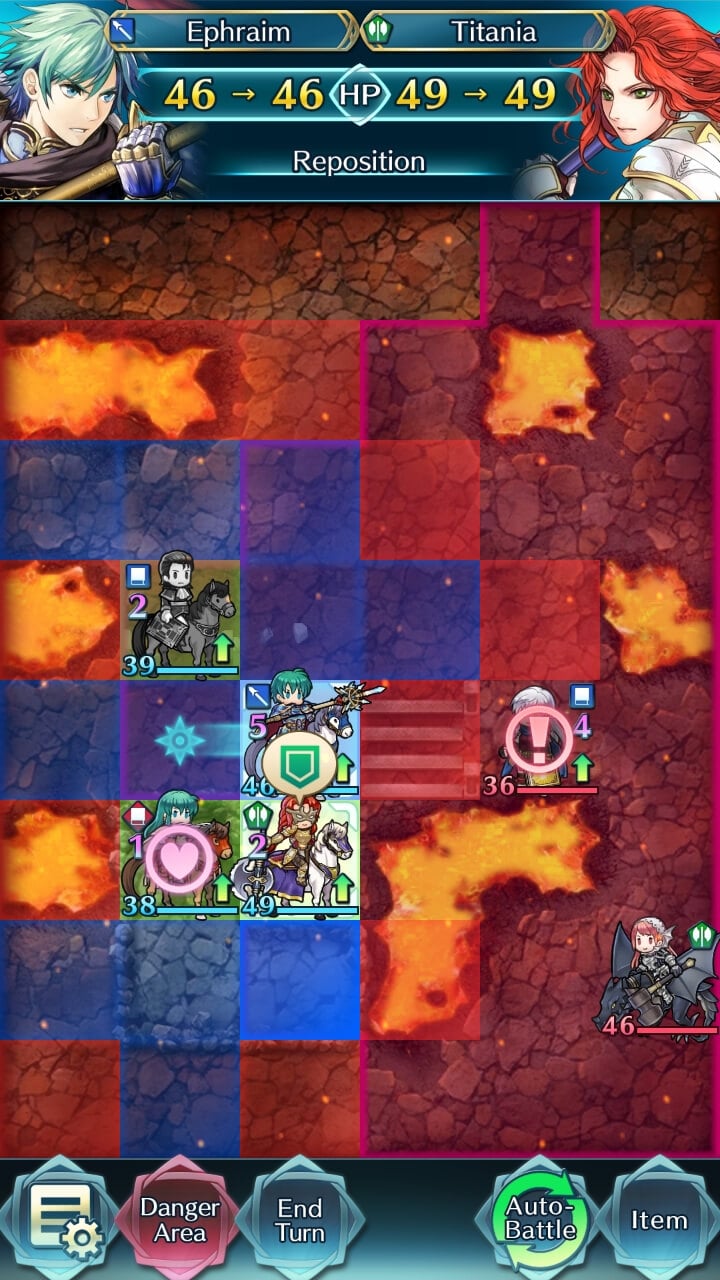
Even if their full movement range cannot be put to full use, their access to Cavalry buffs makes them plenty powerful for maps with more tight paths. Even on maps like these, you can still utilize a cavalier’s movement by retreating to safety and picking off the enemies one by one as they approach you, ensuring to make use of Assist skills such as Reposition and Swap to keep your ranged attackers safe and allow your defensive cavaliers to take any attacks if necessary. You can also still opt for a more defensive playstyle, making use of your movement range to bait a single enemy per turn and easily exchange one cavalier for another in order to bait the new opponent.
Where the movement range of Cavalry will truly shine is PvE content, such as Chain Challenges. Story maps are drastically different in design to arena maps, and often allow for the philosophy behind a cavalier team to shine through. In fact, cavalier teams can often trivialize some of the harder content on offer with little to no issue.
Handling Terrain
The other key thing to understand about cavalry are their terrain restrictions and how to play around them. Typically impassable terrain such as mountains and water will affect cavaliers as it would any non-flier unit, so nothing noteworthy there. Forests and trenches are the two biggest things to watch out for.
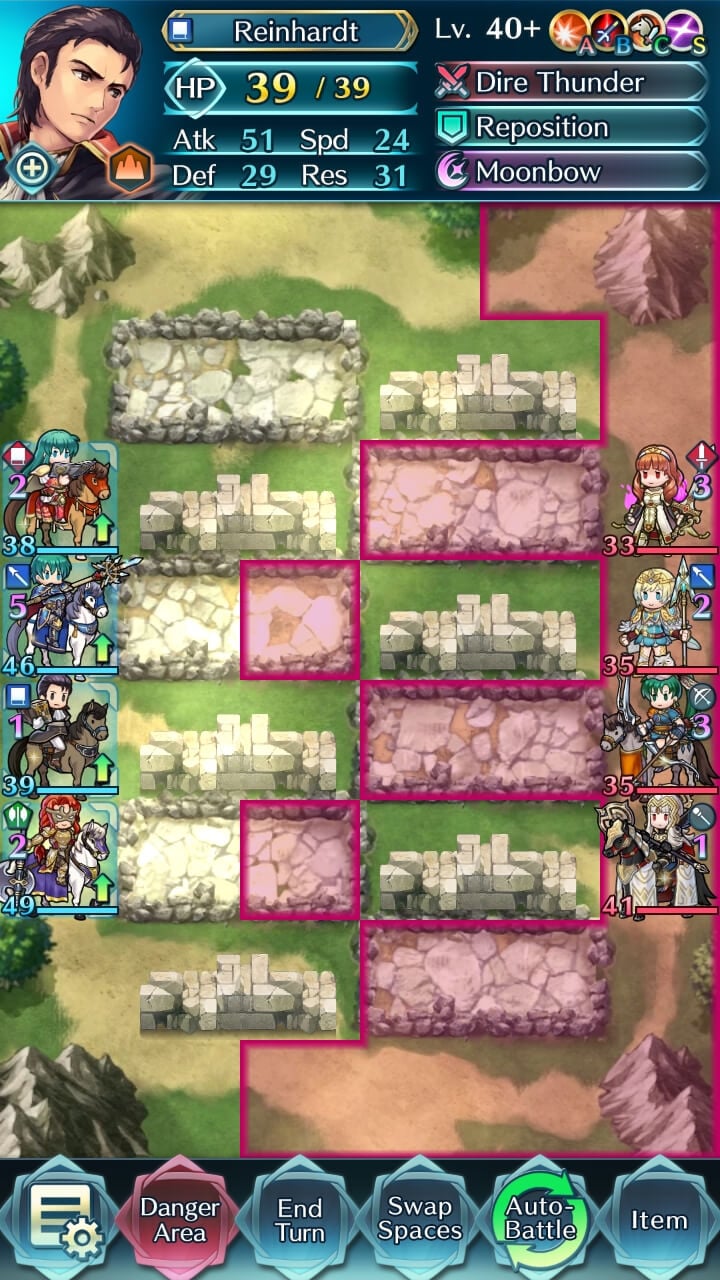
Forests

Forests act as impassable terrain for cavalry. The effect this has on your team can range from being a simple nuisance (like in the above screenshot) to downright detrimental. Given that forests are quite common obstacles in arena, you have to be wary of where the forests are and ensure that you don’t put yourself into a unfavorable situation because of it.
Unfortunately, there is no direct way to mitigate forests. They’re simply more impassable terrain to deal with. The only solution to handling them is to play smartly and ensure your units don’t get trapped.
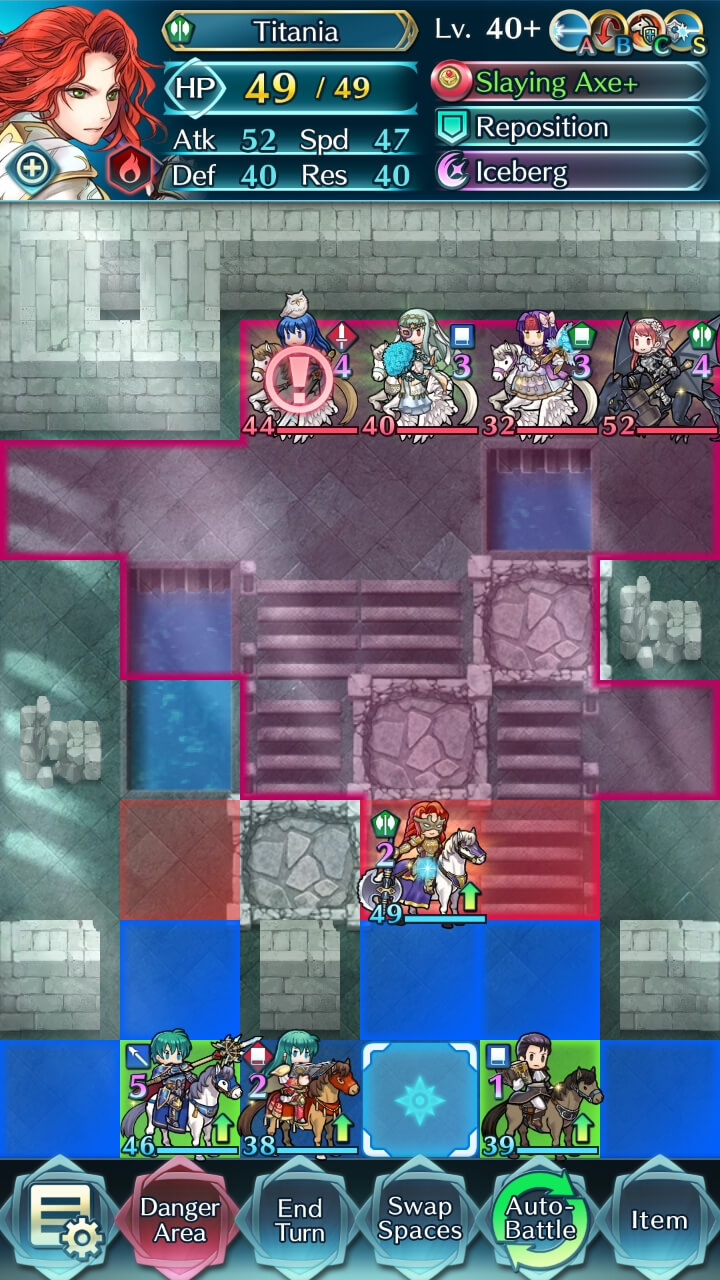


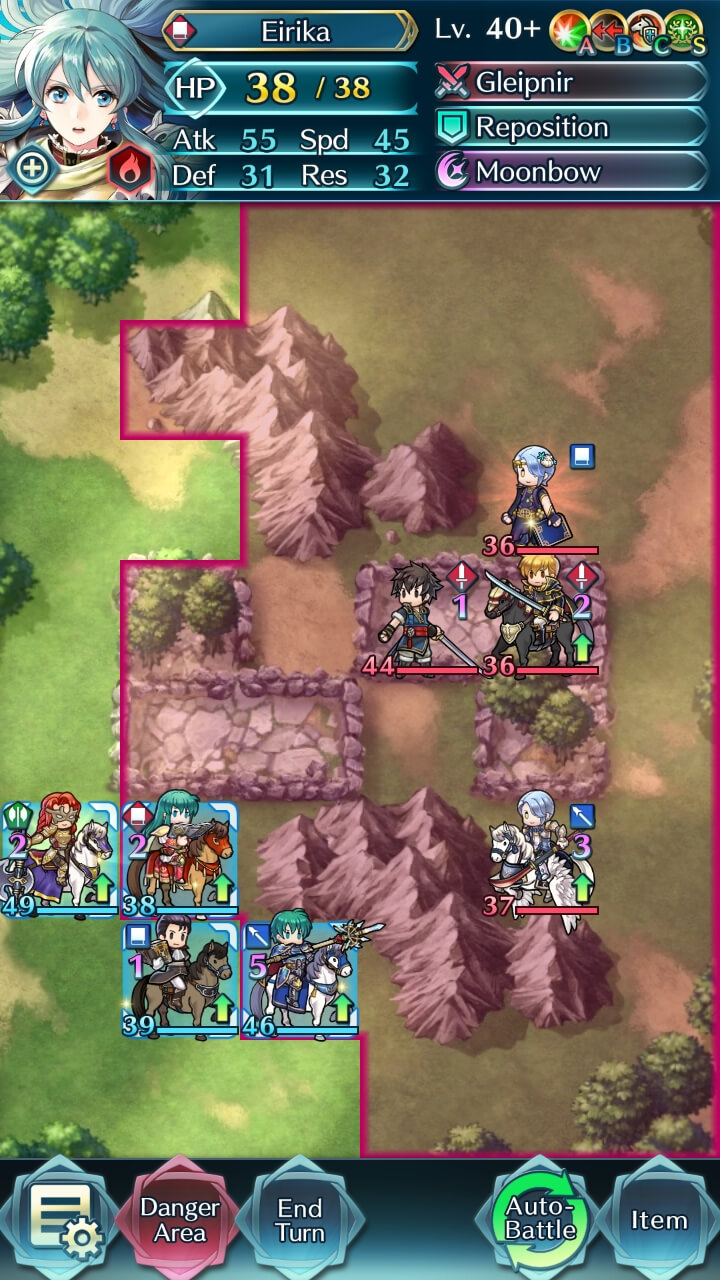
Trenches are special terrain that only affect cavalry. Cavaliers need to expend all of their movement points if they want to enter a trench tile. In a sense, trenches are to cavaliers what forests are to typical infantry.
However, much like infantry with forests, cavaliers can play around trenches through the use of Assist skills. One cavalier could use Reposition to get another cavalier onto a trench tile in case that cavalier does not start adjacent. If there’s a cavalier already on the trench tile, they could also use Reposition to potentially immediately get an ally across the trenches altogether. Even with all of this being said though, trenches will still serve to be a particular nuisance on most maps they are present on, but unlike forests, you can utilize Assist skills to mitigate their effect somewhat.

While terrain will always be a hindrance for cavalry, smart play and positioning can help to alleviate this issue considerably.