Possible Drops:
--
Mission and Clear Conditions:
Mission: Hold the Supply Line for 2 turns.
Clear Guide:
Unlock this map by defeating Gager twice, and Agent once in Chapter 2.
Clearing all routes should naturally unlock this map.
Team Recommendations:
- 1 Night Combat Echelon, Level 90+ 5x Linked
-
This should be an Agent-killing Echelon. The fight is much harder, though the same general rules as 2-D4 apply: Evasion-boosting SMG(s) to tank, with 2-3 DPS AR, and 1-2 HG. As before, RO/C-MS/MP7 are good picks. More details on this fight will be provided at the end.
-
- 3 Dummy Echelons: Preferably HG, as we need the vision.
Clear Steps
This map suffers from rather strange behavior (and featured some rather bizarre bugs on CN/KR). Whether or not EN gets a bugless version remains to be seen, but the clear shown here should not suffer from them (unless we get the teleporting tanks, which will brick any run).
The originally intended way to clear this map involved making the loop without a HG in the Echelon to avoid lighting up the Typhons which brought them ‘active’. At the time of writing, the Typhons are immediately active on CN, and likely EN as well, making the clear both easier and harder. Easier, in the sense that you know what is coming, and the tanks move in predictable ways, and harder, in that killing the Typhons isn’t for the faint of heart. Instead, Agent will be doing the dirty work for us. Consult the bottom image to see the patrol patterns of the Typhons, and the Supply Line that we will be building.
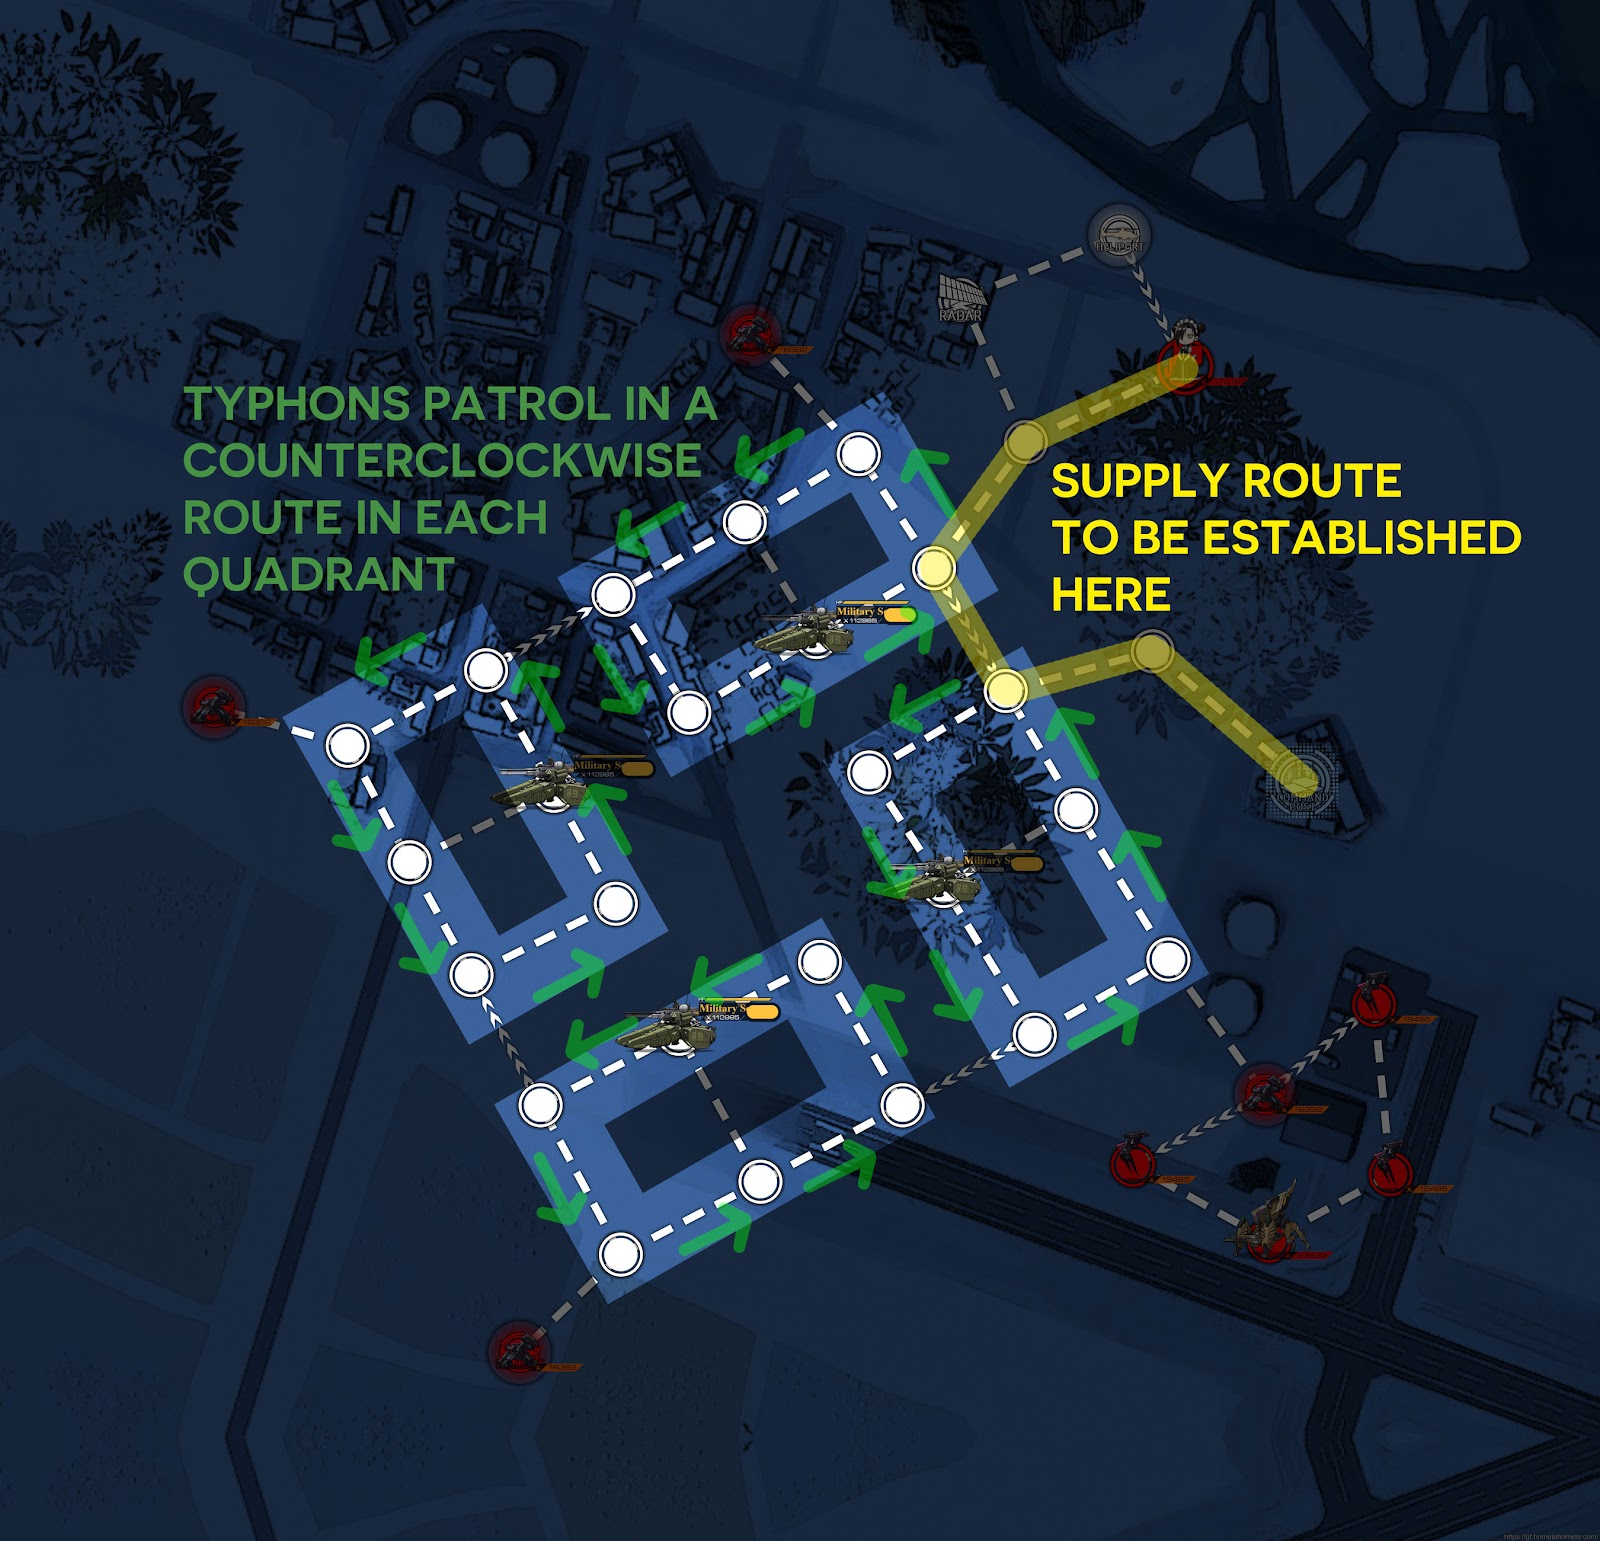
While they will show the ! mark of an alerted enemy if you stand next to them, the Typhon do not deviate from their patrols, and will not reverse course to attack your Echelons.
Turn 1
1.1
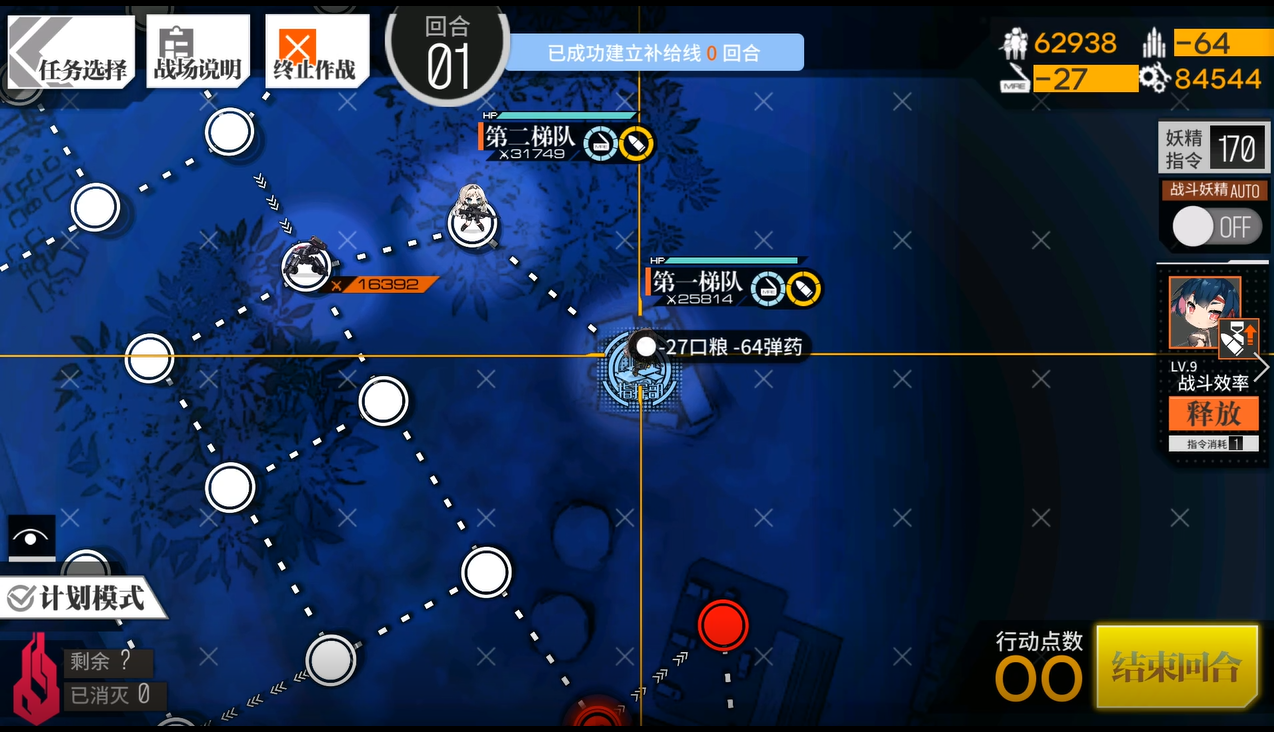
Deploy the Echelon that will engage Agent, and move off of the Command Post to allow for the second Echelon to be spawned. The example uses a second Combat Echelon, but it never ends up fighting anything, so it is probably safe to use a Dummy here.
Turn 2
2.1
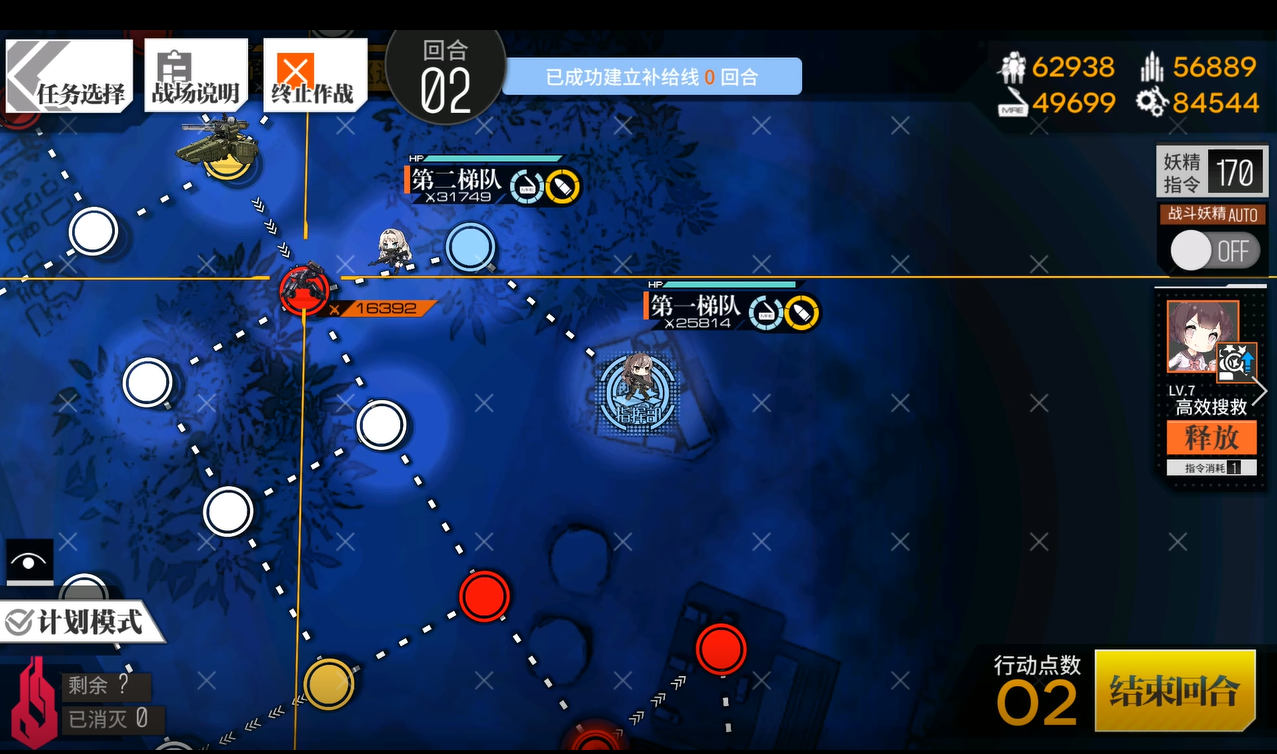
Move the Agent killing Echelon left into the Jaguar, killing it. The Typhon above will not move down.
2.2
Move your second Echelon off the Command Post, and spawn the first Dummy Echelon on the Command Post.
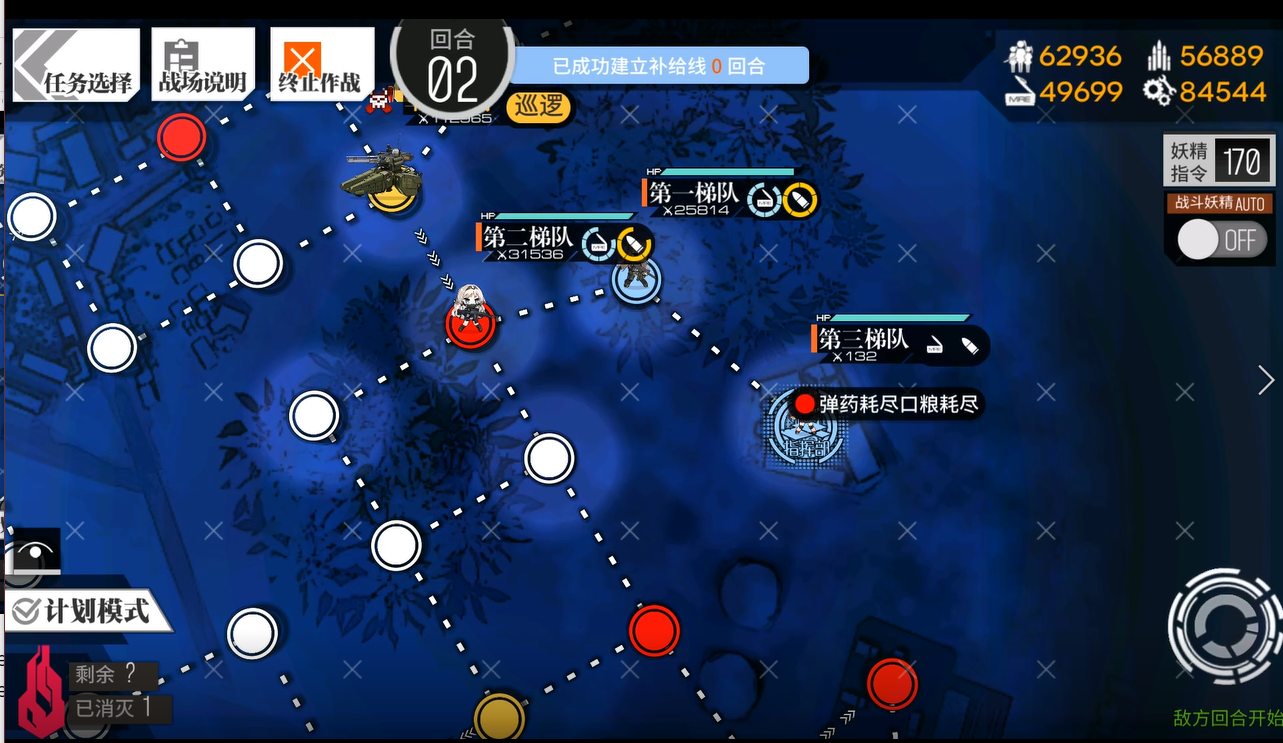
Turn 3
3.1
Swap to resupply if needed.
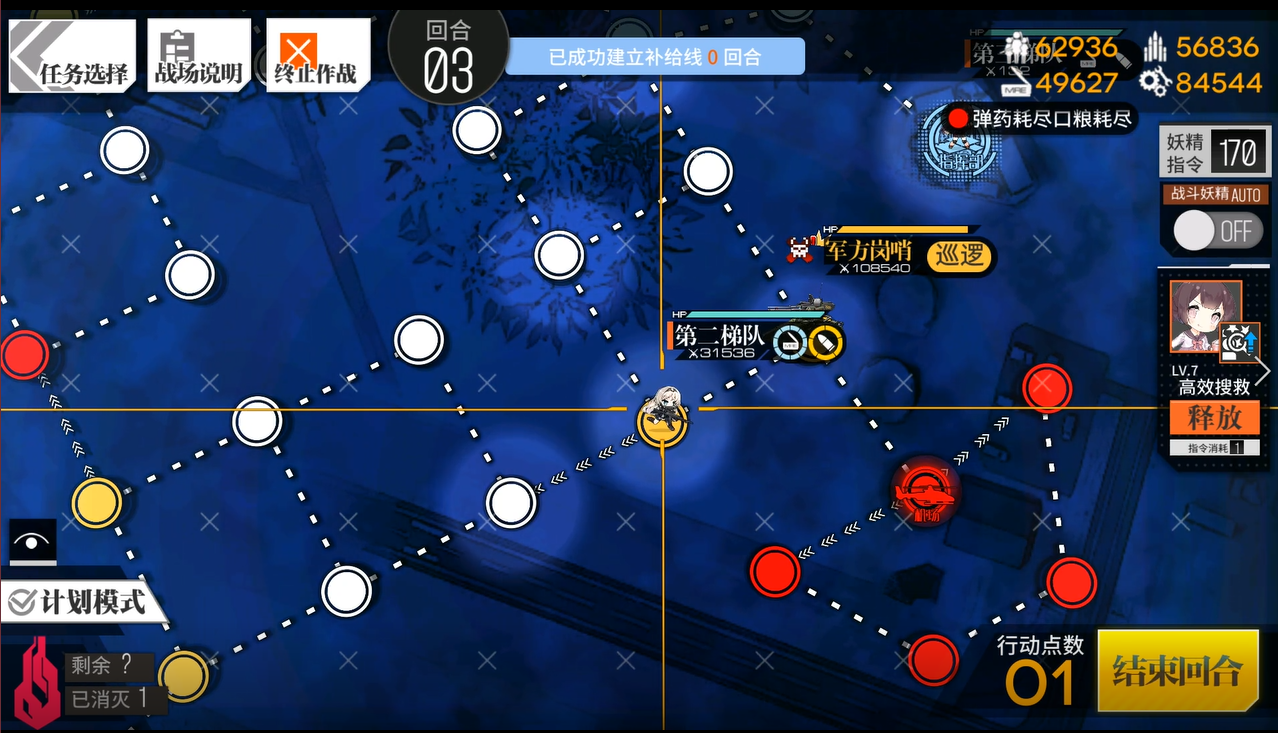
The Combat Echelon should then move left and down two nodes before stopping. You will have one AP left, but should end your turn now as you don’t want to walk into the tank.
Turn 4
4.1
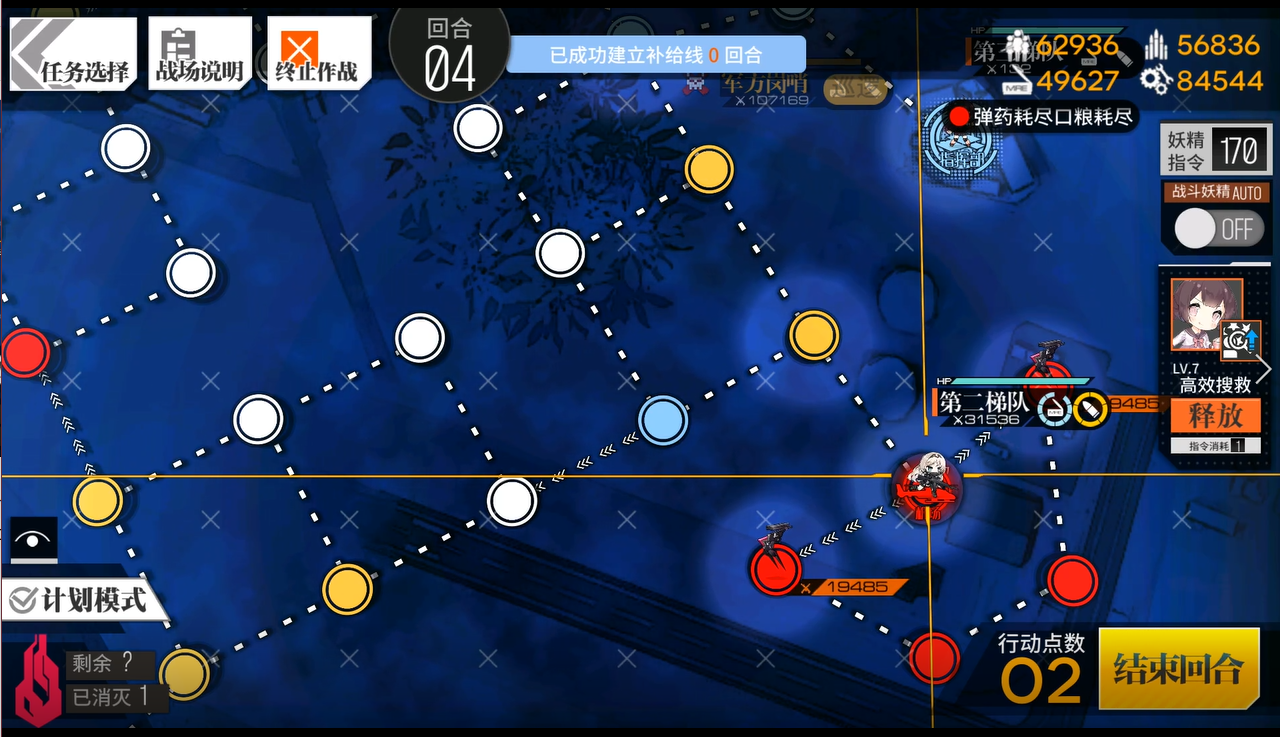
Move the Combat Echelon right and down onto the SF Heliport. This will provide an additional AP and prevent additional trash from spawning. End your turn.
Turn 5
5.1
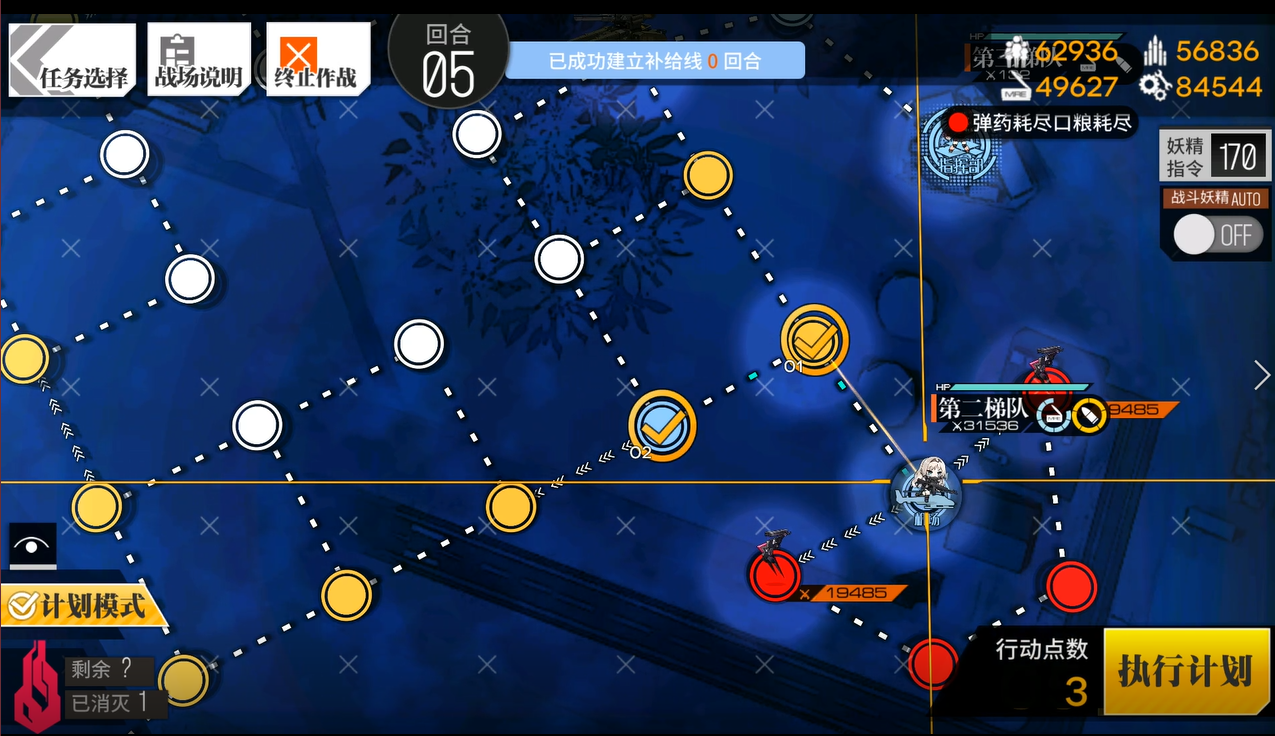
Move up and left with the Combat Echelon. There should be a Typhon blocking the way forward, so end your turn.
Turn 6
6.1
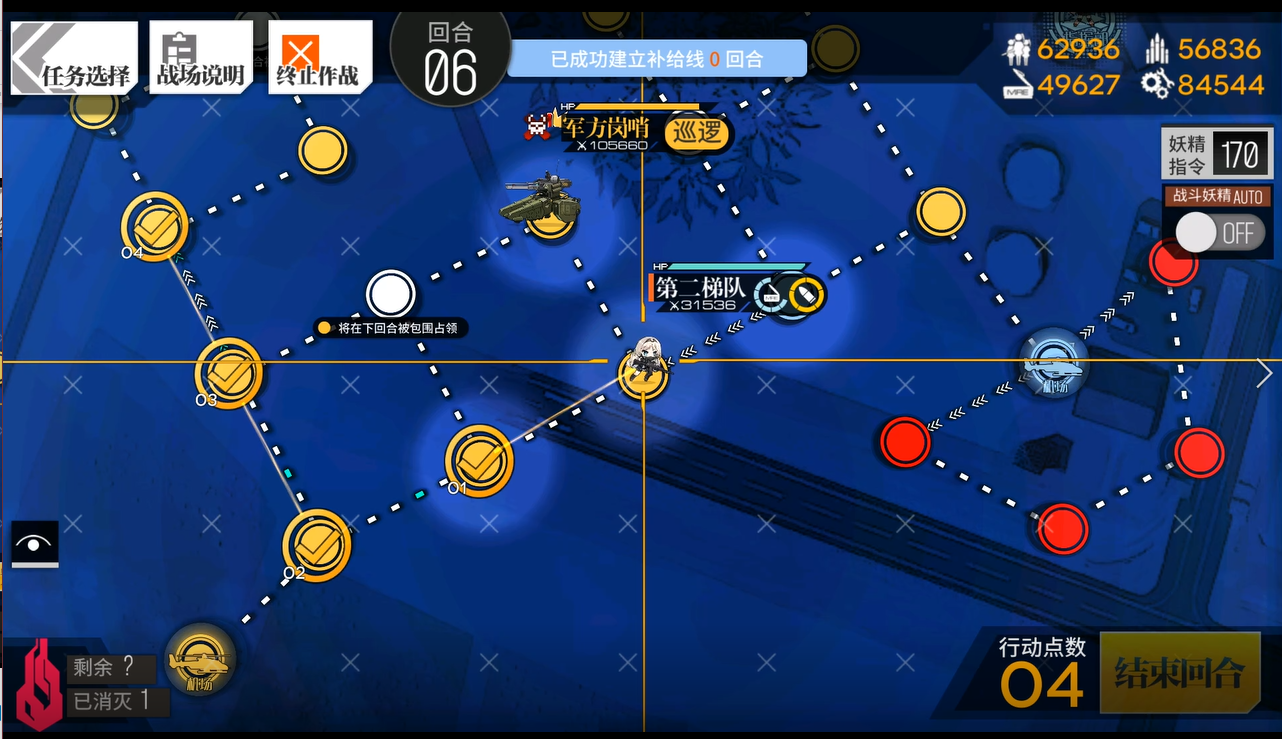
Send the Combat Echelon left two nodes, then up two, bypassing the bottom-left quadrant. This position will be safe from the Typhon in the next quadrant, as that tank has just moved away.
Turn 7
7.1
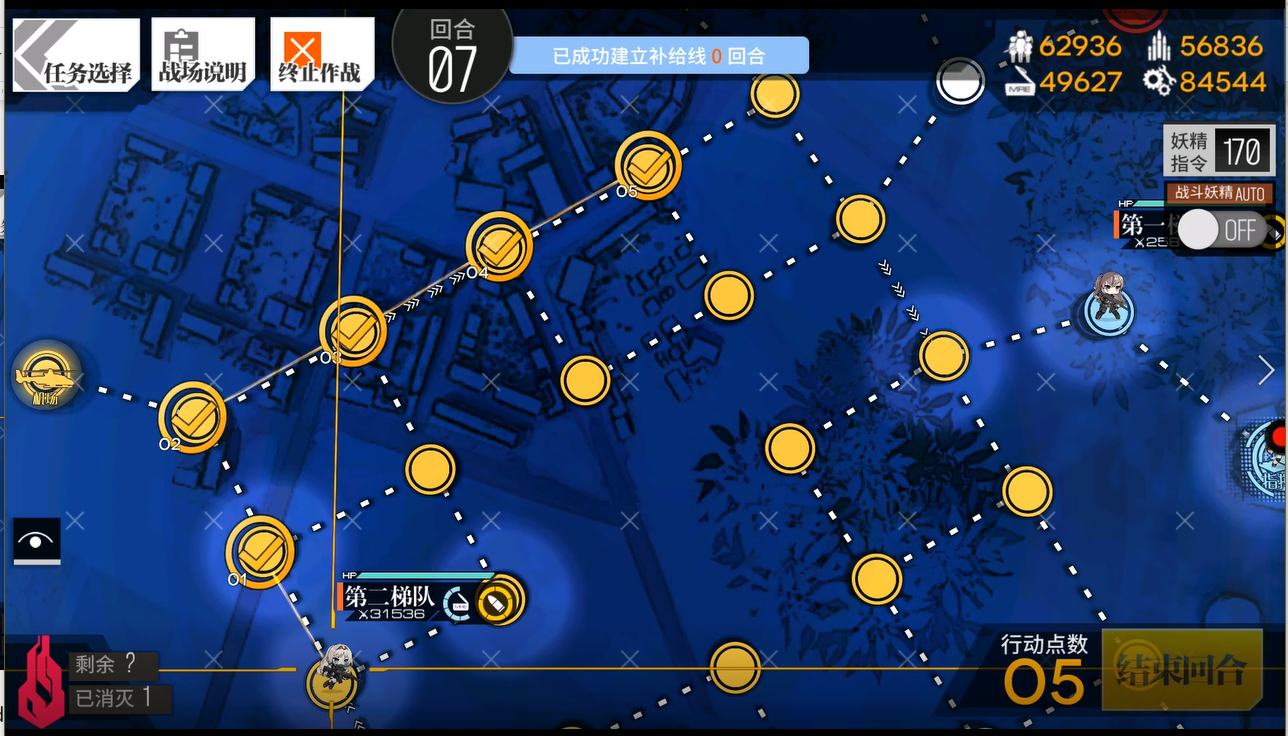
The Combat Echelon should move as far as possible into the top-right quadrant as shown. The Typhon in the destination quadrant is positioned in a way where it won’t threaten your Echelon.
Turn 8
8.1
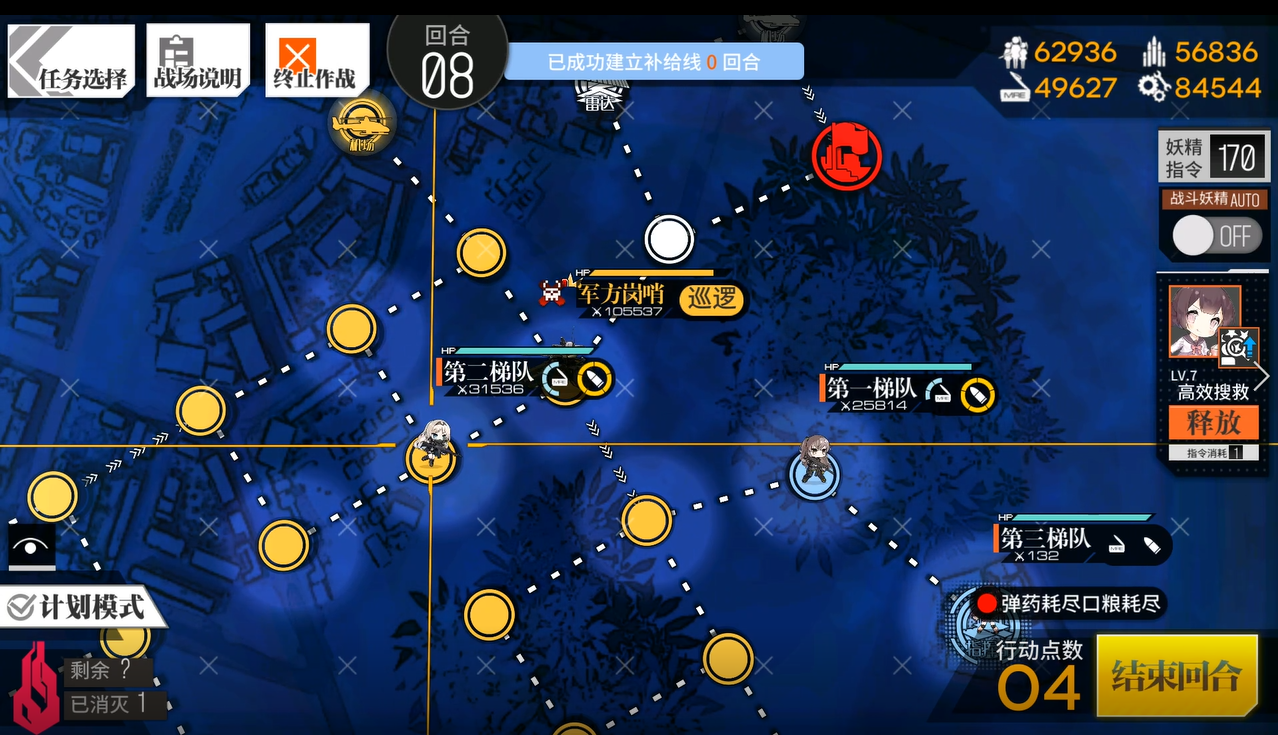
Move the Combat Echelon down one node so you can see the Typhon. End your turn.
Turn 9
9.1
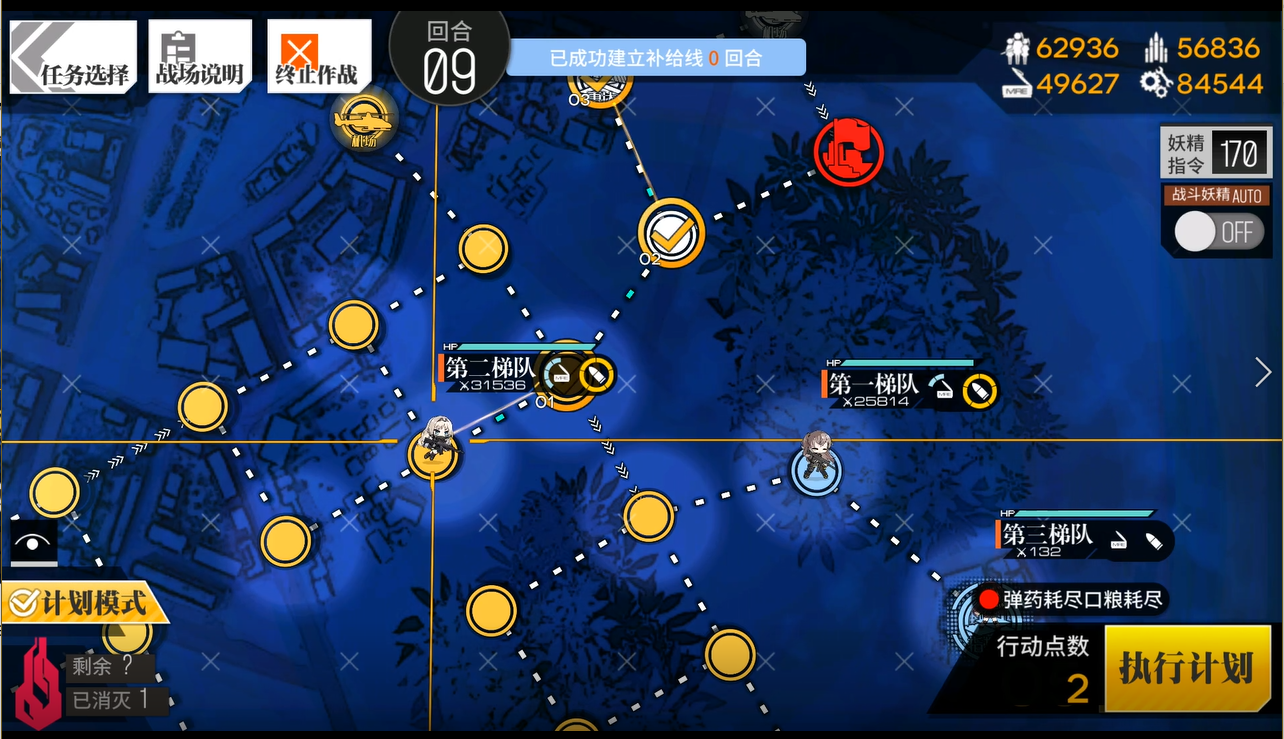
The Combat Echelon should move right twice, then up, onto the Radar Node. Do not engage Agent or capture the Heliport at this time. End your turn.
Turn 10
10.1

Move the Combat Echelon right, onto the Heliport. Agent will not chase you onto the Radar - she’ll move right back onto the Supply Point.
Turn 11
11.1
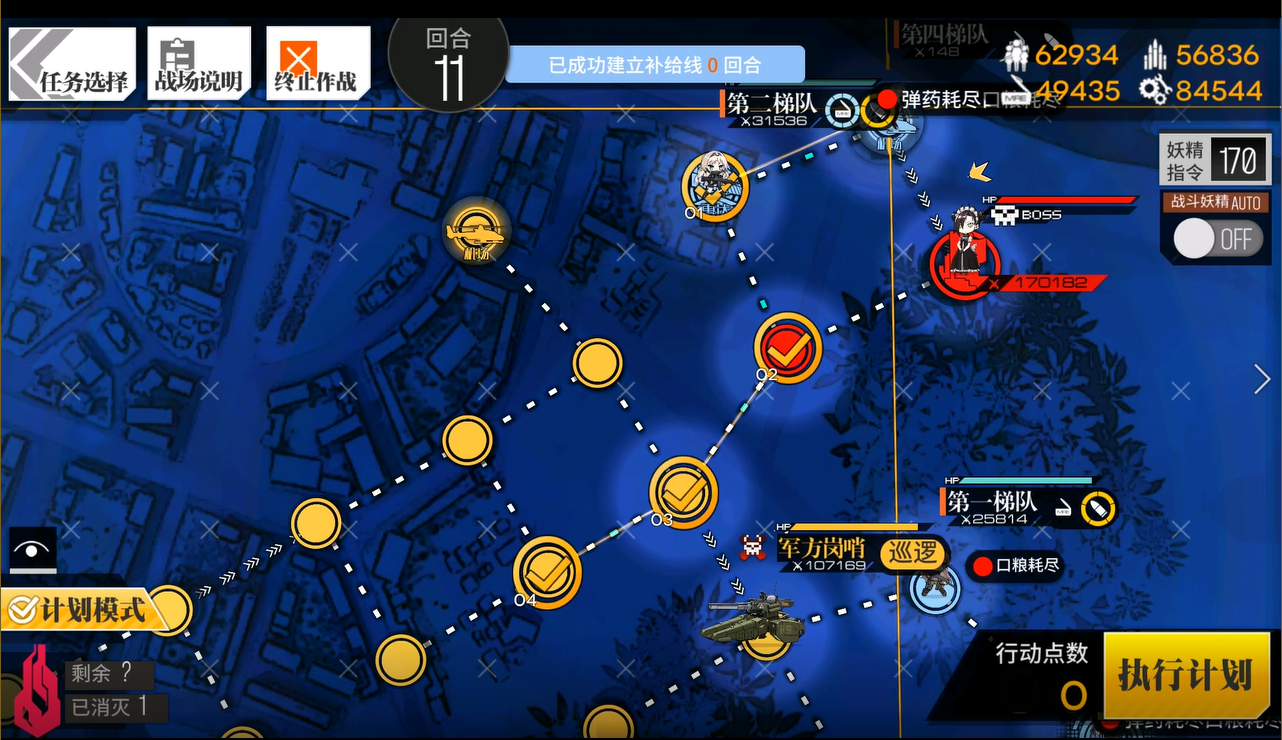
Move the Combat Echelon onto the Radar. Spawn a second Dummy Echelon, and move them left, down, left, and left. This will let you bait Agent into the Typhon for this quadrant in a few turns.
Turn 12
12.1
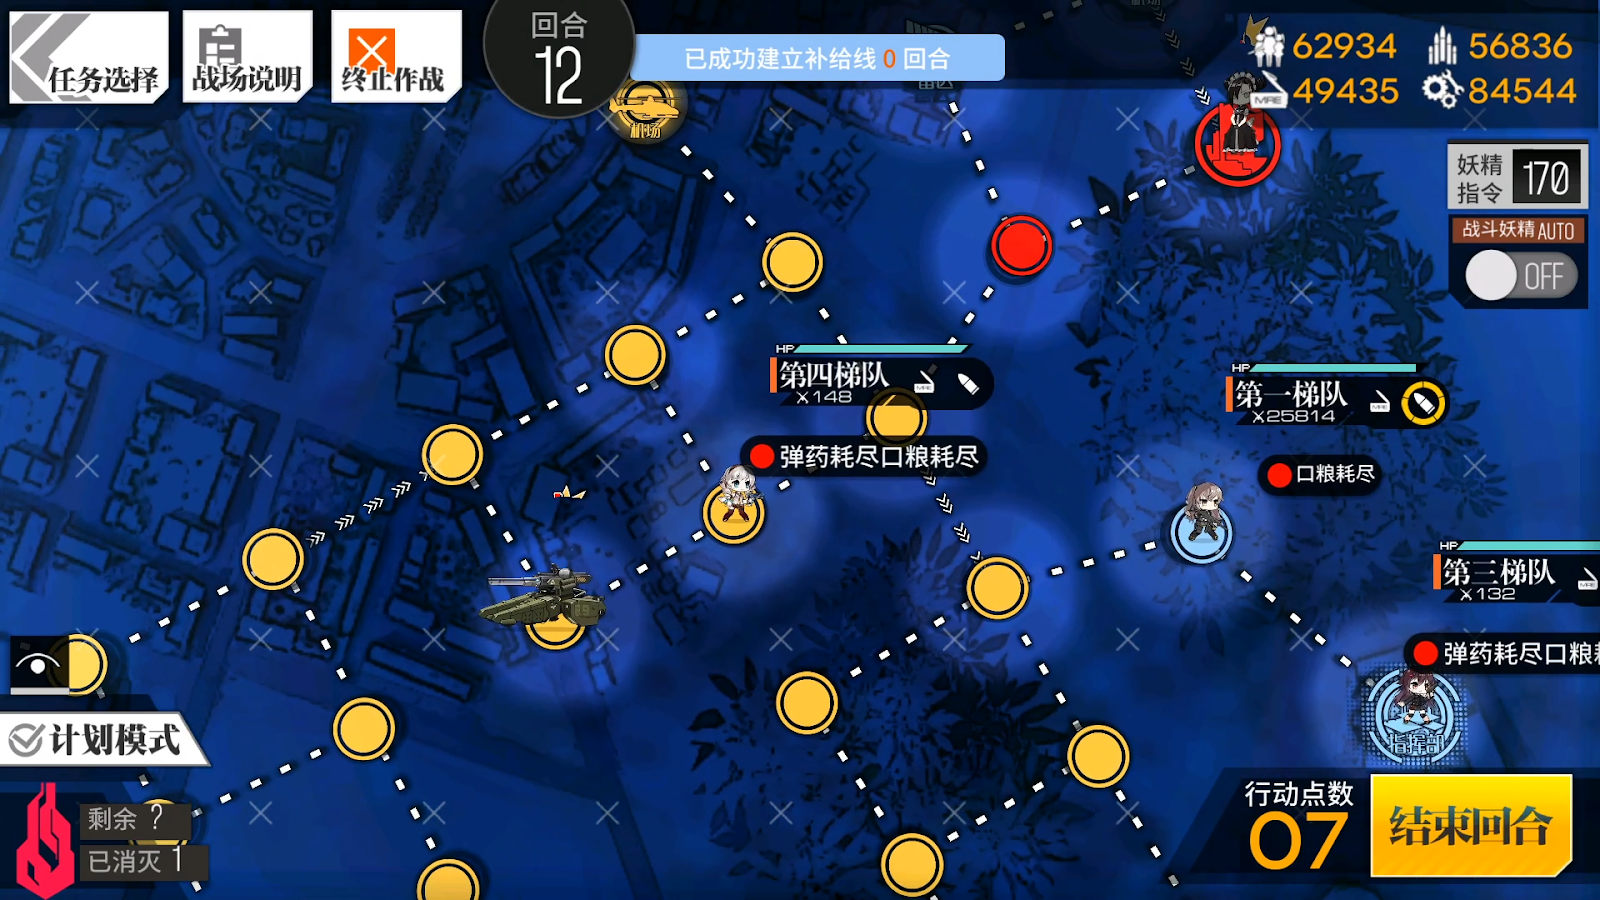
A Typhon should have come into view of your Dummy at this point. If your Dummy Echelon isn’t a HG, you won’t see the tank, but as long as it’s Turn 12, you’re good to go. Move the Dummy right one node, and end your turn.
Turn 13
13.1
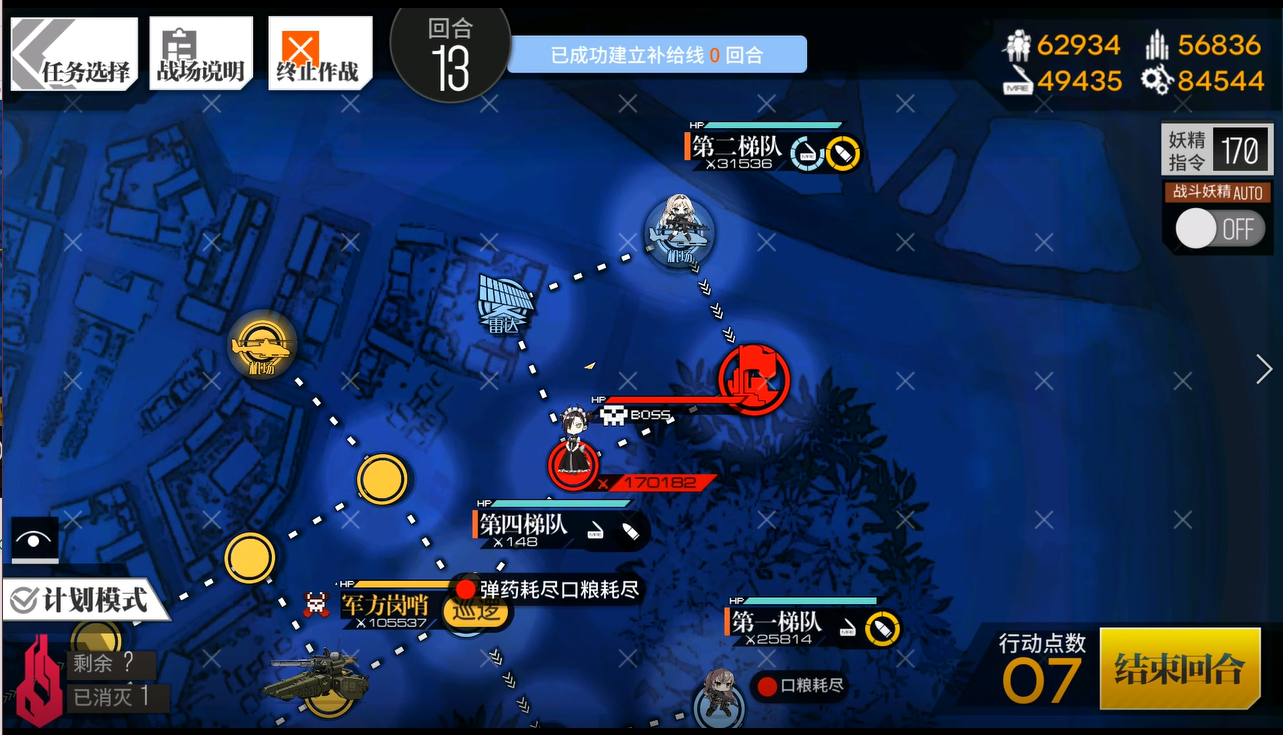
Your Dummy should now be stuck between Agent and the Typhon, which despite appearances, is exactly what you want. End your turn.
Agent will engage the Dummy, which you should retreat immediately. The Typhon will then attempt to fight Agent, and get blown up.
Turn 14
14.1
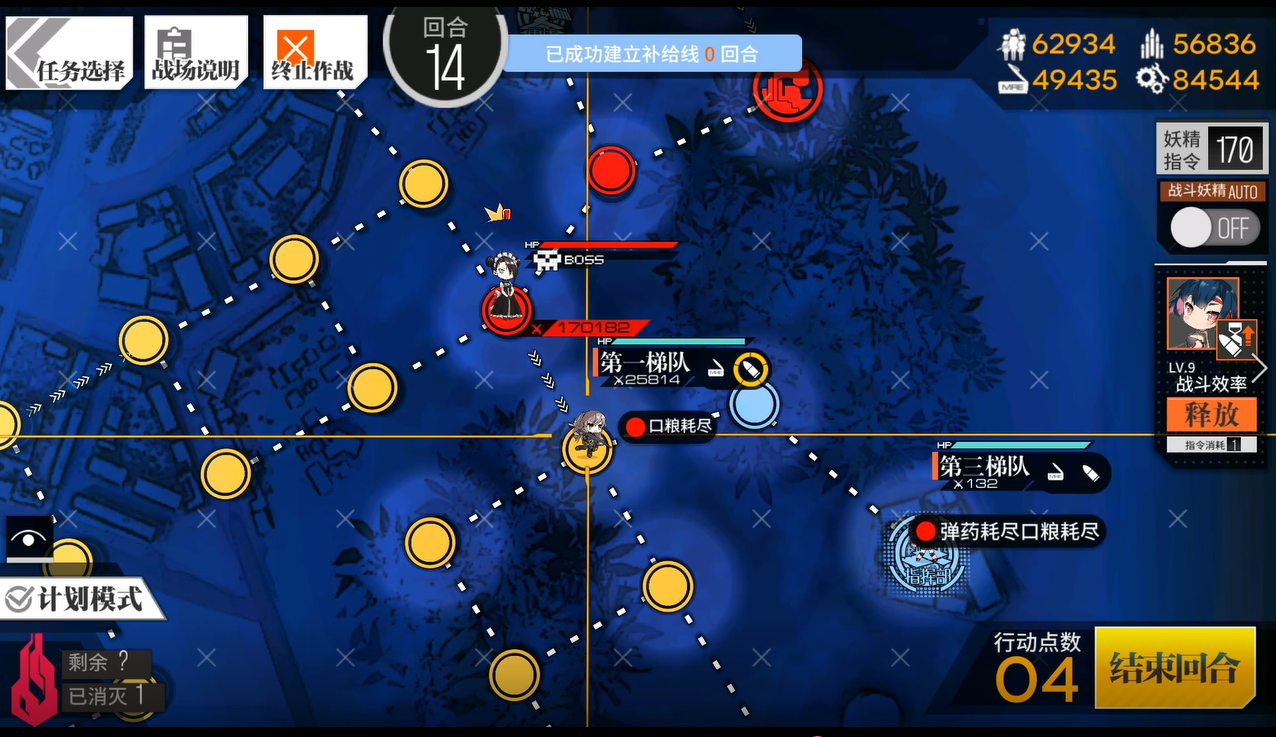
Your second Combat Echelon should move left one node, as you’ll be establishing the Supply Line this turn.
14.2
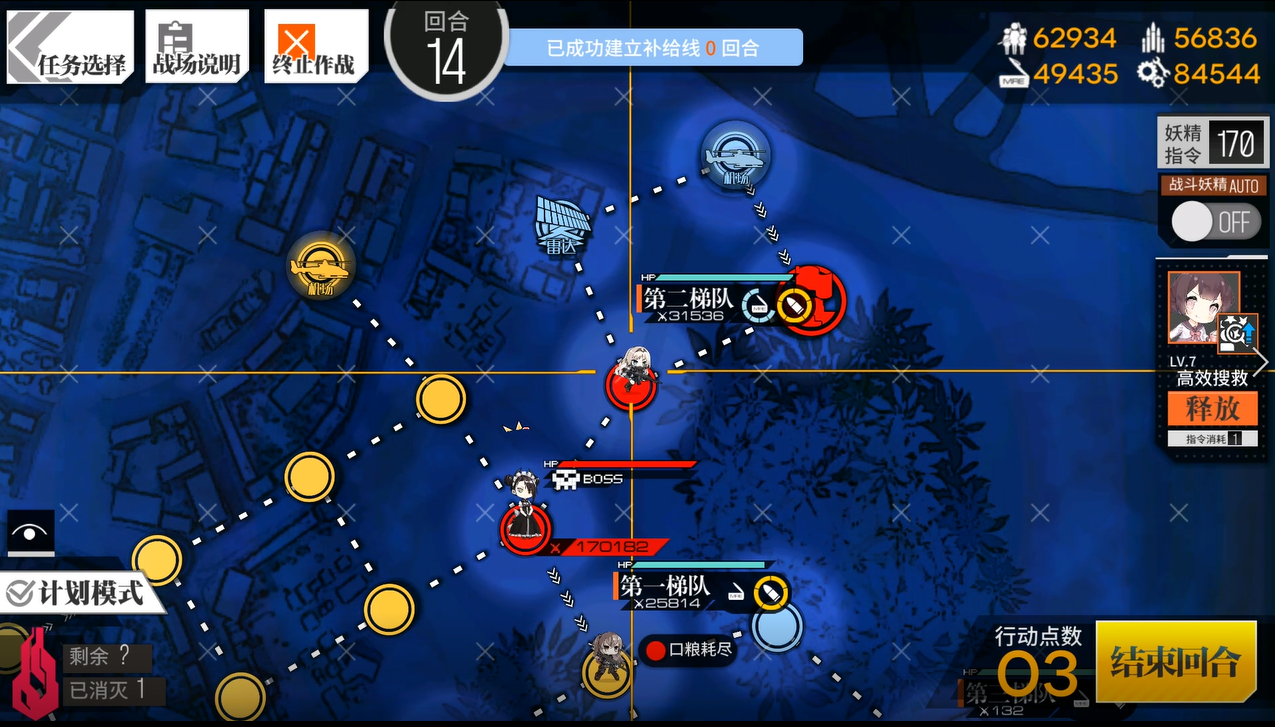
The first Combat Echelon will now move down and left to finally battle with Agent.
BOSS: Agent (and company)
Agent returns, with a few changes from her Chapter 2-D4 self.
The major change is that during battle, at approximiately 50% health, Agent will retreat and teleport away, forcing you to engage in a mini-Boss rush consisting of Scarecrow, Hunter, and Executioner. These three have more HP than their story iterations, but otherwise are not changed, and bring a few weak enemies along with them.
When each mini-Boss is killed, your Echelon receives a HP shield, which will help alleviate the stress of this long battle and make up for any unlucky RNG with Evasion.
As with before, C-MS, MP7, Suomi, or similar Evasion-boosting SMGs will handle the tanking duties, while your DPS ARs handle Agent. RO635 can also be used, though her poor skill uptime will cause her to take more damage on average. At 15% HP, Agent will once again create a Force Shield that if not broken in time, lets her unleash a massive AoE attack which damages the entire field. The shield is a lot stronger than the E2-D4 version, so RoF-based DPS like AN-94, AK-12, and ST AR-15 work very well here.
Agent Boss Fight, Annotated:
14.3
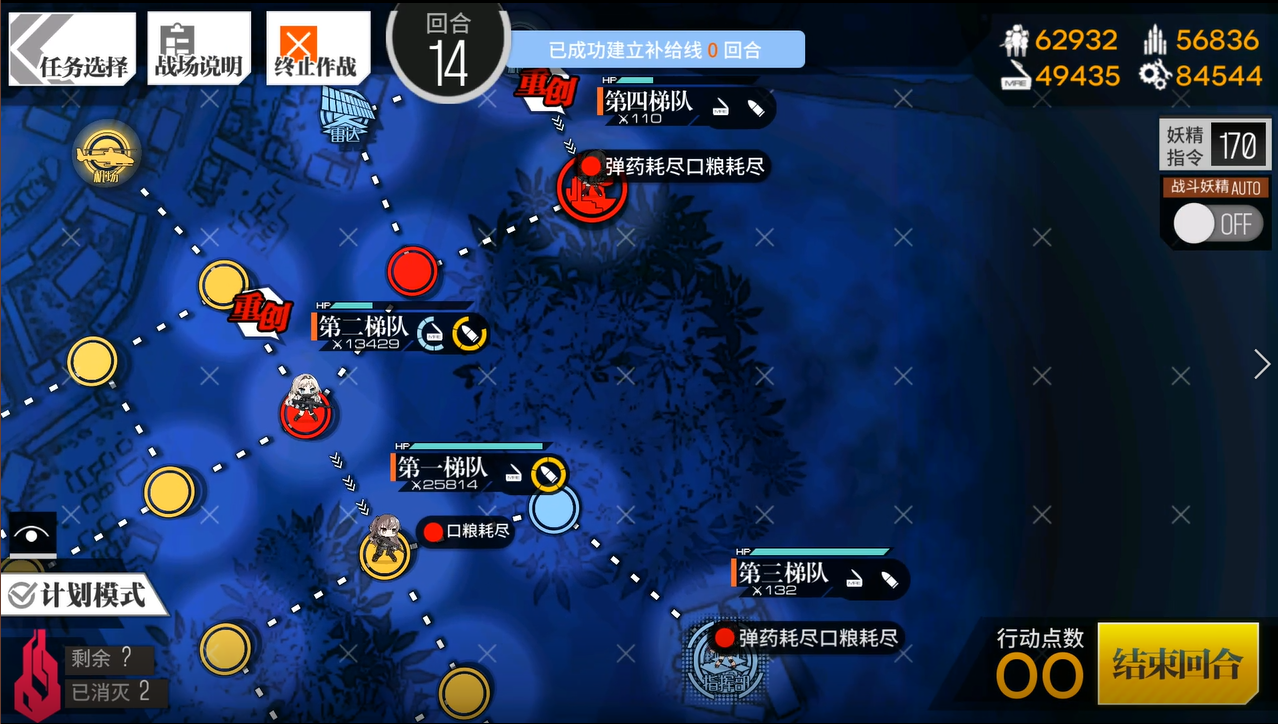
Now that Agent has been defeated, deploy a Dummy Echelon on the northernmost Heliport, and move them down onto the Supply Point. This will complete the Supply Line by encircling the last node.
Turn 15+
You can now end your turn, and let the mission complete.
Congratulations on completing Chapter 2 of Singularity!