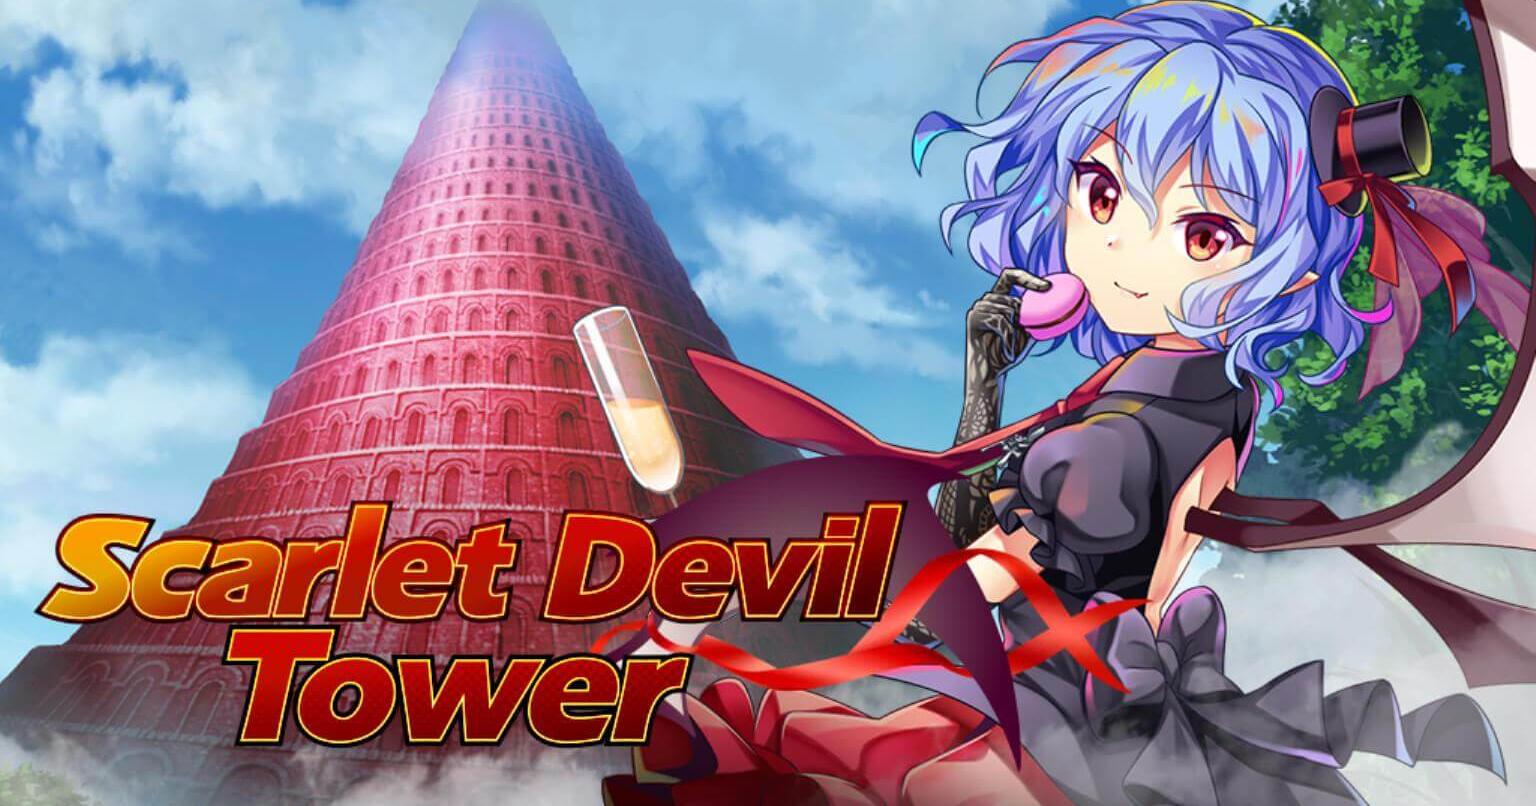
Introduction
Welcome back to the Scarlet Devil Tower! The following floors will have a lot of the same character per floor. This'll be very great for characters with Killers, as they'll deal CRIT damage to all the characters on the floor! To differentiate between the same character's many versions, I've started using their universe codes. (This doesn't respect the lore, but it is the easiest way to solve the issue, I think.) Aside from that, you might notice that 6 out of 8 non-boss floors have a weakness to Moon. So, plan ahead your units for maximum efficiency and best of luck!
As usual, for all your elemental break needs check out the character list here.
This is a guide for floors 211 through 220 of the Scarlet Devil Tower. If you need to refresh your memory about how the Tower works, click here. To return to the floor index, click here.
To visit the guide about the previous 10 floors, click here.
211F
| Enemy | HP | Weak To | Resists | Barriers | Spell Gauge | Skills |
|---|---|---|---|---|---|---|
| Narumi Yatadera |
1500960 | Moon & Fire |
Water & Metal |
6 | 3 | Party's DMG from Normal, Slash & Liquid Bullets 70% DOWN (1T) |
| Eika Ebisu |
1505510 | Sun & Wood |
Earth & Star |
6 | 3 | Party's DMG from Ofuda, Sharp & Missile Bullets 70% DOWN (1T) |
| Reward: |  x10 |
|---|
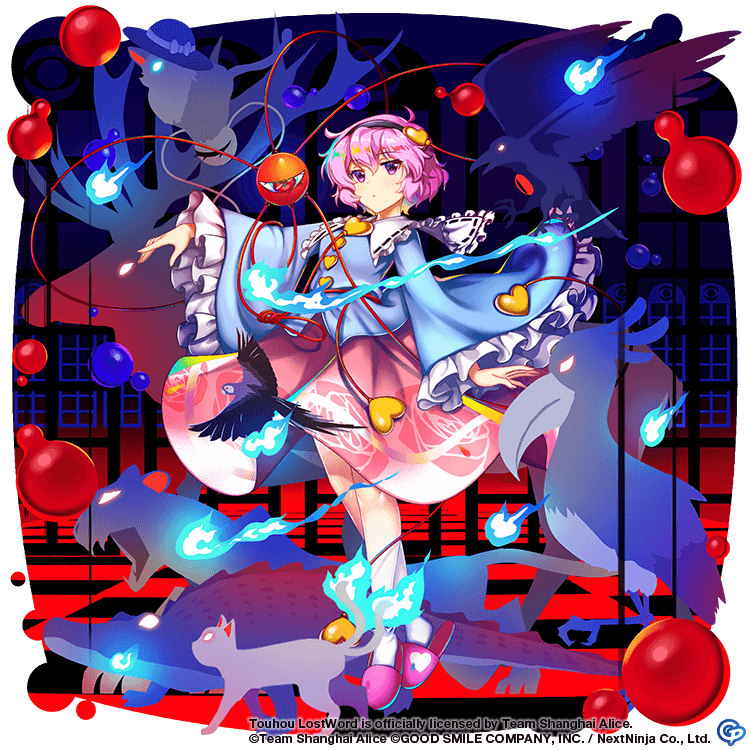
The living statue and the Spirit of the stillborn child are hanging out. They've even climbed up to the 211th floor of the tower!
Although there are no shared weaknesses, this floor's gimmick is simple; Bullet type resistances. You can either play around these by only attacking when an opponent is full broken, or you can ignore them by using one of these bullet types: Laser, Body, Energy, and Heavy.
A list of Friends that can easily these opponents (Don't forget anomaly breaking is an option):


212F
| Enemy | HP | Weak To | Resists | Barriers | Spell Gauge | Skills |
|---|---|---|---|---|---|---|
| Aya Shameimaru (A9) |
1463080 | Metal & Earth |
Sun & Moon |
6 | 2 | Adds 3 layers to party's Barrier. |
| Aya Shameimaru |
1540750 | Water & Star |
Wood & Earth |
6 (Immune to Poison and Burn) |
2 | Heals 3 layers of party's Barrier Status. |
| Reward: |  x10 |
|---|
Ayaya! Here begins the theme of teams being composed of an L1 + A universe duo.
Luckily the only issue here is our opponents stalling, and L1 Aya making it harder to Anomaly break. We usually prioritize A7 Aya so we can easily full break later, but if you have a comp that will full break both Ayas on the same turn, you needn't worry about prioritizing an enemy.
Here are some Friends that'll be really handy to deal with these two news reporters:


213F
| Enemy | HP | Weak To | Resists | Barriers | Spell Gauge | Skills |
|---|---|---|---|---|---|---|
| Cirno | 1521910 | Wood & Earth |
Sun & Star |
6 | 3 | Inflicts 3 layers of Freeze to all targets (2T) Own Yang DEF 7 levels UP (1T) |
| Cirno (A6) |
1482450 | Sun & Metal |
Fire & Wood |
6 (Immune to Freeze) |
3 | Inflicts 3 layers of Burn to all targets (2T) Own Yin DEF 7 levels UP (1T) |
| Reward: |  x10 |
|---|
A missed opportunity to not have the strongest fairy on the 209th floor, and to not have TWO strongest fairies on the 218th floor. That aside, watch out for thermal shock because these Cirnos are going to Freeze and Burn their opponents.
Both Cirnos have a defensive skill that buffs their DEF to Yin or Yang attacks, so it's recommended to take down each Cirno with what she doesn't defend herself from. Aside from that, there's the barrage of anomalies that you have to watch out for. It is dangerous because each Cirno breaks the anomaly she inflicts with both her Shots. So, L1 Cirno breaks freeze, A6 breaks burn.
Here's a list of Friends that are good against the two strongest:

214F
| Enemy | HP | Weak To | Resists | Barriers | Spell Gauge | Skills |
|---|---|---|---|---|---|---|
| Nitori Kawashiro (A10) |
1552340 | Fire & Star |
Sun & Moon |
6 (Immune to Burn & Freeze and heals from them) |
2 | Own All Targeting DMG Resistance 5 levels UP (1T) |
| Nitori Kawashiro |
1456780 | Moon & Water |
Wood & Star |
6 (Reflects Blind & Paralyze) |
2 | Own All Targeting DMG Resistance 5 levels UP (1T) |
| Reward: |  x10 |
|---|
If any of you has pickles, give them up. Hopefully they'll pacify the foes we're facing here.
The Nitori duo has no weird gimmick. It's just that our All targeting attacks will deal much less damage. This is easily countered by simply nuking with Solo attacks or saving the All attacks for when the effect is not applied to them.
Unfortunately, there are no shared weaknesses, and A10 Nitori heals 5% of her HP from Burn and Freeze, while L1 simply reflects Blind and Paralyze. That is everything the Anomaly breaking enthusiasts should watch out for.
Here's a list of awesome units for this floor:


215F
| Enemy | HP | Weak To | Resists | Barriers | Spell Gauge | Skills |
|---|---|---|---|---|---|---|
| Sagume Kishin (B3) |
1259360 |
Wood & Earth |
Water & Metal |
7 (Reflects Blind & Paralyze) |
2 | Gauge Burst:
|
| Sagume Kishin |
1258490 |
Sun & Star |
Fire & Earth |
7 | 1 | Gauge Burst:
|
| Reward: |  x100 |
|---|
Our opponents this time are two Sagumes! I doubt you're surprised because we already saw 3 floors like this just now though...
They have no shared weaknesses sadly. At least their gauge burst effects are easy to deal with. In terms of skills, L1 Sagume's skill synergizes greatly with B3 Sagume's as the latter breaks barriers with her aoe shots all barriers that have Freeze or Poison on them. We mustn't forget L1 Sagume has a dangerous Shot effect too; She stuns a target with her Focus Shot.
Tanking any attacks will be difficult due to the buff from B3 Kishin's skill and L1's Gauge Burst effect, unless you have great defensive buffs.
If you don't have Friends that can take down both at once, prioritize L1 Sagume as she's the most annoying. But if you have units that benefit from the constant barrage of anomalies, keep her alive instead.
Lastly, remember that anomaly breaking is an option! And here are some recommendations for this floor:


216F
| Enemy | HP | Weak To | Resists | Barriers | Spell Gauge | Skills |
|---|---|---|---|---|---|---|
| Reimu Hakurei |
1388060 | Fire & Metal |
Moon & Wood |
6 | 2 | Party's DMG from younger sisterly presences 70% (1T) |
| Reimu Hakurei (B3) |
1468420 | Moon & Earth |
Sun & Star |
6 | 3 | Inflicts Charge to target (1T) Party's CRIT DEF 7 levels UP (1T) |
| Reimu Hakurei (A6) |
1363810 | Water & Star |
Fire & Metal |
6 | 2 | Party's DMG from gods 70% (1T) |
| Reward: |  x10 |
|---|
And as if dealing with 2 Reimus wasn't enough, now we have to deal with three!
This floor's gimmick seems to be resistance to damage from characters with certain tags, and some CRIT DEF buffs.
To know if the character you're using will be affected, click the links below:
You can also ignore the L1 and A6's Skills by not using a character in the lists with the resisted tags.
As to B3 Reimu, she'll make your DEST Friends and your Killer bullets much weaker, so if you're not using a God or Younger sister in your team, it is better to get rid of her first.
Here's a list of recommended units, especially for Full breaking:
217F
| Enemy | HP | Weak To | Resists | Barriers | Spell Gauge | Skills |
|---|---|---|---|---|---|---|
| Sakuya Izayoi |
1392190 | Sun & Metal |
Wood & Earth |
6 | N/A | Party's DMG from Fire Element 70% DOWN (1T) Own Yin DEF 7 levels UP (1T) |
| Sakuya Izayoi (B3) |
1422250 | Fire & Wood |
Moon & Water |
6 | N/A | Inflicts 2 layers of Blind, Poison and Freeze to all targets (2T) |
| Sakuya Izayoi (A6) |
1399330 | Moon & Water |
Metal & Star |
6 | N/A | Party's DMG from Earth Element 70% DOWN (1T) Own Yang DEF 7 levels UP (1T) |
| Reward: |  x10 |
|---|
What a perfect and elegant floor. Unfortunately, or fortunately, it'll be lacking Sakuya's Spell Cards (Unless you bring Sakuyas of your own).
Yep, you've heard that right, all our enemies will only be using Shots this floor. This doesn't mean it'll be easy though. Aside from the party Fire & Earth element resistances applied by L1 and A6 Sakuya, each of them applies +7 Yin/Yang DEF to herself. We've already dealt with DEF buffs similar to this 4 floors ago, now we just have the added hurdle of 2 Elements being 70% weaker.
If you remember the floor with 2 Cirnos, we also had anomalies to look out for, which is also the case here. B3 Sakuya applies 2 layers of each of the following anomalies: Blind, Poison, and Freeze to all targets for a total of 6! It'd be real bad if our opponents can break these. Which sadly is the case:
- A6 Sakuya breaks Freeze with her All targeting Shots.
- B3 Sakuya breaks Poison with her spread All targeting Shot, and Focus Solo targeting Shot.
- L1 Sakuya breaks Blind with both of her Solo Shots.
Either bring Friends that are immune to these anomalies, or try to not get hit by Shots.
Here are some units that are great against this floor:
218F
| Enemy | HP | Weak To | Resists | Barriers | Spell Gauge | Skills |
|---|---|---|---|---|---|---|
| Youmu Konpaku |
1385290 | Earth & Star |
Sun & Fire |
6 | 2 | None. |
| Youmu Konpaku (B3) |
1385830 | Moon & Water |
Wood & Earth |
6 | 3 | None. |
| Youmu Konpaku (A7) |
1445450 | Fire & Wood |
Moon & Water |
6 | 2 | Grants Quick to self (1T) |
| Reward: |  x10 |
|---|
It's now Myon's turn to be the sole focus of the floor, all three of her! Instead of forgetting about Spell Cards, we will forget about Skills now, for the most part!
The only Skill we'll face is A7 Youmu granting Quick to herself. But the main hurdle here is in the Shot effects!
A7 Youmu inflicts Freeze to all targets with her Shots, B3 Breaks the same anomaly with her Solo targeting Shots that have Hard scaling. Finally, L1 Youmu's Focus Shot stuns 1 target and also has Hard scaling.
If your party isn't bothered by Freeze, take down L1 Youmu first, if not, take down A7 first.
Cutting through the Myon Army will be easier if you have any of these units:
219F
| Enemy | HP | Weak To | Resists | Barriers | Spell Gauge | Skills |
|---|---|---|---|---|---|---|
| Reisen Udongein Inaba (A8) |
1374480 | Sun & Metal |
Fire & Water |
6 (Gains Evasion from Blind & Paralyze) |
2 | All targets' CRIT Accuracy 8 levels DOWN (1T) |
| Reisen Udongein Inaba (B3) |
1465460 | Earth & Star |
Moon & Wood |
6 | 2 | Target's Focus 3 levels DOWN (1T) |
| Reisen Udongein Inaba |
1371410 | Moon & Fire |
Metal & Earth |
6 (Reflects Freeze & Paralyze) |
2 | All targets' CRIT ATK 7 levels DOWN (1T) |
| Reward: |  x10 |
|---|
Pretty fitting floor for the year of the rabbit (at time of writing). It has been tiring to keep track of Shot effects, thankfully this floor has none of them!

220F
| Enemy | HP | Weak To | Resists | Barriers | Spell Gauge | Skills |
|---|---|---|---|---|---|---|
| Junko (B2) |
1033310 |
Water & Wood |
Sun & Star |
7 (Immune to all Barrier Statuses) |
1 | EX Attack: All targets' Yin ATK 8 levels DOWN (5T) Skill:
|
| Yuyuko Saigyouji (R2) |
1034860 |
Metal & Sun |
Water & Fire |
7 Gains Evasion with every Layer of Freeze |
1 | EX Attack: Party's Yin DEF 8 levels UP (5T) Skill:
|
| Reward: |  x1 |
|---|
Our opponents may look meek and weak but do not be tricked by their looks! As soon as the battle begins all our Yin dependent Friends will be unable to deal lots of damage, thanks to an 8 Yin ATK down debuff and just as big of a buff for our opponent's Yin DEF. Thankfully we have no Switch locks here, so if you're adamant on using Yin units, you can nuke after a Full Break on our foes.
A very notable thing here is our opponents' skills; Junko will take more damage from All Targeting attacks, so it'll be hard to take down Yuyuko unless we use Solo targeting attacks, or we break both on the same turn. After getting through the Focus shenanigans and the barrage of Spell Cards, we'll finally see our first Lock effect for this battle. Junko disables Spell Cards, while making Water attacks against her team almost useless (covering up for one of her weaknesses). Yuyuko covers up for one of her weaknesses too with a Sun Element resistance alongside a Graze lock. Although these first gauge break locks last for 3 turns, they're deadly against our 1 Spell Gauge enemies that also have both types of scaling on their Shots. So, make sure to Switch or use Bind removal units if you have them.
The 2nd gauge burst effects are arguably easier to deal with! It's the same Element Resistance but Junko locks away our ability to use Focus Shots, while Yuyuko goes for our Boost. Still annoying, but manageable. If you don't have Bind removal units, trigger the gauge bursts one at a time in a way thatis most forgiving for your comp. Lastly, if you want to ignore the Element Resistances, you can do so by using a Wood + Metal nuker.
As usual, knowing when to retreat is the key to make almost any Scarlet Devil Tower battle much easier!
Be careful of this small detail; If you're bringing a unit that is weak to Star, do not let it tank a Spread shot from Junko as her attack has 5 Star breaks.
Here's a list of units that'll work very well to take down this small but mighty foe!