Introduction
Aside from progressing through the Story and unlocking further Chapters, there are also Career Quests, there to guide you through early gameplay and help you get your account going with plentiful rewards.
Career Quests are available through the Quest button on the main screen, showing a red (!) if a quest reward is available.

These are crucial to complete as there is a massive amount of stuff locked behind them.
Prior to 2.09 these needed completion in a specific order and didn’t complete unless you had the quest currently active, this is now outdated and they now record your actions regardless of active status, but you still need to unlock Quest Grades to retrieve rewards.
Career quests are separated into Categories; Tactical Dolls, Tactical Fairies, Coalition Forces and so on. Each Category is separated into Grades, and your current Grade must be completed before you can do the next one. As such it is of utmost importance you note which Quest is barring you from progressing a certain Category early on, especially in the Tactical dolls, Tactical Fairies and T-Doll Equipment Categories, as the vast majority of early rewards are found here.
“Not doing your Career Quests will severely hamper your progress in GFL.”
-Greez
Importance of Career Quest progression
There is a massive amount of free stuff available through career quests, from pre-leveled dolls to equipment, fairies or just generic resources. These rewards are enough to carry your first two teams [link to teambuilding hub] all the way to level 90 5-link as well as skilling them up and ensuring you have decent equipment for them.
The story dolls (AR team) gained through early Main Quests and progressing through story are the only things you get for free outside Career Quests, so do not neglect these.
One-time rewards
There is a massive amount of resources available here, so much so that a new player might believe they have infinite amounts of it, but this is strictly one-time and afterwards these resources become limited in multiple ways. Resources require logistics teams and clearing higher chapters in order to unlock better logistics missions, cores stay ever-needed as they are used for fairy crafting in addition to linking dolls and need to be farmed for (generally through Corpse Dragging), combat reports become a per-month and crafted only resource (plus crafting these requires batteries, which are required elsewhere for most of your early career).
Progression
Progress through career quests requires completing all quests of a certain Grade before the next Grade unlocks. As such it is recommended that you go out of your way to check what you need to do to progress further while you are working your way through the early game.
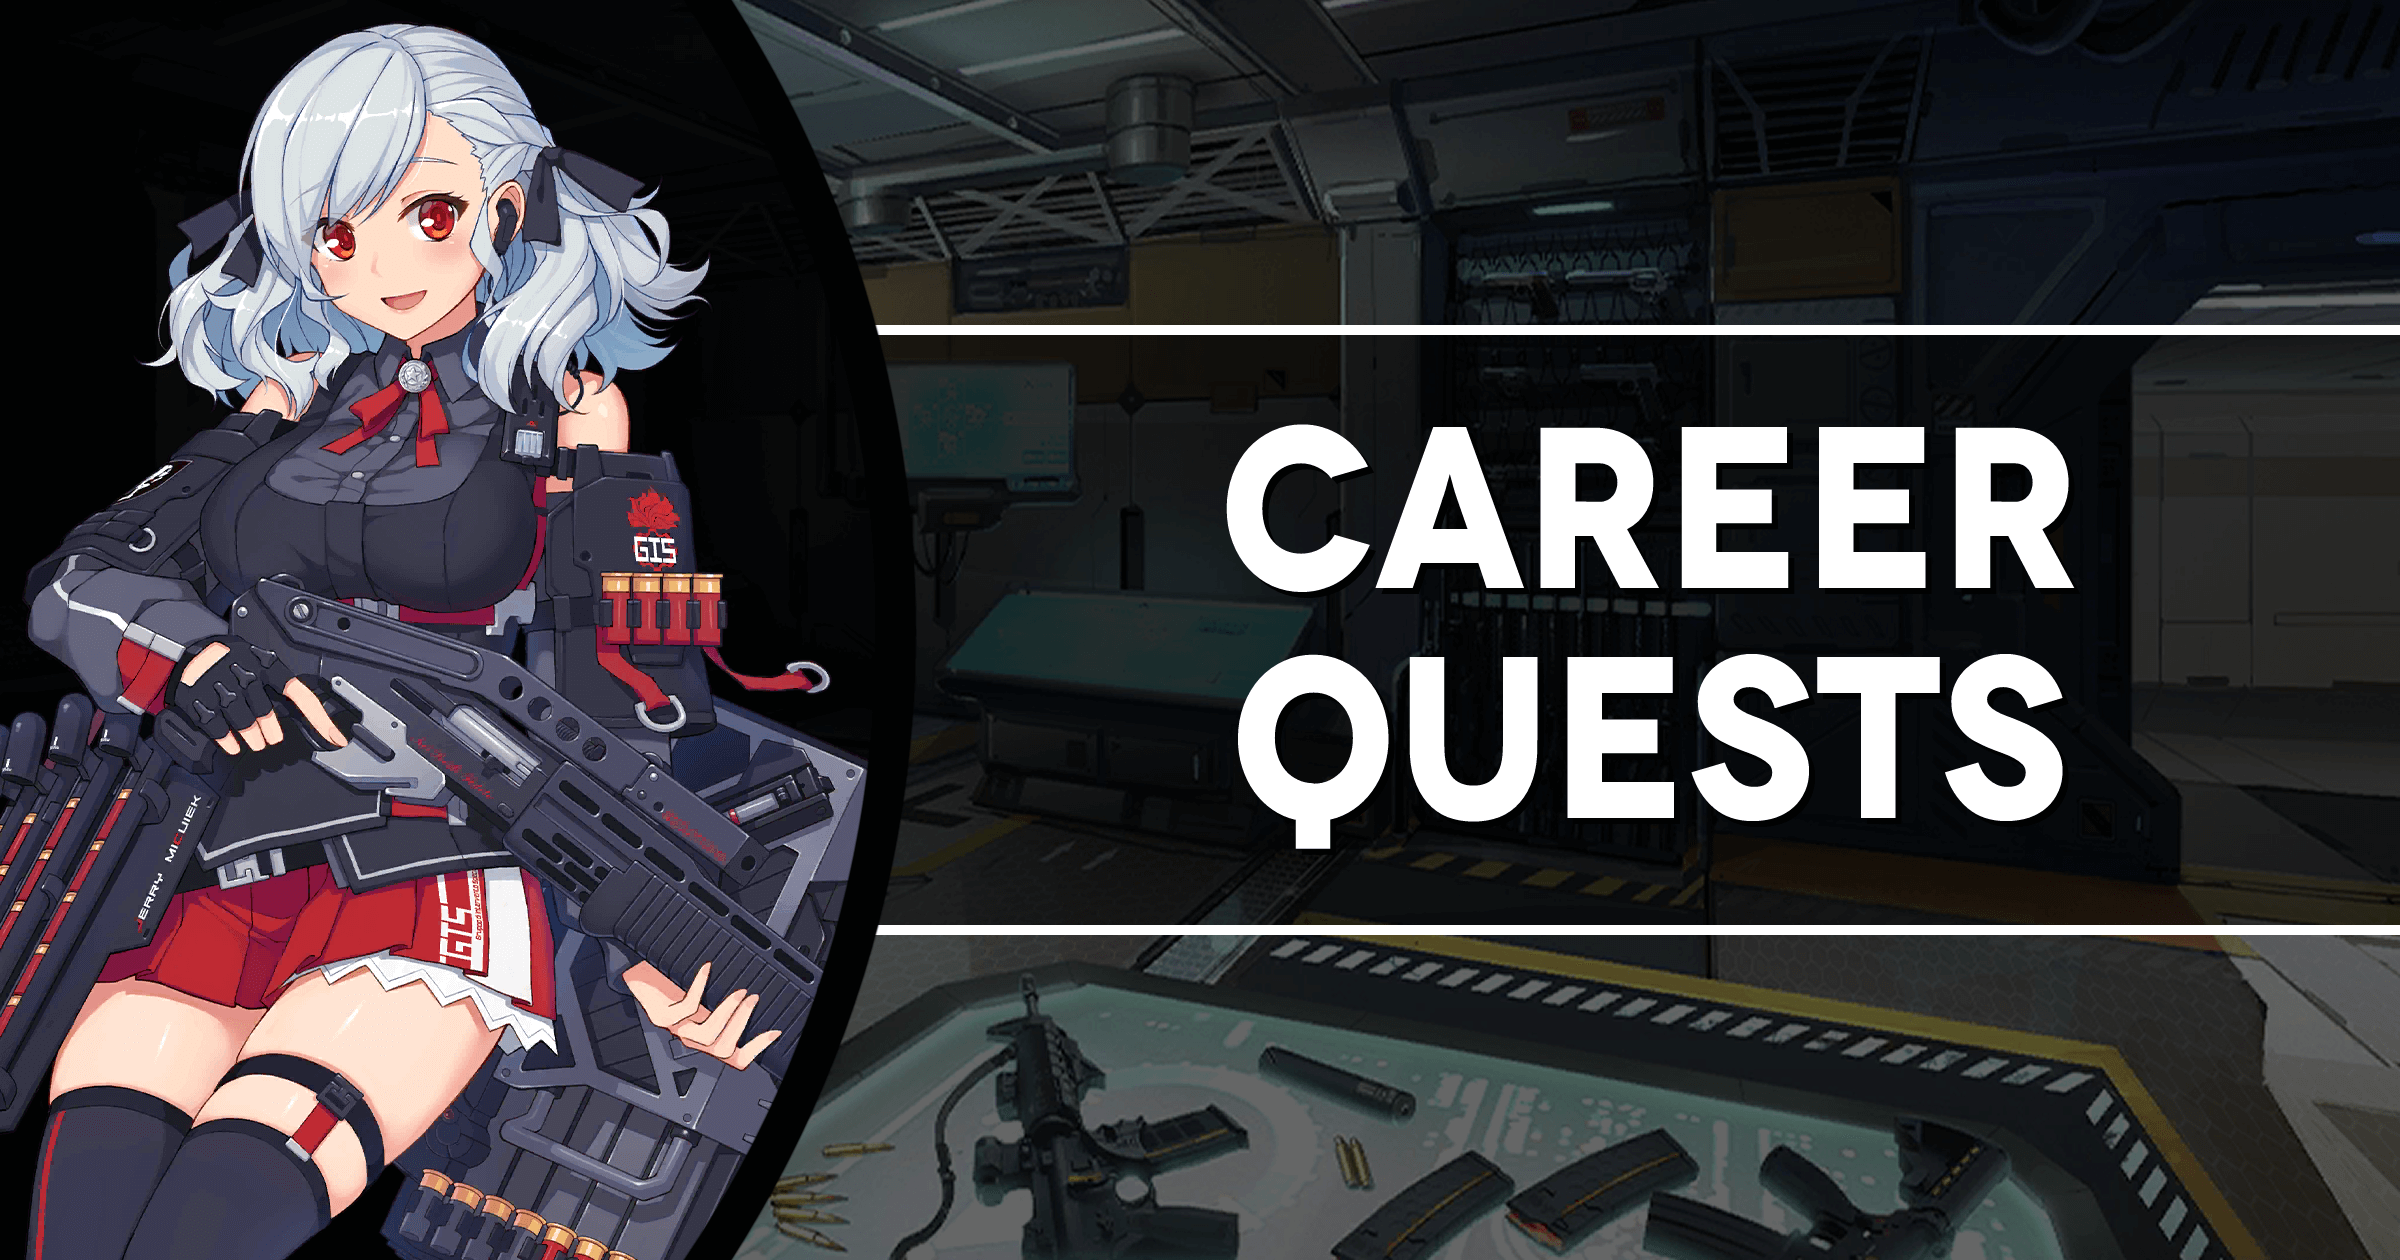
Career quest stars
There are 9 categories in total, and while most of the rewards are within the main Star, do check the side Star as well to see if you can get any decent rewards for something simple.
After finishing all career quests in a category, you will gain an arbitrary number showing how much you’ve done here. As this is pointless I will not be going over how this works in detail.
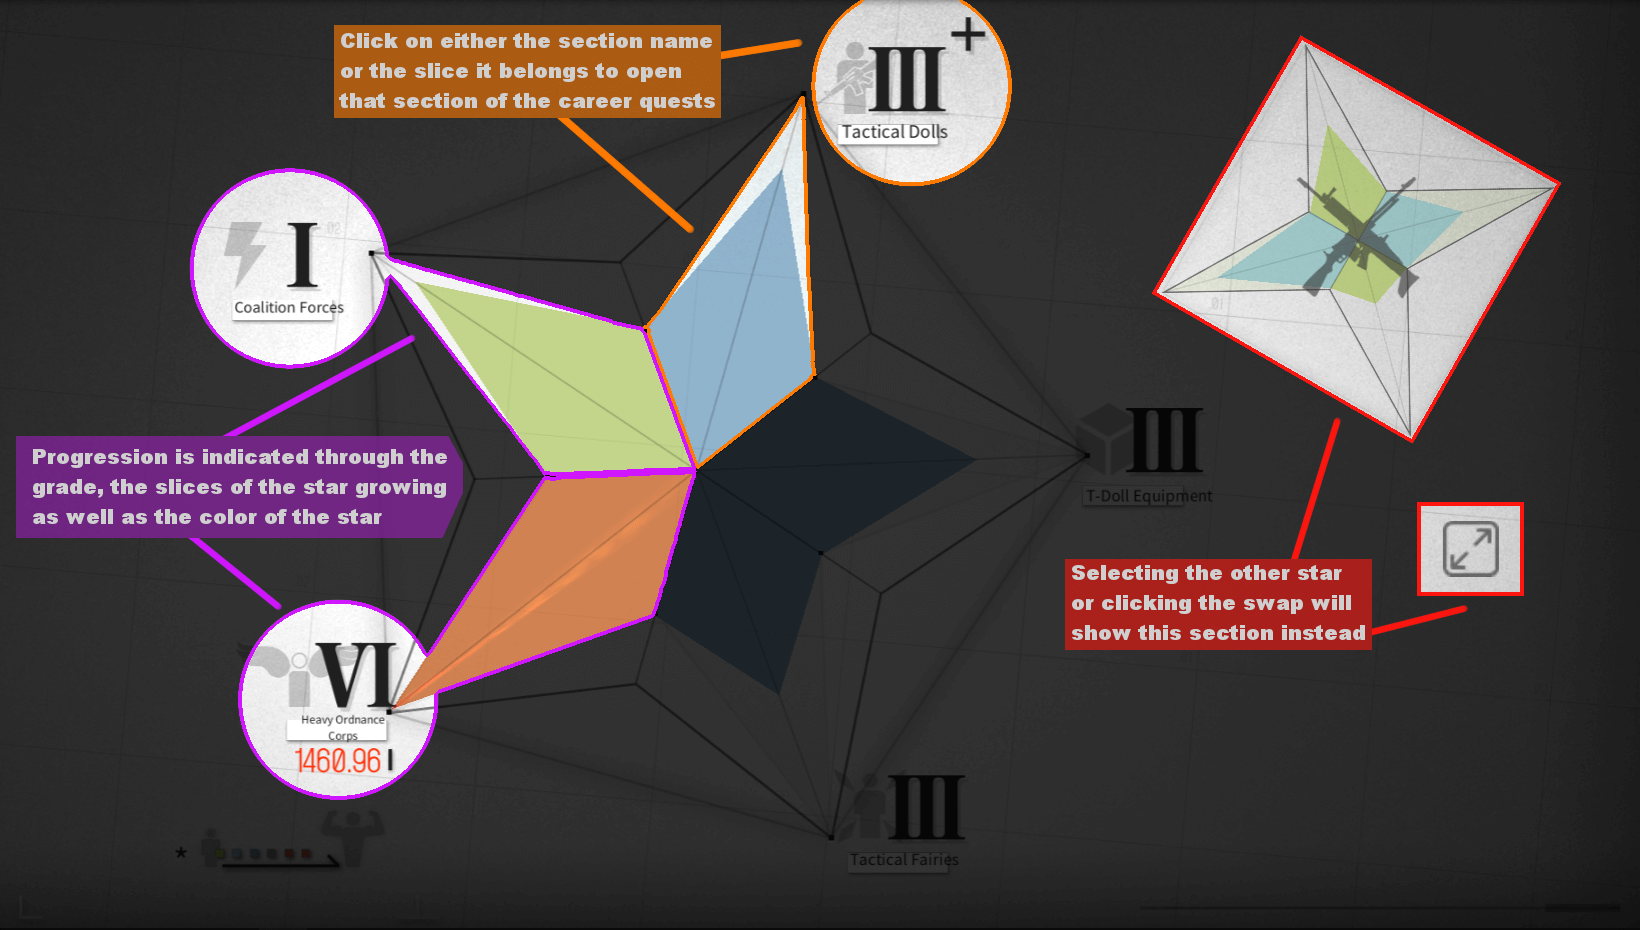
Quest menu
You can also preview rewards by clicking on the magnifying glass next to any quest.
There are also certain mini-missions as part of the Career Quest system with Exams unlocking as you finish all other quests in a specific Grade, and Tutorials showing up part-ways through. Completing both Tutorials and Exams is required to progress, and they are generally pretty straight forward.
Categories
Tactical Doll category
For more info about Combat Sims, see the [link to Resource Allocation page].
The last few Grades (5 onwards) should not be rushed; skilling dolls to level 10 should be carefully considered early on as most dolls will perform fine at skill level 8 and Advanced Data is expensive.
Fairy category
Completing the requirements in this section to receive your free Parachute fairy is highly recommended.
Prototype skill levels count for skilling up fairies. As these skill levels are free, you are recommended to skill up your Prototypes before using them.

Equipment category
Unlocking Grade 3 to receive your 3-4N rewards is recommended.
Command Mission category
Make sure to read these tutorials, they teach you a lot of details on how to deal with specific situations.
Drill target difficulty is changed by the slider, these used to be all achievable at the very start before but now require unlocking the categories to receive the rewards, some other guides may be out of date on this.
Career Quests that require X amount of missions need different missions to be completed, the same mission will only count once so you cannot ‘farm’ a specific mission for progress.
Base Infrastructure category
Grade 1 is required to complete to get your Dog refund.
Dream Astralite only requires farming Gr HK45 in Deep Dive e1-2, which can be done with an echelon of 1-2 HGs.
Recreation Quality category
The male and female Commander costumes are locked behind Grade 2 here, requiring a Profile Background to unlock. This is most easily done through participating in a Seasonal or Major event, or progressing the Memories in the Data Room Bookshelf of Memories.
Becoming a Star only requires farming Gr HK45 from Deep Dive e1-2.
Her Smile only requires 1 Production 5☆ doll and two 4☆ dolls.
Tutorials and Exams
The vast majority of these are very easily completable by just reading what the game tells you or following instructions from earlier Tutorials, though there are still a few things that are worthy of note.
To start with: Final exams differ vastly in difficulty.
- Tactical Doll final exam is pretty easy, especially if you use your Parachute.
- Equipment final exam can be rough with bad equipment and weaker dolls.
- Fairy final exam is easily done with careful pathing and Parachute, provided you avoid deadlier enemies.
- HOC final exam is a joke if you see the flaw, otherwise it can be a little rough with a weaker team.
- Coalition final exam requires being able to field several echelons to complete smoothly.
Take note that Mica’s prebuilt teams are generally absolute trash and should not be used as a reference for teambuilding.
Mica’s teams are so bad that if you roll really badly on Evasion, you might still fail while using the correct team. Do try again after making sure you didn’t miss something if you fail.
For actual teambuilding advice, see ARSMG teambuilding or RFHG teambuilding.
T-doll category
A few things to note here:
- Understanding the tutorials makes further missions far easier.
- Surround capture takes a full turn to occur, watch your turn limits.
- Understanding the enemy is required to pick the right team for a fight.
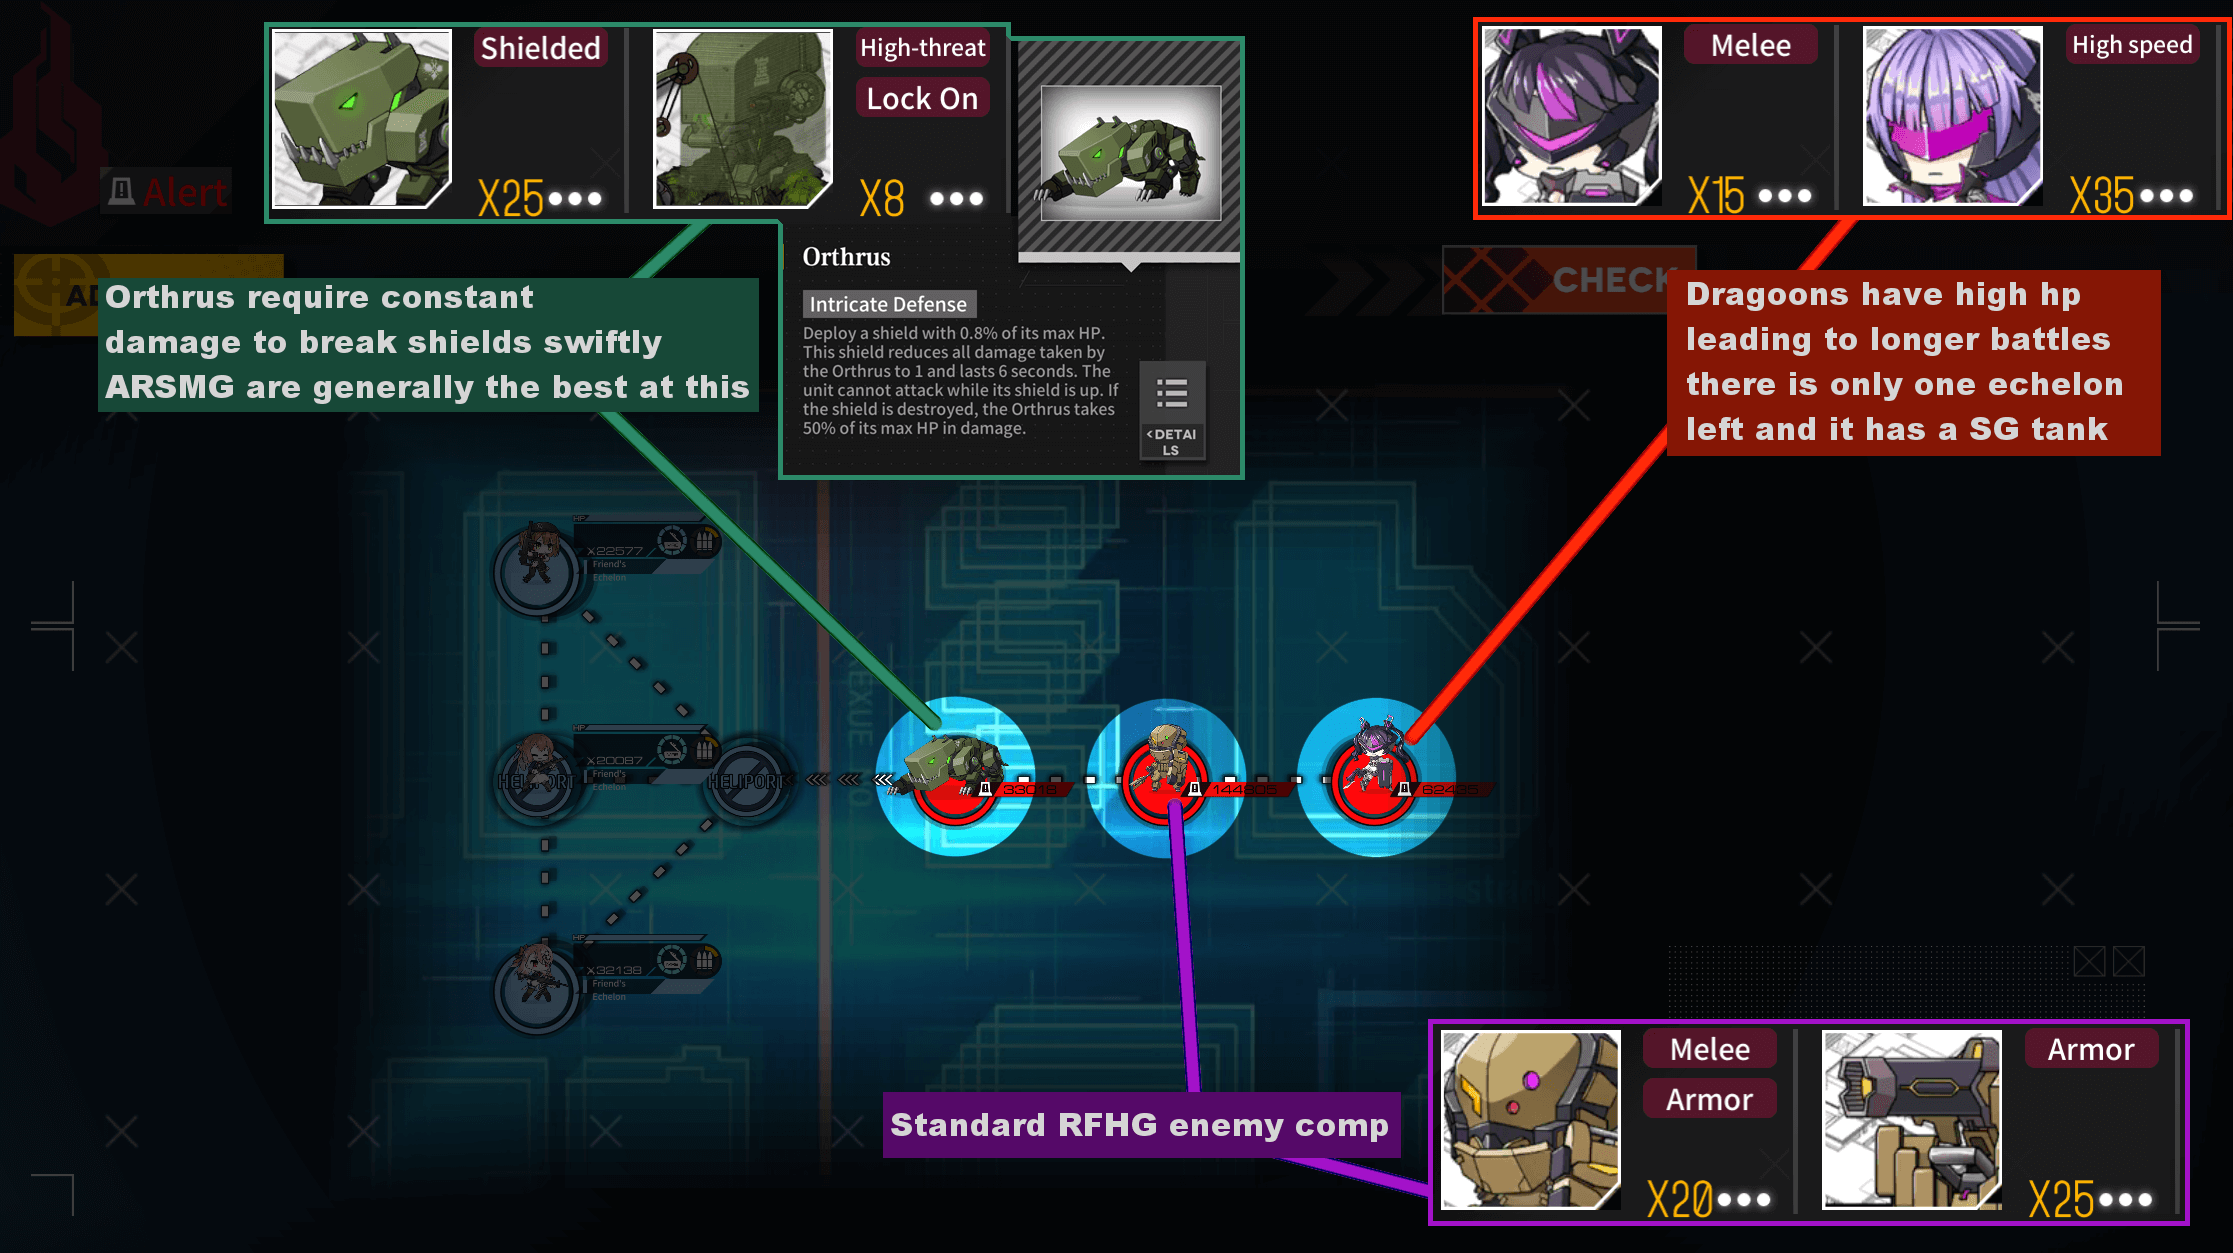
Note you can click on enemies to see their skills, Orthrus being shown here.
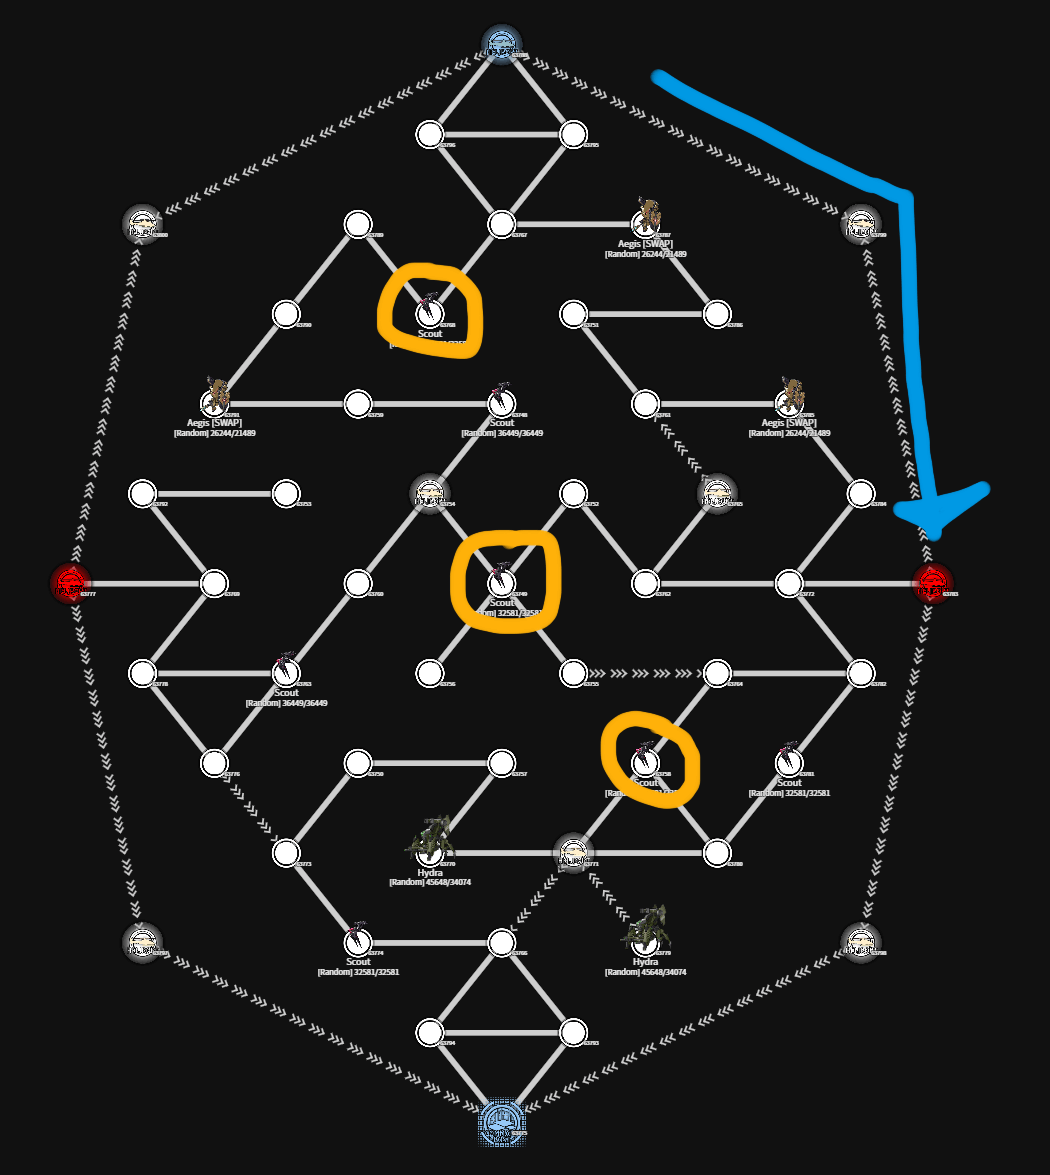
- Avoiding deathstacks and understanding clear conditions is essential. If the enemy HQ has a deathstack on it, you must use what you learned earlier to work around this.
- Echelons generally cannot take any fight, pick and choose your engagements correctly. Maps are often divided in what enemies are in which area, so sending echelons that can defeat enemies in only one area elsewhere is counterproductive.
Equipment category
A few things to note:
- Read the tutorials.
- Take enemy Helipads over Radars when your goal is to eliminate all enemies to prevent spawns.
- Taking radars to help hunt down stragglers is recommended. Night missions have a turn limit so you can’t run around mindlessly trying to find enemies.
- Knowing which echelon should take which fight is essential.
Fairy category
A few things to note in this category:
- Fairy Commands are required to use Fairy skills. If you have not leveled your Fairy room at all yet, do get your Fairy Mountain to level 3.
- The first exam only requires you to use the same fairy as the first tutorial to succeed.
- Skilling up your Parachute is required to increase the range.
- The final exam for Fairies is a night map where all other enemies than the Mission Targets have deadly swap enemies. As such, knowing where the target enemies spawn combined with using a Para to bypass the one-way outer path to access the middle of the map makes this far easier. You will need multiple echelons that can fight at night to clear this mission
HOC category
A few things of note:
- Raising your HOC and enhancing them makes the few missions you need them for far easier.
- Most of the missions where you can deploy your own teams are fairly easy to complete if you field proper HOC, but can technically be done without HOC if they’re strong enough.
- The Final Exam has a massive flaw making it no combat, but is easily completable without abusing such by using appropriate ATWs.
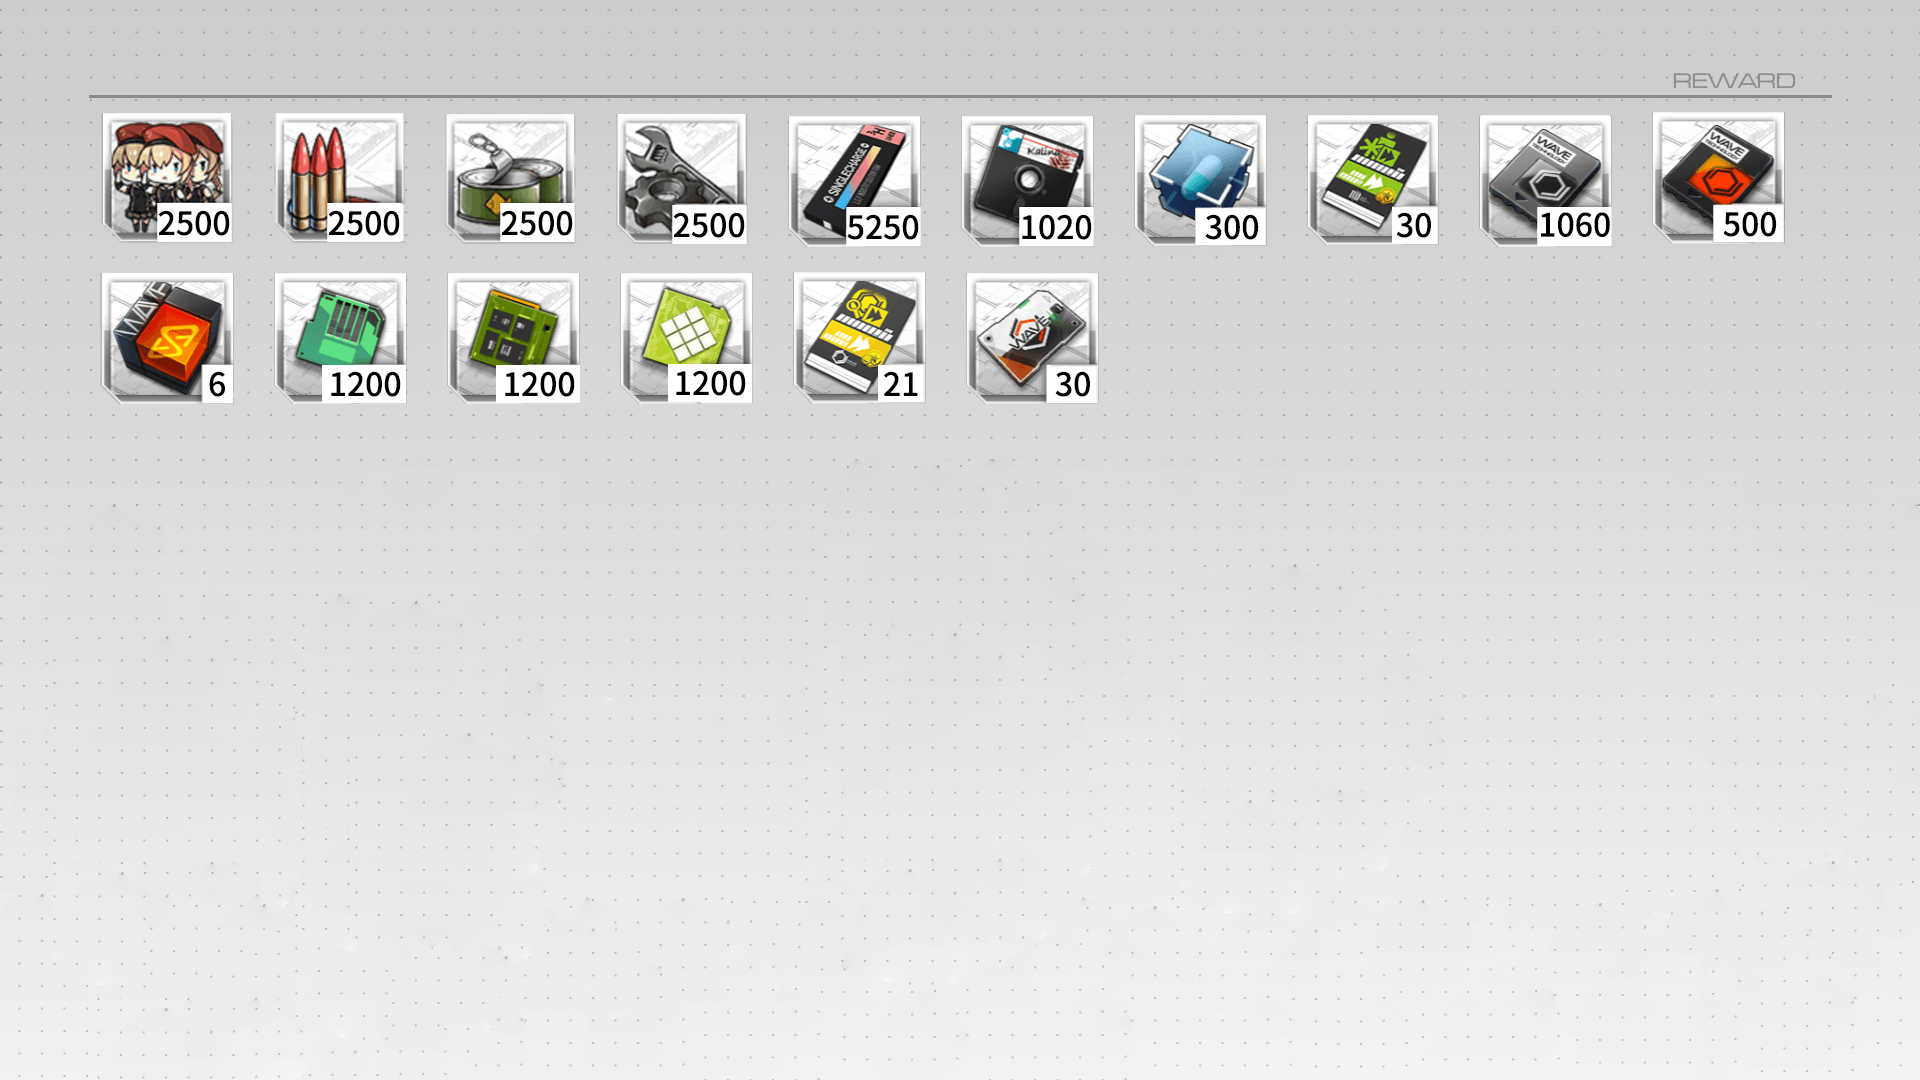
Coalition category
A few things of note:
- Scarecrow excels at taking over multiple nodes with her Shadow.
- Raising enough units to complete the Final Exam might take a while.
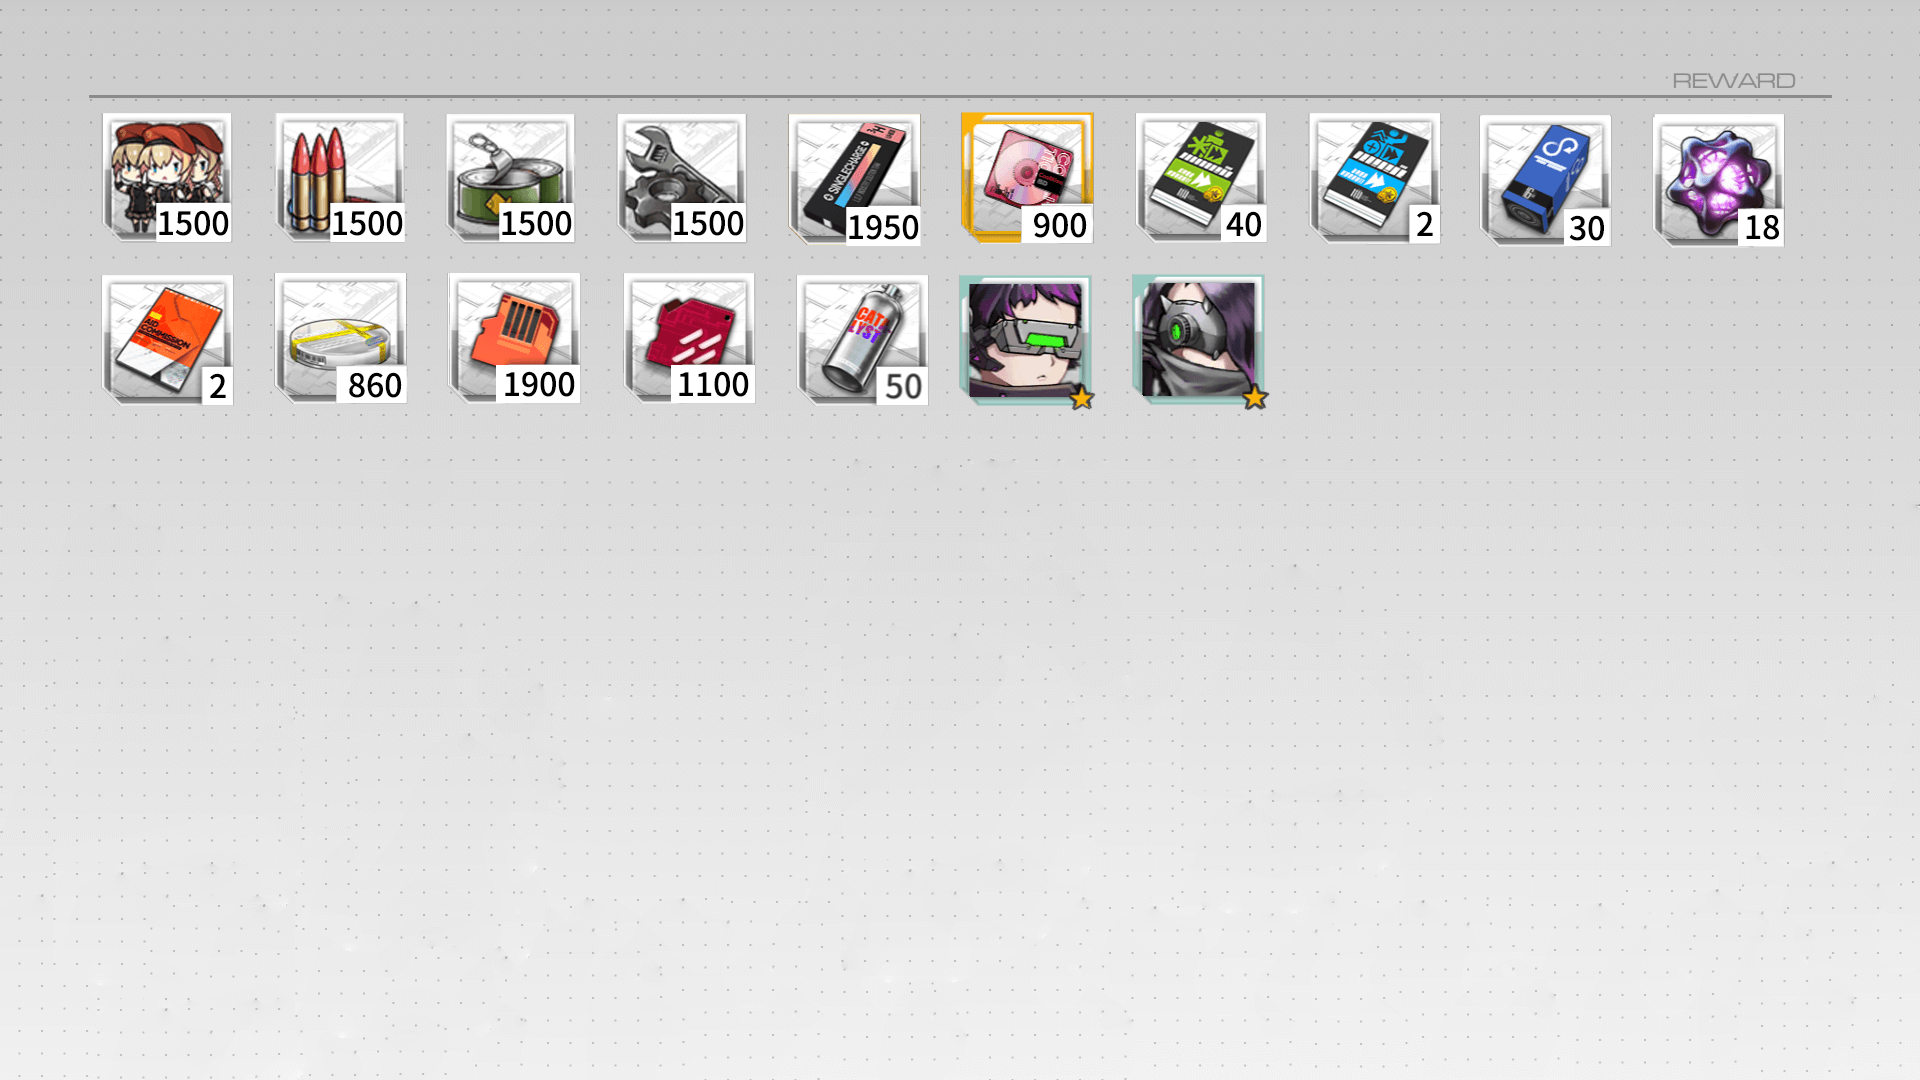
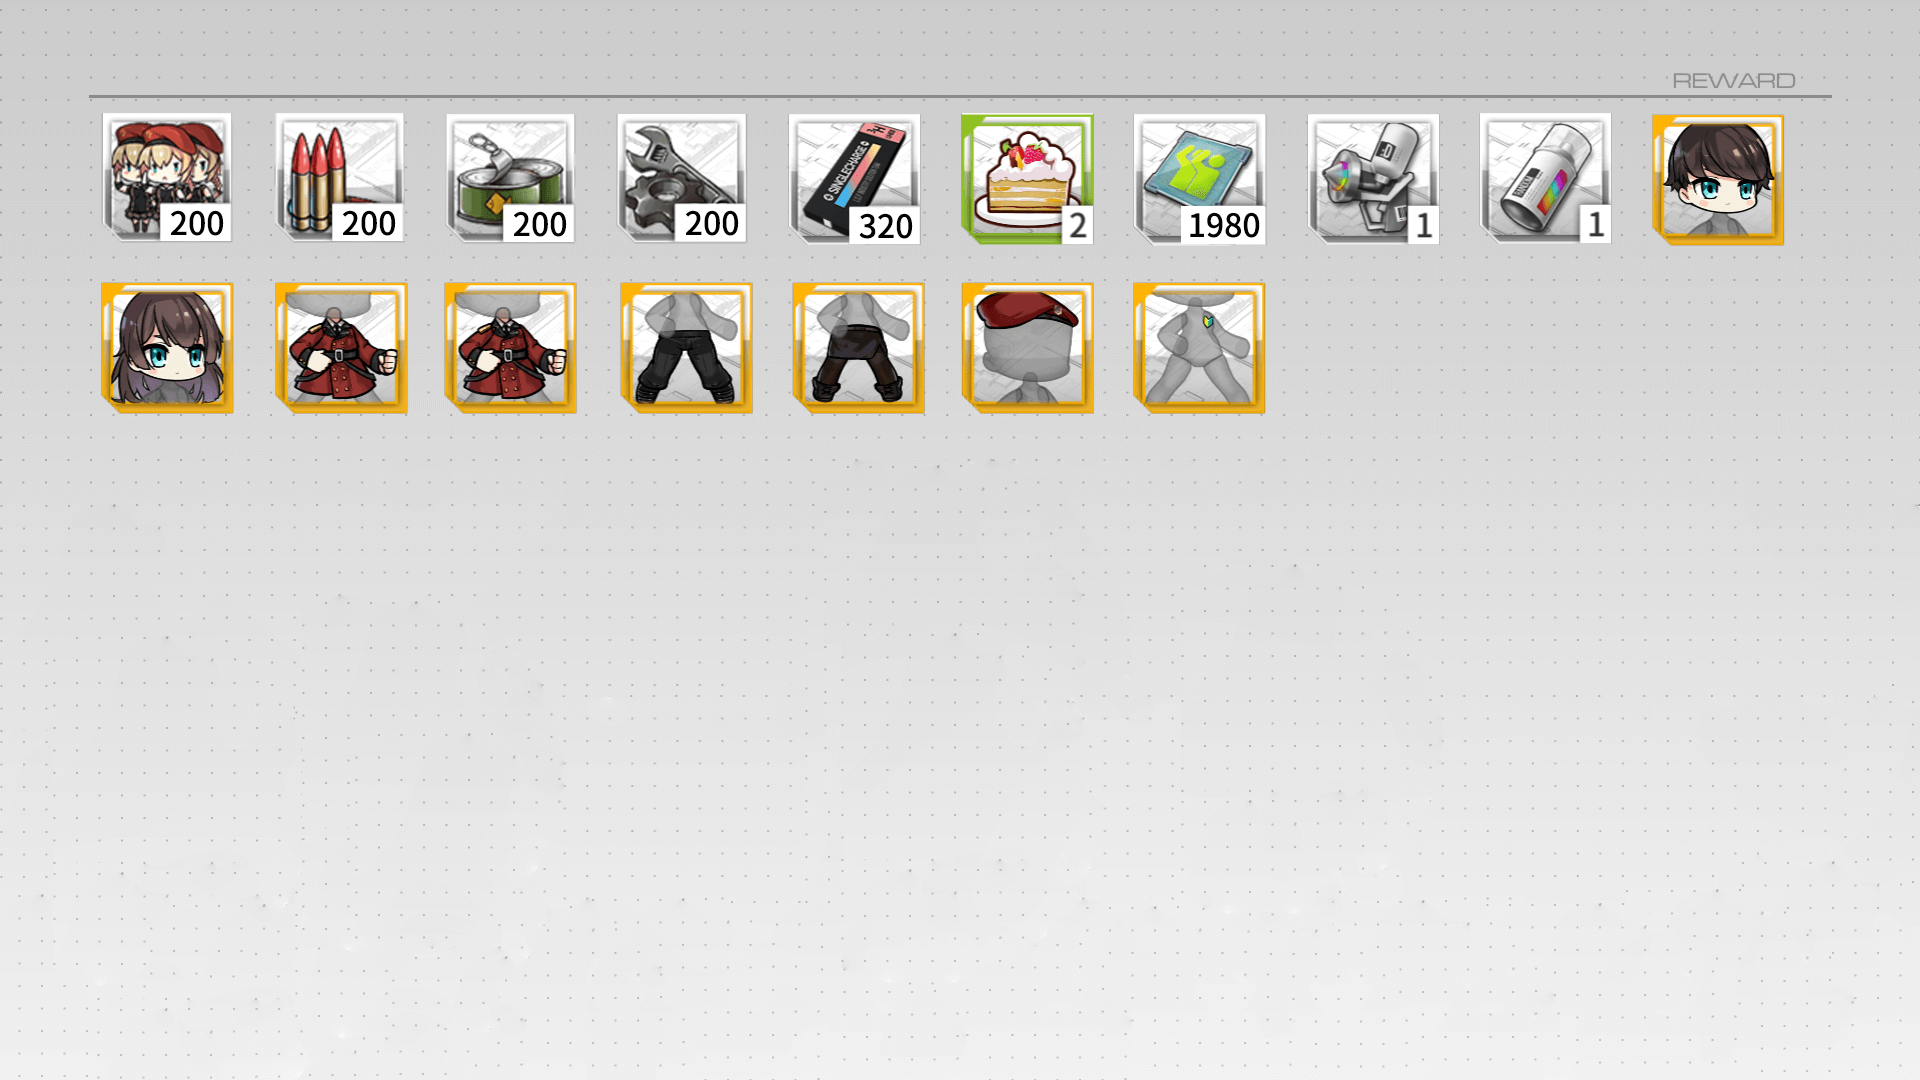
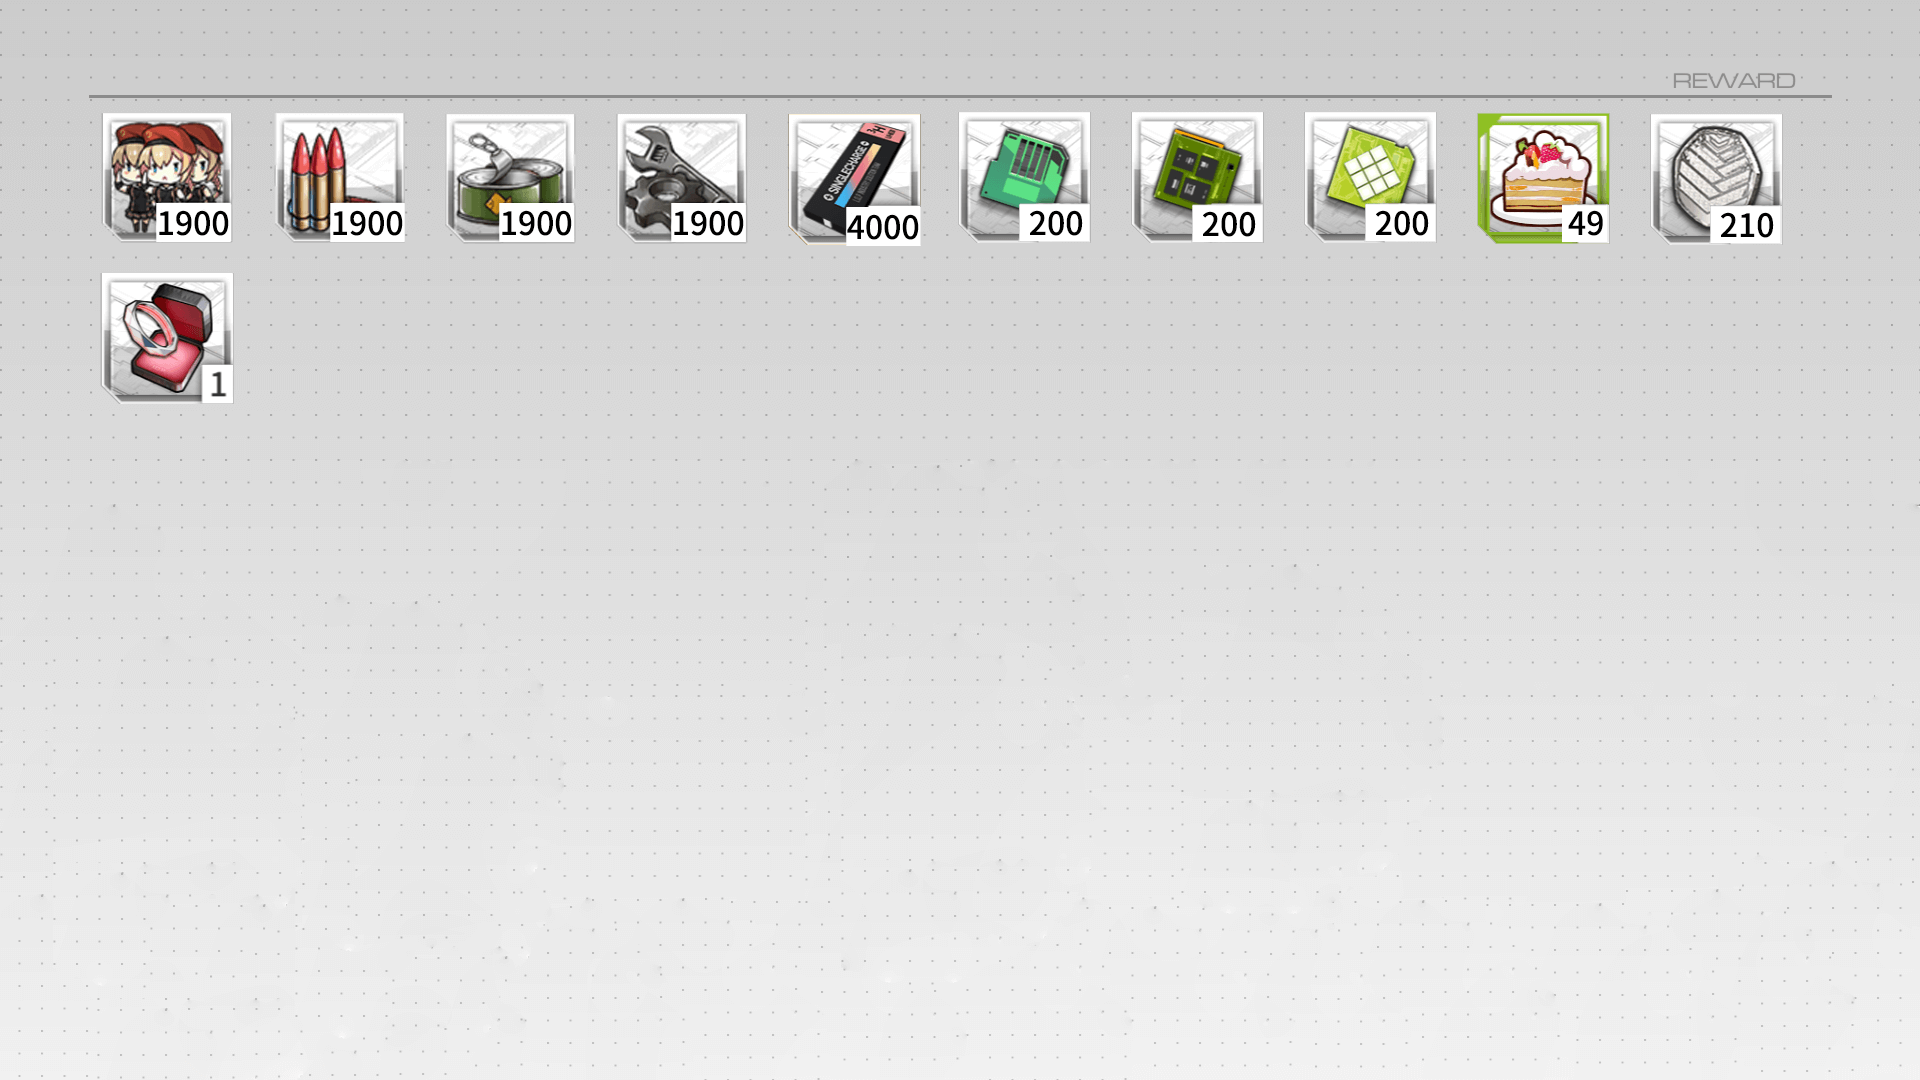
Rewards
Total rewards divided by category.
Rewards from Tutorials and Exams are given again through a blank Mail, so make sure to retrieve those as well.
For a complete spreadsheet showing each quest and the rewards for that specific quest see this link.
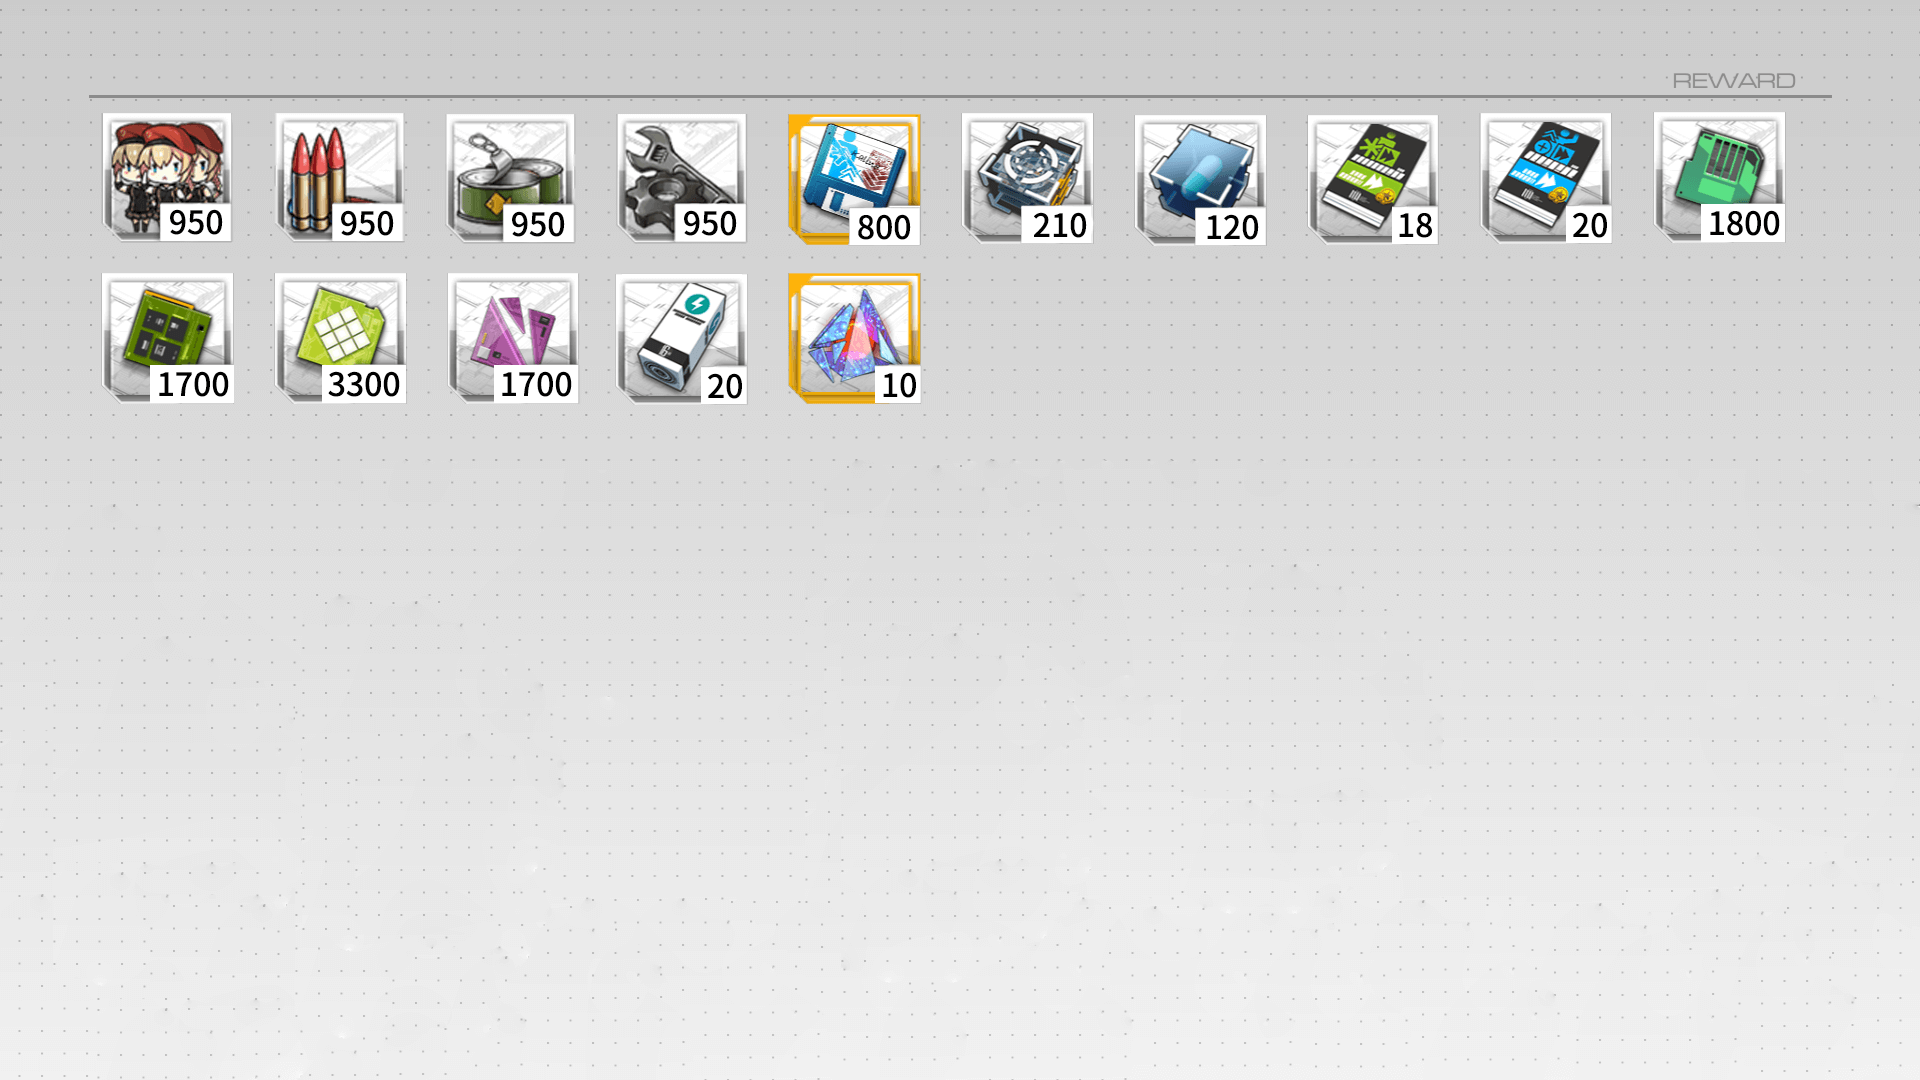
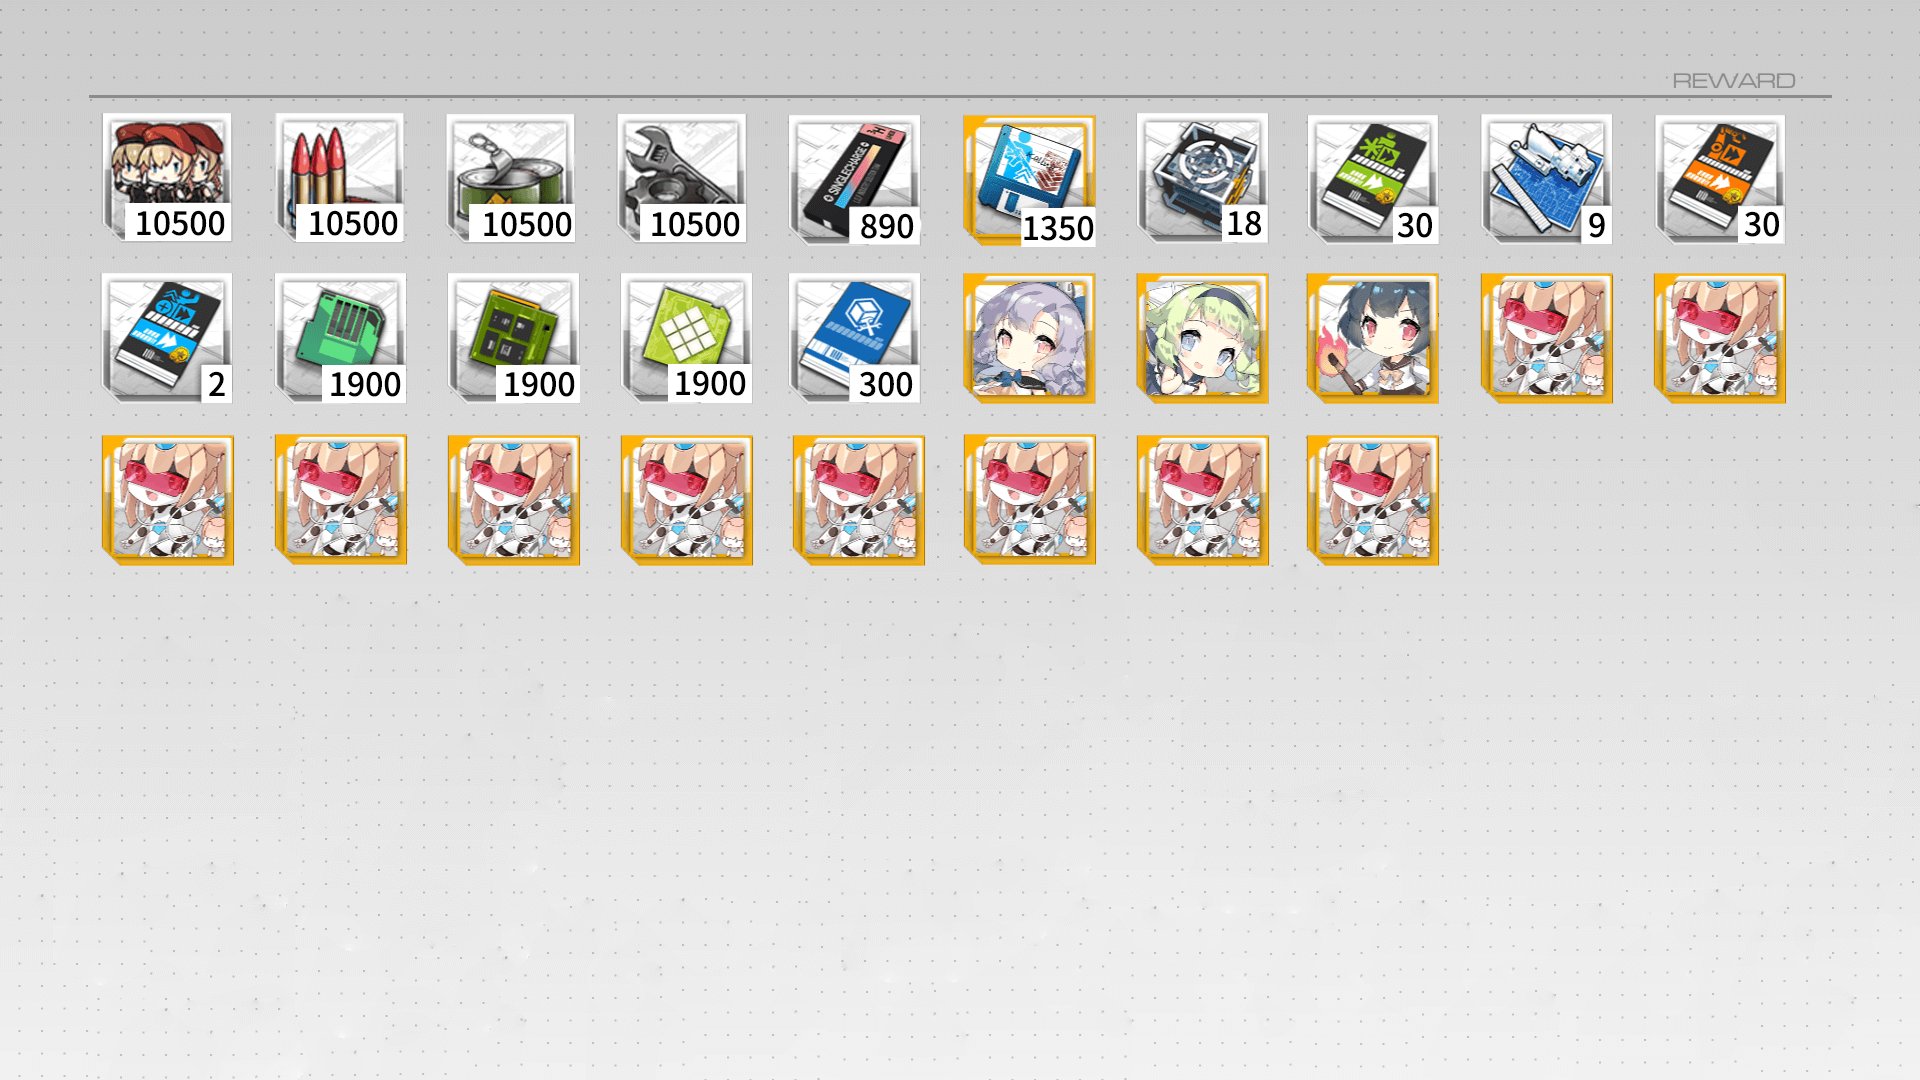
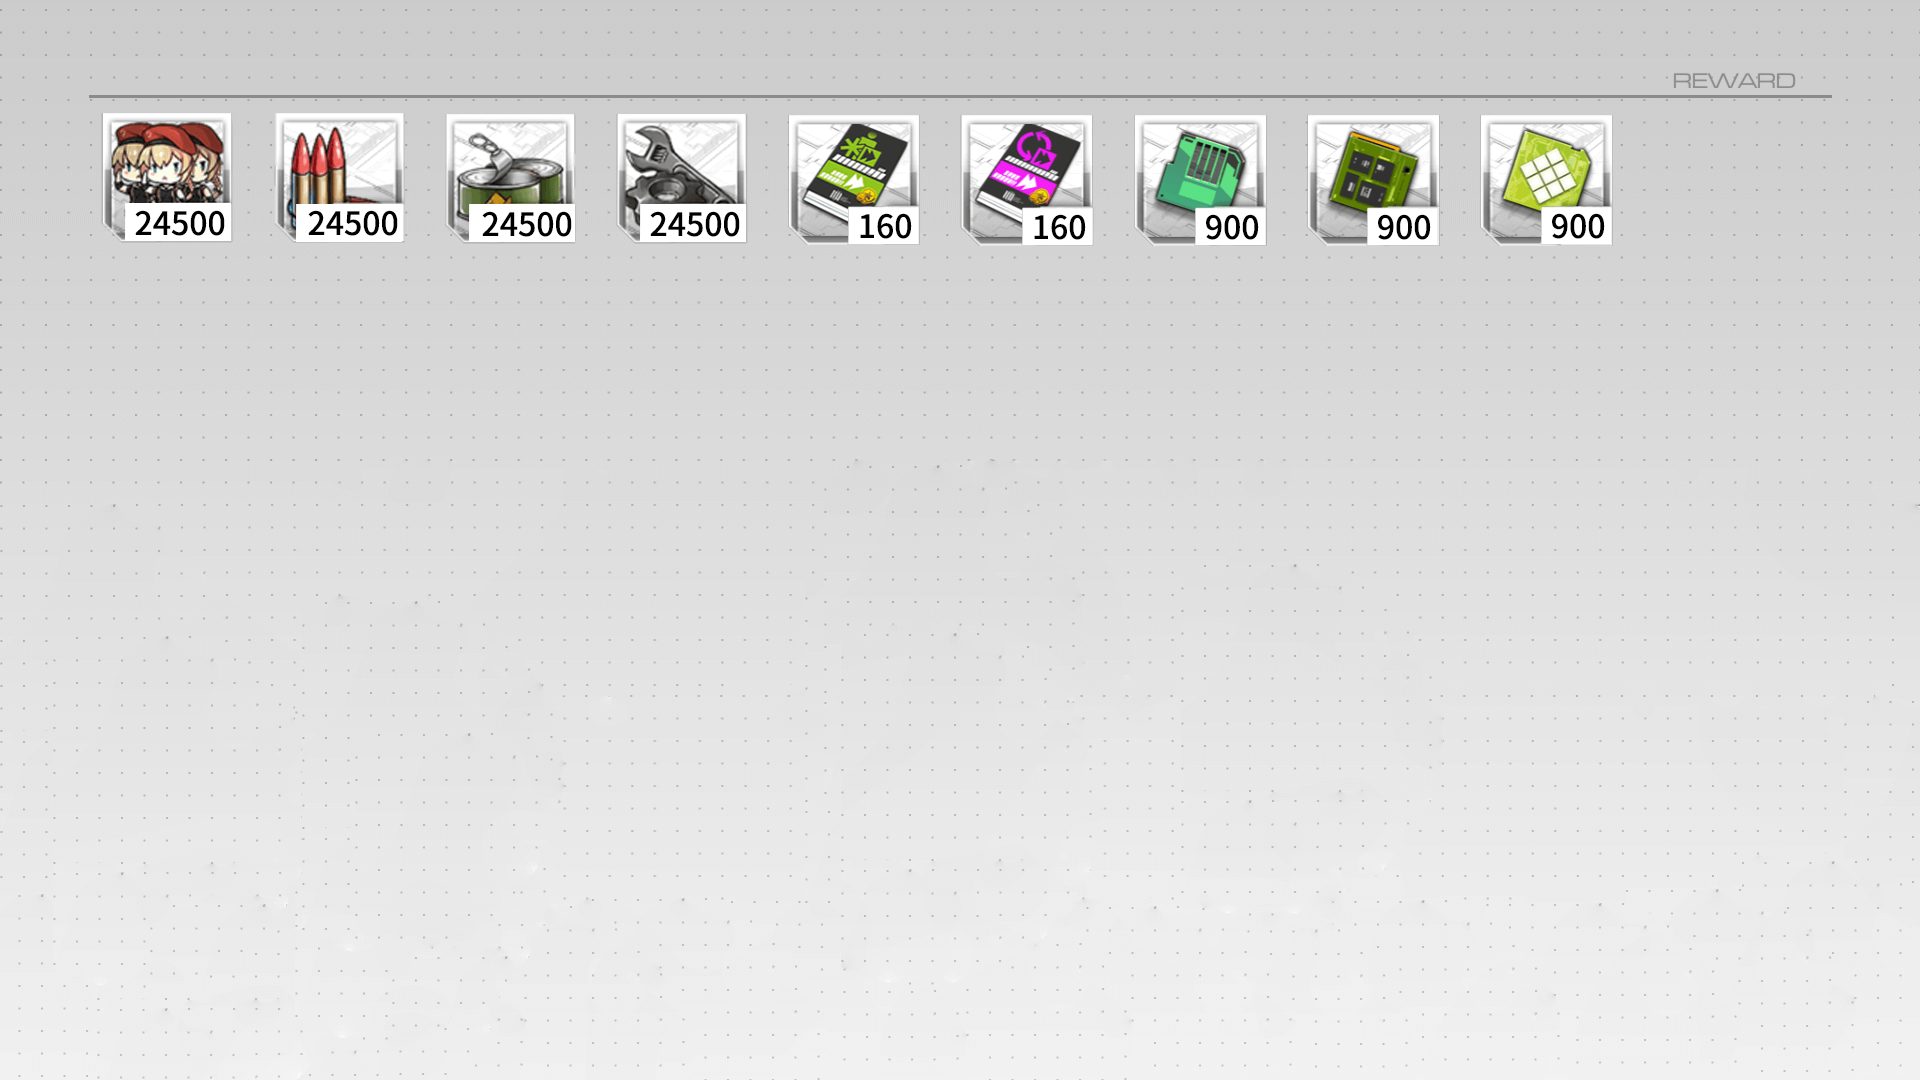
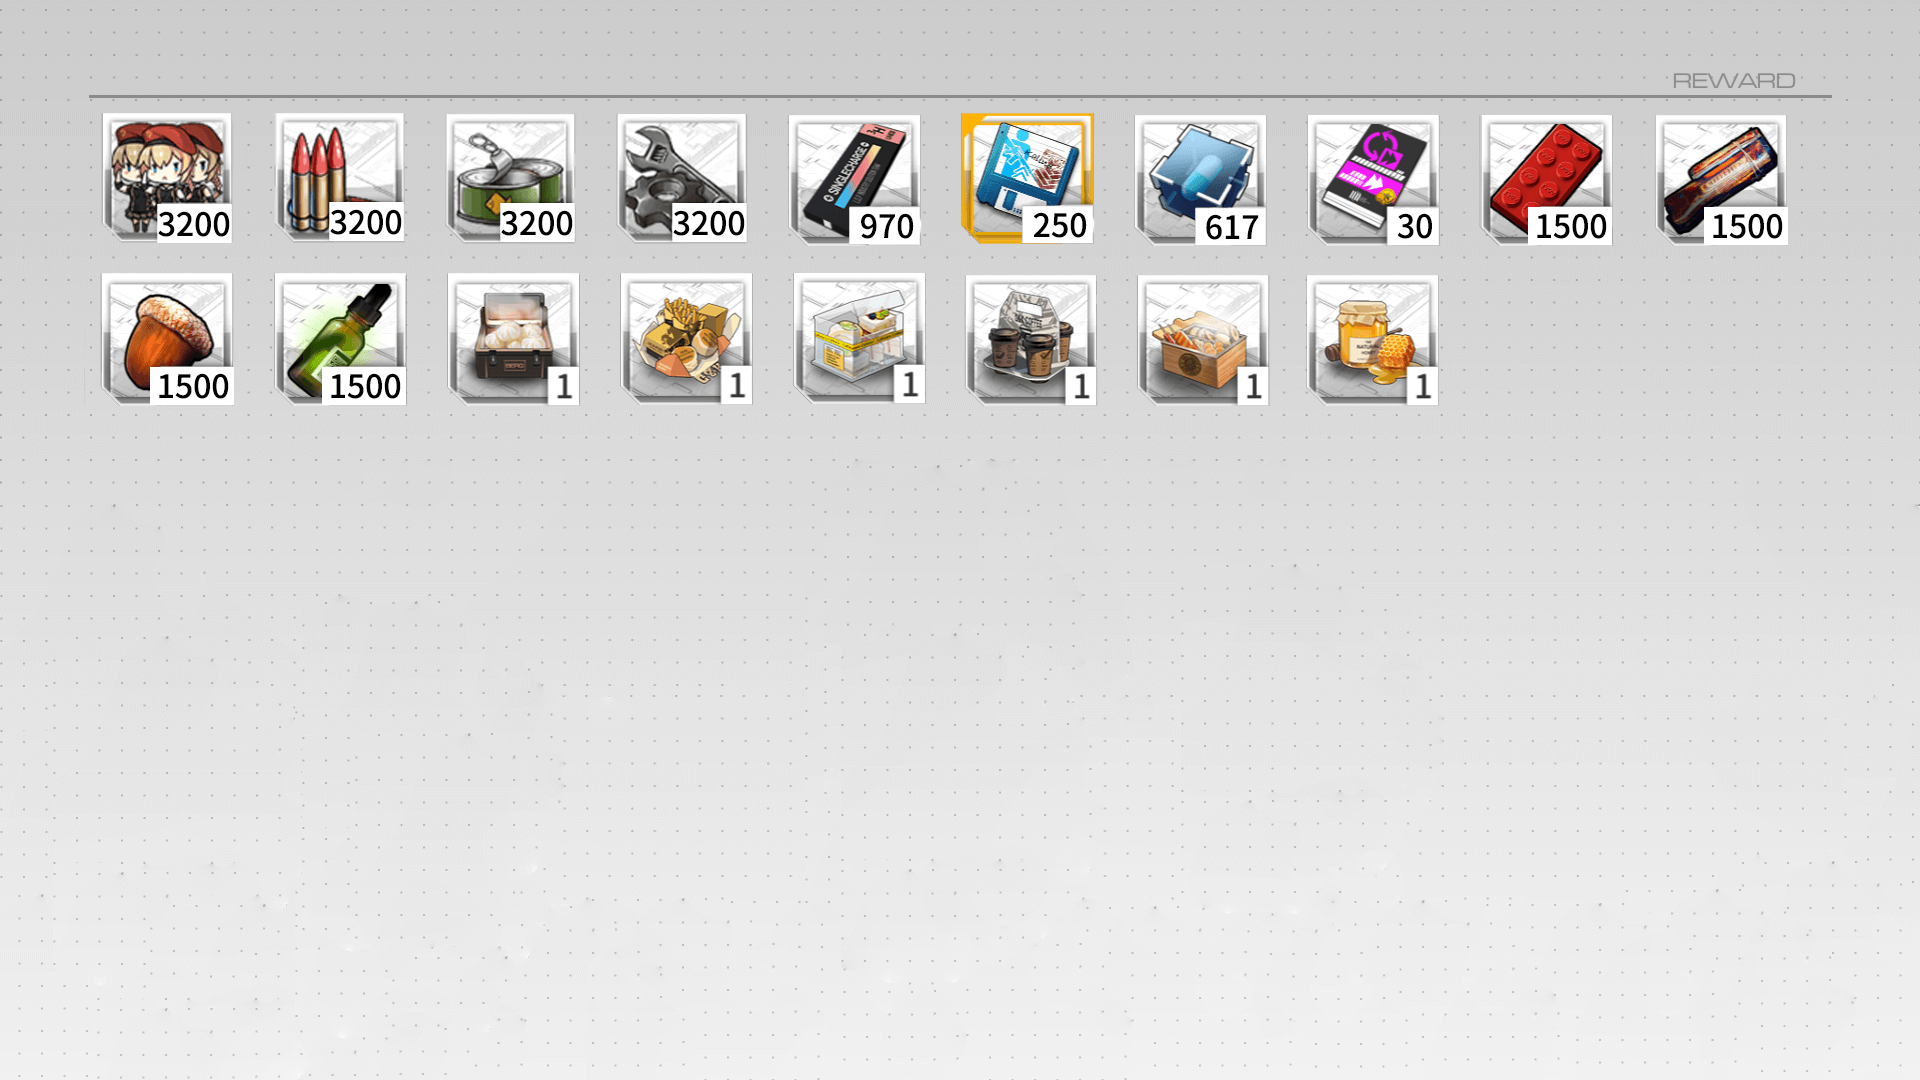
Tactical Dolls
Rewards for Tactical dolls are split in what is easily achievable as a new player, only requiring clearing story:
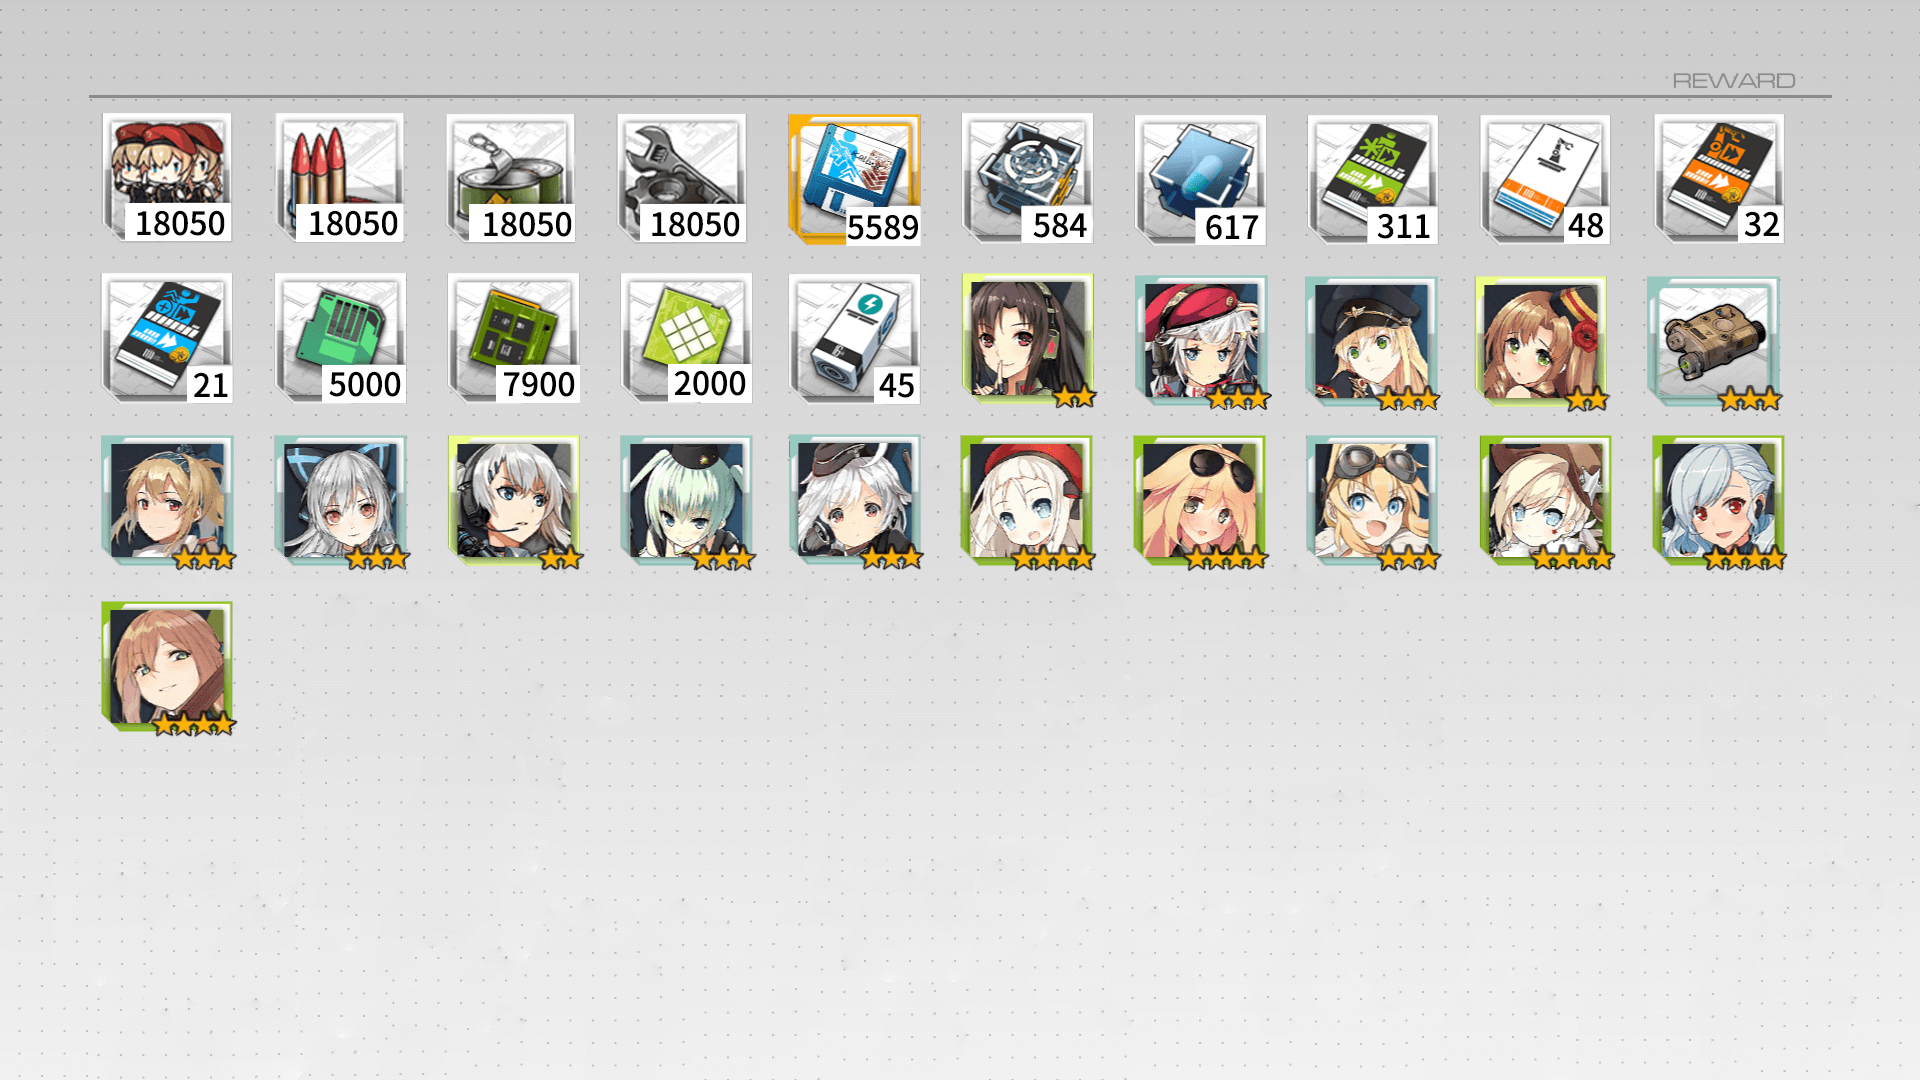
And what requires more time and investment, maxing out doll skills (which you shouldn’t be doing early on on many dolls) and modding: