Introduction
Welcome back to the Scarlet Devil Tower, somehow 5 Barrier enemies are still here even though we're going to reach the 200th floor in this run! Another thing we'll notice in our journey is the number of duo teams in the first half. The bad news is we have no more shared weakness floors. We'll still defeat them all though because that's not enough to stop us!
As usual, for all your elemental breaks needs check out the character list here.
This is a guide for floors 191 through 200 of the Scarlet Devil Tower. If you need to refresh your memory about how the Tower works, click here. To return to the floor index, click here.
To visit the guide about the previous 10 floors, click here.
191F
| Enemy | HP | Weak To | Resists | Barriers | Spell Gauge | Skills |
|---|---|---|---|---|---|---|
| Shizuha Aki |
905678 | Wood & Fire |
Sun & Metal |
5 | 3 | Recover 2 Barriers for All Allies |
| Fairy (None) |
950947 | Water & Star |
Wood & Earth |
5 | N/A | None. |
| Minoriko Aki |
908532 | Moon & Earth |
Star & Water |
5 Immune to Paralyze & Poison |
3 | Recover 5% of Party’s HP |
| Reward: |  x10 |
|---|
The autumn goddesses stand in our path! They are accompanied by a non-elemental fairy too... did they just pick a random fairy to keep them company?
Well, this is really just a classic defensive floor, we've seen worse. Shizuha recovers barriers, Minoriko heals, the fairy is for emotional support. It is recommended to go after the Barrier generator first, then the healer, and lastly the fairy.
As our opponents don't have any shared weaknesses, remember that all of them are susceptible to anomaly breaking, aside from Paralyze and Poison. And if you're not a fan of that, you can use attacks that fully break an opponent in 1 turn, which is doable thanks to only having 5 barriers.
Some recommended units for this floor are:
192F
| Enemy | HP | Weak To | Resists | Barriers | Spell Gauge | Skills |
|---|---|---|---|---|---|---|
| Satono Nishida |
1434861 | Water & Star |
Moon & Wood |
5 | 2 | Party’s Yang DEF 5 Levels UP (1T) |
| Mai Teireida |
1373983 | Sun & Wood |
Fire & Earth |
5 | 3 | Party’s Agility 5 Levels UP (1T) |
| Reward: |  x10 |
|---|
We encounter the Backup Dancers! Their supportive abilities are clear here as they buff their team's Yang DEF and Agility, bringing their offensive potential to light. Satono's shots will deal more damage as her agility grows, and Mai scales with DEF instead.
It is recommended to defeat Satono first as she'll attack with spell cards more frequently and has a defensive skill.
Some units that would perform greatly here are:
193F
| Enemy | HP | Weak To | Resists | Barriers | Spell Gauge | Skills |
|---|---|---|---|---|---|---|
| Yuyuko Saigyouji |
1388172 | Fire & Metal |
Water & Wood |
5 Immune to Poison |
3 | Party’s ALL Resist 5 Levels UP (1T) |
| Youmu Konpaku |
1427560 | Moon & Star |
Sun & Earth |
5 | 3 | Enemy’s Focus 3 Levels DOWN (1T) |
| Reward: |  x10 |
|---|
Aw, our favorite Ghost Gourmand and her Half-ghost Gardener are climbing the tower.
Yuyuko raises her team's resistance to all targeting attacks, and Youmu reduces the focus of one of our units, causing the others to take more damage from All targeting attacks.
Thankfully we can take down Yuyuko first easily.
Some Friends that are effective in this floor are:
194F
| Enemy | HP | Weak To | Resists | Barriers | Spell Gauge | Skills |
|---|---|---|---|---|---|---|
| Watatsuki no Toyohime |
1451934 | Water & Earth |
Star & Metal |
5 | 3 | Inflicts 2 layers of Burn to all targets (2T) And grants Quick to self (1T) |
| Watatsuki no Yorihime |
1355373 | Sun & Metal |
Moon & Fire |
5 | 2 | Inflicts 2 layers of Freeze to all targets (2T) And grants Quick to self (1T) |
| Reward: |  x10 |
|---|
The Lunarian princesses teamed up and they're using the power of Burn and Freeze.
The novel thing here is to pay attention to the Quick that our opponents will have. Other than that, each sister breaks the anomaly she can inflict with her shots. To ignore this part of the battle and not worry about grazing shots, you can use units that are immune to Burn and/or Freeze.
Here are a few examples of units that'll do good here:
195F
| Enemy | HP | Weak To | Resists | Barriers | Spell Gauge | Skills |
|---|---|---|---|---|---|---|
| Patchouli Knowledge |
1332052 | Fire & Wood |
Earth & Star |
6 | 2 | Skill: Inflict 2 layers of Poison to all targets (2T) EX Attack: Disable Skills for All Targets (5T) |
| Sakuya Izayoi |
1345076 | Sun & Metal |
Moon & Fire |
6 | 2 | Skill: Grants Quick to all allies (1T) EX Attack: Party's DMG from Fire, Water & Metal Elements 85% DOWN (5T) |
| Hong Meiling |
1334457 | Earth & Water |
Wood & Metal |
6 Immune to Burn & Poison |
2 | Skill: Party's All Targeting DMG Resistance 5 levels UP (1T) EX Attack: Disable Boost for All Targets (5T) |
| Reward: |  x30 |
|---|
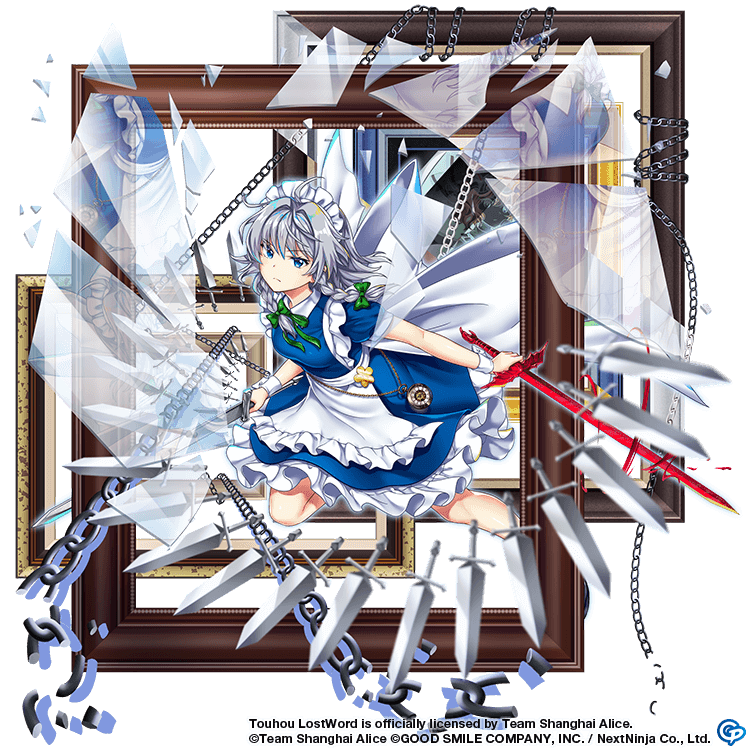
The defenders of the Scarlet Devil Mansion are all here! Did the Remilia of their world send them all so she could have time to play with her sister? I certainly hope so. Koa can take care of the library.
There's a fair bit to unpack here; As soon as the encounter starts, our Skills and Boost are disabled, and our Fire, Water and Metal attacks deal 85% less damage. So, we really want to Switch if we want to use Boost and Skills, and big Fire, Water, and Metal attacks are best saved for until the effect wears off (either 5 turns later, or by full breaking them all).
We have to remember that our opponents have Quick as long as Sakuya triggers her skill, and they also have resistance to All-Targeting attacks from Meiling's skill. Meanwhile, Patchouli inflicts Poison. But she's also capable of breaking the status with her AoE Focus Shot.
If you've noticed Sakuya dealing a bit more damage than expected, it's because she has scaling based on Agility, and her Boost Ability grants her 2 levels of Agility. While we're speaking Boost Abilities, Meiling's buffs her team's Yang DEF by 2 levels and her Focus Shot applies Stun on her target
It is better to go after Meiling first if you want to deal big damage with All targeting attacks, and if your team is very susceptible to Poison, Patchouli becomes a priority.
In all cases, remember you can retreat. You can take things slow.
Some recommendations for this floor are:
196F
| Enemy | HP | Weak To | Resists | Barriers | Spell Gauge | Skills |
|---|---|---|---|---|---|---|
| Eirin Yagokoro |
1220203 | Fire & Star |
Water & Sun |
5 Immune to Burn, Poison & Blind |
2 | None. |
| Fujiwara no Mokou |
1188611 | Sun & Wood |
Earth & Metal |
5 | 3 | Own Focus 3 levels UP And recovers 3% of party's HP |
| Kaguya Houraisan |
1204585 | Moon & Earth |
Sun & Wood |
5 | 2 | Grants Quick to party (1T) |
| Reward: |  x10 |
|---|
Aw, cute! Kaguya is climbing the tower with her devoted genius medic Eirin and the only other person that can understand the curse and blessing of the Hourai Elixir, Mokou.
Kaguya's ability to control the instantaneous is apparent in her granting Quick to her team, while Mokou tanks for the team and heals everyone. Eirin is probably too tired to activate a skill, but she does compensate with inflicting Blind with her shots. Kaguya breaks these barrier statuses with her own shots.
Due to Mokou being the staller of the opponent's team, we take her out first.
Examples of Friends that'll prove very useful here are:
197F
| Enemy | HP | Weak To | Resists | Barriers | Spell Gauge | Skills |
|---|---|---|---|---|---|---|
| Seiran | 1209021 | Metal & Fire |
Star & Moon |
5 |
3 | Party's DMG from Slash & Missile Bullets 70% DOWN (1T) |
| Reisen | 1157363 | Wood & Sun |
Water & Earth |
5 | 2 | Inflicts Charge to target (1T) |
| Ringo | 1251189 | Moon & Water |
Sun & Metal |
5 |
3 | Party's DMG from Light & Energy Bullets 70% DOWN (1T) |
| Reward: |  x10 |
|---|
Rabbits! Moon Rabbits! The 2 dango salesgirls are climbing the tower with Reisen. I hope she's handling it well. It is a break from normal moon military work, I suppose.
This floor has a bullet type resistance theme, with the special addition of Reisen's skill, inflicting Charge on one of our Friends. This could ruin a turn if you're not keeping it in mind.
And you can also ignore the other skills if you're nuking with a non-resisted type (Ofuda, Normal, Body, Liquid, Laser, Sharp, Heavy)
Some amazing units for this floor are:
198F
| Enemy | HP | Weak To | Resists | Barriers | Spell Gauge | Skills |
|---|---|---|---|---|---|---|
| Byakuren Hijiri |
1200119 | Fire & Star |
Sun & Moon |
5 | 2 | Own Focus 3 levels DOWN (1T) |
| Ran Yakumo |
1200209 | Sun & Water |
Wood & Star |
5 | 3 | Heals 3 layers of Party's Barrier Status. |
| Eirin Yagokoro |
1206423 | Moon & Wood |
Fire & Water |
5 Immune to Burn, Poison & Blind |
2 | Own Focus 3 levels DOWN (1T) |
| Reward: |  x10 |
|---|
Ran's skill can be easily ignored if you're not planning on using anomalies on our opponents. Another thing that makes using them harder here is Eirin's immunity to 3 of them. Anomalies aside, A lot of the damage from All-targeting attacks will be soaked by Ran due to Byakuren and Eirin lowering their own focus, so keep that in mind too when nuking with All-targeting attacks.
Here are examples of units that'll do wonderfully here:
199F
| Enemy | HP | Weak To | Resists | Barriers | Spell Gauge | Skills |
|---|---|---|---|---|---|---|
| Clownpiece | 1198153 | Fire & Metal |
Sun & Earth |
5 | 2 | Own DMG from Fire & Metal 70% DOWN (1T) |
| Hecatia Lapislazuli |
1181540 | Star & Water |
Moon & Wood |
5 Immune to Freeze |
2 | Own DMG from Water & Star 70% DOWN (1T) |
| Junko | 1230620 | Moon & Earth |
Fire & Water |
5 | 2 | Own DMG from Moon & Earth 70% DOWN (1T) |
| Reward: |  x10 |
|---|
What a hellish team! I mean, not only are they our favorite trio from hell, but their strategy is really good. This may just be the first time the opponents' skills cover for all their weaknesses!
The secret here is to nuke an opponent the turn after full breaking her.
Some extremely good units here are:
200F
| Enemy | HP | Weak To | Resists | Barriers | Spell Gauge | Skills |
|---|---|---|---|---|---|---|
| Remilia Scarlet (Tiny Devil Mistress) |
930386  |
Sun & Fire |
Star & Metal |
7 Immune to Freeze & Poison |
1 | Skill:
|
| Flandre Scarlet (Vampire Pursuing the Hunter) |
932297  |
Moon & Water |
Wood & Earth |
7 | 2 | EX Attack: Disable all targets' usage of Boost (5T) Skill:
|
| Reward: |  x1 |
|---|
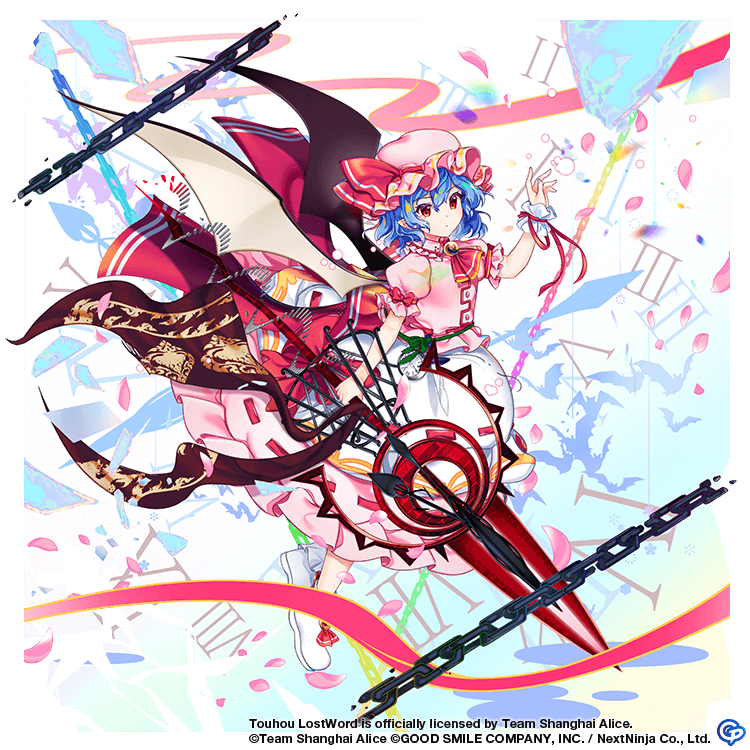
And now for the 200th floor! A big milestone. We have a battle against the Scarlet "Sisters". They both have 2 extra HP gauges with a gauge burst effect that protects a sister from one of ...the other sister's weaknesses. Although the second gauge burst does protect the other sister too. They're confused, but they got the spirit. But before I get lost in the sisterhood displayed here, I'll back up a bit to focus on the mechanics.
As soon as the battle begins, we aren't able to use Boost. Thankfully it's just one lock and can be removed by a party lock removal skill easily (you can also switch).
Flandre's skill isn't new to us by now; we've seen a few enemies that reduce an ally's focus already. All they really do is make stalling harder and increase the damage other units take from AoE attacks. As to Remilia's Skill, she plays the role of a tank by raising her own Focus, heals the team (Making her a priority to take down), and inflicts Charge to all of our allies. If you're planning on your attack not letting you take big damage, keep the Charge effect in mind.
Now for the aforementioned Gauge Burst effects; the first ones are easy to work around as they don't cover the unit's weakness. The second ones do though, and they also disable our Focus Shot (For Remilia's) and our Skills (For Flandre's).
Other than that, we have Shot effects; Flandre inflicts Poison anomalies with her Shots, Remilia breaks them. Additionally, our opponents also have Scaling; Flandre having Hard Scaling while her sister has Slash scaling.
This is a tough fight to end in one go. But luckily, we don't have to! Make the best out of the ability to retreat and the free daily heals.
Here are a few amazing units to have for this floor:


