Possible Drops:
--
Mission and Clear Conditions:
Mission: Rescue 2 Hostages
Clear Guide:
Team Recommendations:
- 2 Combat Echelon
- AR/SMG highly recommended
- 1 Dummy Echelon
Clear Steps
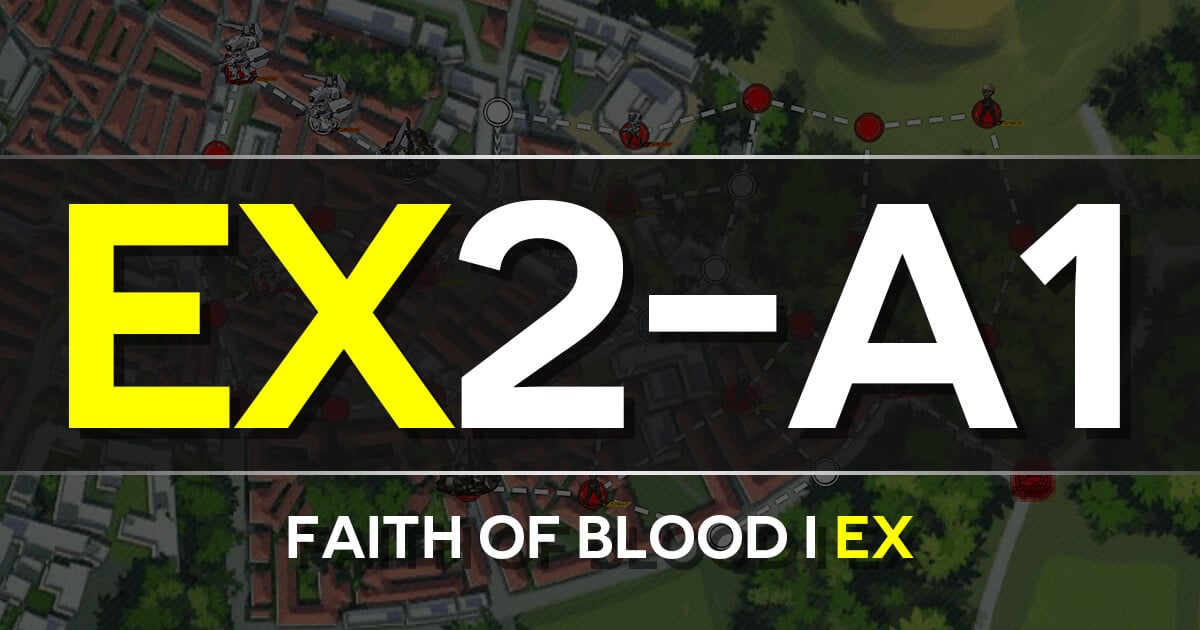
This map is relatively straightforward, as long as care is taken to dodge that 200k KCCO deathstack in the center area. The 95k Smashers should be avoided, but the weaker ones are fairly easy to fight. A bit of AI trickery with the move order means this clear only needs to fight one Smasher, however, and you get to watch a Smasher punch the daylights out of Typhon, which is a hoot. No other major considerations are needed for this one.
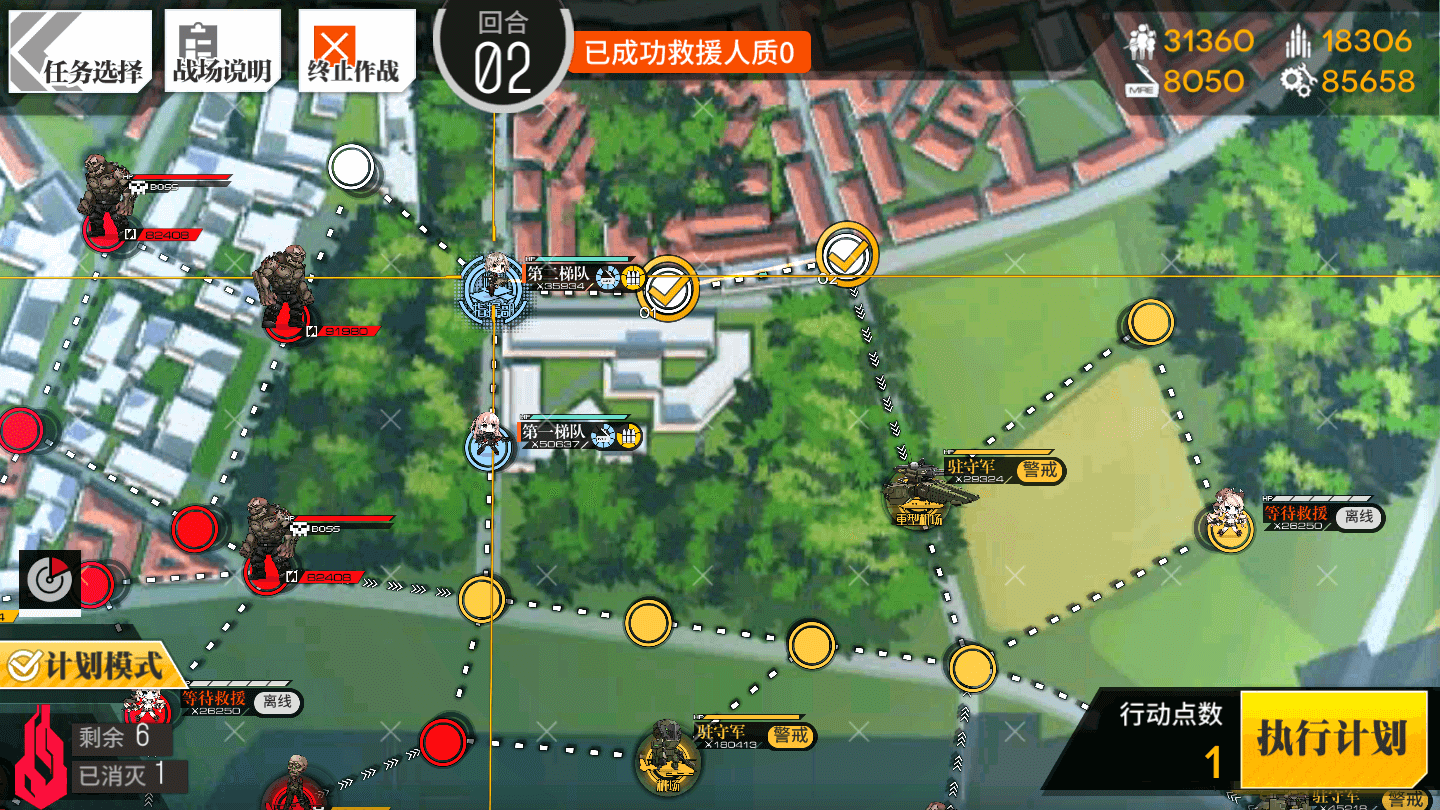
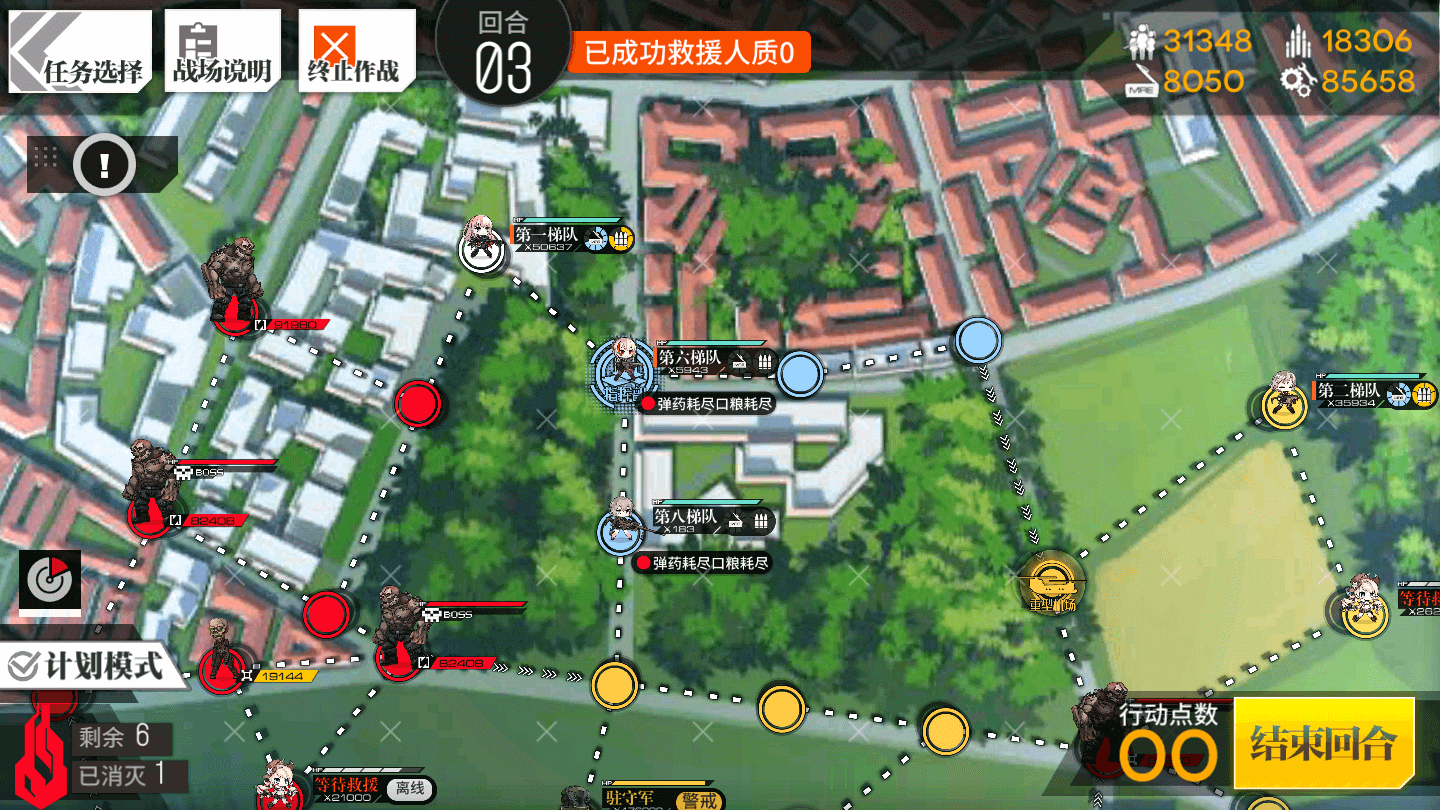
Turn 1
1.1
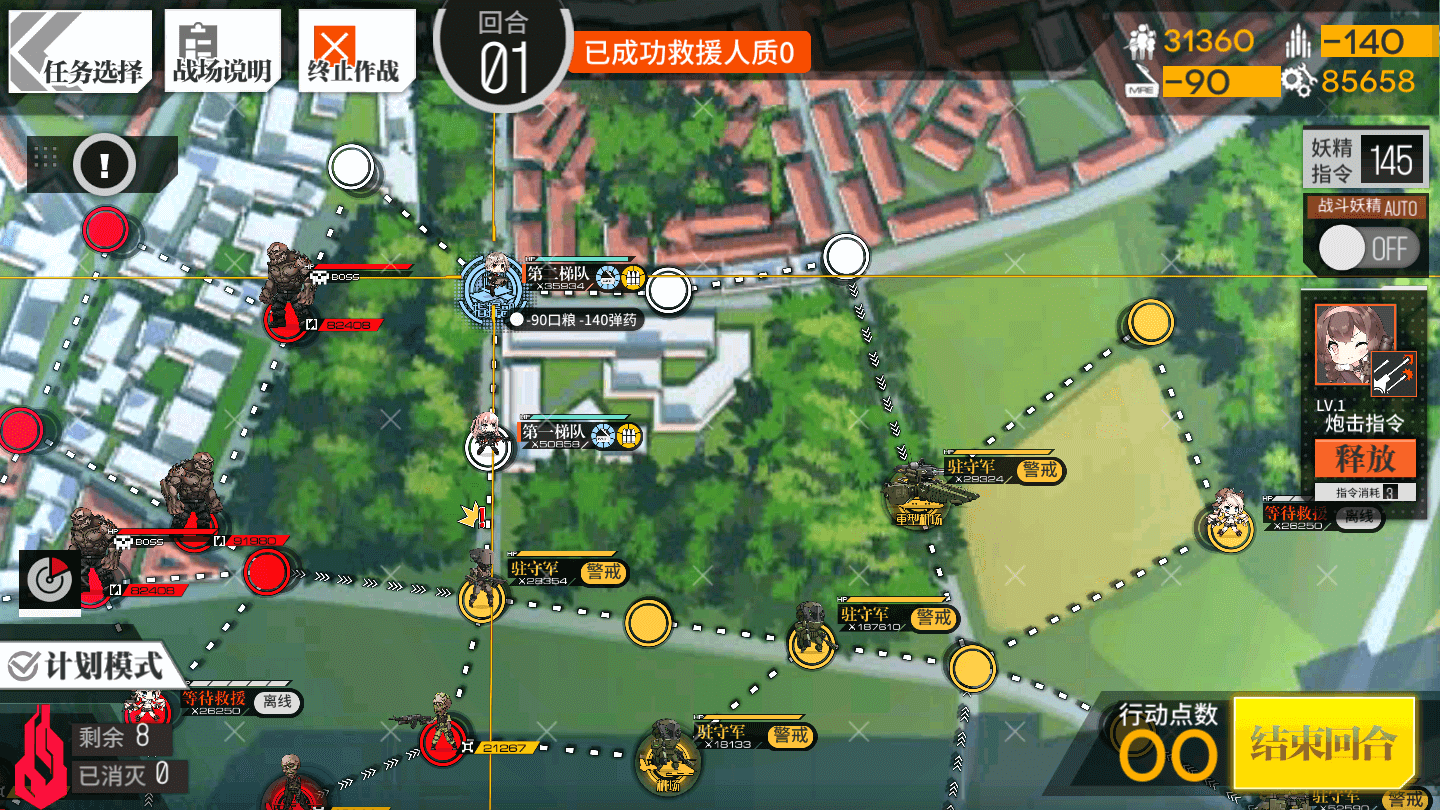
Deploy a Combat Echelon on the Command Post. Move one node down, and deploy a Combat Echelon on the Command post.
Turn 2
2.1
Move the Combat Echelon on the Command Post two nodes to the right.
2.2
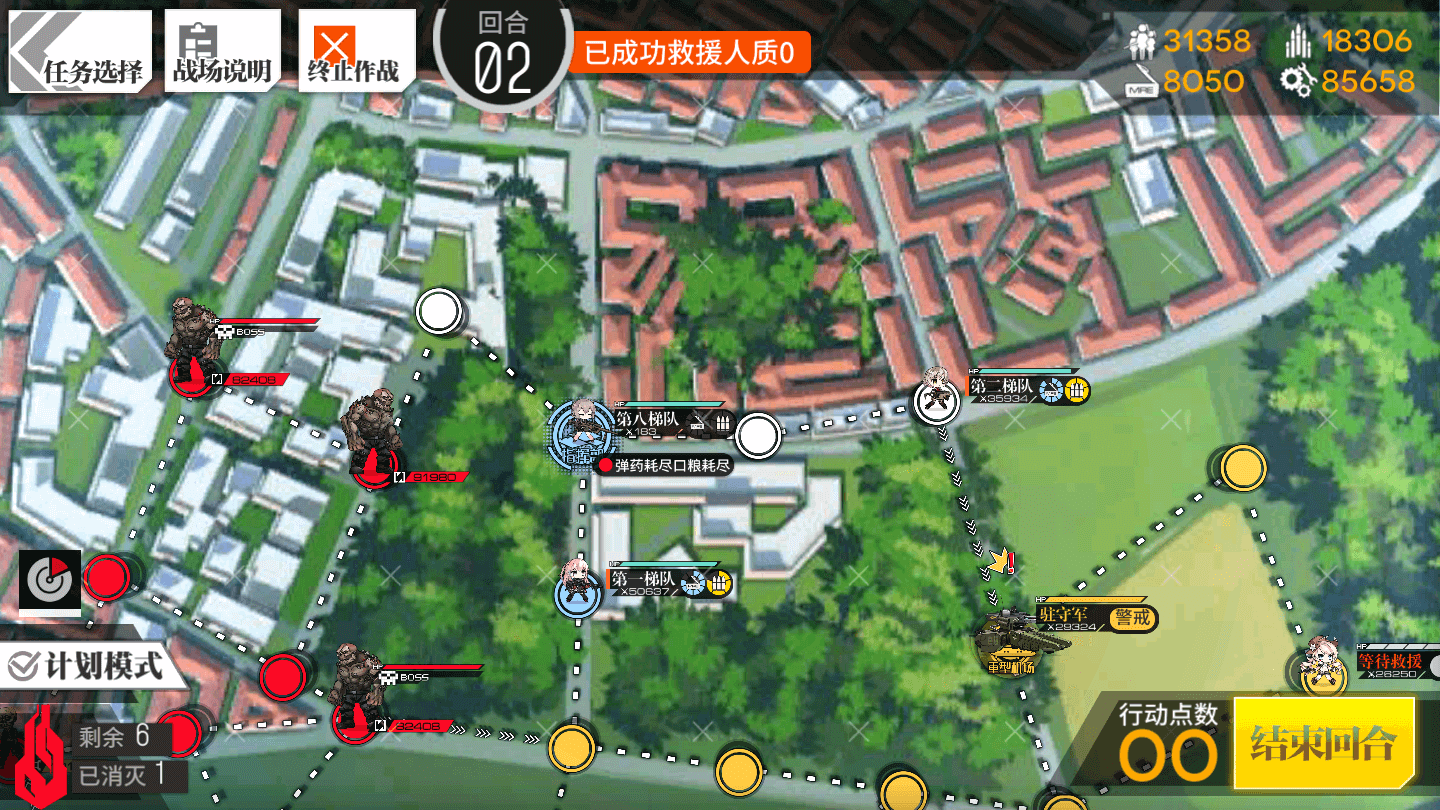
Deploy a Dummy Echelon on the Command Post.
Turn 3
3.1
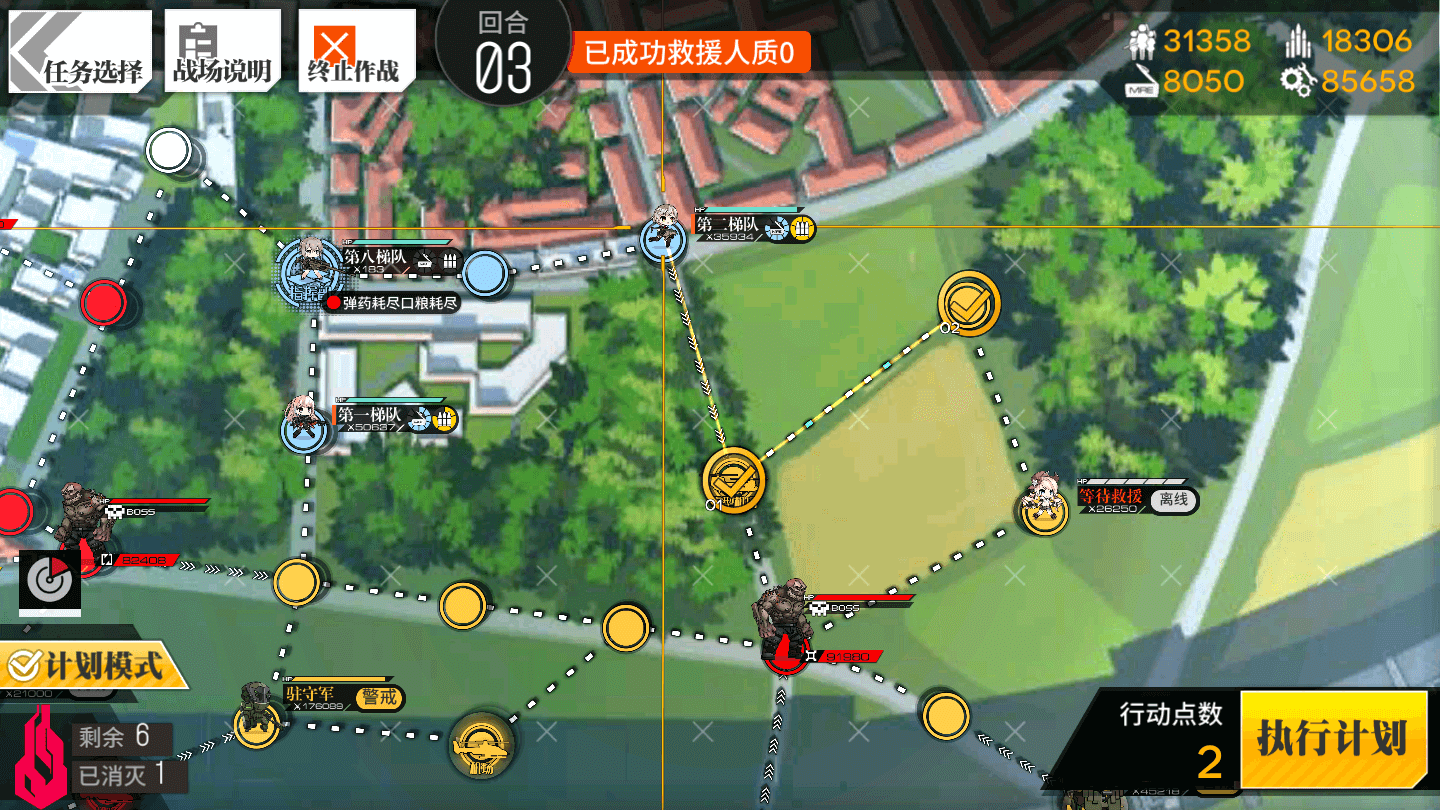
Move the right Combat Echelon down one node, then right one node.
3.2
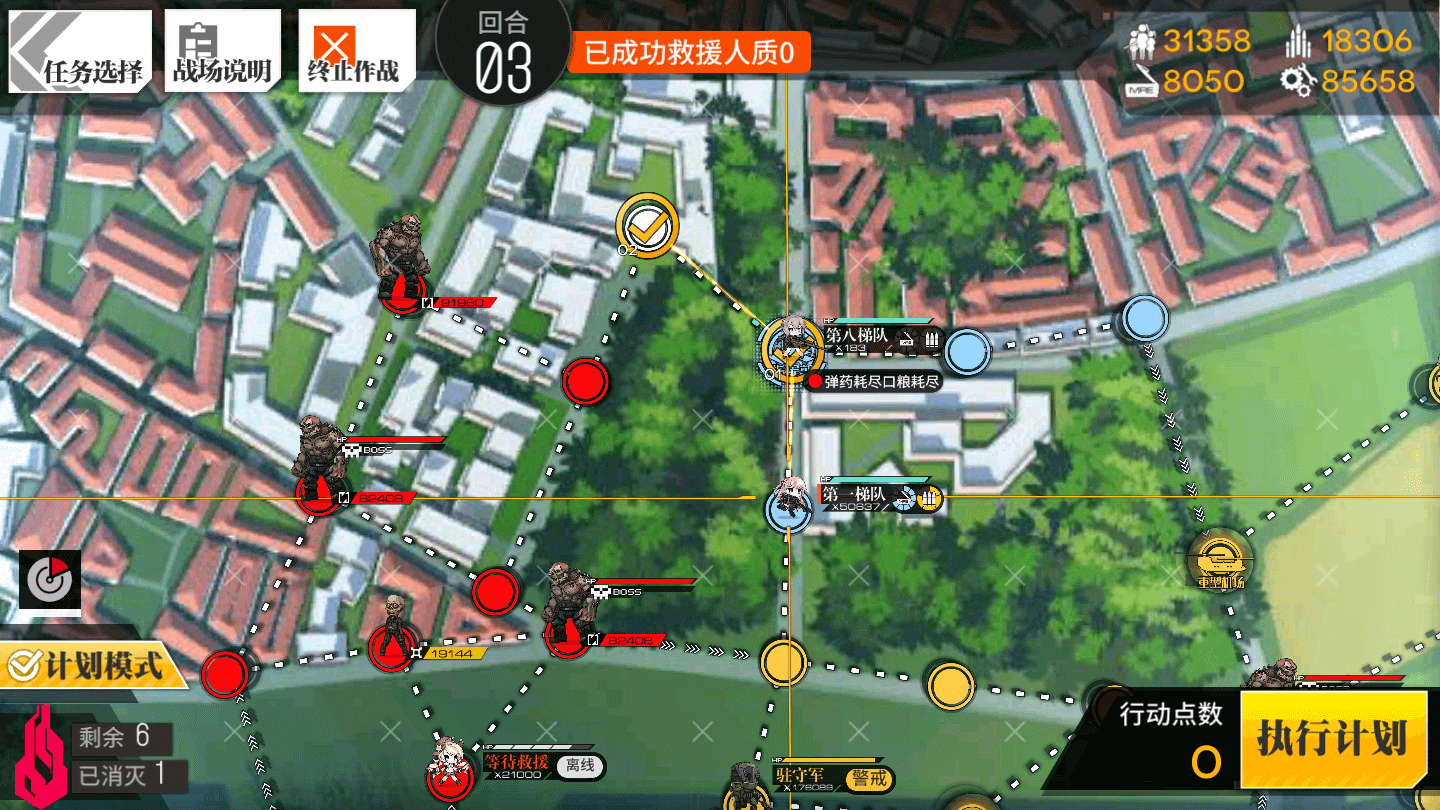
Move the central Combat Echelon up two nodes, swapping with the Dummy on the way.
3.3
Deploy a second Dummy Echelon on the Command Post.
Turn 4
4.1
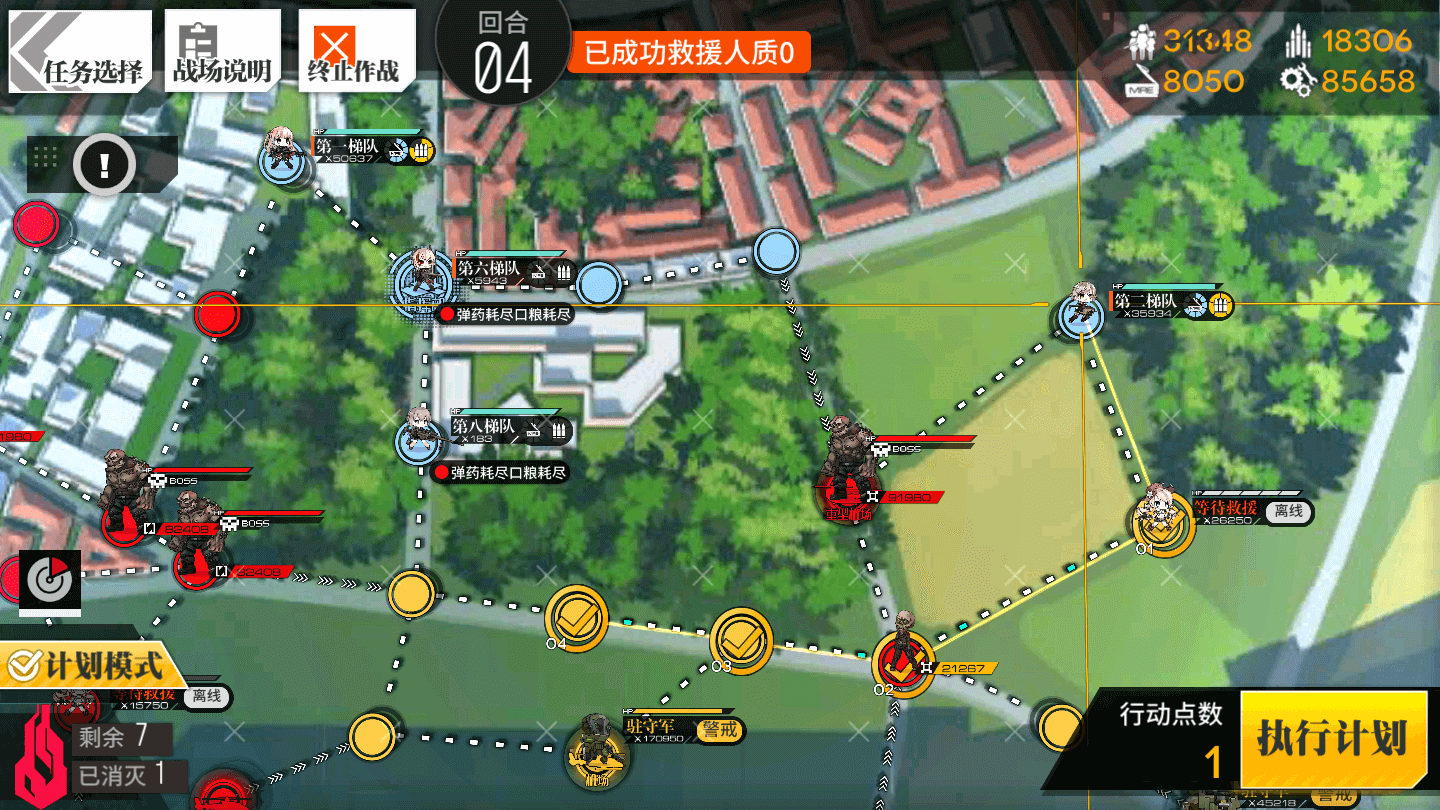
Move the right Combat Echelon down one node, picking up hostage, then move left three nodes
4.2
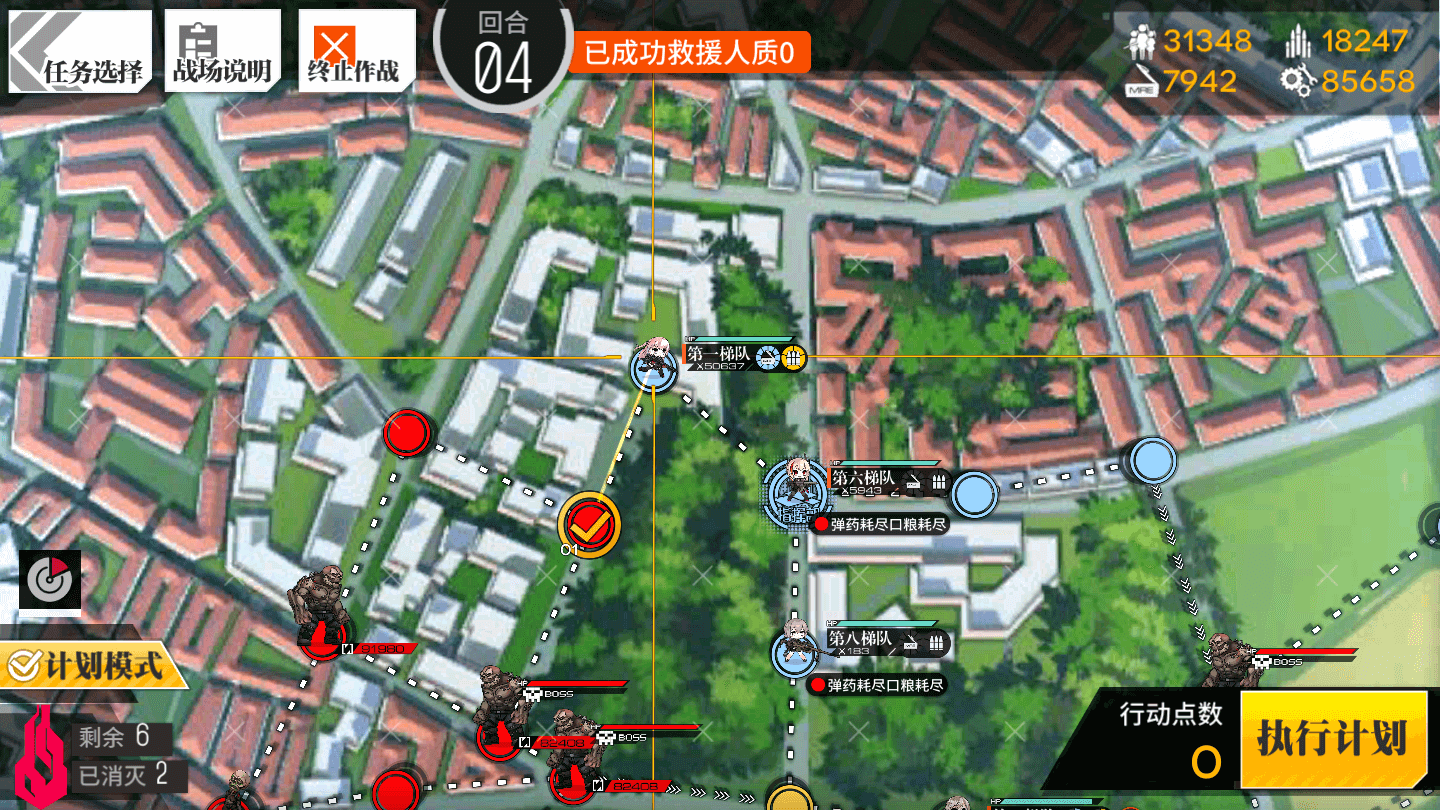
Move the other Combat Echelon down one node.
Smashers, despite their beastly CE are honestly simple to fight. They deal Damage over Time (DoT) in a radius around themselves, which the DoT getting stronger the closer to the Smasher you are, and affecting more Dolls. A High HP SMG is recommended to tank the DoT (bonus points go to shield Skills from HGs if you have them), while the AR's blast away at the Smasher itself. As giant sacks of HP, this will take a while and the Smasher will summon the waves of Zombies every so often, Either bring a Grenadier or quickly reposition a pair of DPS to handle them. Don't fight the one that isn't label Boss though. He's substantially tougher for some reason.

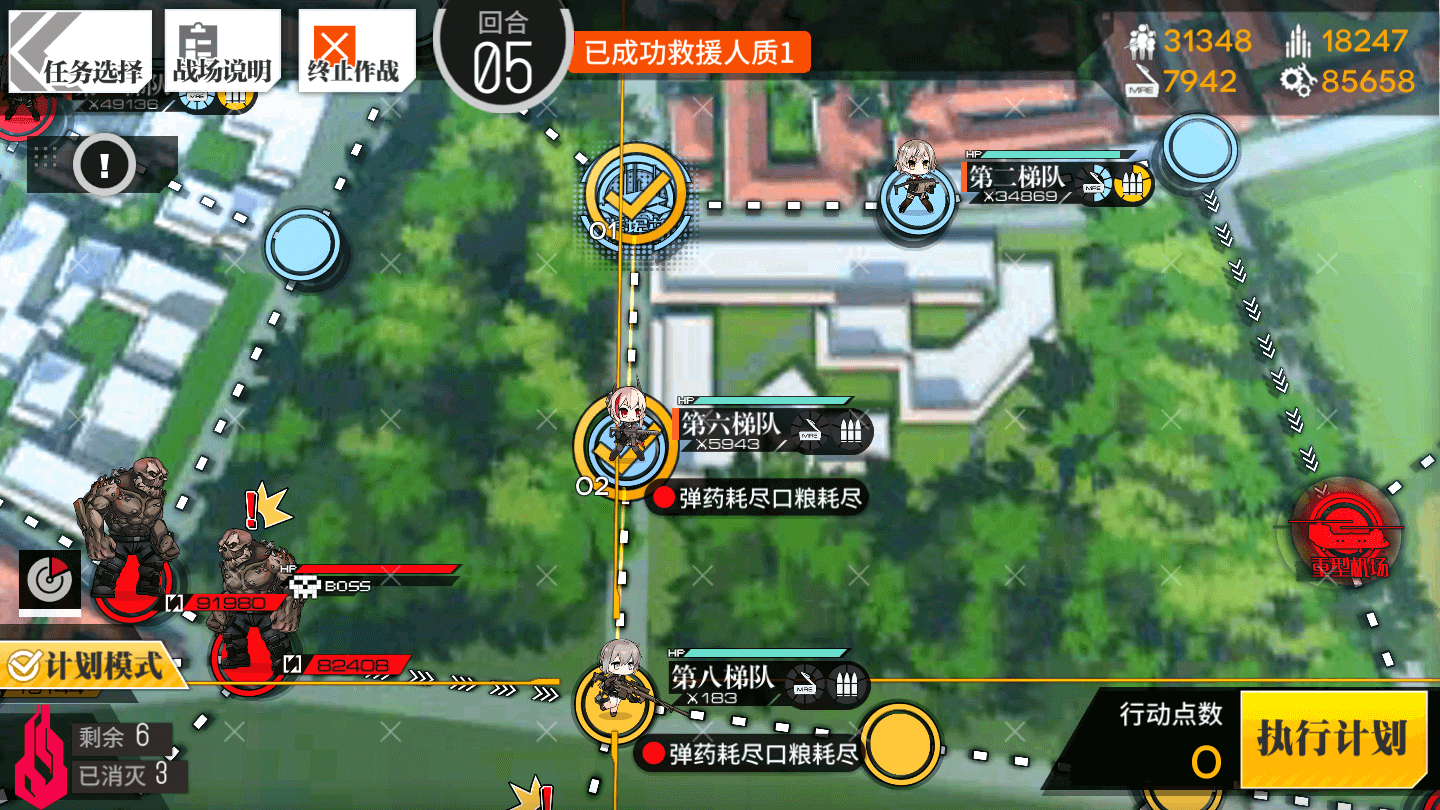
Turn 5
5.1
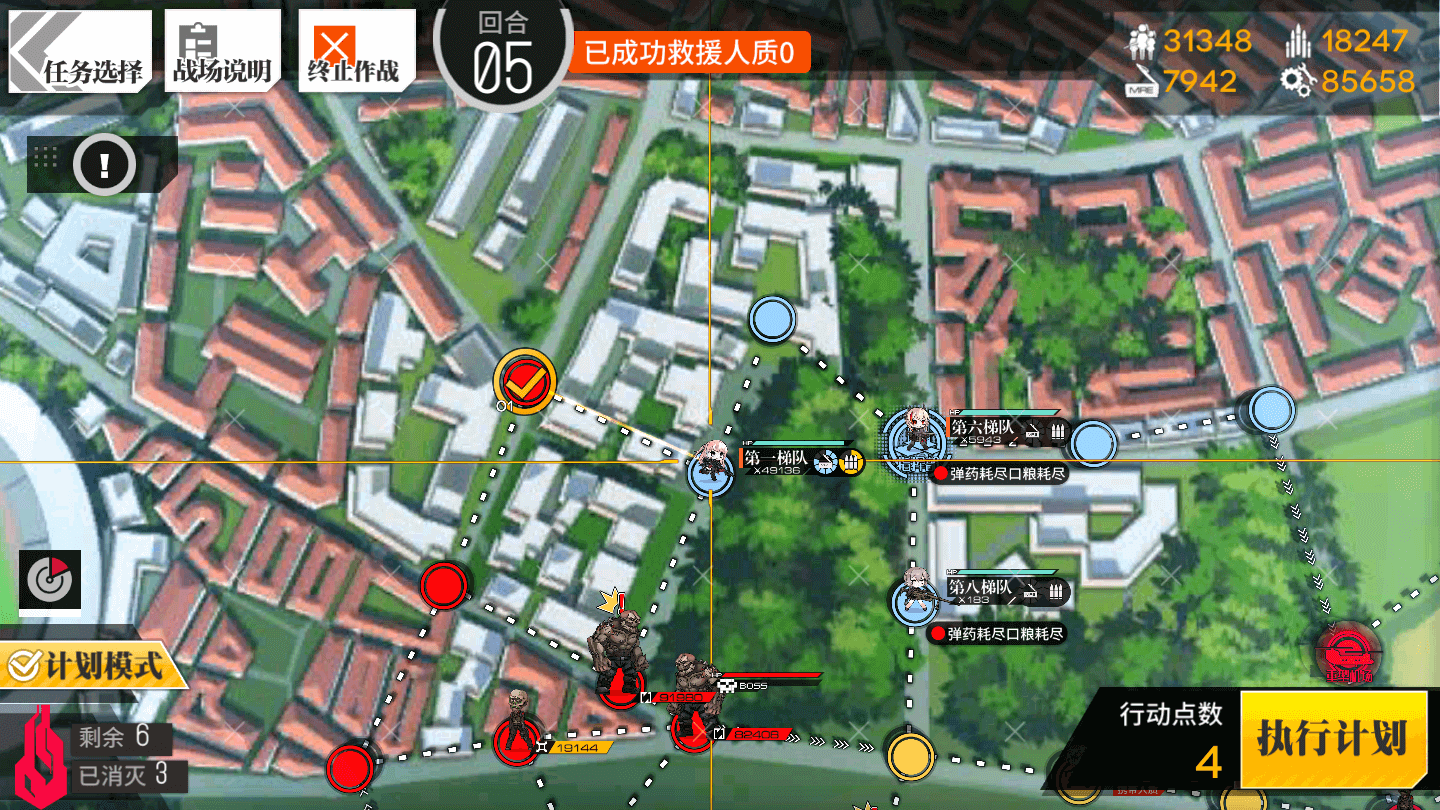
Move the left Combat Echelon to the left one node to avoid the stronger Smasher.
5.2
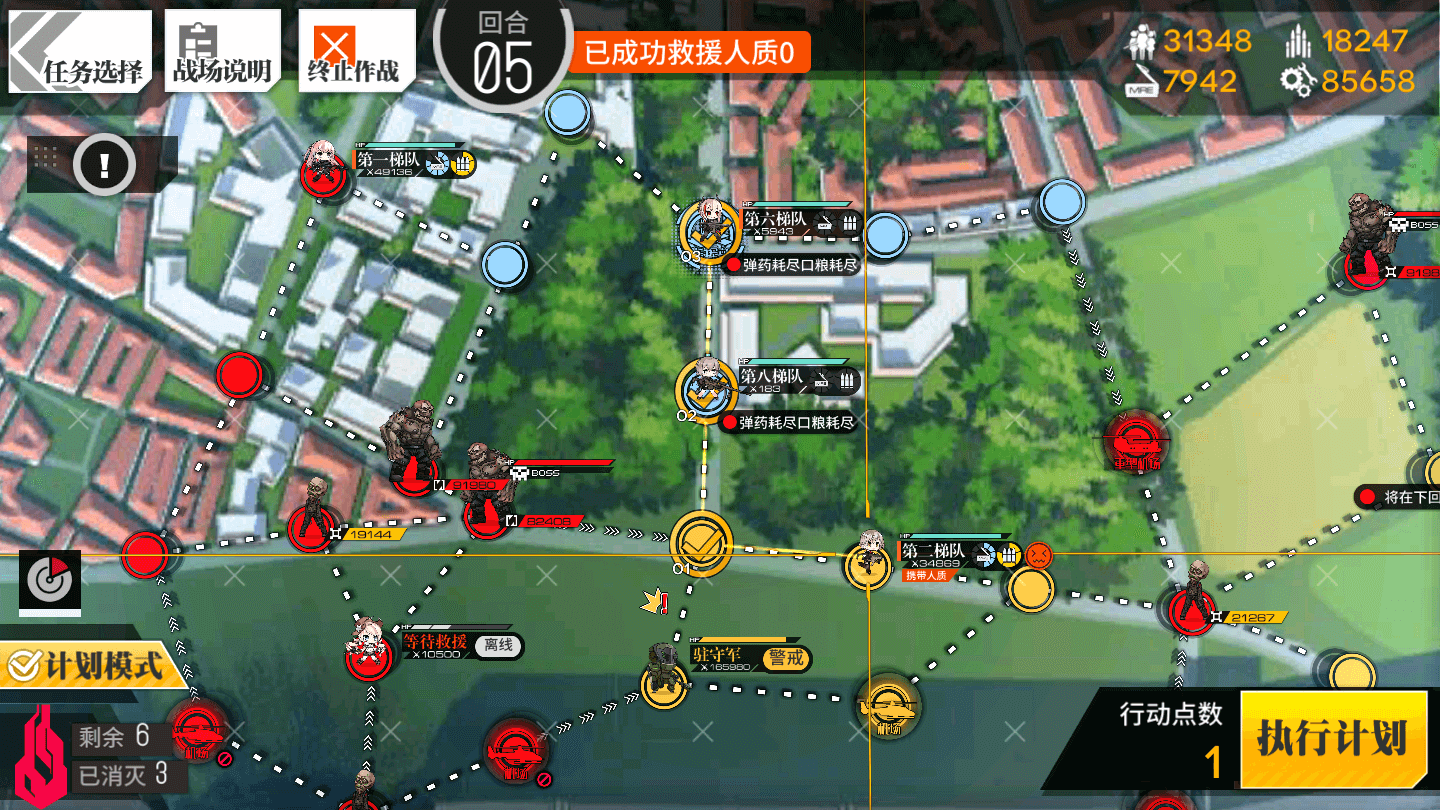
Move the right Combat Echelon left one node, then up two and manually complete the rescue.
5.3
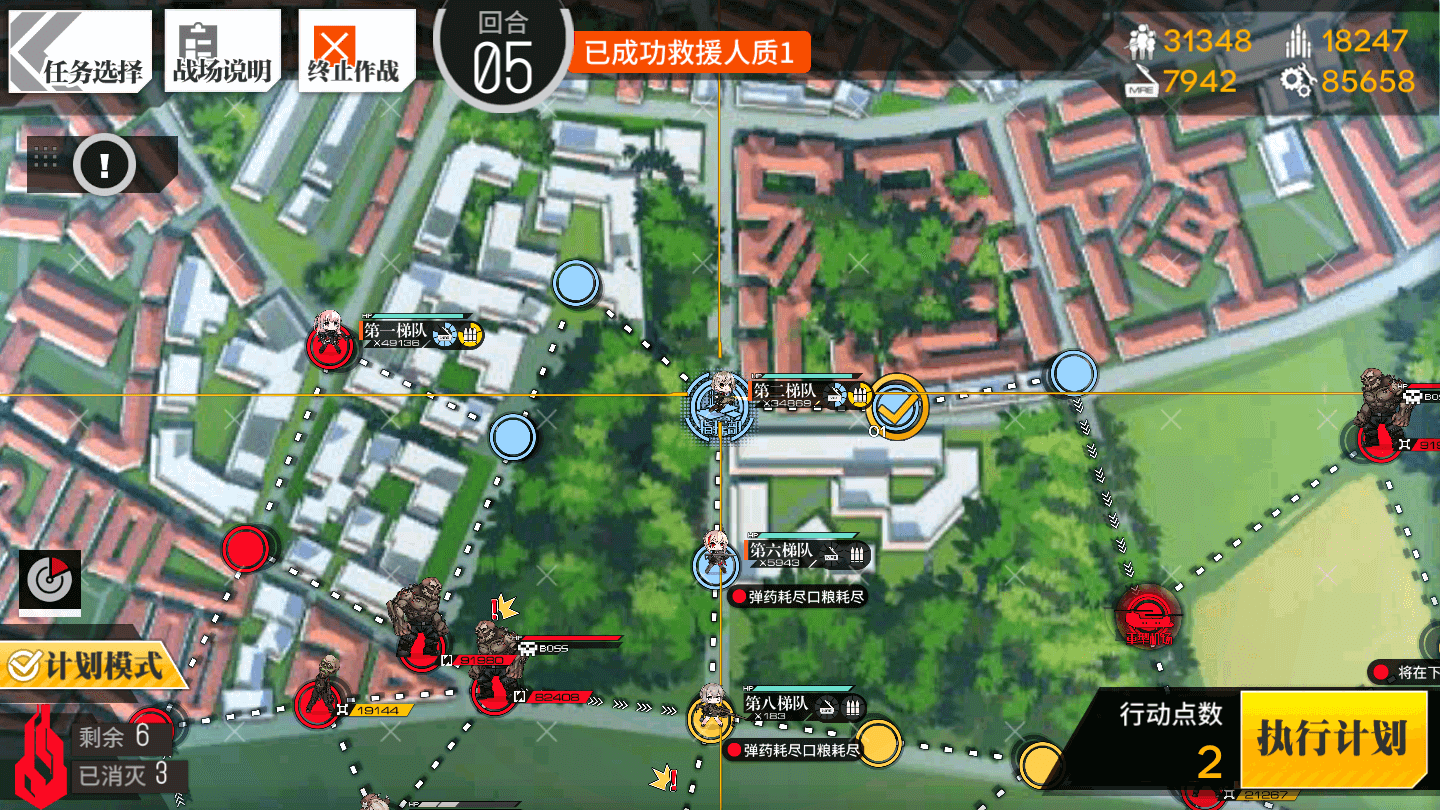
Move the Combat Echelon another move to the right.
5.4
Turn 6
6.1
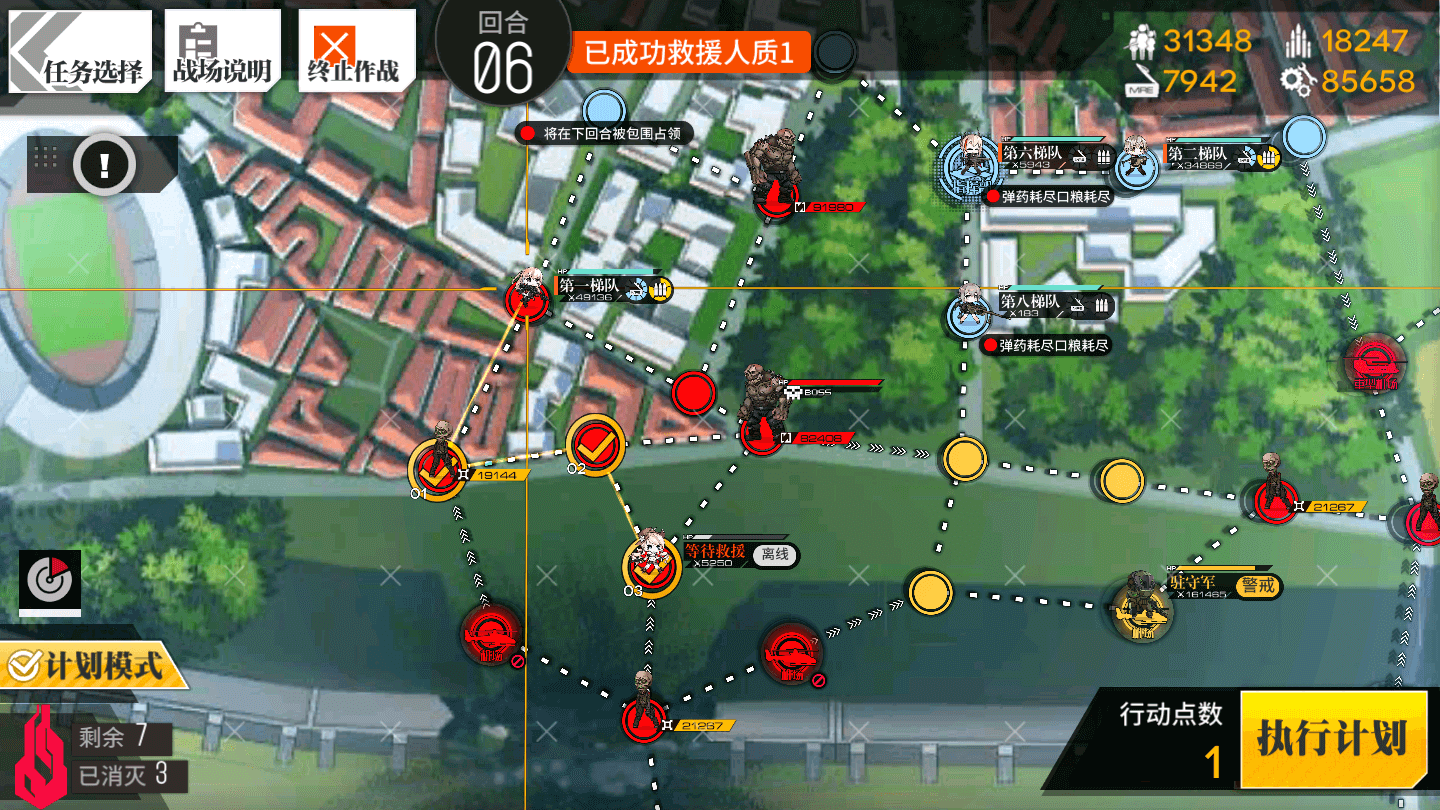
Move the left Combat Echelon down two nodes, right one node, and pick up the hostage.
The ELID below your Echelon will move first, preventing the Smasher from attacking. Instead, he will continue on his patrol path, and prevent you from ever having to fight him, so don't be too worried if you took a battering in the first Smasher fight.
Turn 7
7.1
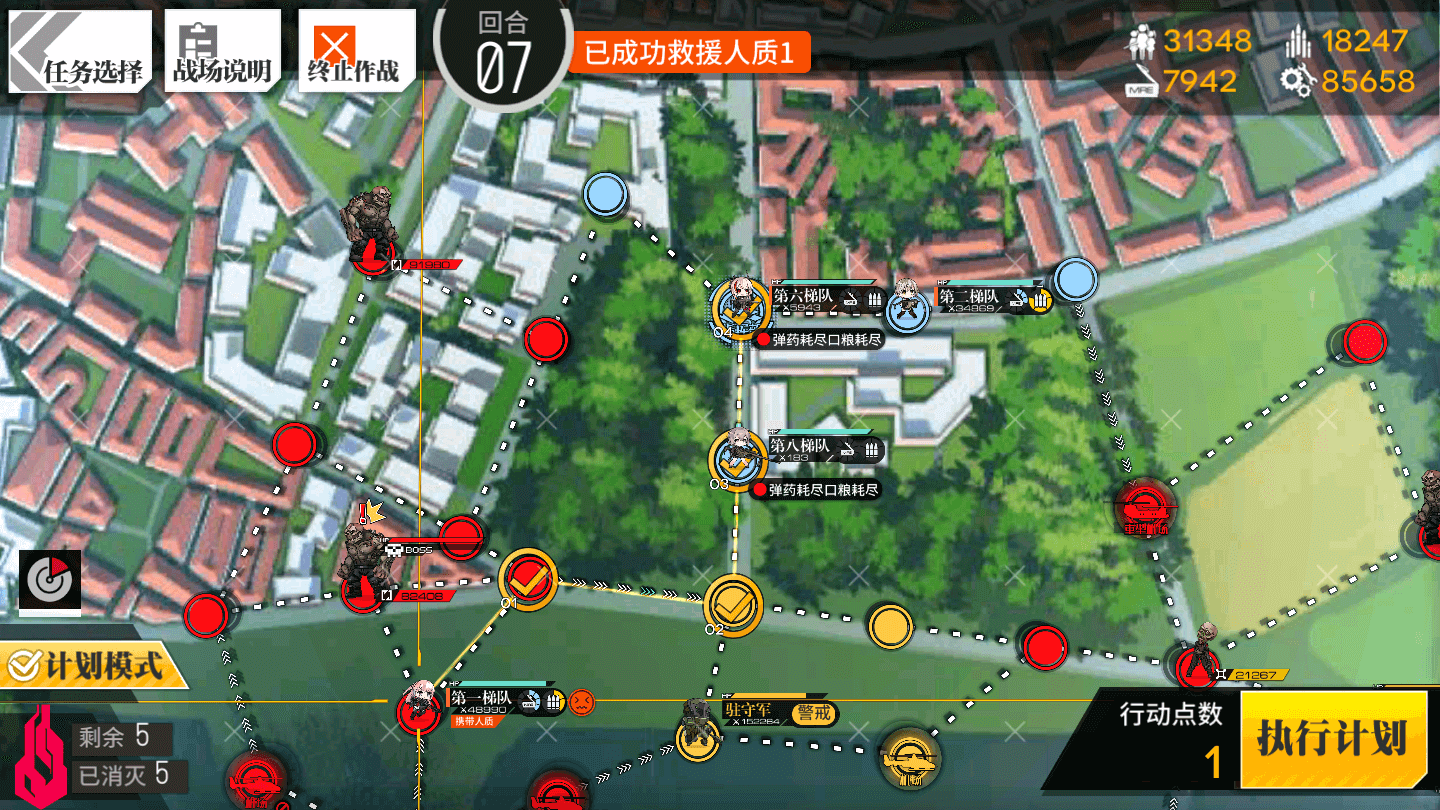
Move the left Combat Echelon down two nodes, right one node, and manually extract the hostage for the win.
Video Guide:
Next chapter?
-
EX Guides
-
Normal Guides