Introduction
Welcome back to the Scarlet Devil Tower, the upcoming floors will hopefully be simple to clear. These floors will introduce damage resistance on enemy skills that works depending on Friend races and tags.
As usual, the recommended units aren't necessary to clear the floors and are only used to give a basic understanding of what is useful. Remember to use the filter we have to find the Friend that uses the element you want!
This is a guide for the floors 151 through 160 of the Scarlet Devil Tower. If you need to refresh your memory about how the Tower works, click here. To return to the floor index, click here.
To visit the guide about the previous 10 floors, click here.
151F
| Enemy | HP | Weak To | Resists | Barriers | Spell Gauge | Skills |
|---|---|---|---|---|---|---|
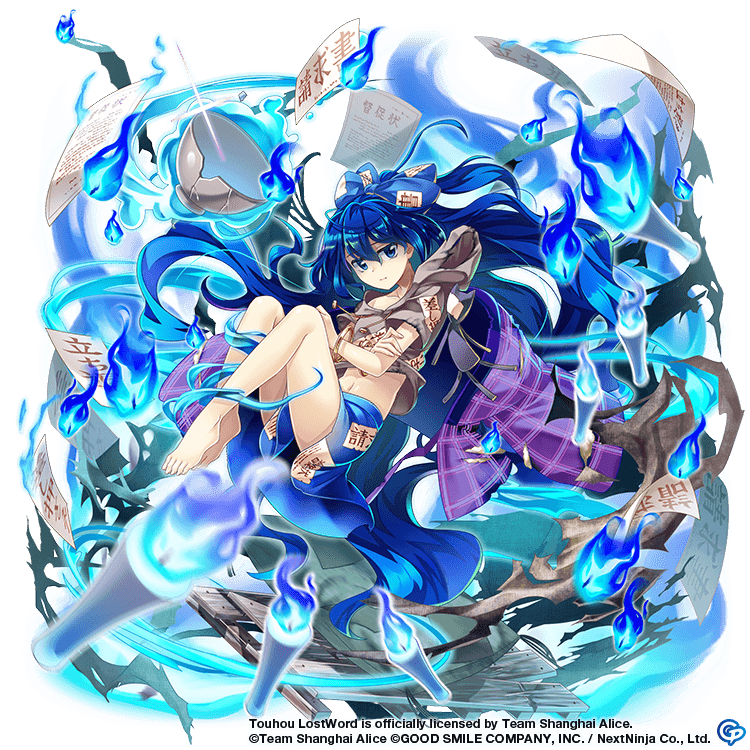
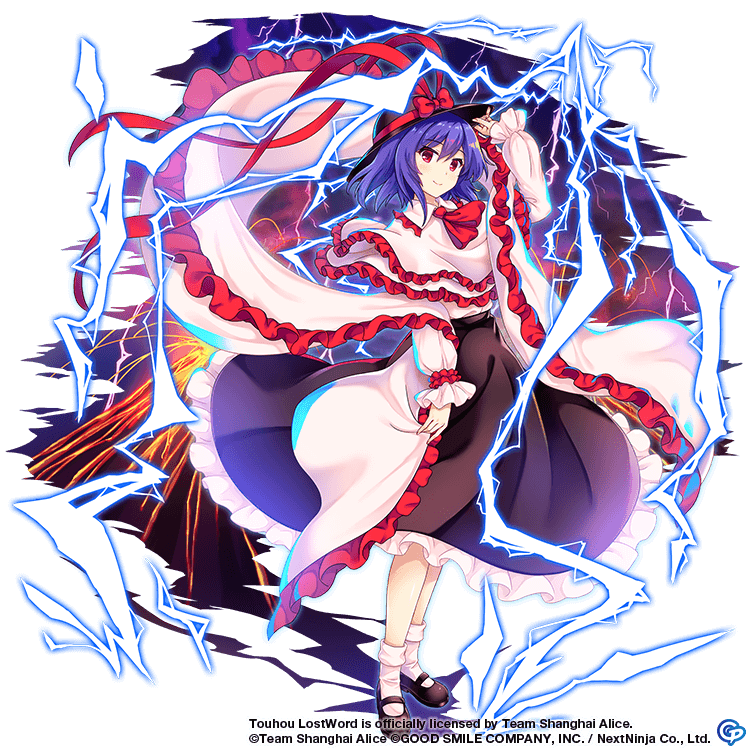
| Minamitsu Murasa |
828017 | Moon & Water |
Sun & Fire |
6 (Immune to Burn & Freeze) |
3 | Damage Received by the Party from Hakugrokurou inhabitants 50% DOWN (1T) |
| Alice Margatroid |
822346 | Earth & Fire |
Wood & Star |
6 | 3 | Damage Received by the Party from Moon-related characters 50% DOWN (1T) |
| Shizuha Aki |
828860 | Metal & Water |
Earth & Fire |
6 | 3 | Damage Received by the Party from Magic Forest-related characters 50% DOWN (1T) |
| Reward: |  x10 |
|---|
This floor has got the usual resistance mechanic but with a twist! Instead of damage lowering being done depending on bullet traits, now it's done depending on character traits! There are plenty of characters that get their damage halved so it is better to take down 1 unit at a time, or go for Aki and Murasa, because we have a shared Sun weakness that we can use to our advantage.
Notable units to to do this with are


152F
| Enemy | HP | Weak To | Resists | Barriers | Spell Gauge | Skills |
|---|---|---|---|---|---|---|
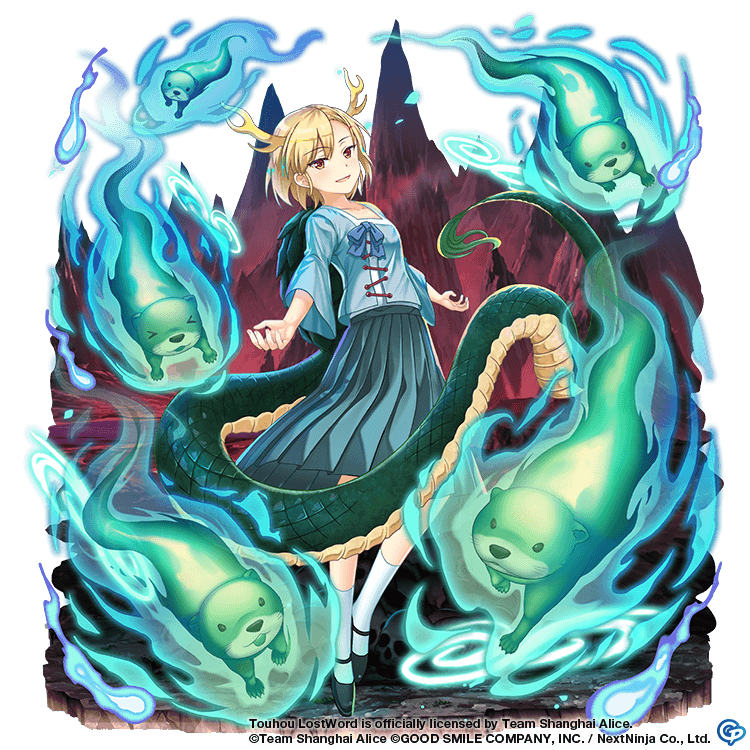
| Suwako Moriya |
808296 | Earth & Star |
Metal & Moon |
6 | 2 | Own Solo targeting Damage resistance 5 levels UP (1T) |
| Reimu Hakurei |
840370 | Moon & Metal |
Sun & Wood |
6 | 3 | Own All targeting Damage resistance 5 levels UP (1T) |
| Merlin Prismriver |
829938 | Water & Wood |
Metal & Star |
6 (Immune to Paralyze) |
2 | Own Solo targeting Damage resistance 5 levels UP (1T) |
| Reward: |  x10 |
|---|
Another floor that resists attacks depending on their targeting. Nothing out of the ordinary though. And because each unit buffs itself, you can take the opponents down one by one. Sadly there are no shared weaknesses here but you can look for units that are really good against at least 1 enemy.
Like these:


153F
| Enemy | HP | Weak To | Resists | Barriers | Spell Gauge | Skills |
|---|---|---|---|---|---|---|
| Minoriko Aki |
828609 | Wood & Sun |
Fire & Water |
6 | 3 | Damage received from Liquid Bullets by the Party 50% DOWN (1T) |
| Eirin Yagokoro |
840781 | Star & Metal |
Sun & Wood |
6 (Immune to Blind, Burn & Poison) |
3 | Damage received from Light and Slashing Bullets by the Party 50% DOWN (1T |
| Rumia | 824583 | Moon & Wood |
Metal & Star |
6 (Gains evasion for every Blind layer) |
3 | Damage received from Ofuda Bullets by the Party 50% DOWN (1T) |
| Reward: |  x10 |
|---|
Now we need to keep in mind that 4 bullet resistances are applied, Light, Slashing, Liquid, and Ofuda.
Luckily we have Wood as a shared weakness, so we'd love using AoE Wood nukers like:

154F
| Enemy | HP | Weak To | Resists | Barriers | Spell Gauge | Skills |
|---|---|---|---|---|---|---|
| Patchouli Knowledge |
840367 | Star & Metal |
Sun & Earth |
6 | 3 | None. |
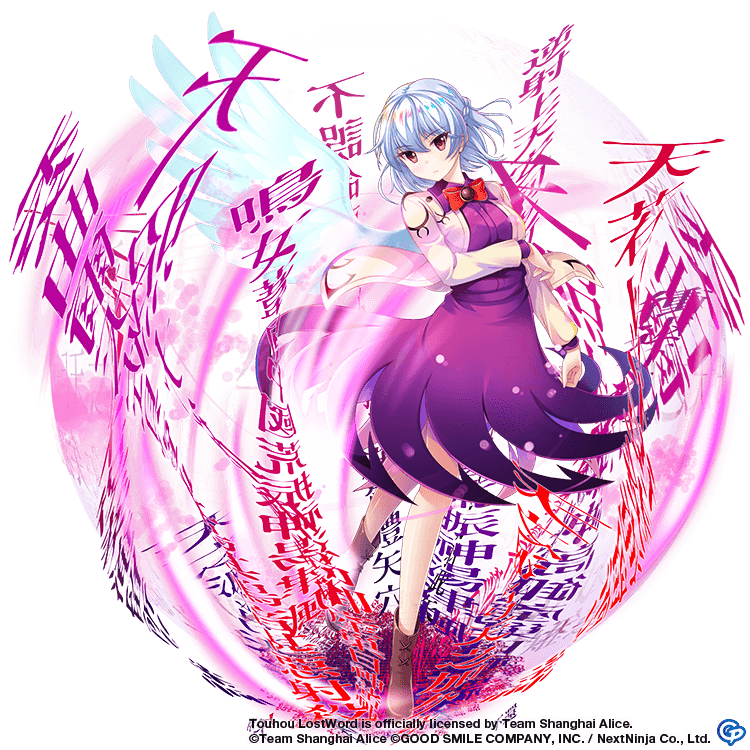
| Watatsuki no Yorihime |
807367 | Earth & Water |
Metal & Wood |
6 | 2 | None. |
| Youmu Konpaku |
832860 | Moon & Wood |
Water & Fire & Earth |
6 | 3 | None. |
| Reward: |  x10 |
|---|
There are no shared weaknesses here, and no anomaly immunities either. The only challenge is to defeat the big HP of every unit. It is advised to break in any way you like (be it elemental or anomaly) and then take them down individually.
Great units to do that are units like:
155F
| Enemy | HP | Weak To | Resists | Barriers | Spell Gauge | Skills |
|---|---|---|---|---|---|---|
| Suika Ibuki |
946992 | Earth & Fire |
Moon & Star |
6 | 2 | EX ATTACK: Locks Spread Shots for all opponents (5T) |
| Keine Kamishirasawa | 941532 | Sun & Star |
Water & Earth |
6 | 2 | Skills:
|
| Hata no Kokoro | 1254761 | Wood & Metal |
Sun & Fire |
6 | 2 | EX ATTACK: Disable Switch for All Targets (5T) |
| Reward: |  x100 |
|---|
As soon as the battle begins, we won't be able to use Spread Shots and unit Switching for 5 turns. And Keine will bother us with all her anti-element skills. The best element against her remains Star because you wouldn't need to keep track of what elements she is resisting, and she's weak to it.
Units that excel on this floor are:

156F
| Enemy | HP | Weak To | Resists | Barriers | Spell Gauge | Skills |
|---|---|---|---|---|---|---|
| Shou Toramaru |
863955 | Fire & Earth |
Metal & Wood |
6 (Immune to Burn) |
3 | Damage received from Normal Bullets by the Party 50% DOWN (1T) |
| Yuugi Hoshiguma |
847141 | Sun & Moon |
Earth & Star |
6 | 2 | Damage received from Metal Bullets by the Party 50% DOWN (1T) |
| Hatate Himekaidou |
867252 | Star & Fire |
Sun & Moon |
6 (Immune to Blind) |
3 | Damage received from Missile Bullets by the Party 50% DOWN (1T) |
| Reward: |  x10 |
|---|
All you have to watch out for on this floor are the resistances caused by the units' skills, Hatate's immunity to Blind and Shou's immunity to burn, and finally the Fire shared weakness that we can use to make this fight much much easier.
Which is why the following units are recommended:

157F
| Enemy | HP | Weak To | Resists | Barriers | Spell Gauge | Skills |
|---|---|---|---|---|---|---|
| Lyrica Prismriver |
854881 | Fire & Wood |
Water & Star |
6 (Immune to Freeze) |
2 | None |
| Sumireko Usami |
840817 | Water & Metal |
Fire & Earth |
6 | 3 | None |
| Ibaraki Kasen |
873254 | Moon & Earth |
Water & Wood |
6 | 2 | None |
| Reward: |  x10 |
|---|
"Just another No Skills No special gimmick floor" is what I would've said if the opponents didn't have pre-attack effects, which is not the case here.
- Lyrica: Recovers 1 Barrier for all allies
- Sumireko: Heals 10% HP for all allies
- Kasen: Recovers 1 Barrier for all allies
So be ready to not let them heal and recover barriers indefinitely. Thankfully, you can easily take them down one by one by anomaly breaking them (Keep in mind Lyrica's immunity to Freeze) or by elemental breaking. Because these units only have 6 Barriers, some attacks fully break them in one turn by one attack.
Some of these units are:
158F
| Enemy | HP | Weak To | Resists | Barriers | Spell Gauge | Skills |
|---|---|---|---|---|---|---|
| Wakasagihime | 851696 | Sun & Fire |
Moon & Metal |
6 | 2 | None. |
| Tsukumo Benben |
847339 | Star & Water |
Sun & Earth |
6 | 3 | None. |
| Hecatia Lapislazuli |
846250 | Sun & Metal |
Wood & Water |
6 (Immune to Freeze) |
2 | None. |
| Reward: |  x10 |
|---|
Now this is an easy win. There's even a shared weakness!
Remember to bring AoE Sun attacks and a single Star/Water attack to break your opponents. We can also use attacks that break 2 enemies at once even if they don't share a weakness, for example a Fire+Star Spell card breaks Benben and Wakasagihime
The best units to do this are:


159F
| Enemy | HP | Weak To | Resists | Barriers | Spell Gauge | Skills |
|---|---|---|---|---|---|---|
| Aunn Komano |
863963 | Sun & Wood |
Fire & Moon |
6 | 2 | Apply 2 Layers of Burn to All Opponents (2T) |
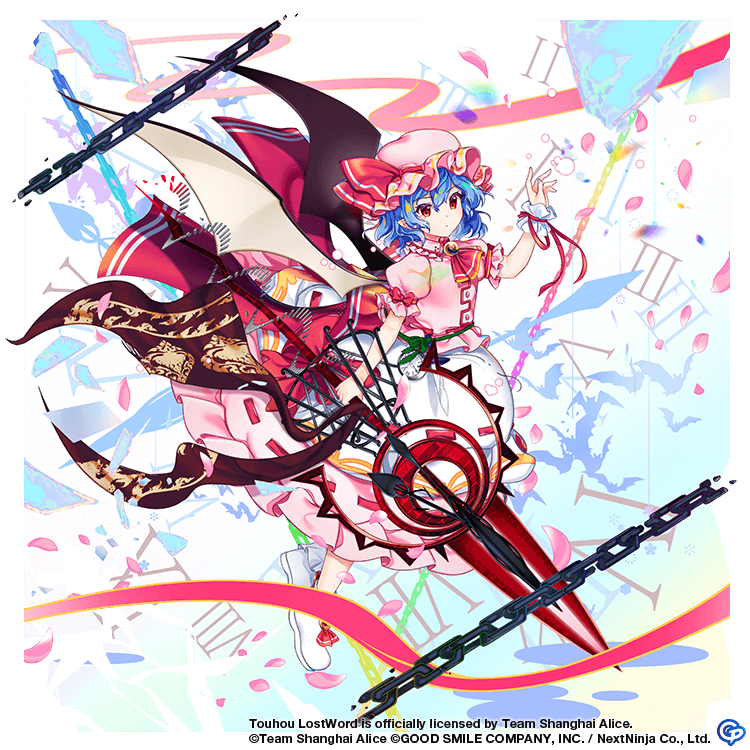
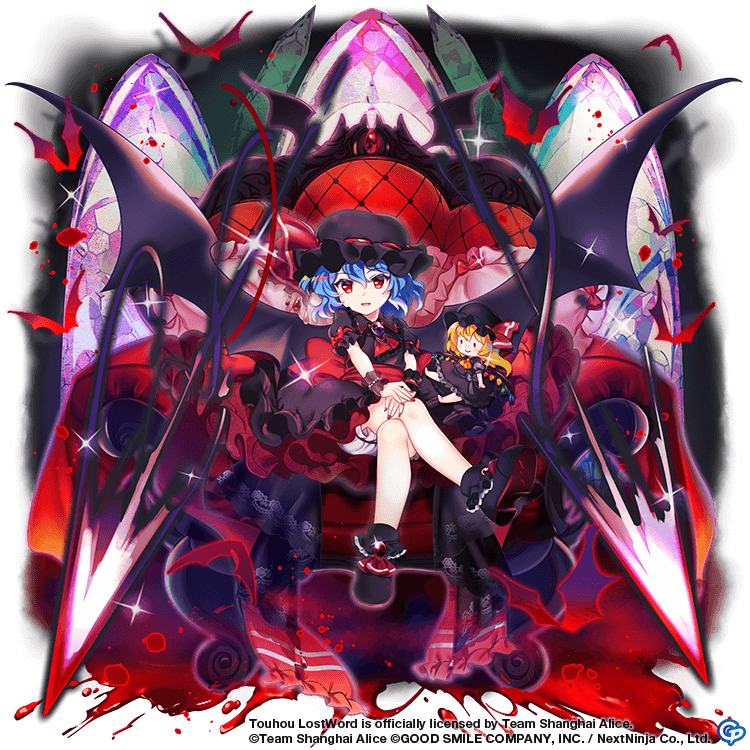
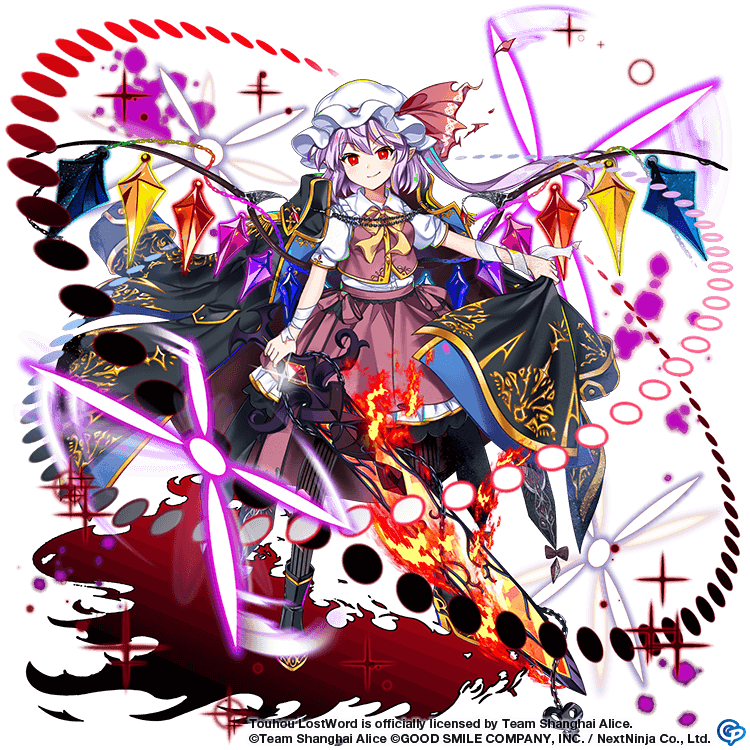
| Remilia Scarlet |
865894 | Fire & Water |
Star & Metal |
6 (Immune to Poison) |
2 | Apply 2 Layers of Blind to All Opponents (2T) |
| Junko | 860419 | Earth & Star |
Moon & Water |
6 | 2 | Apply 2 Layers of Freeze to All Opponents (2T) |
| Reward: |  x10 |
|---|
Not much is happening here aside from anomalies. The layout in which they apply and break anomalies is as follows:
- Aunn breaks Freeze and applies Burn
- Remilia breaks Burn and applies Blind
- Junko breaks Blind and applies Freeze
You preferably focus on the opponent with the most annoying anomaly (typically blind because of the accuracy debuff or freeze as it can cause delay)
Alongside good nukers that are immune to the anomalies applied, here are some great units to beat them with:
160F
| Enemy | HP | Weak To | Resists | Barriers | Spell Gauge | Skills |
|---|---|---|---|---|---|---|
| Koishi Komeiji |
827263 |
Sun & Moon |
Wood & Water |
6 | 1 | Skill: Apply 2 Layers of Poison to all opponents (2T) Gauge Burst:Locks Focus Shots for all opponents (5T) |
| Kaguya Houraisan |
601712 |
Water & Wood |
Sun & Earth |
6 | 2 | Skill: All Party's Agility 5 levels UP 1st Gauge Burst: Damage received from Fire and Water Element Bullets by the party 100% DOWN (5T) 2nd Gauge Burst: Damage received from Wood and Earth Element Bullets by the party 100% DOWN (5T) |
| Yatsuhashi Tsukumo |
826718 |
Fire & Earth |
Moon & Metal |
6 | 1 | Skill: Apply 2 Layers of Burn to all opponents (2T) Gauge Burst:Locks Boost for all opponents (5T) |
| Reward: |  x1 |
|---|
We finally made it to the last boss floor for this group of 10 floors, and as you might've quickly noticed, there are no shared weaknesses. In addition to that, we have an endless onslaught of Poison and Burn. Thankfully the boss with the most gauges here, Kaguya, has the least HP per gauge and a set of elements she renders useless at every gauge burst that can be easily played around.
So the best thing to do here is to focus on a boss, and bring the units that'll help you take it out best. Friends that are immune to Poison and/or Burn are also great.
It is recommended to defeat Kaguya or Yatsuhachi depending on your teams, and which one of them you can take out the soonest.