Mission and Clear Conditions:
Mission:
Eliminate Specific Enemies and Step on Radar Node
OR
Capture Command Post without Combat
Clear Guide:
Team Recommendations:
- 2 Combat Echelons
- AR/SMG, Multi-hit Recommended
- 2 Dummy Echelons
Clear Steps
Prepare yourself. Chapter 5 of SC pulls no punches and has no mercy. These maps are all night battles, featuring a variety of new KCCO enemies, ELIDs, and, of course, the Gustav. While we do eventually get a friendly Gustav, it doesn't appear for a while, and is kinda wimpy. The enemy Gustav's, meanwhile are ruthless. On normal it was entirely possible to avoiding fighting under it's covering fire, that will not be possible for at least some portions of Chapter 5. As such, alternative team compositions will be discussed, and for the first time in a long while, MGs and their massive opening DPS have some serious advantages. But that is for later. Let us focus on this map first.
As long as you have ARs and some experience within battle control this opening battle is not an overly difficult one. Do not attempt to AFK these fights, you MUST move your units away from the Archers explosive arrows or your Tanks will die. Multi-hit ARs such as G11, K2 and AN94 are prime choices to engage the Archer/Dog combos as they can chew up the shields on the Dogs.
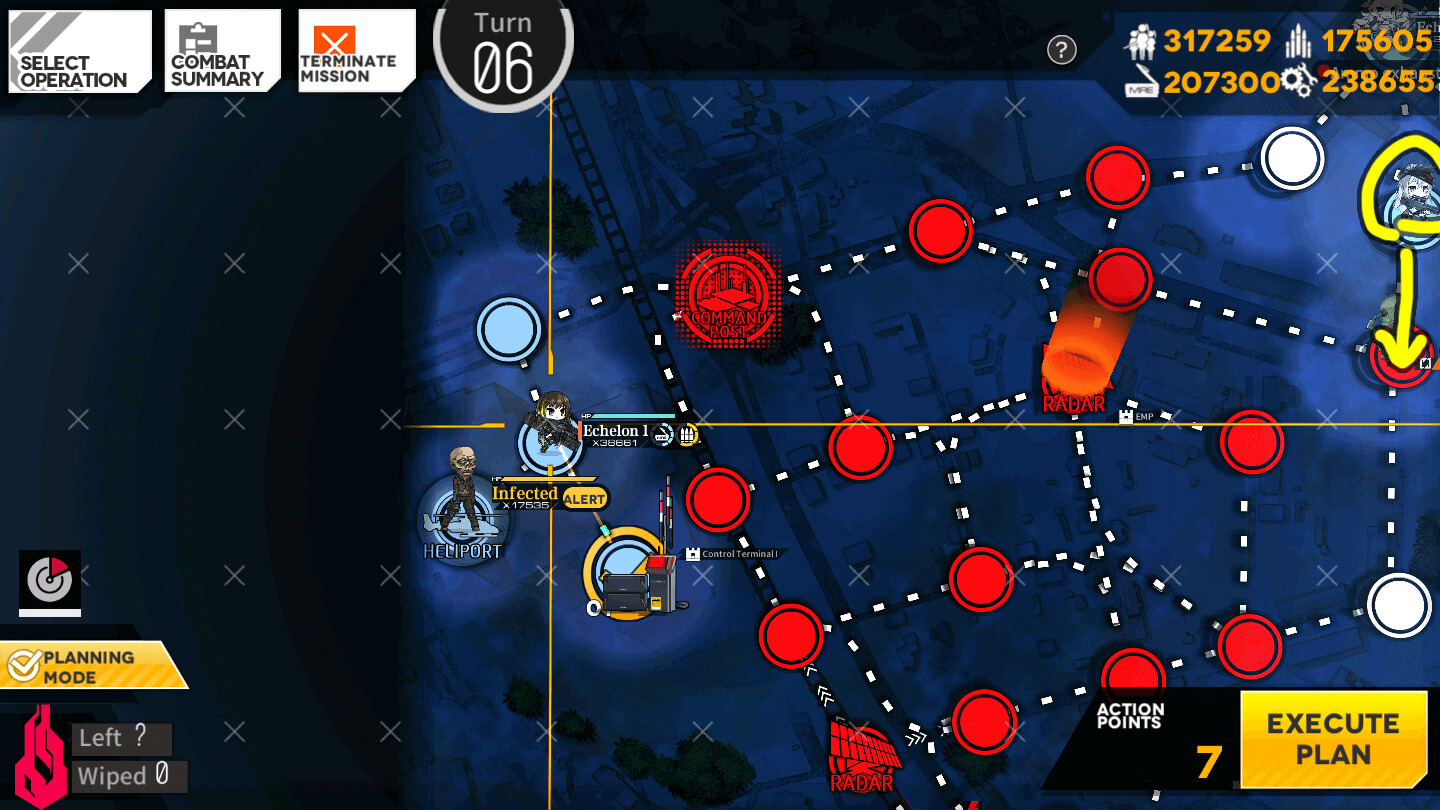
Turn 1
-
Command Post Capture
-
Elimination
1.1
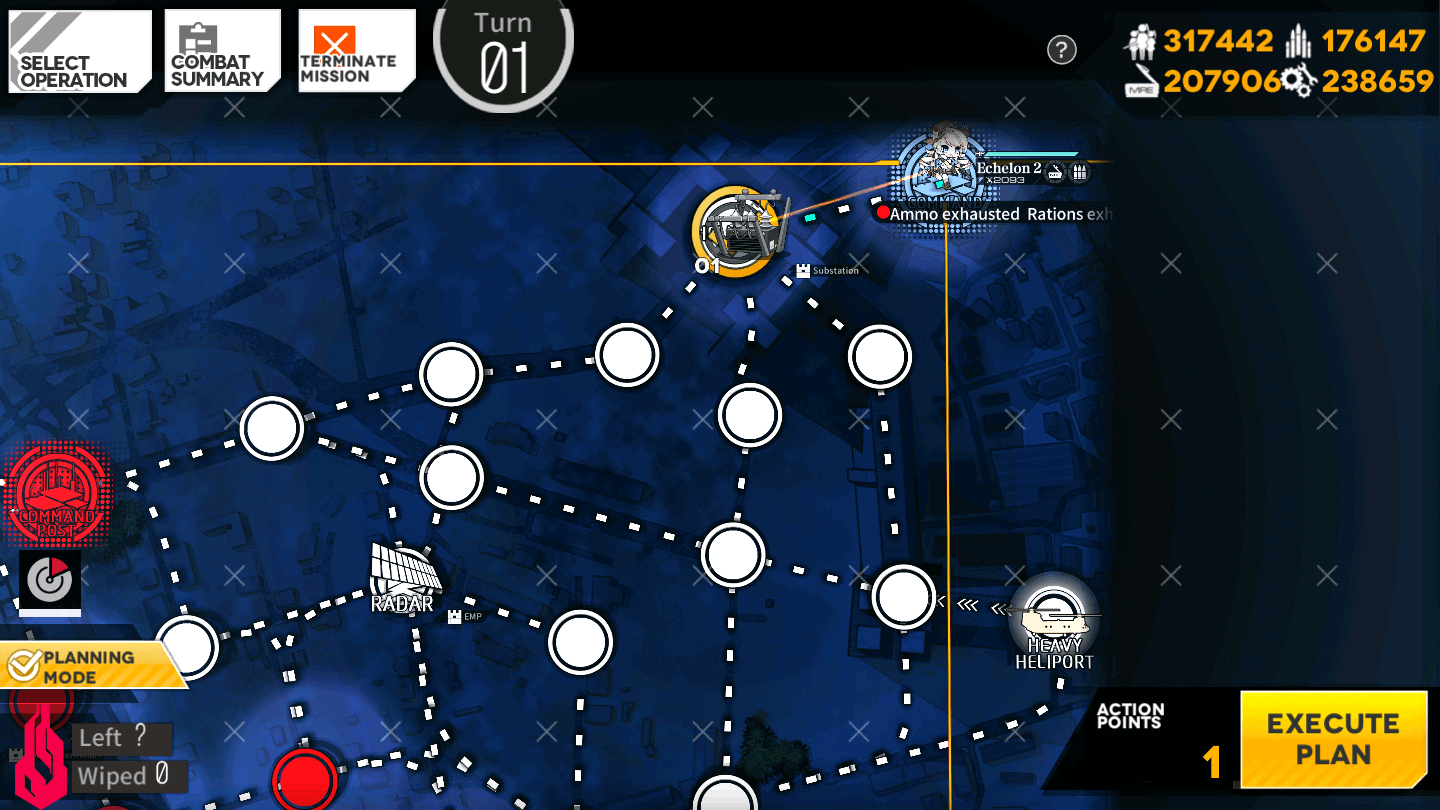
Deploy a Dummy Echelon on the Command Post and move to the left one node. Activate the Power Station.
1.2
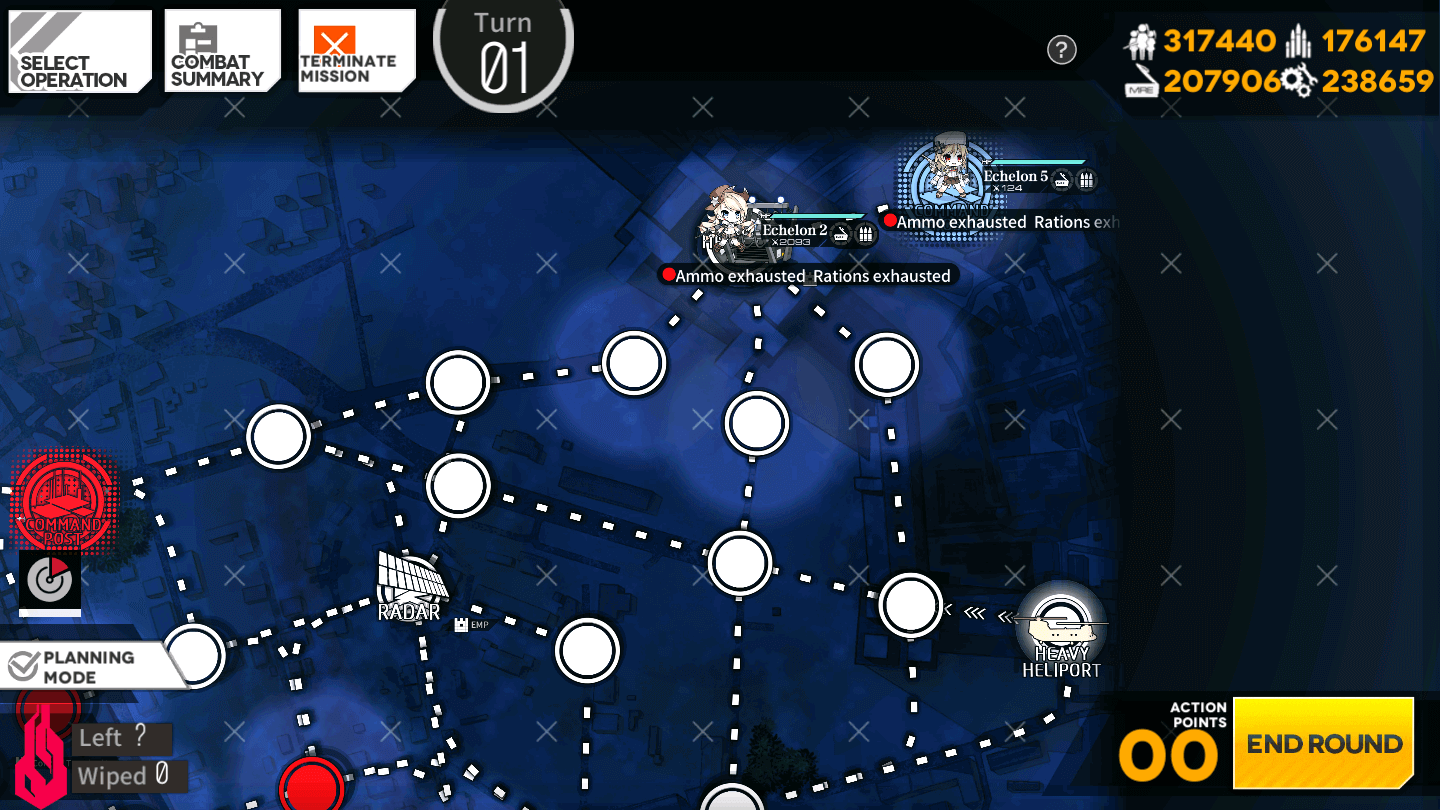
Deploy a second Dummy Echelon on the Command Post.
1.1
Deploy a Combat Echelon on the Command Post. Move to the left one node, activate the Power Station, and deploy a second Combat Team on the Command Post.
Turn 2
-
Command Post Capture
-
Elimination
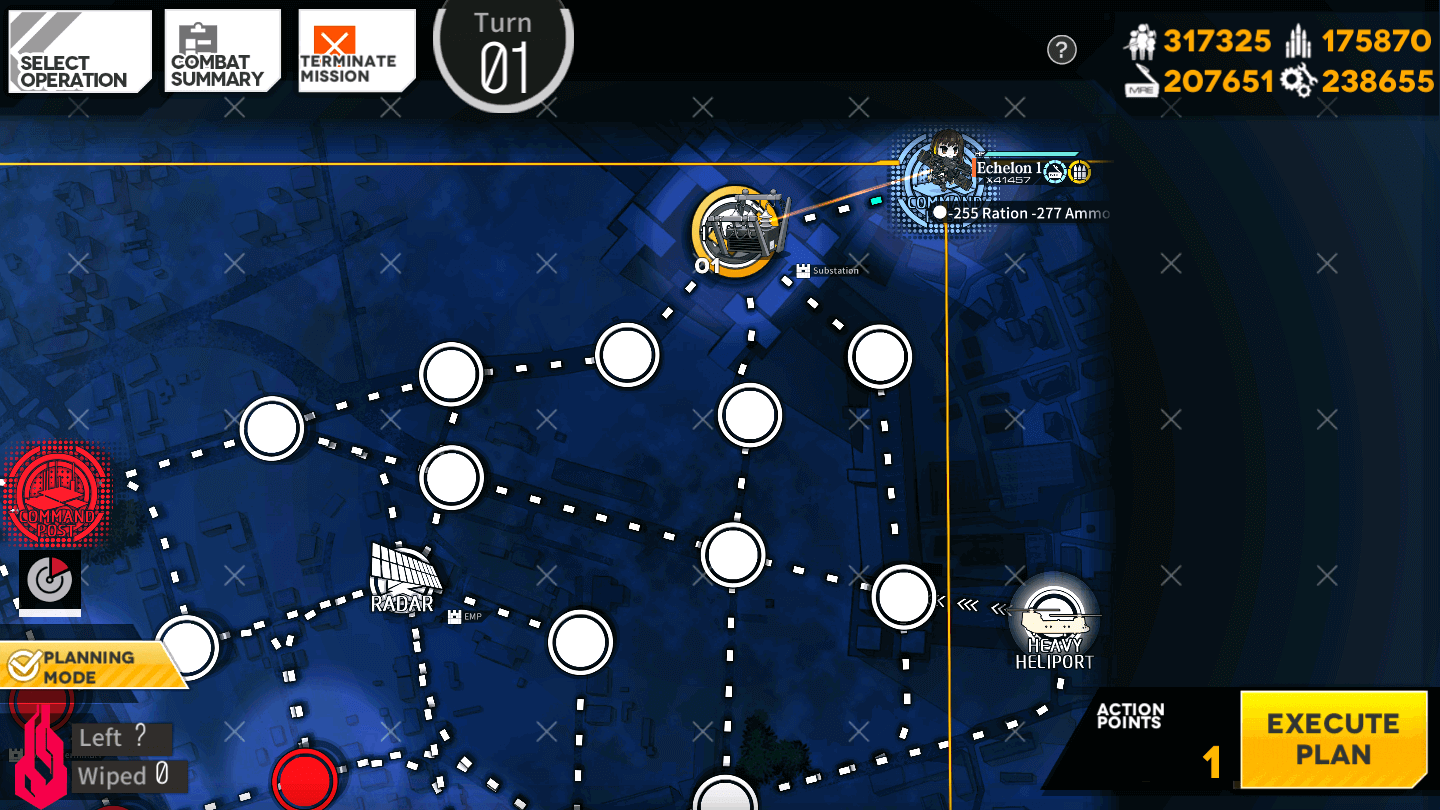
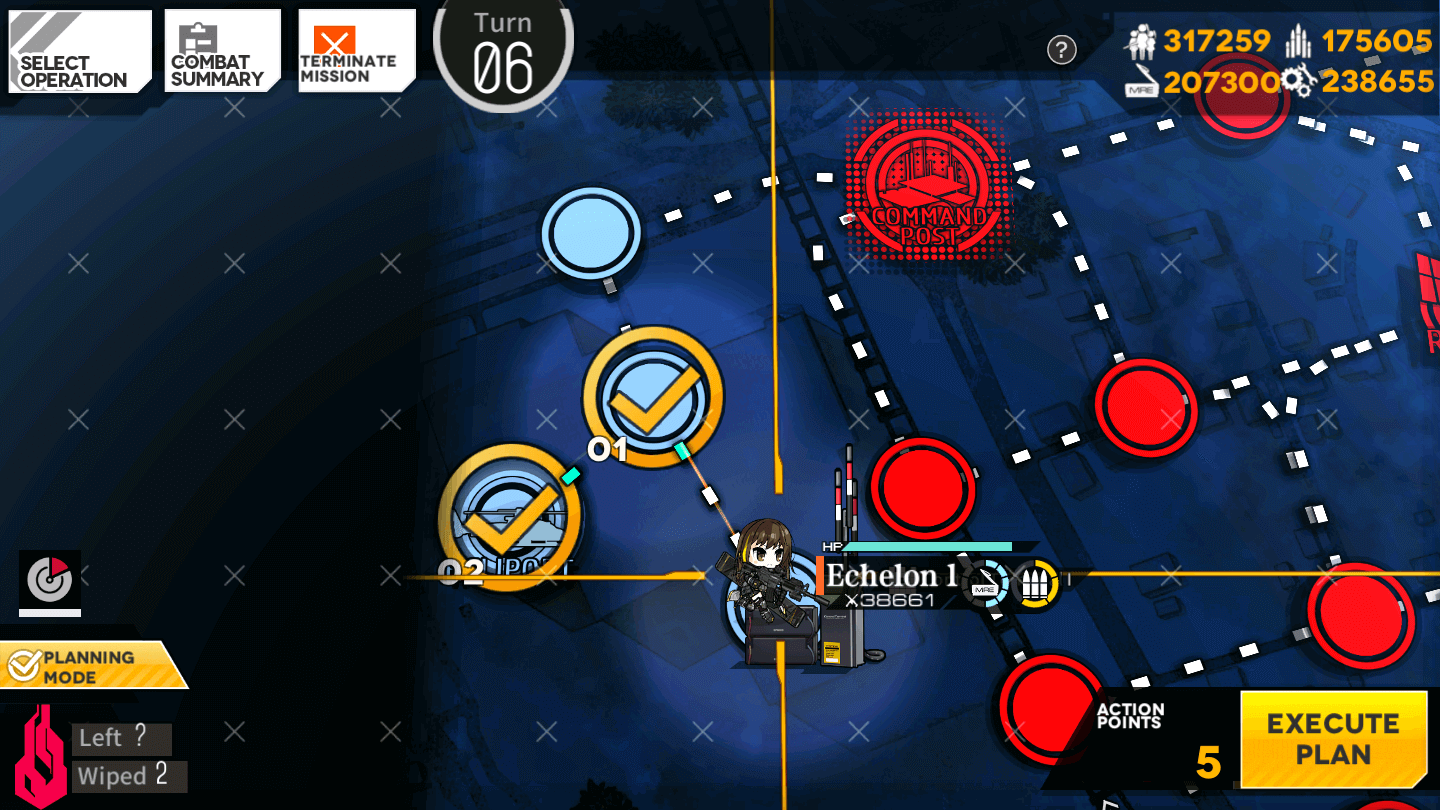
2.1

Move the Dummy Echelon down three nodes, then to the right onto the Heavy Heliport.
2.1
Move the first Combat Echelon down three nodes, then to the right onto the Heavy Heliport.
Turn 3
-
Command Post Capture
-
Elimination
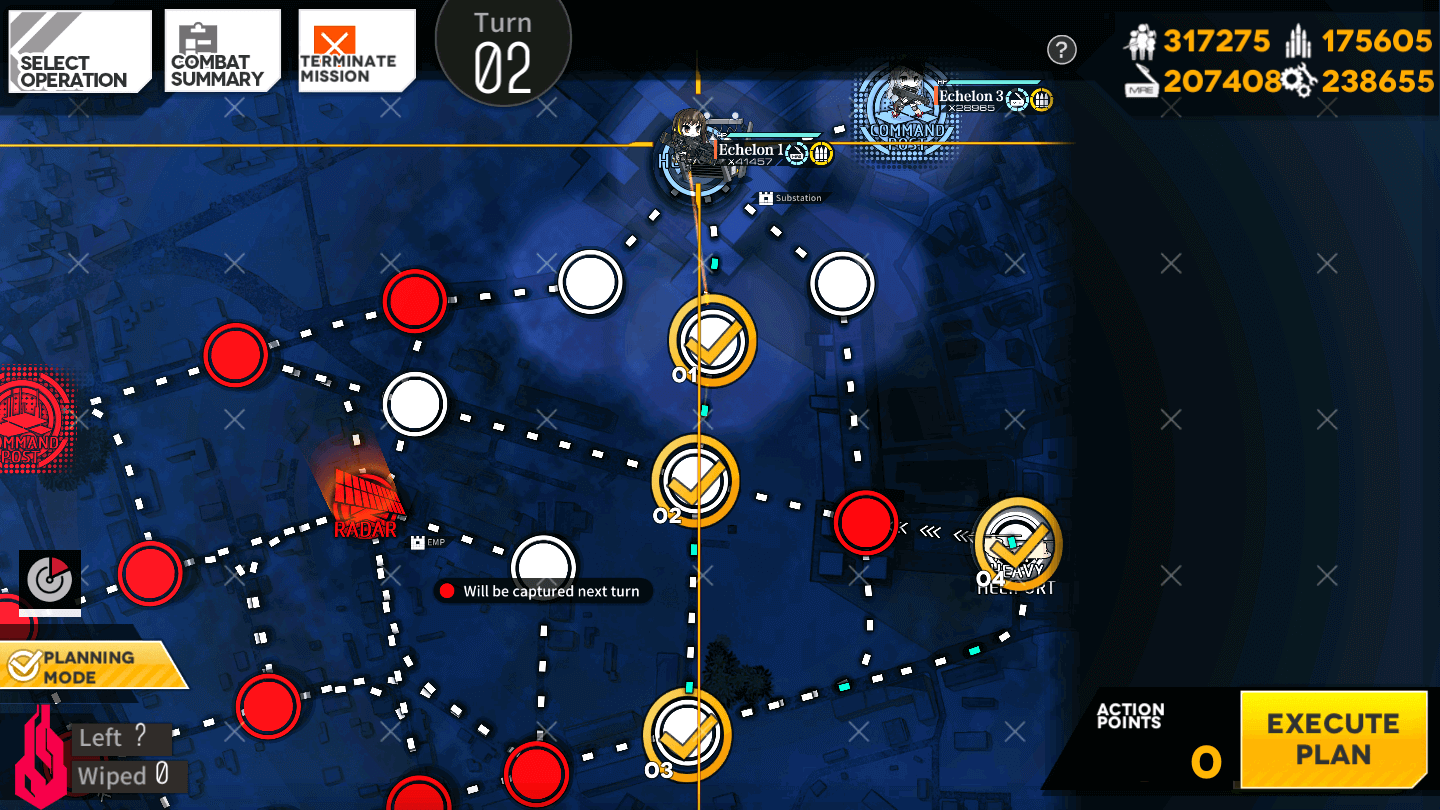
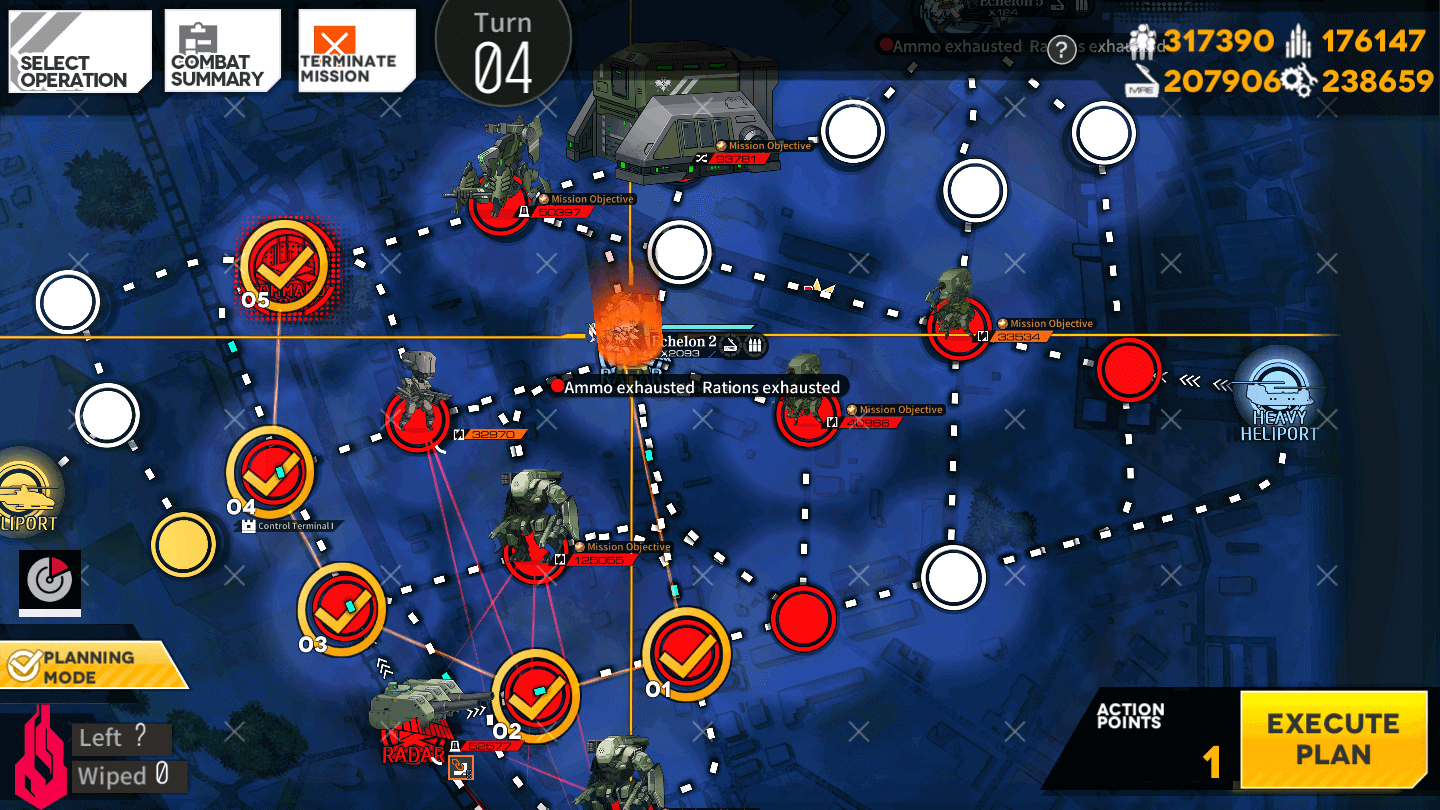
3.1

Move the lower Dummy Echelon to the left two nodes, and up one node onto the Radar. There, you will fine and EMP tower. Activate it now.
3.2

Move the upper right Dummy Echelon one node to the left, and deploy any Echelon you want. they Exist for AP purposes only.
3.1
Move the lower Combat Echelon to the left two nodes, and up one node onto the Radar. There, you will find and EMP tower. Activate it now.
3.2

Move the upper Combat Echelon left one node, and deploy a Dummy Echelon on the Command Post.
Turn 4
-
Capture Command Post
-
Elimination
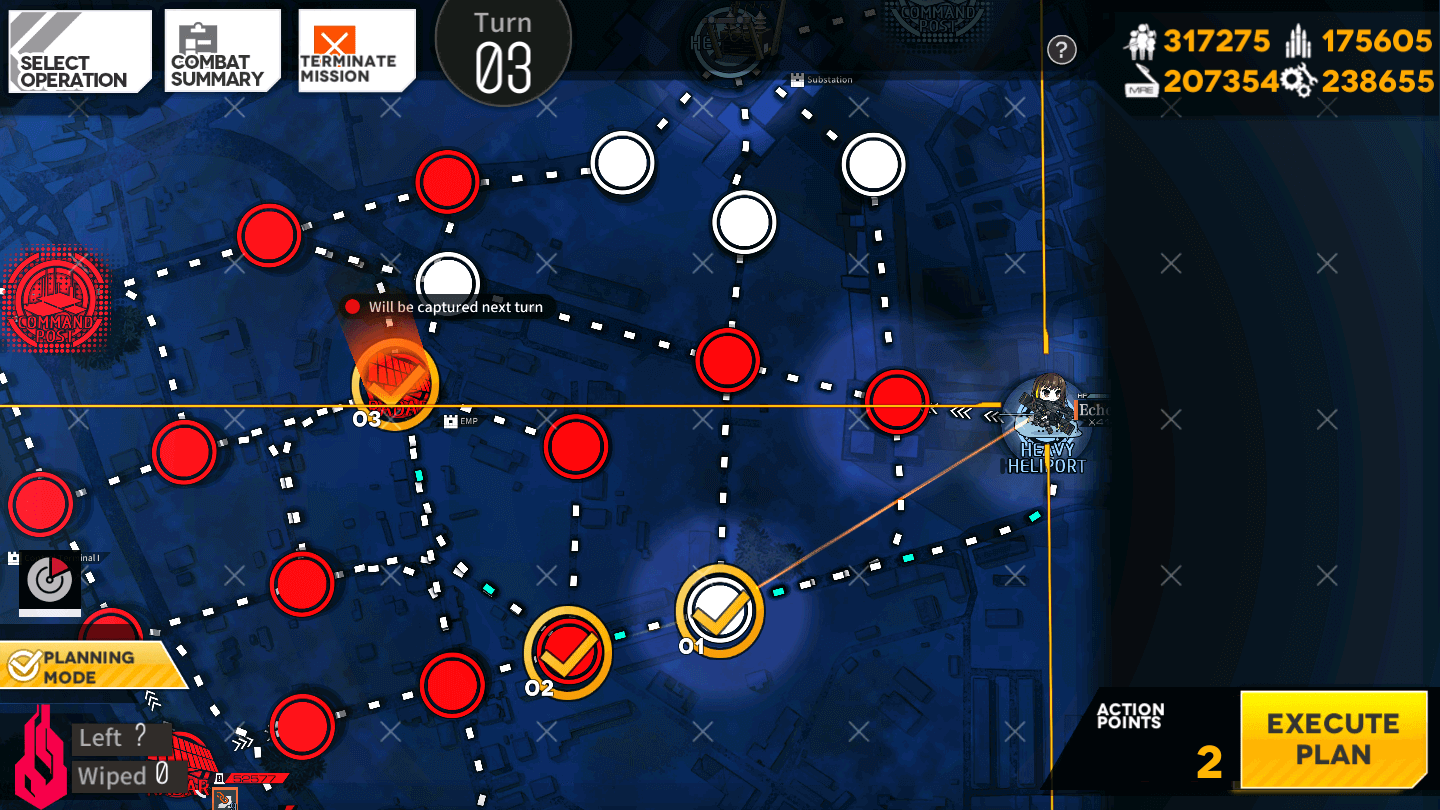
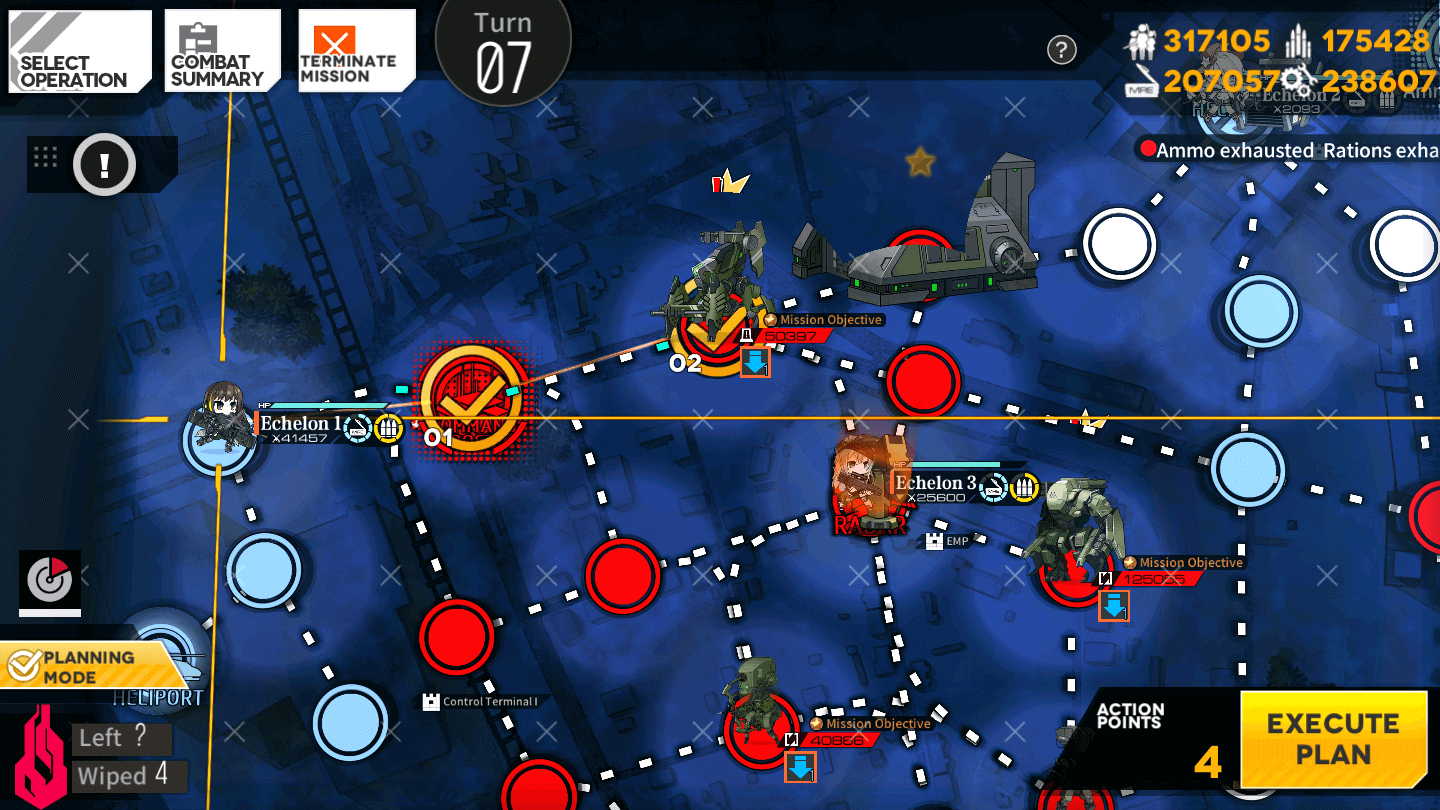
2.1
Move the central Dummy Echelon down one node, to the left two nodes (Gustavs are behind one-way paths), then up two nodes to capture the Command Post and finish this objective.
4.1
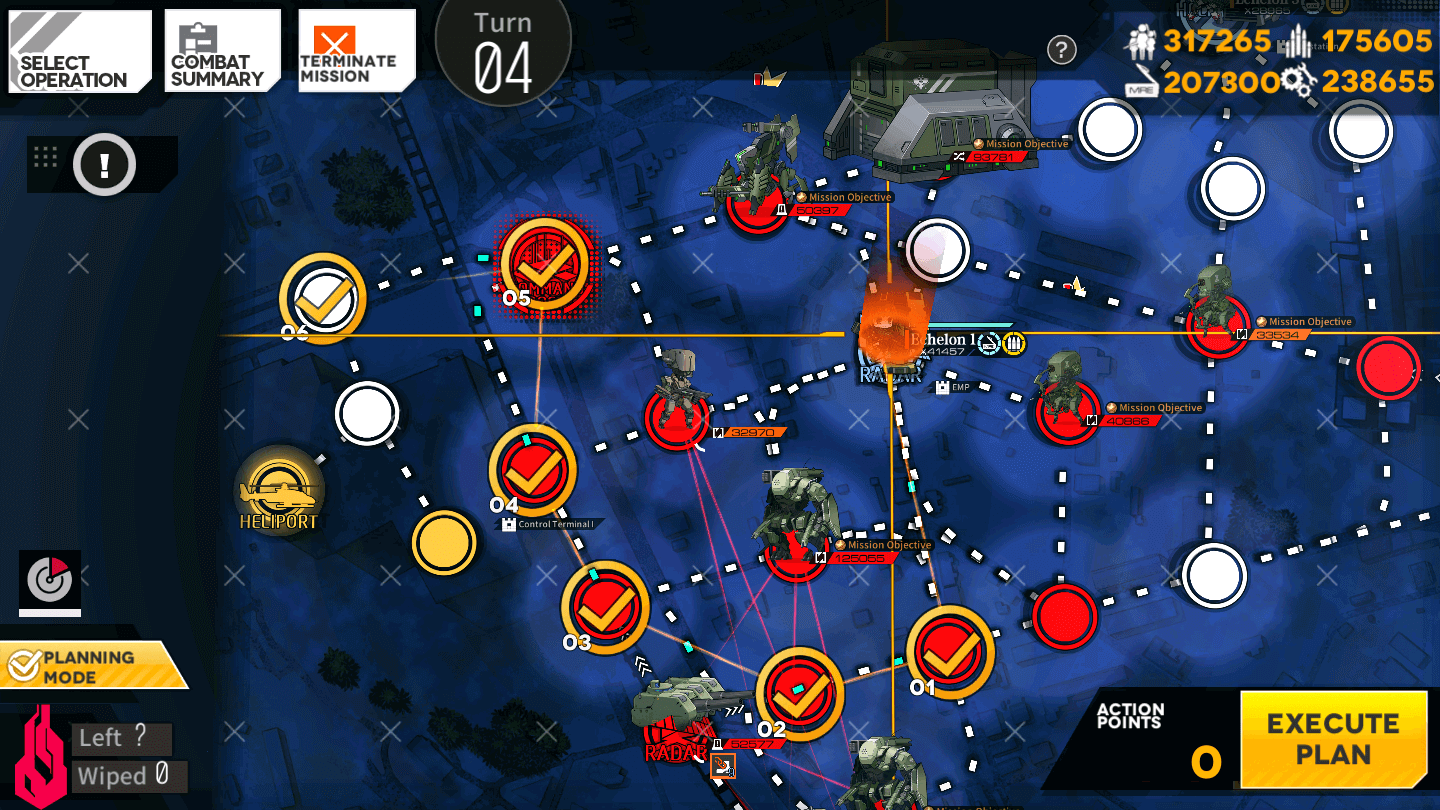
Move the central Combat Echelon down one node, to the left two nodes (Gustavs are behind one-way paths), up two nodes, then to the left one further node.
Turn 5 (Elimination Only)
5.1

Move the left Combat Echelon down one node to fight the Smasher.
5.2
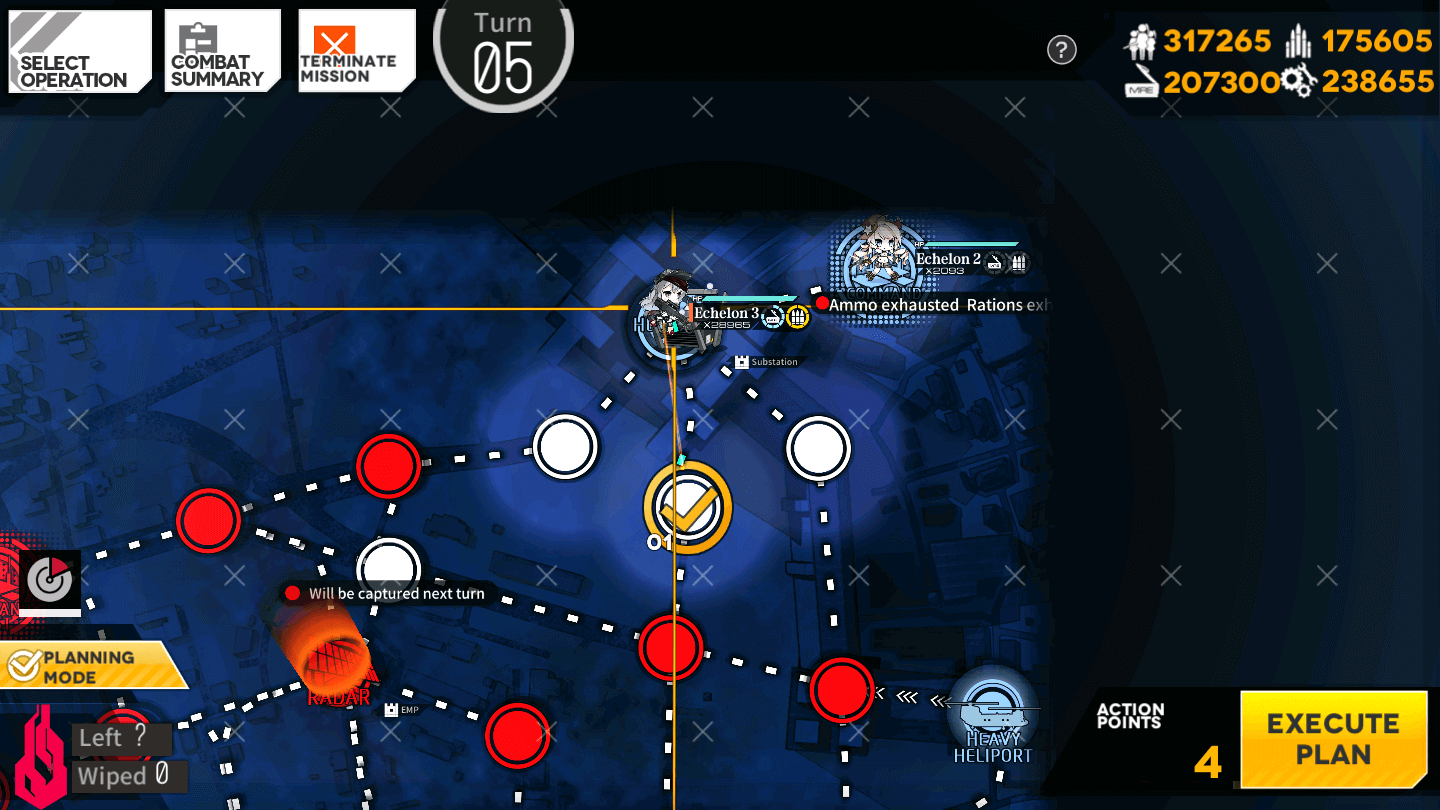
Move the right Combat Echelon down one node.
5.3
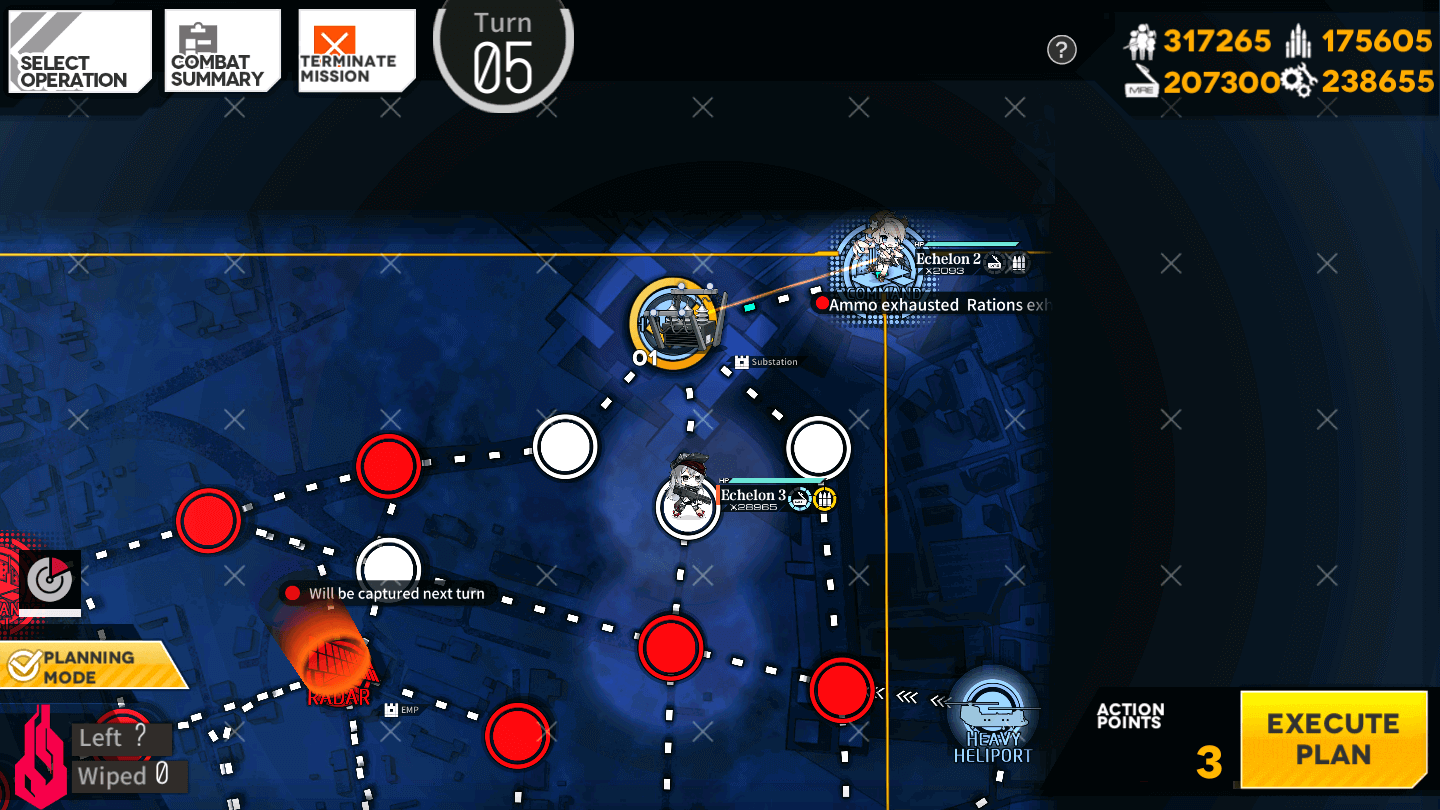
Move the Dummy Echelon on the Command post to the left one node, then deploy your second Dummy Echelon on HQ.
End your turn afterward.
Turn 6 (Elimination Only)
6.1
Move the right Combat Echelon down one node as shown in the image.
Then, move the left Combat Echelon down one node to the Console. Activate it to explode the Gustavs.
It should not be required, but go ahead and close and open your game. This will ensure the trains are gone.
6.2
Move the left Combat Echelon up one node then left one node. Resupply at this time.
6.3

Move the left Combat Echelon back right one node, and up one node.
End your turn even though you have AP leftover.
Turn 7 (Elimination Only)
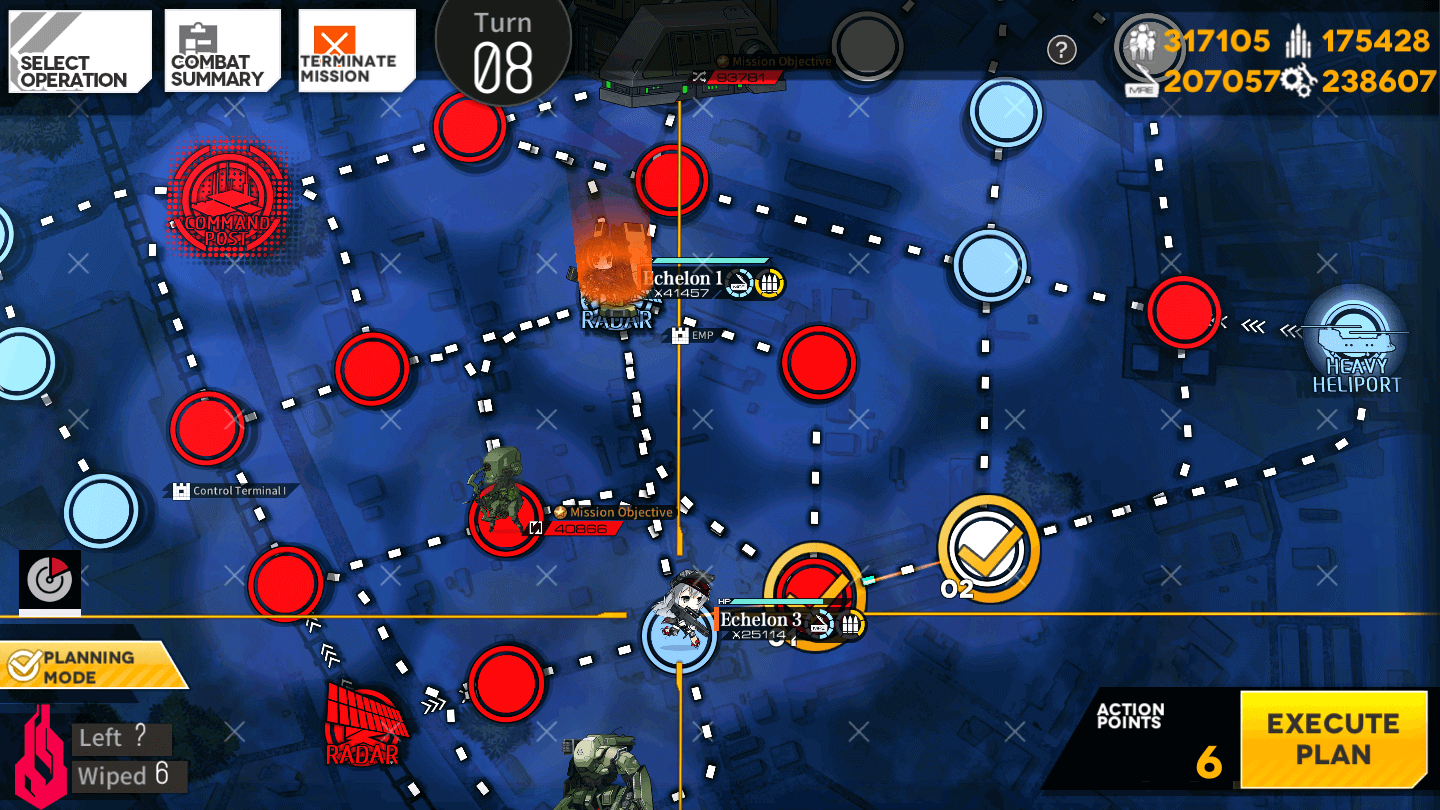
7.1

Move the Combat Echelon on the right to the left one node, then down one node onto the Radar. Activate the EMP Tower.
7.2
Move the upper Combat Echelon to the right two nodes.
7.3

Move the Central Combat Echelon down-right to engage the Minotaur, then down one more node to pick a fight with the Cyclops, and finally one node to the left.
7.4

Move the upper Combat Echelon down one node to occupy the Radar.
Turn 8 (Elimination Only)
8.1
Move the lower Combat Echelon right two nodes. If you're low on rations, feel free to go onto the Heavy Heliport to re-supply - you have enough extra AP this turn to support it.
8.2

Move the upper Combat Echelon up one node.
Turn 9 (Elimination Only)
9.1

Move the upper Combat Echelon back onto the Radar. Activate the EMP tower again.

Move the lower Combat Echelon to the left two nodes, then down one node.
If you don't want to fight the Minotaur, you can instead fight the Recce Center with the Upper Combat Echelon and the map will also clear (although you do still have to eliminate the archer unit). Between you and me, the Recce Center is probably easier if you have high DPS.
Video Guides:
Next Chapter:
-
EX
-
Normal